Dark Chocolate Christmas Cookies

Salty and sweet. Kind of like a sailor with a santa hat.
Salty and sweet. Kind of like a sailor with a Santa hat.

Can you tell I like Christmas cookies?

Honestly, I didn’t want to do two Christmas cookies posts in a row. It goes against every food blog rule out there. But I had to, because this recipe is so good. It’s worth a second batch of Christmas cookies. And I want you to have the chance to make some before time runs out and we are all post New Year’s, drinking smoothies and eating kale.

Well, some people are doing that. I never liked kale and only drink smoothies with peanut butter. But best of success to you, juicers!

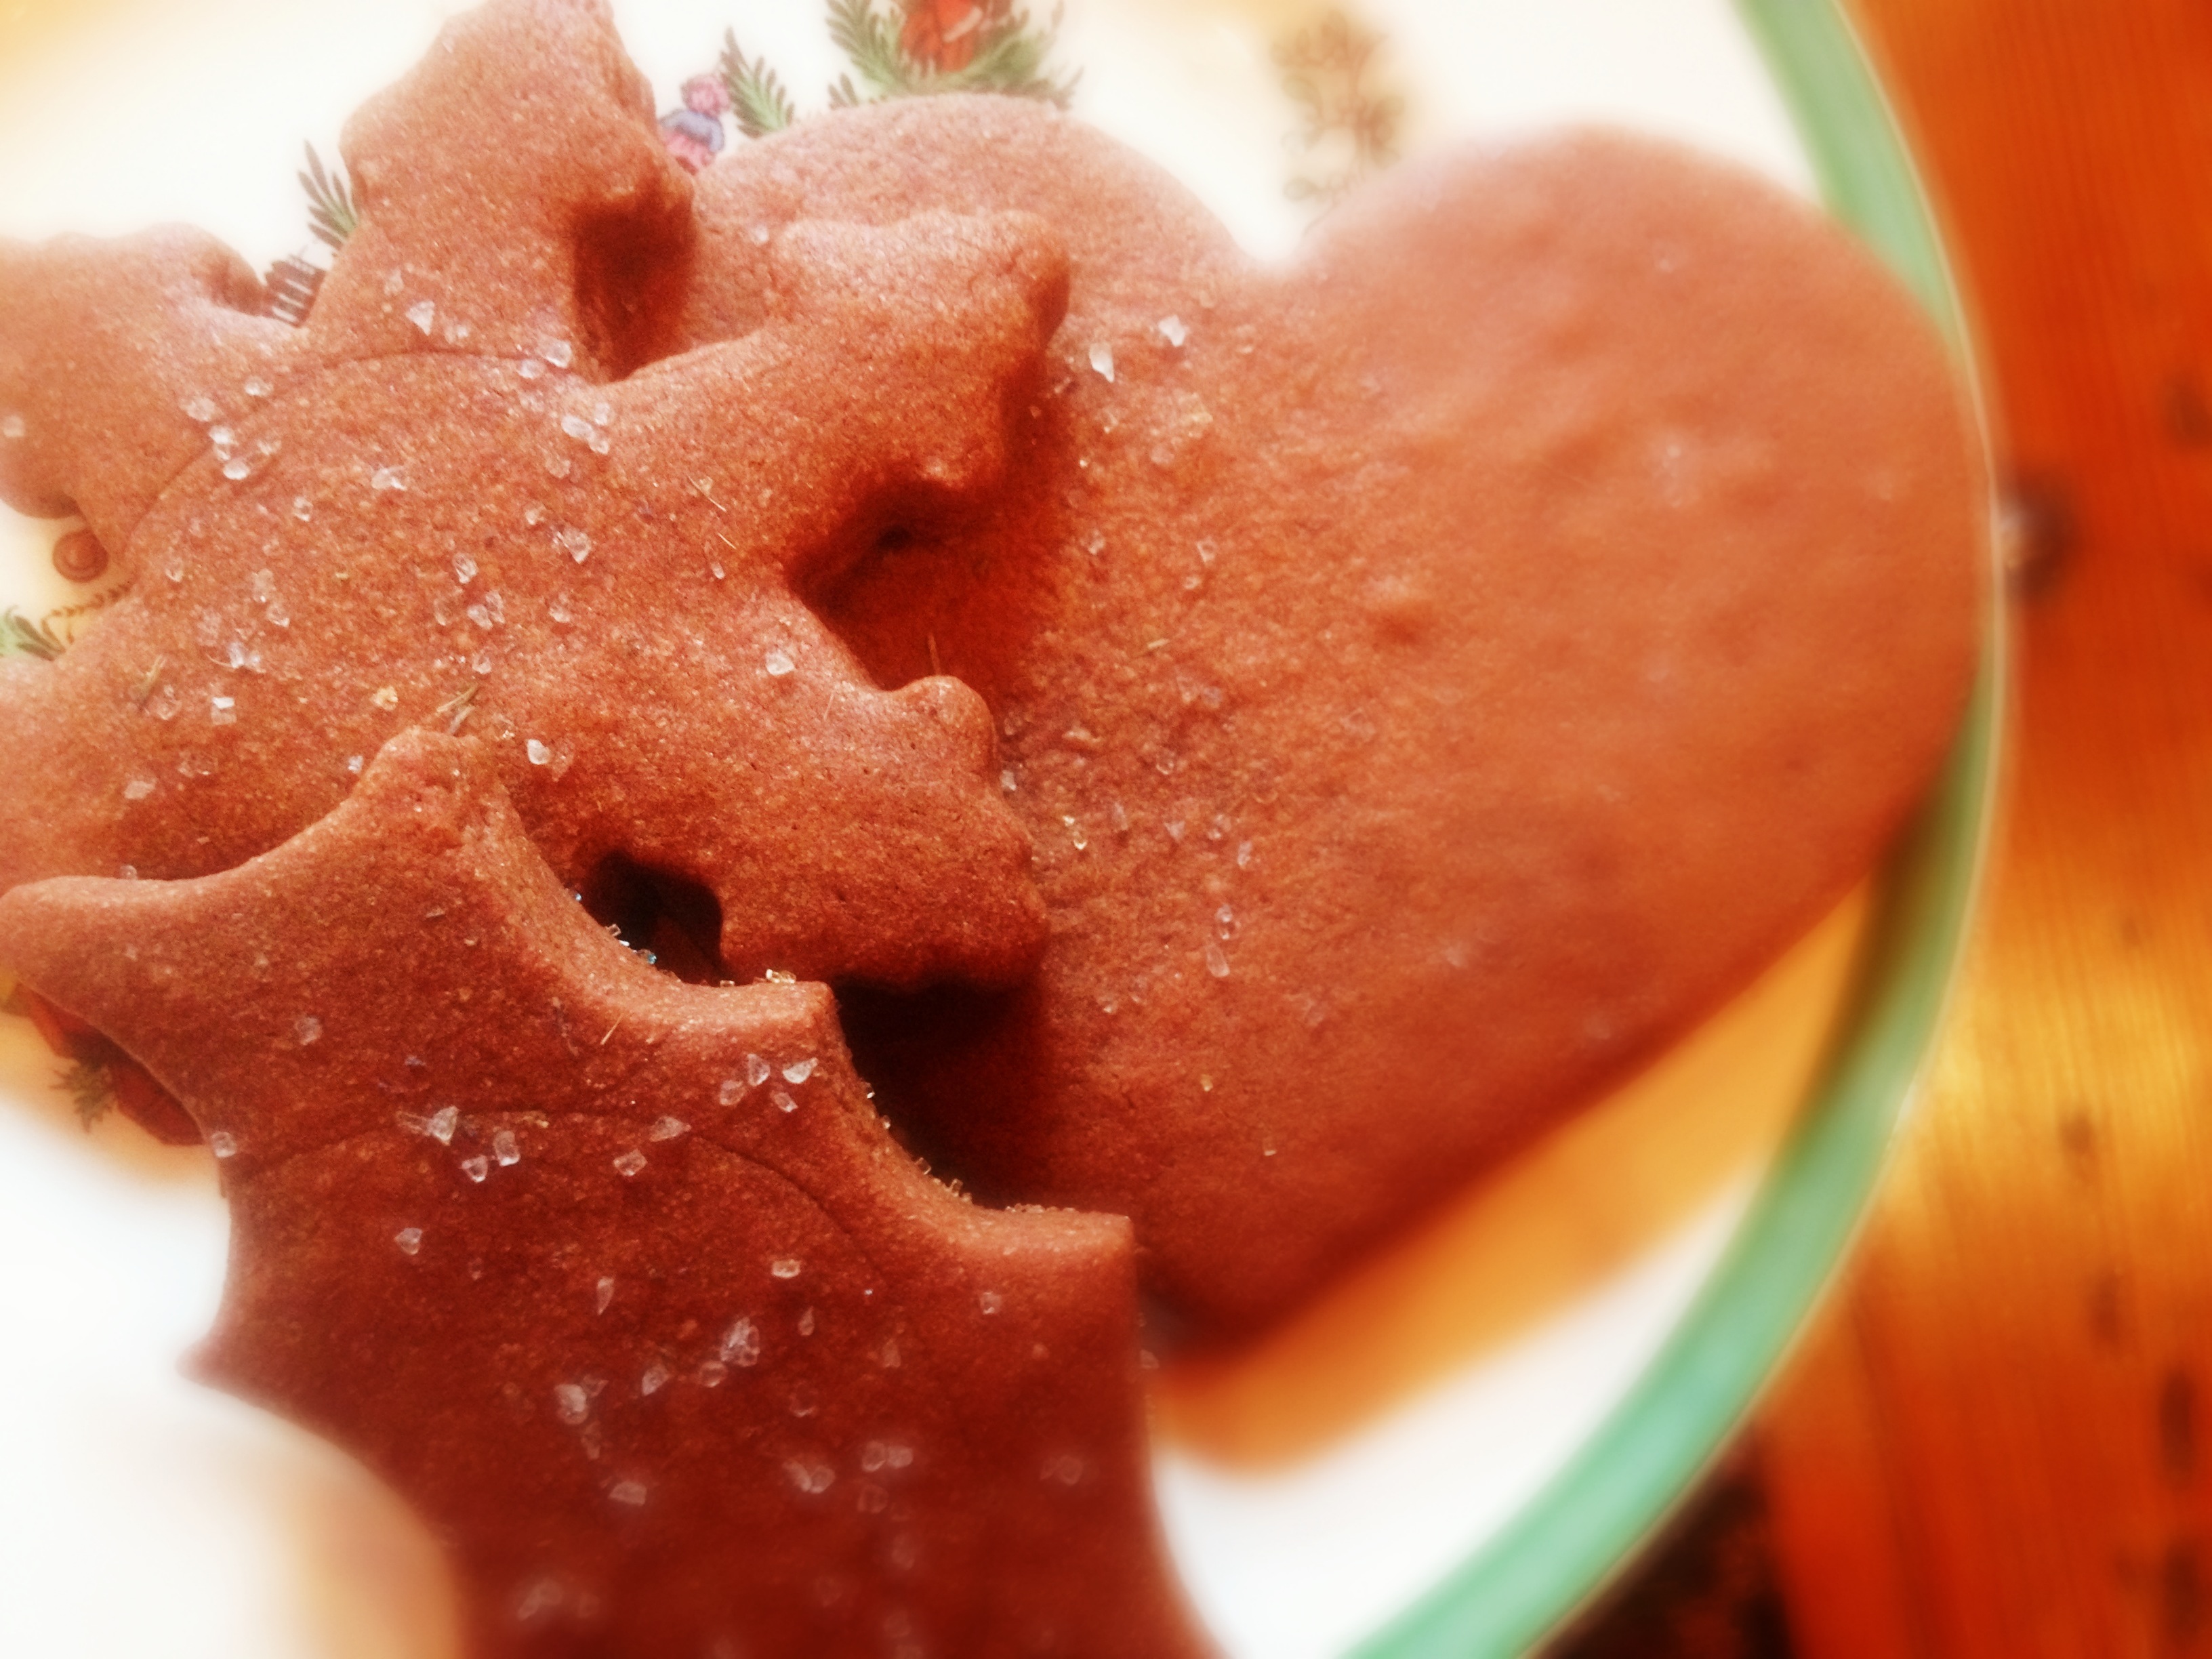
These cookies are dense, chocolatey and rich, and the salty kick after you bite into them takes the flavor to another level. And for those of you who don’t like the chocolate/sea salt combination, you can also accent them with cinnamon candies, sanding sugar, and what the heck- go all out with some icing too.

I wish all Christmas trees were made of chocolate.
Chocolate cookies en papillote (sort of)
Chocolate cookies en papillote (Well, sort of; I think that was French-lish)

Dark Chocolate Christmas Cookies with Sea Salt

(This recipe is adapted from the fabulous blog Sweetapolita; My changes are in italics)

What You Will Need:

  • 6 cups (750 g) all-purpose flour, sifted (I used whole wheat pastry flour)
  • 1 and 1/4 cups (137 g) dark cocoa powder (I love organic cocoa powder!)
  • 1 teaspoon (8 g) salt
  • 2 cups (454 g)(4 sticks) unsalted butter, softened (Try organic here too)
  • 2 cups (400 g) granulated sugar (I used 1 3/4 cup)
  • 1 cup (228 g) light brown sugar
  • 3 eggs, cold
  • 2 teaspoons (10 ml) pure vanilla extract
  • Various fun toppings (cayenne pepper, sea salt, icing, more chocolate, sprinkles!)

What You Will Do:

  1. In large bowl, sift together flour, cocoa powder and salt. Set aside.
  2. In an electric mixer fitted with the paddle attachment, cream butter and sugars until fluffy and pale, about 5 minutes. Beat in eggs until just combined.
  3. Add flour mixture and mix on low speed until thoroughly combined. (Please do this slowly. I got carried away and ended up with a light brown powder on my mixer, counter, and clothes. And pants? I have no idea.) Add vanilla and blend.
  4. Remove 1/2 of the dough from bowl, make a ball, and place it on a large piece of plastic wrap on the counter.Wrap the sides of wrap over the ball, then press down with the palm of your hand and make a disc about 2″ thick. Finish wrapping the disc with the plastic wrap. Repeat with the second half of dough. Chill both discs of dough for about 45 minutes or up to a day in the fridge.
  5. Once ready to bake, preheat your oven to 325.
  6. Remove one disc and remove the plastic wrap. Place on top of a large piece of parchment paper (I used a silicone bakers mat underneath it to make sure it didn’t slip while I was rolling it out), then put another large piece of parchment paper on top of the dough.
  7. Roll dough with a rolling pin (Ok, this is where your work-out comes in. It takes a bit to get it warm and ready to cut) until it is an even thickness; I aimed for about 1/4 of an inch.
  8. Remove the dough from the fridge, and cut your shapes using the cutters of your choice, placing them on a cookie sheet lined with parchment or a Silpat, with 2″ clearance around each one and the edge of sheet. Top with salt, cayenne- whatever you like!
  9. Bake until cookie edges are just crisp, about 16 minutes. Repeat with the second disk of dough.
  10. Cool the sheets on wire racks for 10 minutes, then gently remove cookies and place on wire racks to finish cooling. After cool, ice or glaze to your heart’s content! And don’t forget the sprinkles!
  11. Promptly consume with a large glass of egg nog. So delicious!

Holiday Sugar Cookies

Our finest Christmas masterpieces on display.
Our finest Christmas masterpieces

I love decorating cookies.

So far this season I believe I have baked at least 96. And as a child I especially loved the dough. As in, I would sneak it from the round ball on the cutting board into the sides of my cheeks, hoping that no one would notice. My sweet mom would then ask me how the cookie-cutting was going, and the dough would fall gracefully from underneath my tongue onto the counter. I know, I was pretty cool at a young age.

Paula and Kellen's children are much cooler than I was at their age.
Paula and Kellen’s children are much cooler and creative than I was.

There is an art to holiday sugar cookie dough. Unless you have a great foundation, a cookie won’t hold up under mountains of icing and sprinkles. Too soft, and your cookies will pillow up in the oven like an overstuffed Santa. Too hard, and biting into them is about as pleasant as eating stale crackers.

And one of the most fun things about holiday cookies is who you decorate them with. This brings us to my amazing, talented friend Paula Coldiron from Two Ellie blog, who volunteered both her talent and her sweet children to decorate cookies together.

The best use of green icing and milk chocolate balls I have ever seen.

twoellie&luvcooks.12 (44 of 61)

Paula has an incredible gift for interiors- she can make the most generic of spaces light up with style like a Christmas tree- and she also has a way with a camera. So, if you are looking at this post and thinking, “Wow; her food photos look fantastic! Better than they ever have!” It’s because Paula took them. Her and her husband Kellen also have a wedding and lifestyle photography business.

I was beyond excited and thrilled to partner with Two Ellie for this post. Check out all of Paula and her impeccable style, holiday and otherwise, here. She also has a fantastic shop for anyone looking for last-minute holiday gifts.

This dough below is one I modified a bit to make it taste more holiday-esque, but it rolls out beautifully and responds well to hefty cookie cutters. Go ahead and roll the dough out to 1/8 inch; that will give you the perfect weight and density for your cookie.

Half of these cookies are glazed to make the icing colors pop.

And don’t forget to add something special to every cookie you make. I’ve learned this year that it’s not always what you bake- it’s who you decorate it with.

I wish you and your loved ones a very merry-and sweet-Christmas season.

The mini-decorator at work.

Holiday Sugar Cookies (this recipe has been adapted from Bon Appetit via Epicurious.com)

What You Will Need:

  • 1 cup unsalted butter, room temperature
  • 1 cup (packed) golden brown sugar
  • 1 large egg
  • 1 teaspoon vanilla extract
  • 2 2/3 cups all purpose flour
  • 1 teaspoon baking powder
  • 1/2 teaspoon salt
  • 1/2 teaspoon ground cinnamon
  • freshly grated nutmeg

What You Will Do:

1. Using an electric mixer, beat butter and sugar in a large bowl until fluffy. Beat in egg and vanilla.

2. Sift flour, baking powder, salt, cinnamon, and nutmeg together in a bowl. Add the dry mixture from the bowl slowly to the mixer until fully incorporated; it took me about three big pours.

3. Turn the dough out onto lightly floured surface and knead it gently for one minute. You will know it’s ready when it feels elastic and warm in your hands.

4. Shape the dough into a 1/2-inch-thick rectangle. Cut it into 4 equal mini-rectangles. Wrap each rectangle in plastic wrap and the original recipe said to refrigerate them for at least 3 hours and up to 1 day.  Honestly, you can just roll this dough on out, but it does make life easier if you refrigerate it first. If you have time to refrigerate it, let the dough soften slightly at room temperature before rolling it out.

5. Position a rack in the center of the oven and preheat it to 350°F. Spray a large baking sheet with cooking spray, or use a Silpat. Working with one dough piece at a time, roll out dough with a floured rolling pin on a lightly floured surface to 1/8-inch thickness, lifting and turning dough often and dusting surface very lightly with flour to prevent sticking.

6. Use your most celebratory Christmas cookie cutters to cut the dough; I highly recommend Santas, snowmen, angels, stars, candy canes, and hearts. Pull away excess dough from around cookies, then transfer the cookies to a prepared baking sheet, spacing 1 inch apart (cookies will not spread). Gently reroll dough scraps; cut out more cookies. Transfer them to the same sheet.

7. Bake cookies until light brown, about 11 minutes. It is always better to take them out earlier rather than later; if you bake them too long the cookie edges will get crispy and might burn on the bottom.

8. Let the cookies cool for 5 minutes on the sheet. Transfer the cookies to a rack; cool.

9. Repeat this process with the remaining dough pieces, baking one sheet of cookies at a time. Cool baking sheet completely and butter the sheet lightly between batches.

10. Finally, decorate until you can decorate no more. For this shoot I used green fluffy icing, red and white sparkle gel icing, Christmas sprinkles, milk chocolate balls, and edible silver balls.

Banana Toffee Upside Down Cake

Carmelized bananas on a platter. Delicious.

Bananas remind me of my family; especially my mom. Sliced, frozen, raw- I grew up eating them. My mom’s favorite ice cream flavor is- you guessed it- banana, and I have vivid memories of peanut butter, banana, and mayonnaise toasted sandwiches, shared with my sister as we attempted to climb up and sit cross-legged on our kitchen counter. (My sister and I always made an adventure into climbing on top of things. I have no idea why.)

For those of you whose reaction to the sentence before last was “You had what on your peanut butter and banana sandwiches?” You haven’t lived until you have had one. (However, if you do make this, please lightly toast your white bread and lightly spread a bit of mayonnaise on your slices, then a layer of peanut butter, then a layer of sliced bananas. Key word: lightly. Now enjoy your new perspective. :))

The banana cake from above.

And there is something about baking during the holidays that stirs you to create extra special desserts for the ones you love- and incorporate their favorite flavors into what you serve. Wanting to move outside of just banana bread, I came across this recipe on Pinterest and immediately fell in love.

Caramelized bananas in brown sugar and butter? Yes. Baking in my favorite cast-iron skillet? Yes again.

And topping it all off with my mom’s homemade vanilla ice cream? Si; Oui, s’il vous plaît; and yes some more.

I hope this cake wows your loved ones like it did mine. It is perfect served warm out of the oven, so put it in as you sit down to your main course. Which, if you are lucky, will be a peanut butter, mayonnaise, and banana sandwich.

Warm cake with homemade vanilla ice cream.

Banana Toffee Upside Down Cake

This recipe was taken from Foodess.com– one of my new favorite food blogs.

What You Will Need:

For the topping:

  • 1/3 cup (3 ounces) butter
  • 3/4 cup packed brown sugar
  • 2 tbsp rum
  • 3 large, ripe bananas, laved lengthwise and cut into 1 1/2″ pieces (I think you could even cut the bananas into rounds if you felt so inclined. I know, some days you just need to chop something.)

For the cake:

  • 1 3/4 cups all-purpose flour
  • 2 tsp baking powder
  • 1/2 tsp cinnamon
  • 1/2 tsp nutmeg
  • 1/4 tsp salt
  • 1/3 cup (3 ounces) butter, softened
  • 3/4 cup white sugar
  • 2 large eggs
  • 1 tbsp rum
  • 1/2 tsp vanilla extract (I use this because I am a vanilla extract snob)
  • 3/4 cup whole milk

What You Will Do:

1. Preheat oven to 350 degrees. Melt butter in a 10-inch cast iron skillet. Add sugar and rum; stir briefly, then allow to bubble and caramelize for about 5 minutes, until it becomes a rich, golden brown. Remove from the heat and arrange bananas over toffee.

2. In a medium-sized mixing bowl, whisk together flour, baking powder, cinnamon, nutmeg and salt. In the large bowl of a standing mixer, beat the butter and sugar until light and fluffy, about 3 minutes. Add eggs, one at a time, beating thoroughly after each. Beat in rum and vanilla extract.

3. With the mixer speed on low, add one-third of the flour mixture, then one half of the milk. Repeat, ending with the flour mixture, mixing until just combined. I am not sure what this specific order actually does, but it made me feel very professional.

4. Pour the batter into the cast iron skillet over your banana/toffee mixture.

5. Put your skillet into the pre-heated oven and bake for 30-35 minutes, until it is golden brown on top and a toothpick inserted in the centre comes out clean. Watch it though; mine got pretty brown at about 28 minutes.

6. Allow the cake to cool in the pan 5 minutes before inverting it onto a plate. Then try not to climb on your kitchen counter and eat it all.