Marshmallows!!
I can’t get enough of marshmallows. Growing up, I ate the kind that came in a giant puffed bag- and did not miss a beat topping my hot chocolate and/or hot fudge sundaes with them.
But marshmallows were elevated to an art form the first time my then-boyfriend, now-husband Jake sent me homemade marshmallows in the mail. From Seattle. WOAH. Mind completely blown!

And until I had the opportunity to work on recipe development for Birmingham magazine, I forgot a bit how much I loved eating them- and now, making them. In fact, I have full confidence that as long as you have a working thermometer, YOU HAVE GOT THIS MARSHMALLOW RECIPE! Go you pastry chef, GO!
And speaking of easy, rounding out our 12 Days of December recipes, I give you- FIVE ingredient candy cane crunch fudge!
This recipe is super simple, a fantastic way to use your leftover candy canes, and did I mention it had FIVE ingredients?
As we end 2017, I want to tell you how incredibly grateful I am for YOU. For your support, for reading these recipes (and hopefully making them!), for allowing me to share a part of my heart for the kitchen and food with you. 2018 is going to be an incredible year, and I can’t wait to begin a fresh creative journey with you all.
LOVE LOVE! XOXOX – Callie
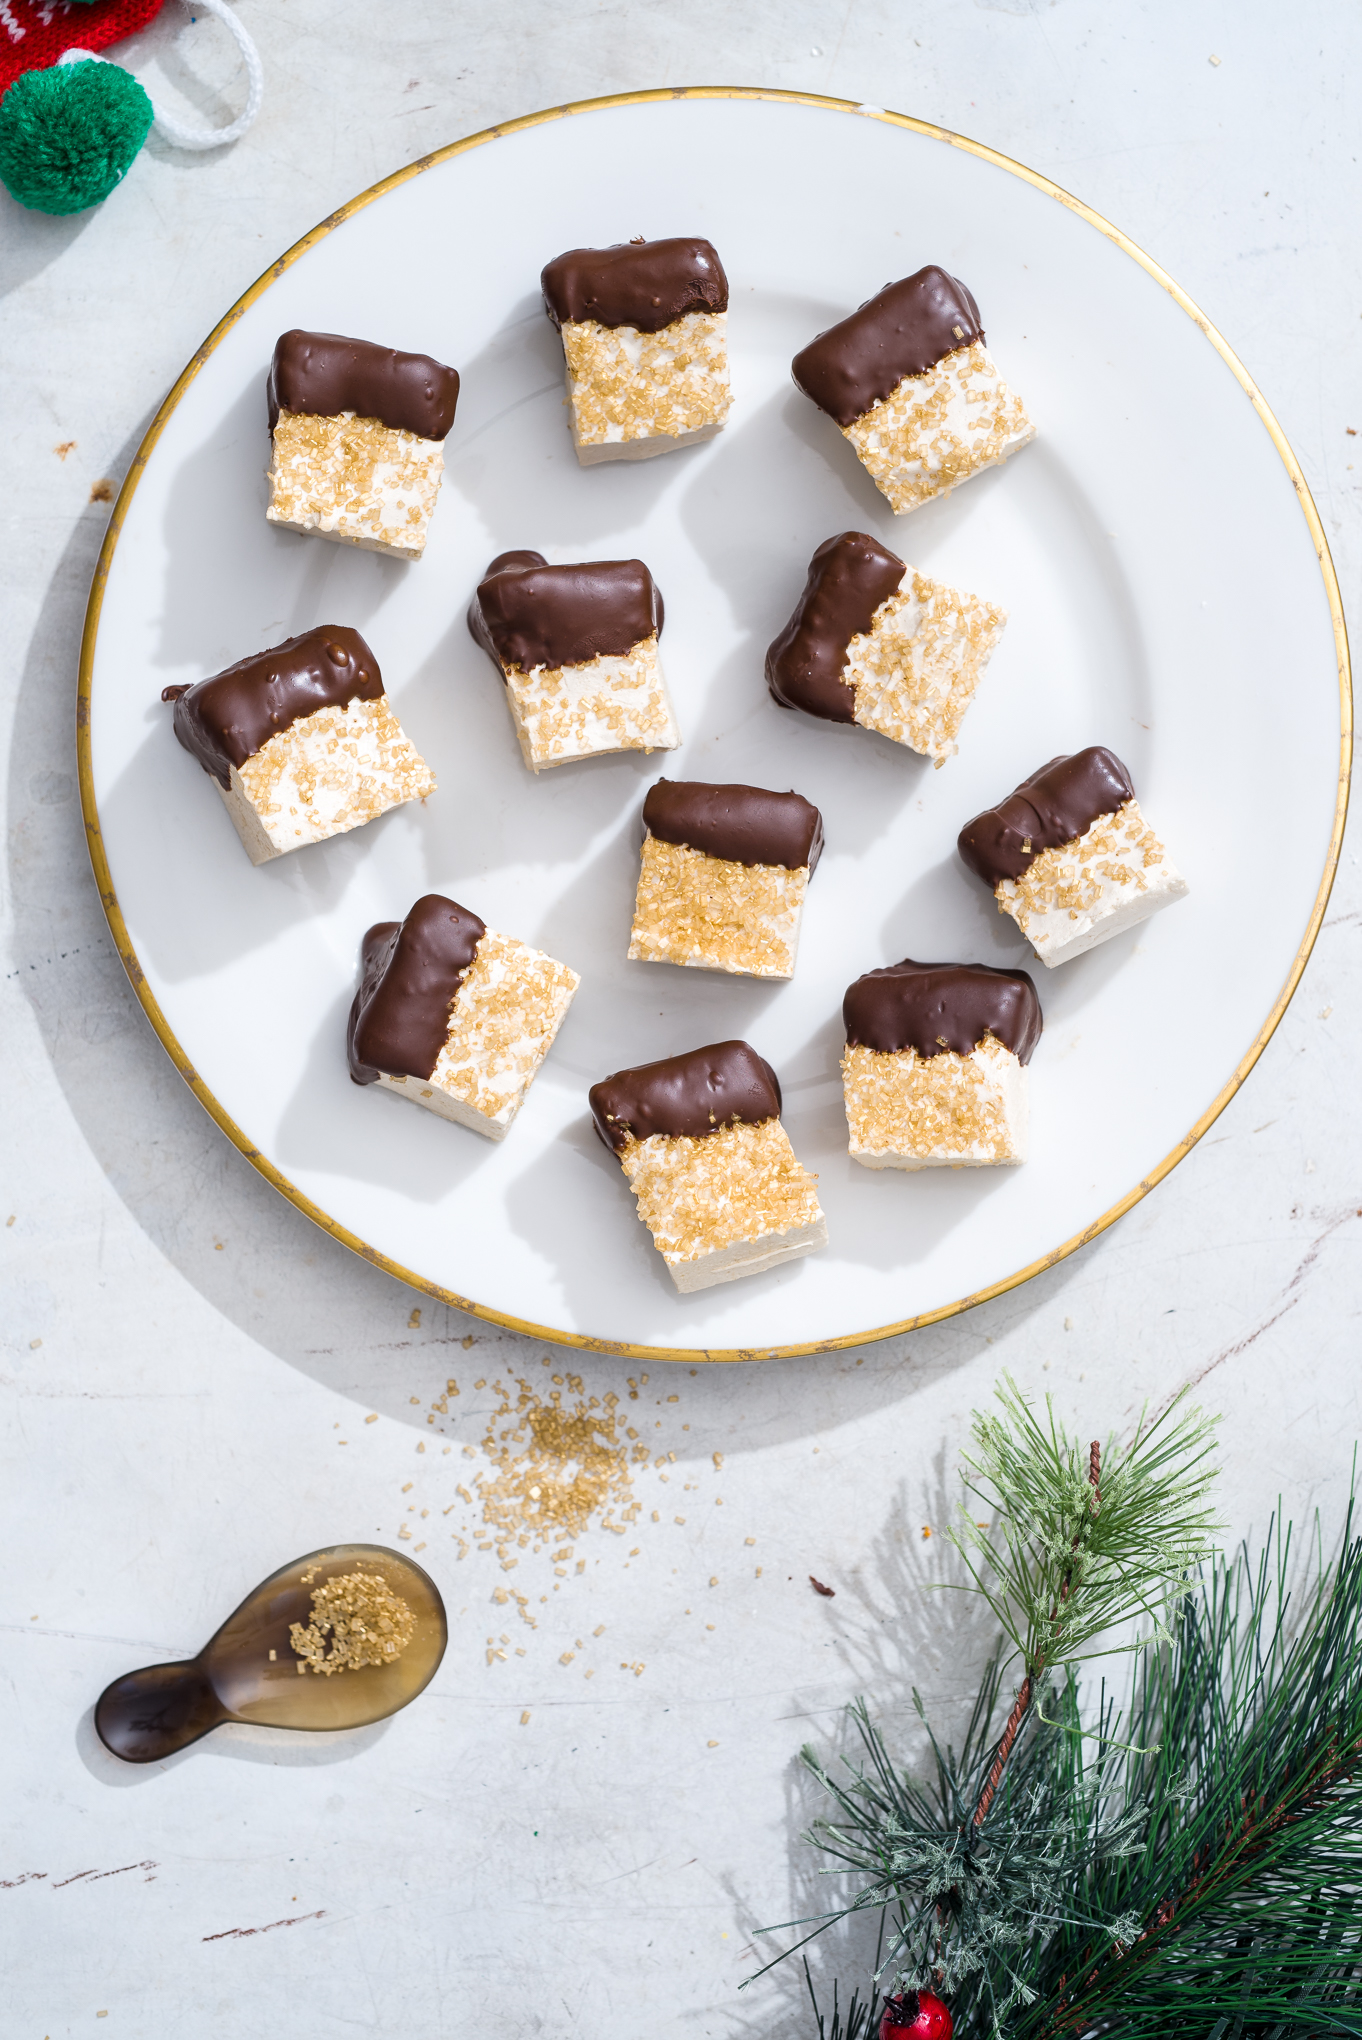
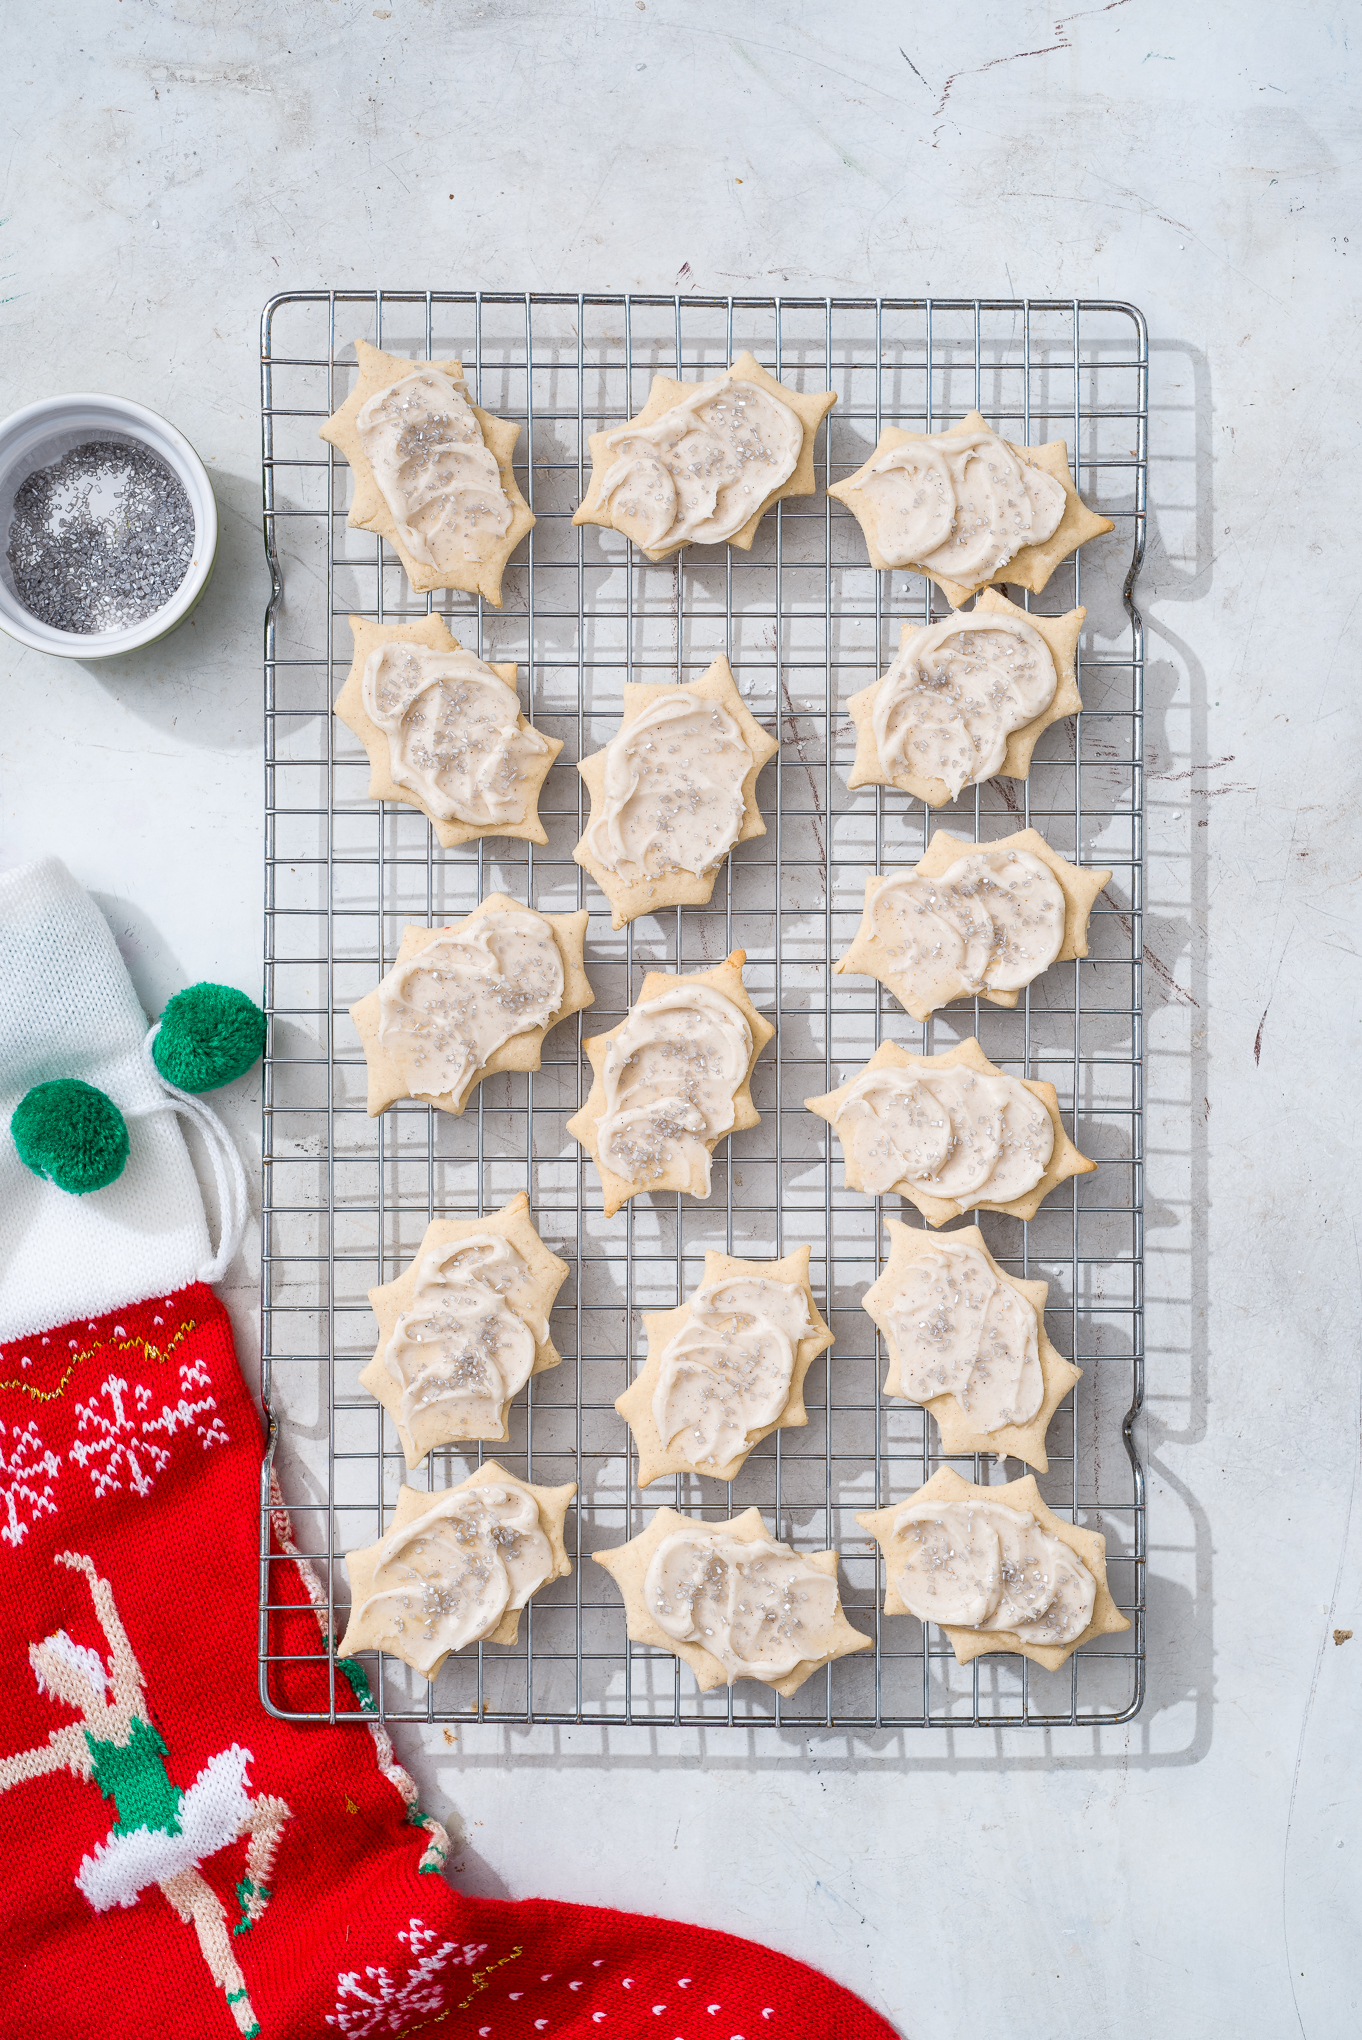
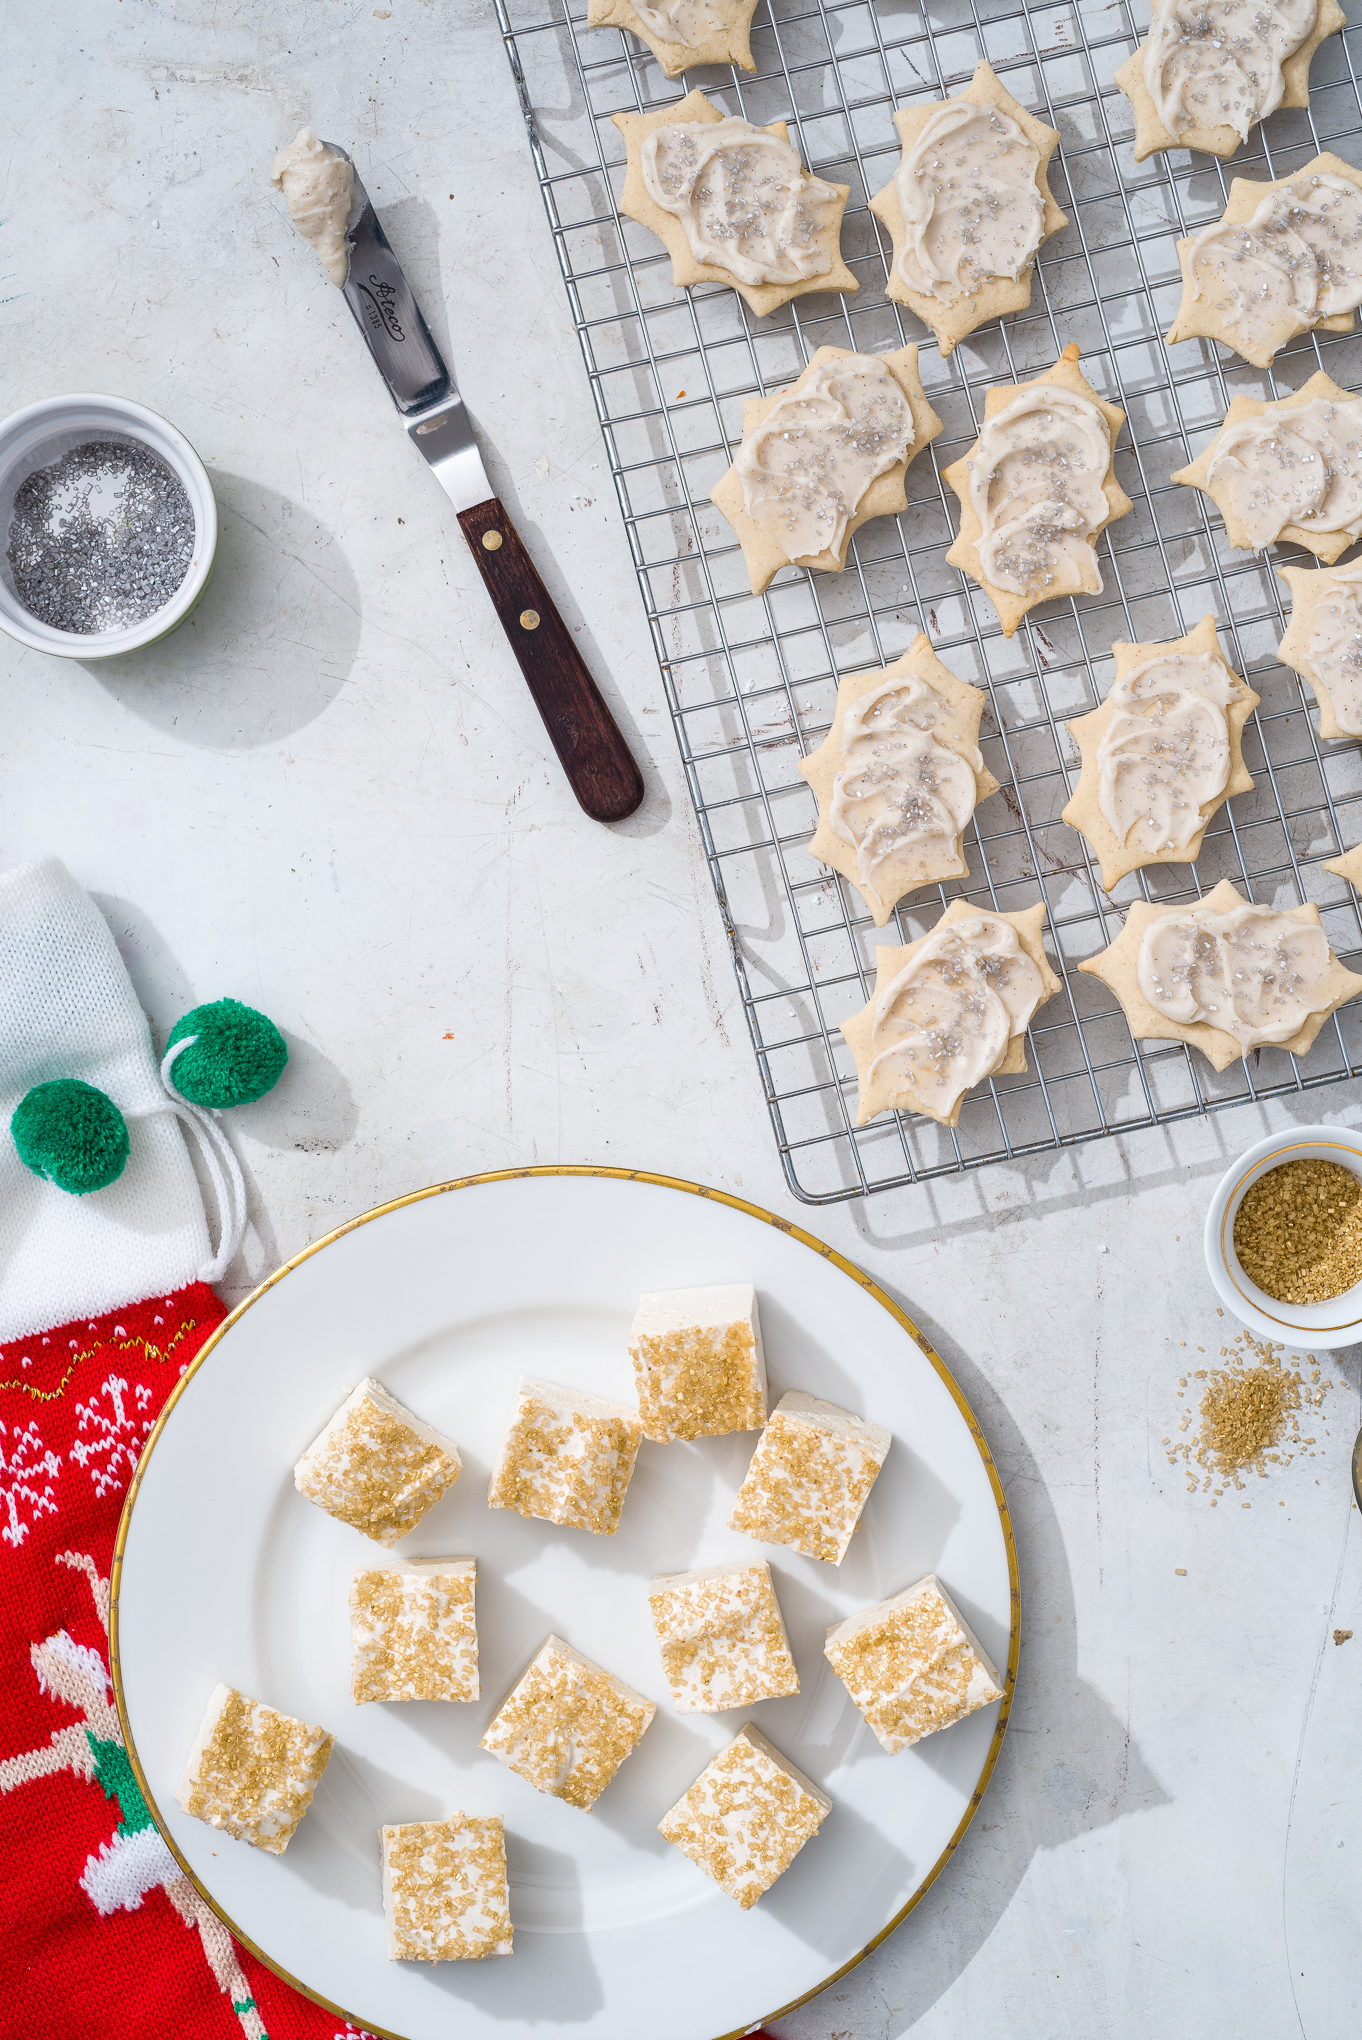
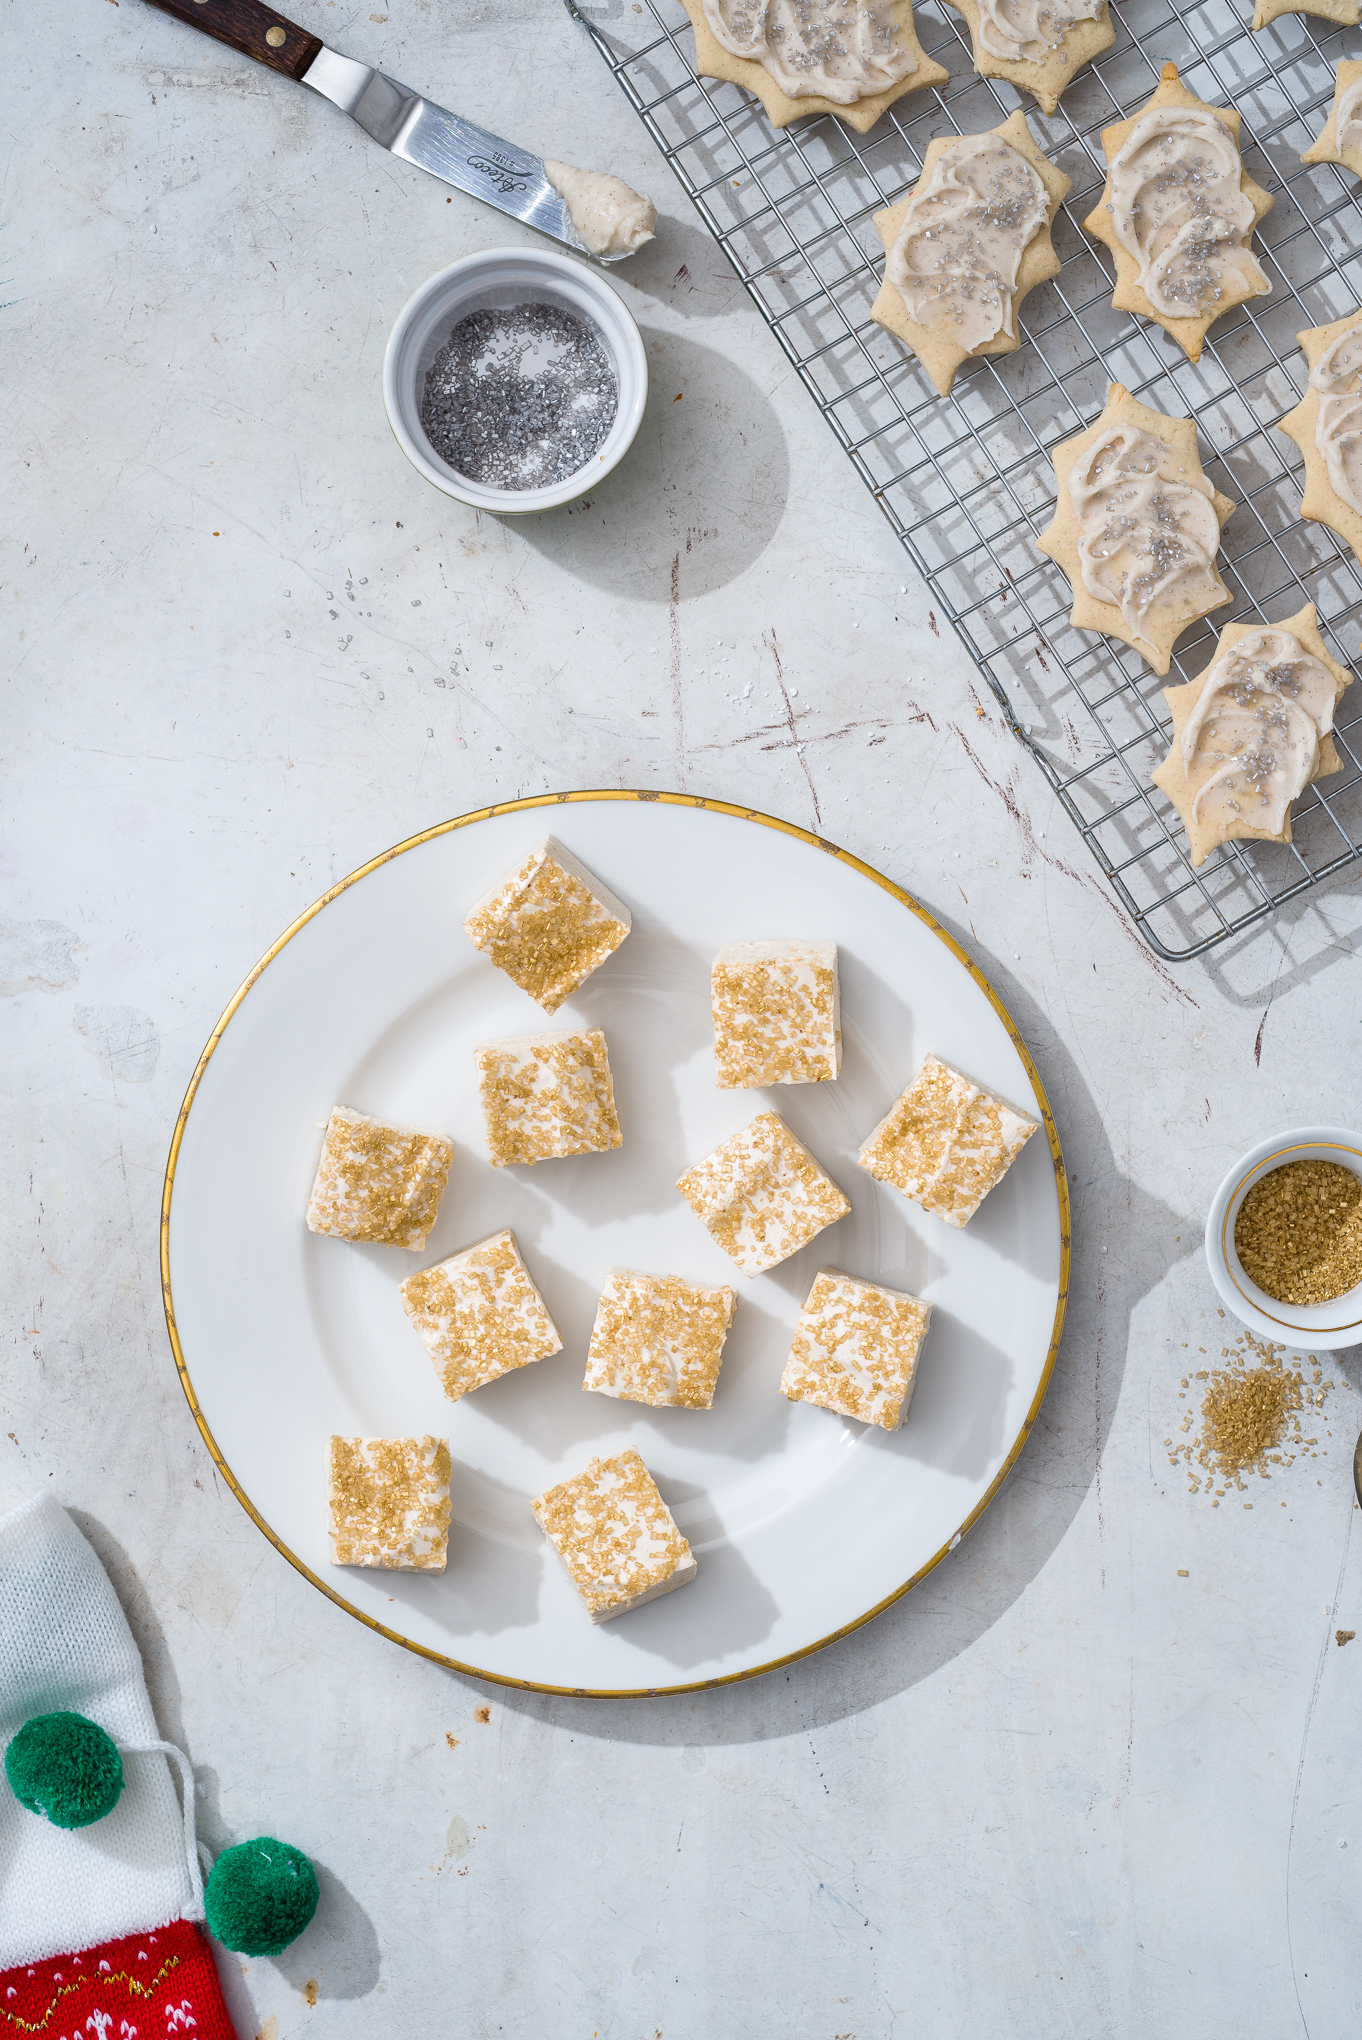
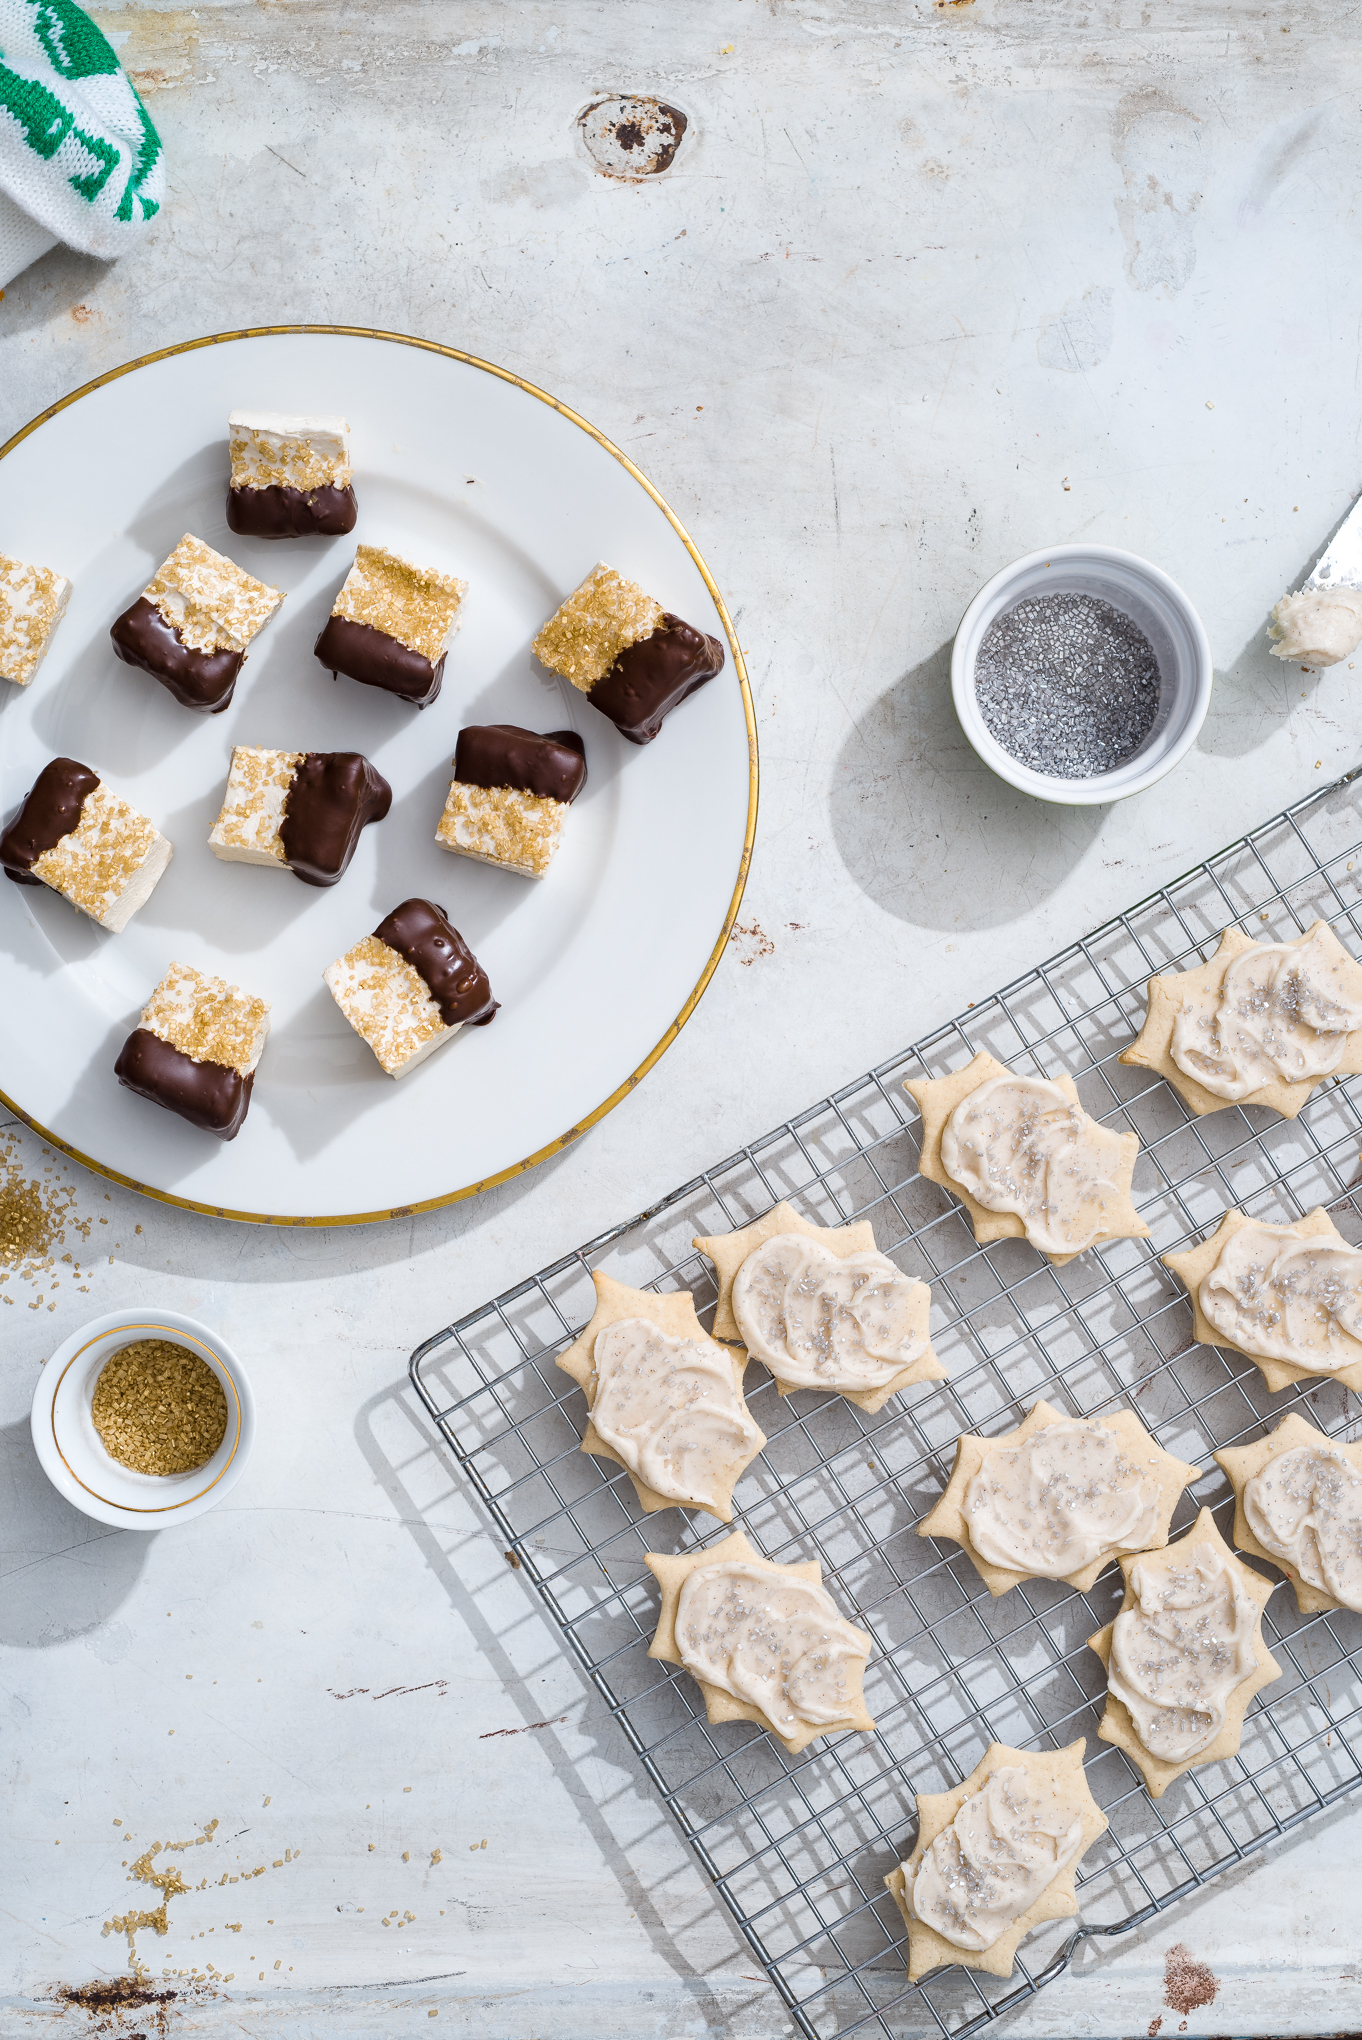
Whiskey Vanilla Gold Fleck Marshmallows
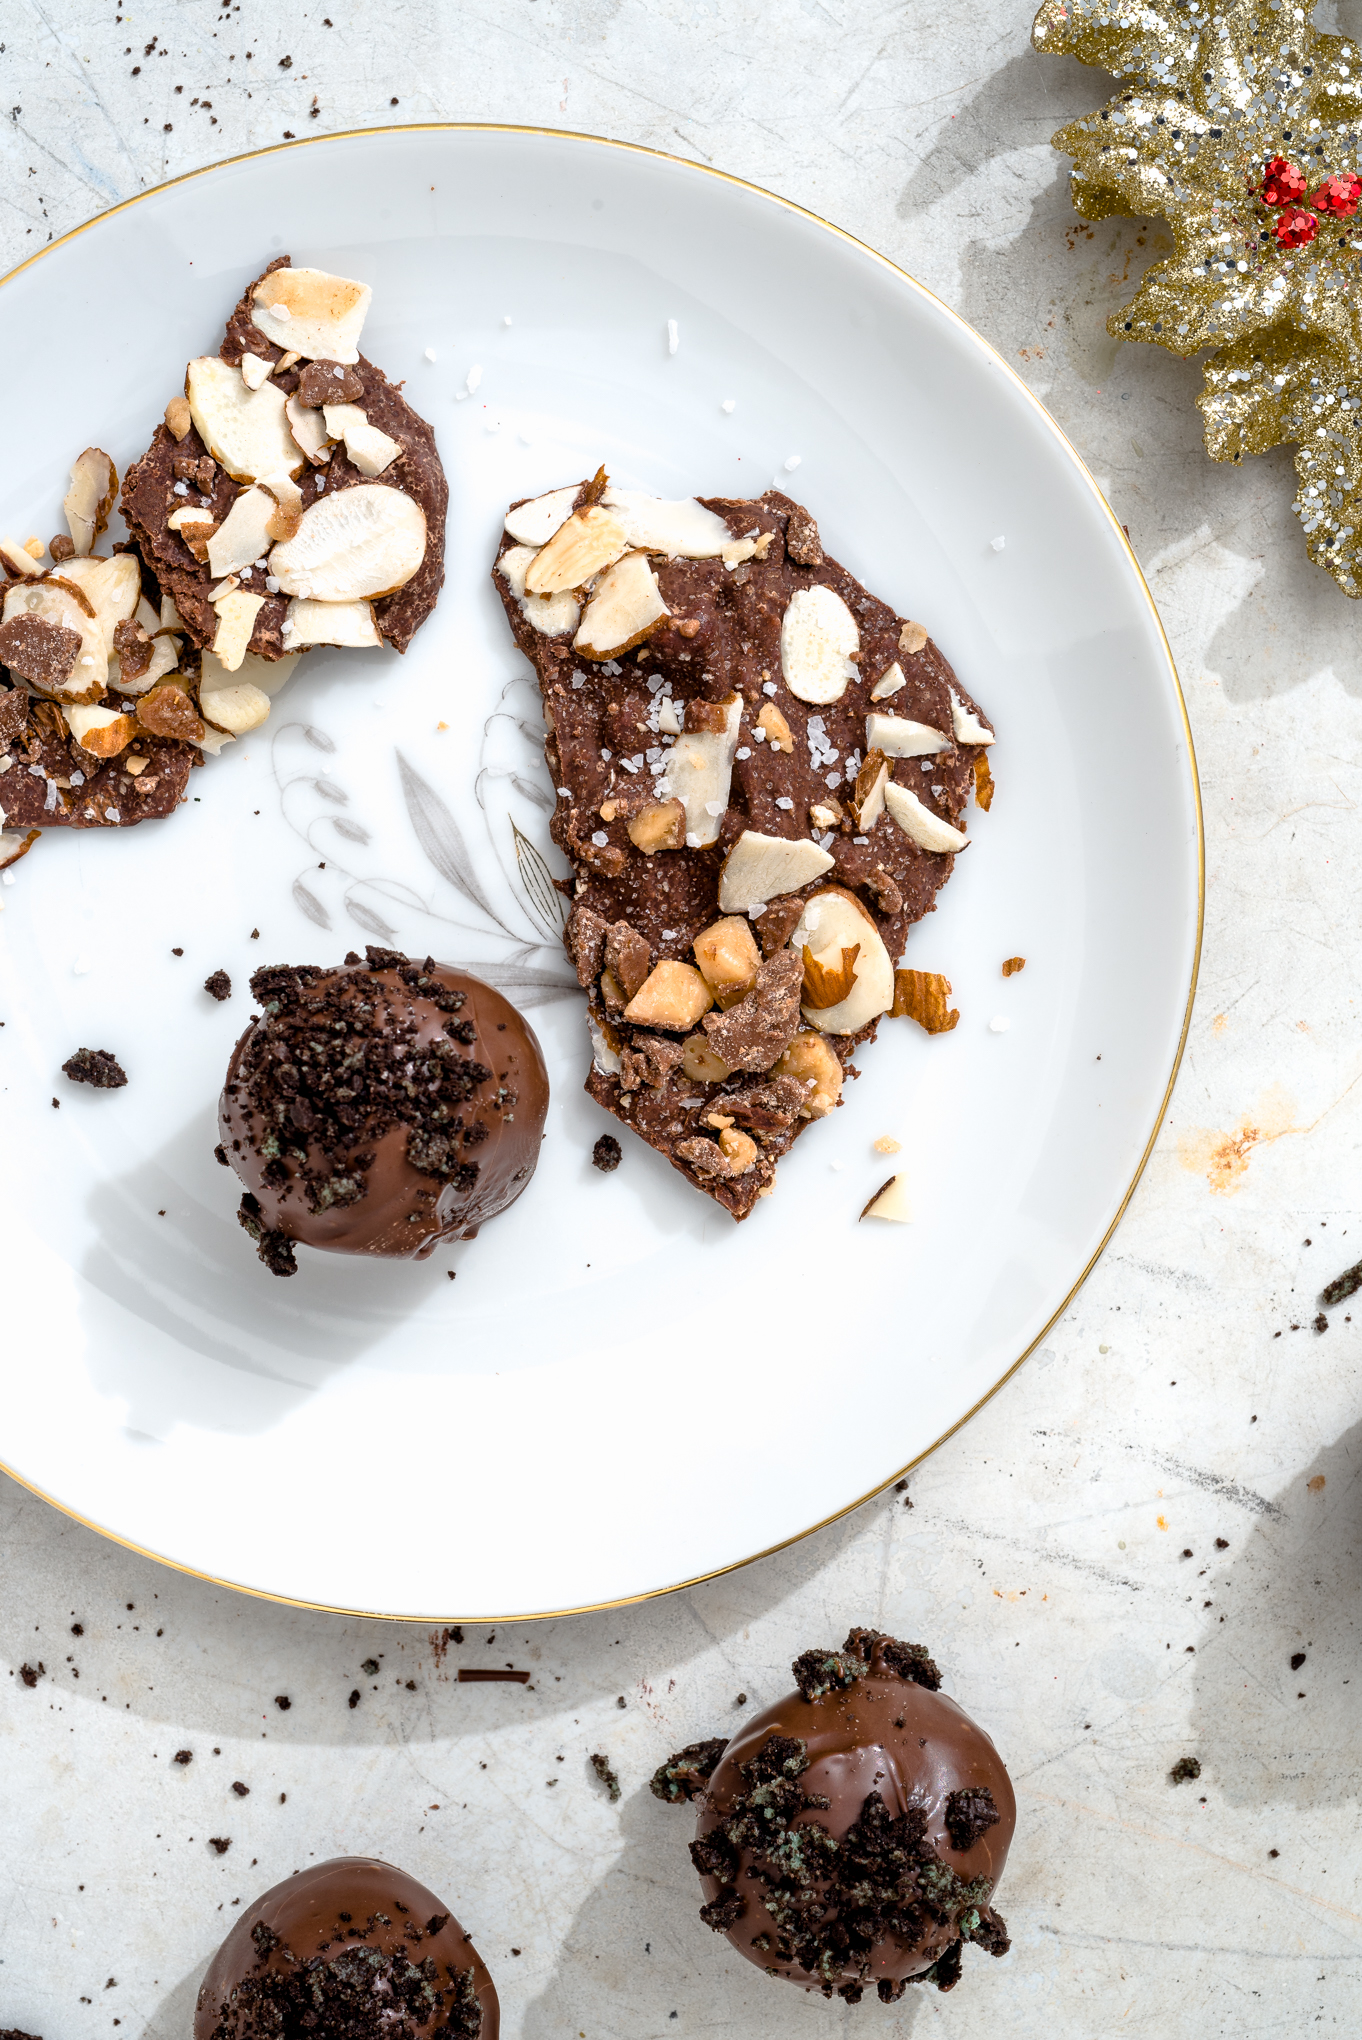
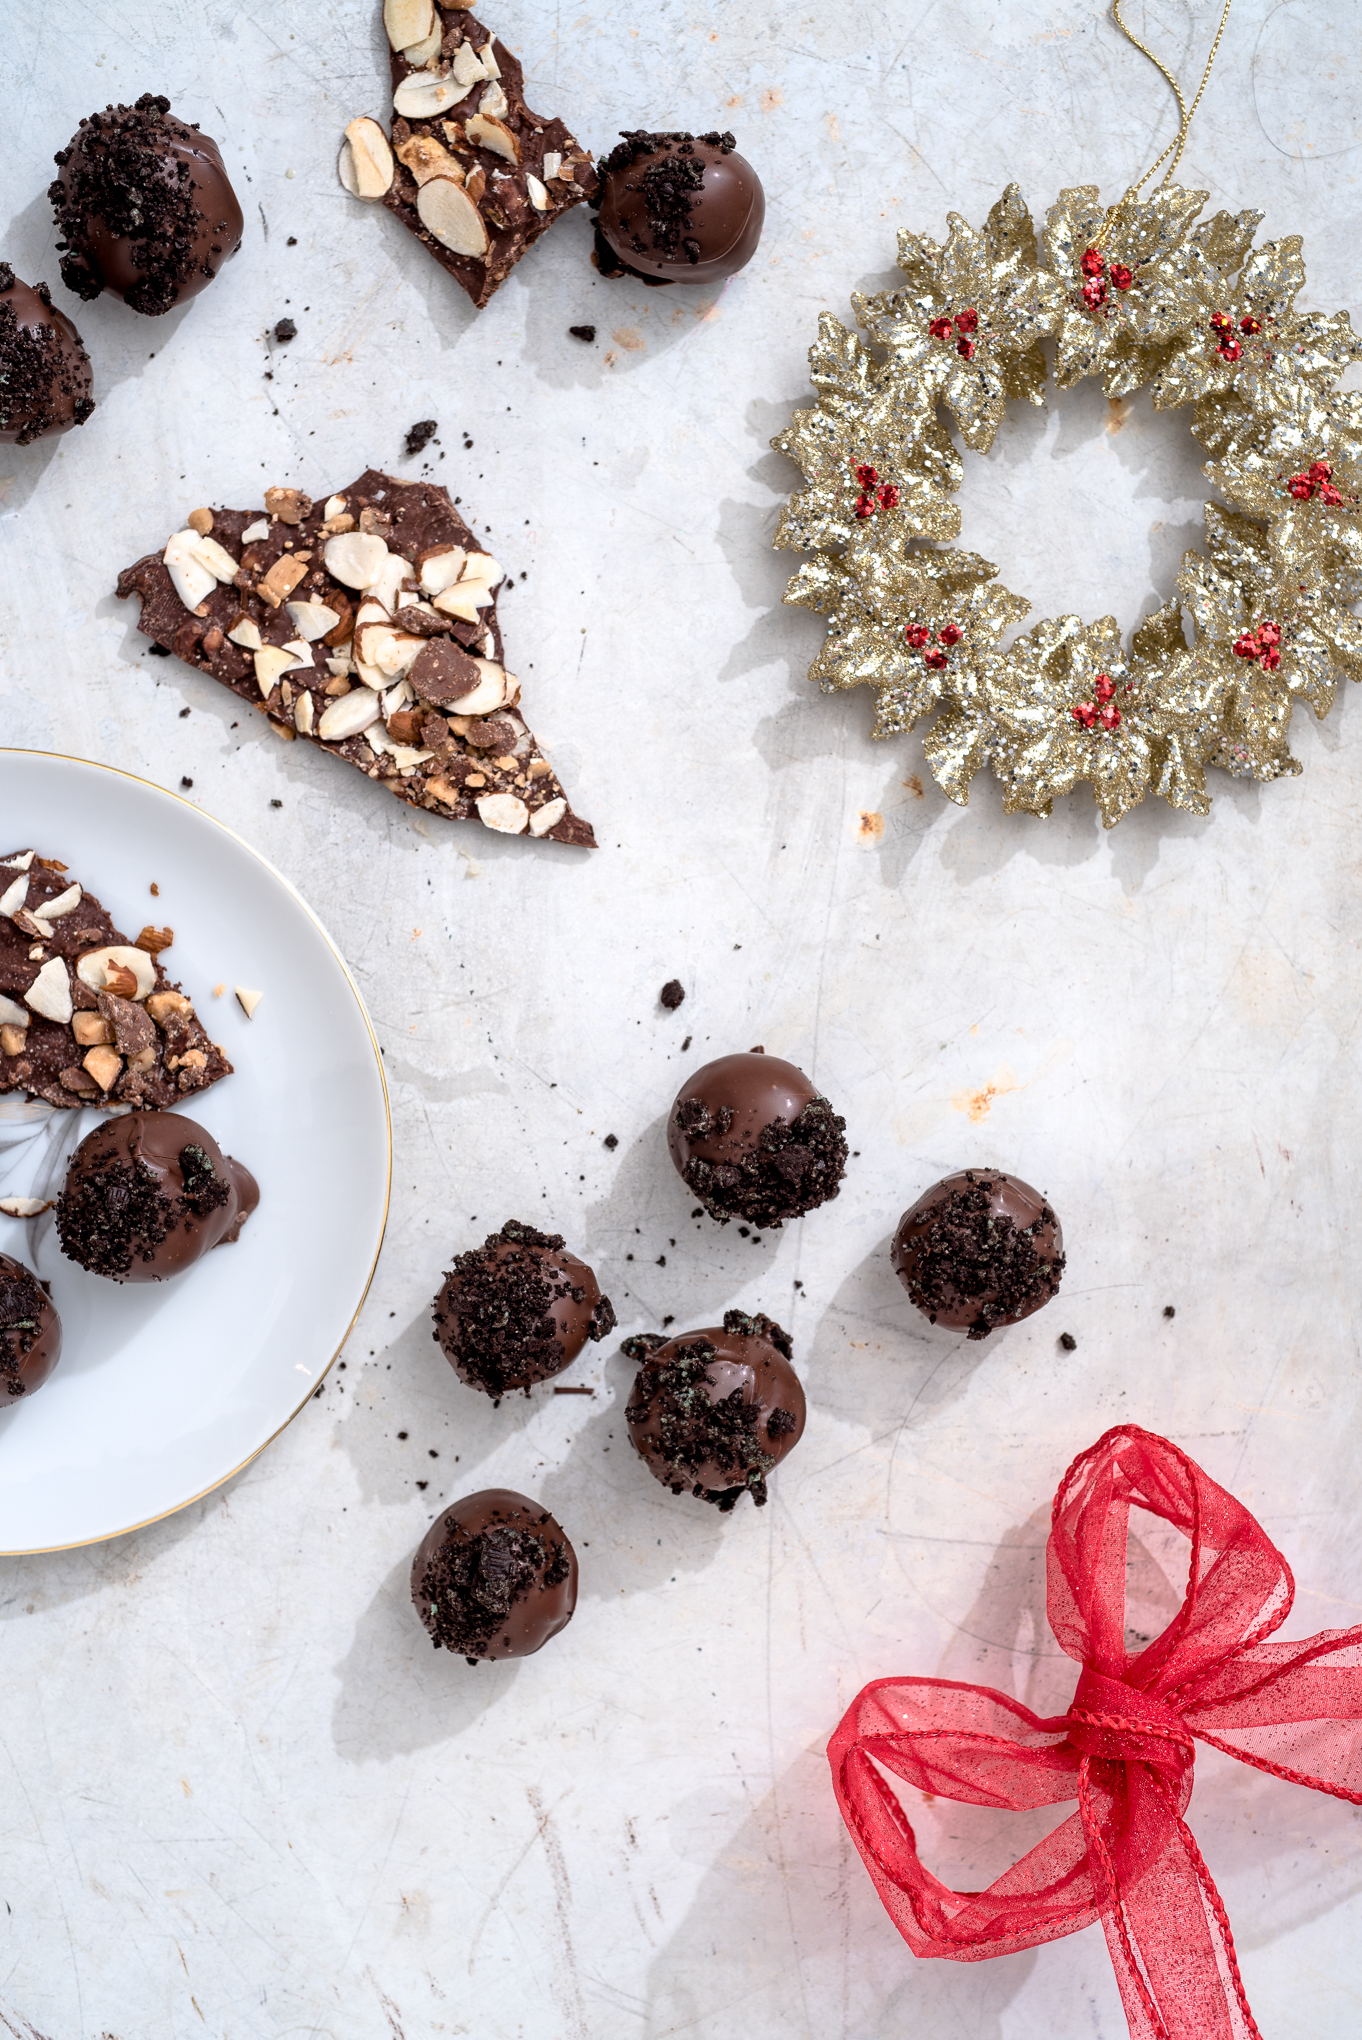
Once you try homemade marshmallows, you may never go back to the prepackaged versions! This recipe does require setting overnight, but it’s an easy one to follow. The gold flecked sprinkles and chocolate dip make the candy a visual stunner for party guests; add them to hot chocolate for a perfect New Year’s Eve treat. You can also find most of these holiday recipes in the December issue of Birmingham magazine!
What You Will Need:
- 3 packets unflavored gelatin
- 6 tablespoons cold, filtered water
- 1 cup maple syrup
- 2 1/2 tablespoons Tennessee honey whiskey
- 2 teaspoons vanilla extract
- 1 teaspoon maple extract
- 1 cup semisweet chocolate chips
- Gold sparkle sprinkles, for topping
What You Will Do:
- Pour cold water over gelatin in the bowl of a large stand mixer fitted with a whisk attachment.
- Prepare a 9 by 9 square baking pan. Spray pan thoroughly with cooking spray, then line with two layers of parchment paper. One layer should be horizontal and the other vertical. Parchment should be overhanging a bit on the sides of the pan.
- Bring maple syrup and bourbon to a boil. Use a candy thermometer to make sure the liquid is at 230 degrees.
- Take hot syrup off heat.
- Turn mixer on medium low to blend gelatin/water mixture for 30 seconds. Slowly add hot syrup. Once all syrup is poured into mixer, put a towel over mixer to prevent hot sugar from flying out of the mixer!
- Turn mixer to high for about 8 to 10 minutes, or until mixture is shiny and silky.
- Add extracts and whip for one minute more.
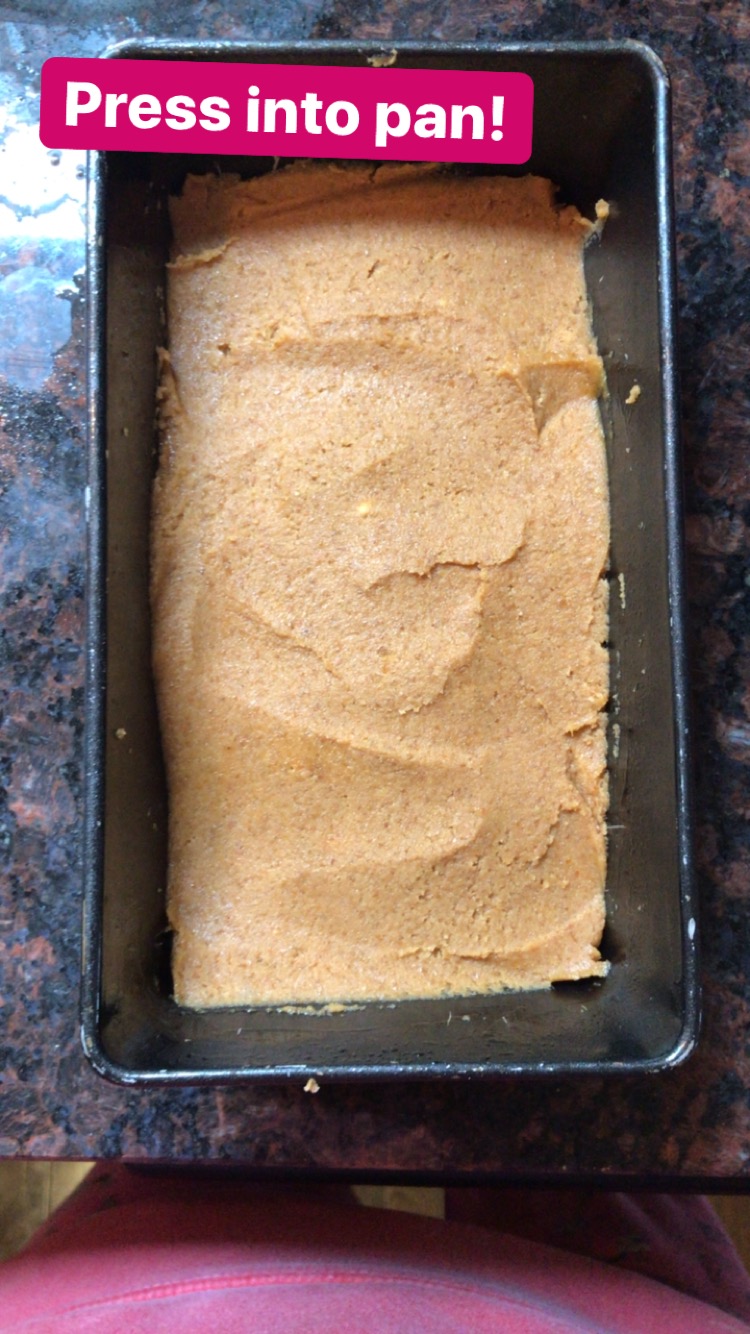
- Using a rubber spatula, pour marshmallow mixture into parchment-lined pan. Use spatula to smooth the top of marshmallow mixture, pressing it into the corners of the pan.
- Sprinkle marshmallows with gold sprinkles.
- Spray plastic wrap with cooking spray and press the sprayed side firmly onto marshmallow mixture to seal. Set at room temperature overnight.
- Lift marshmallow mixture out of the baking dish. Remove plastic wrap and roll down the sides of parchment paper away from candy.
- Spray knife with cooking spray and cut into inch squares.
- Line a baking sheet with parchment paper.
- Melt semi sweet chocolate chips in a glass bowl in the microwave in 30 second intervals, stirring after each interval, until smooth.
- Dip one side of cut marshmallows in chocolate. Place on parchment paper and put in fridge for at least 10 minutes to set chocolate.
Tip: Spray your knife! Spraying your knife with cooking spray makes it easy to slice through the soft candy without sticking.
Tip: Double-layering your parchment paper makes lifting the marshmallows out of the pan much easier.
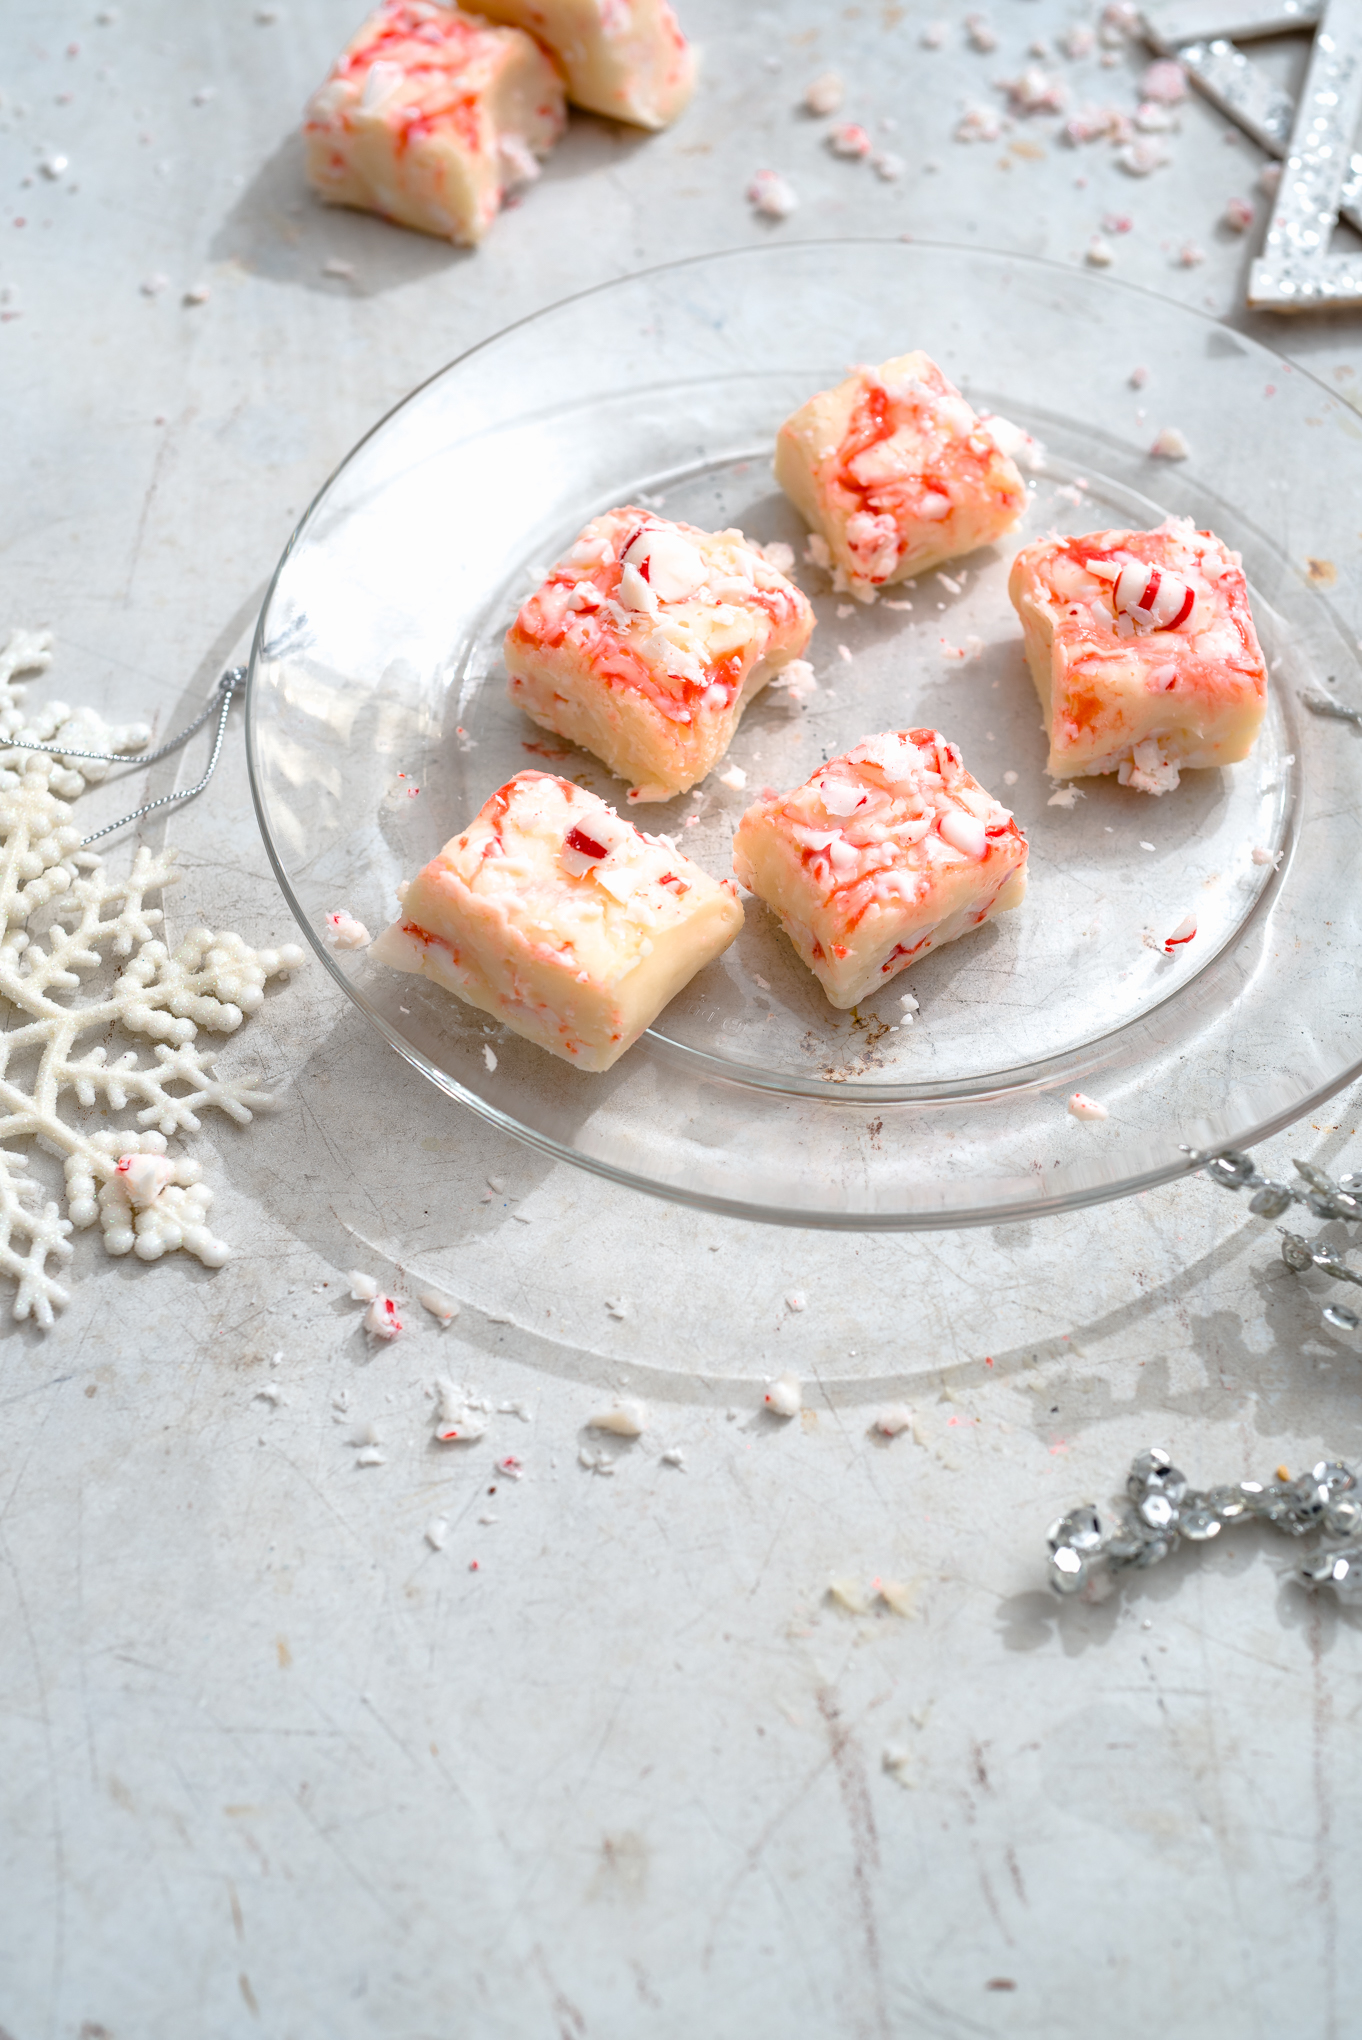
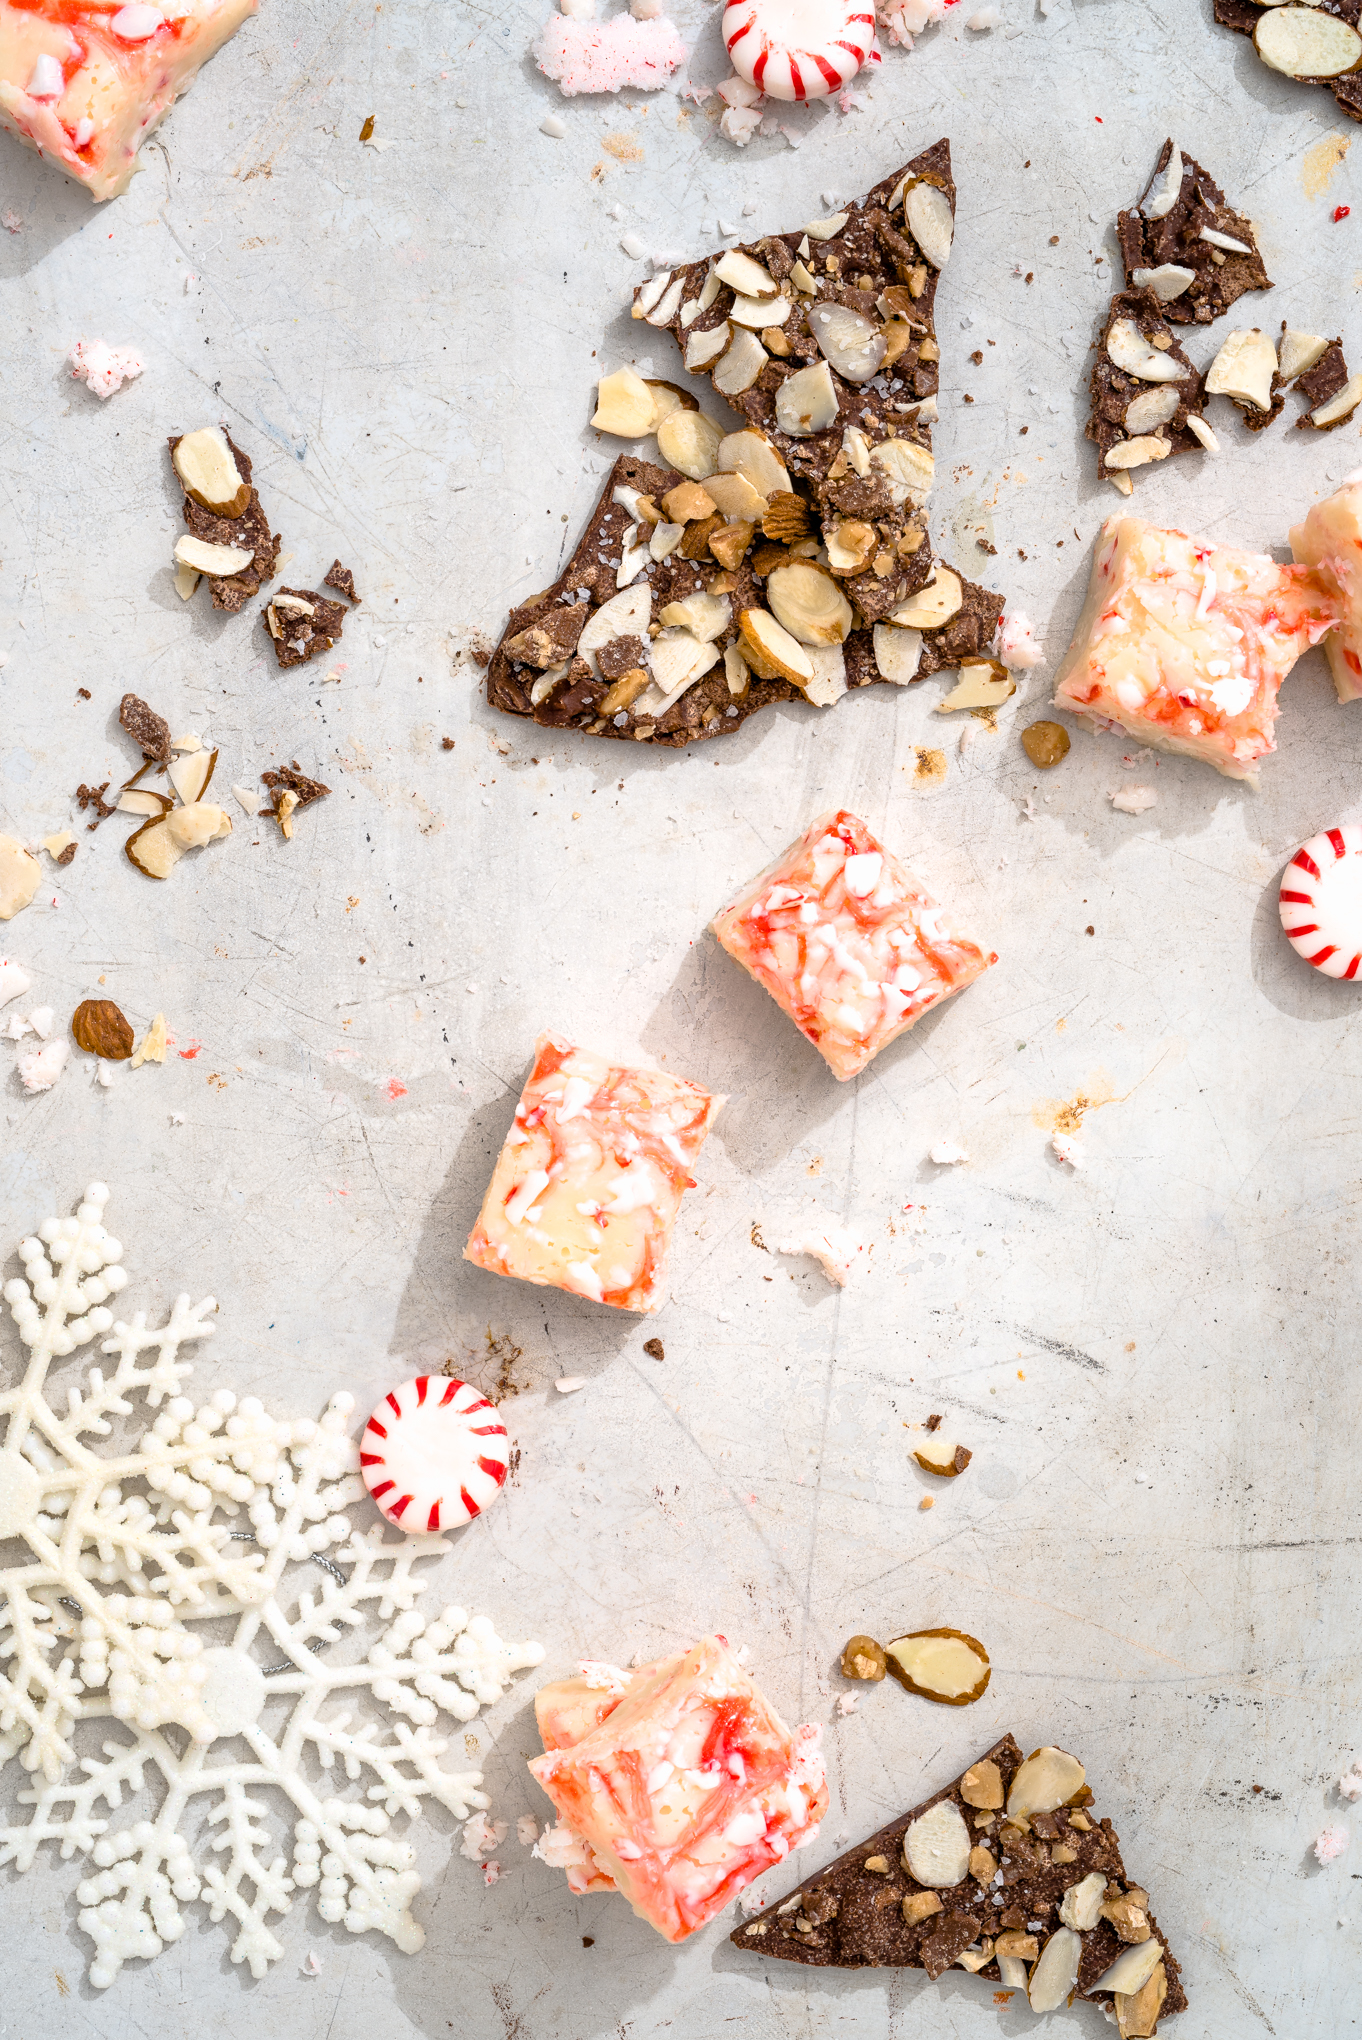
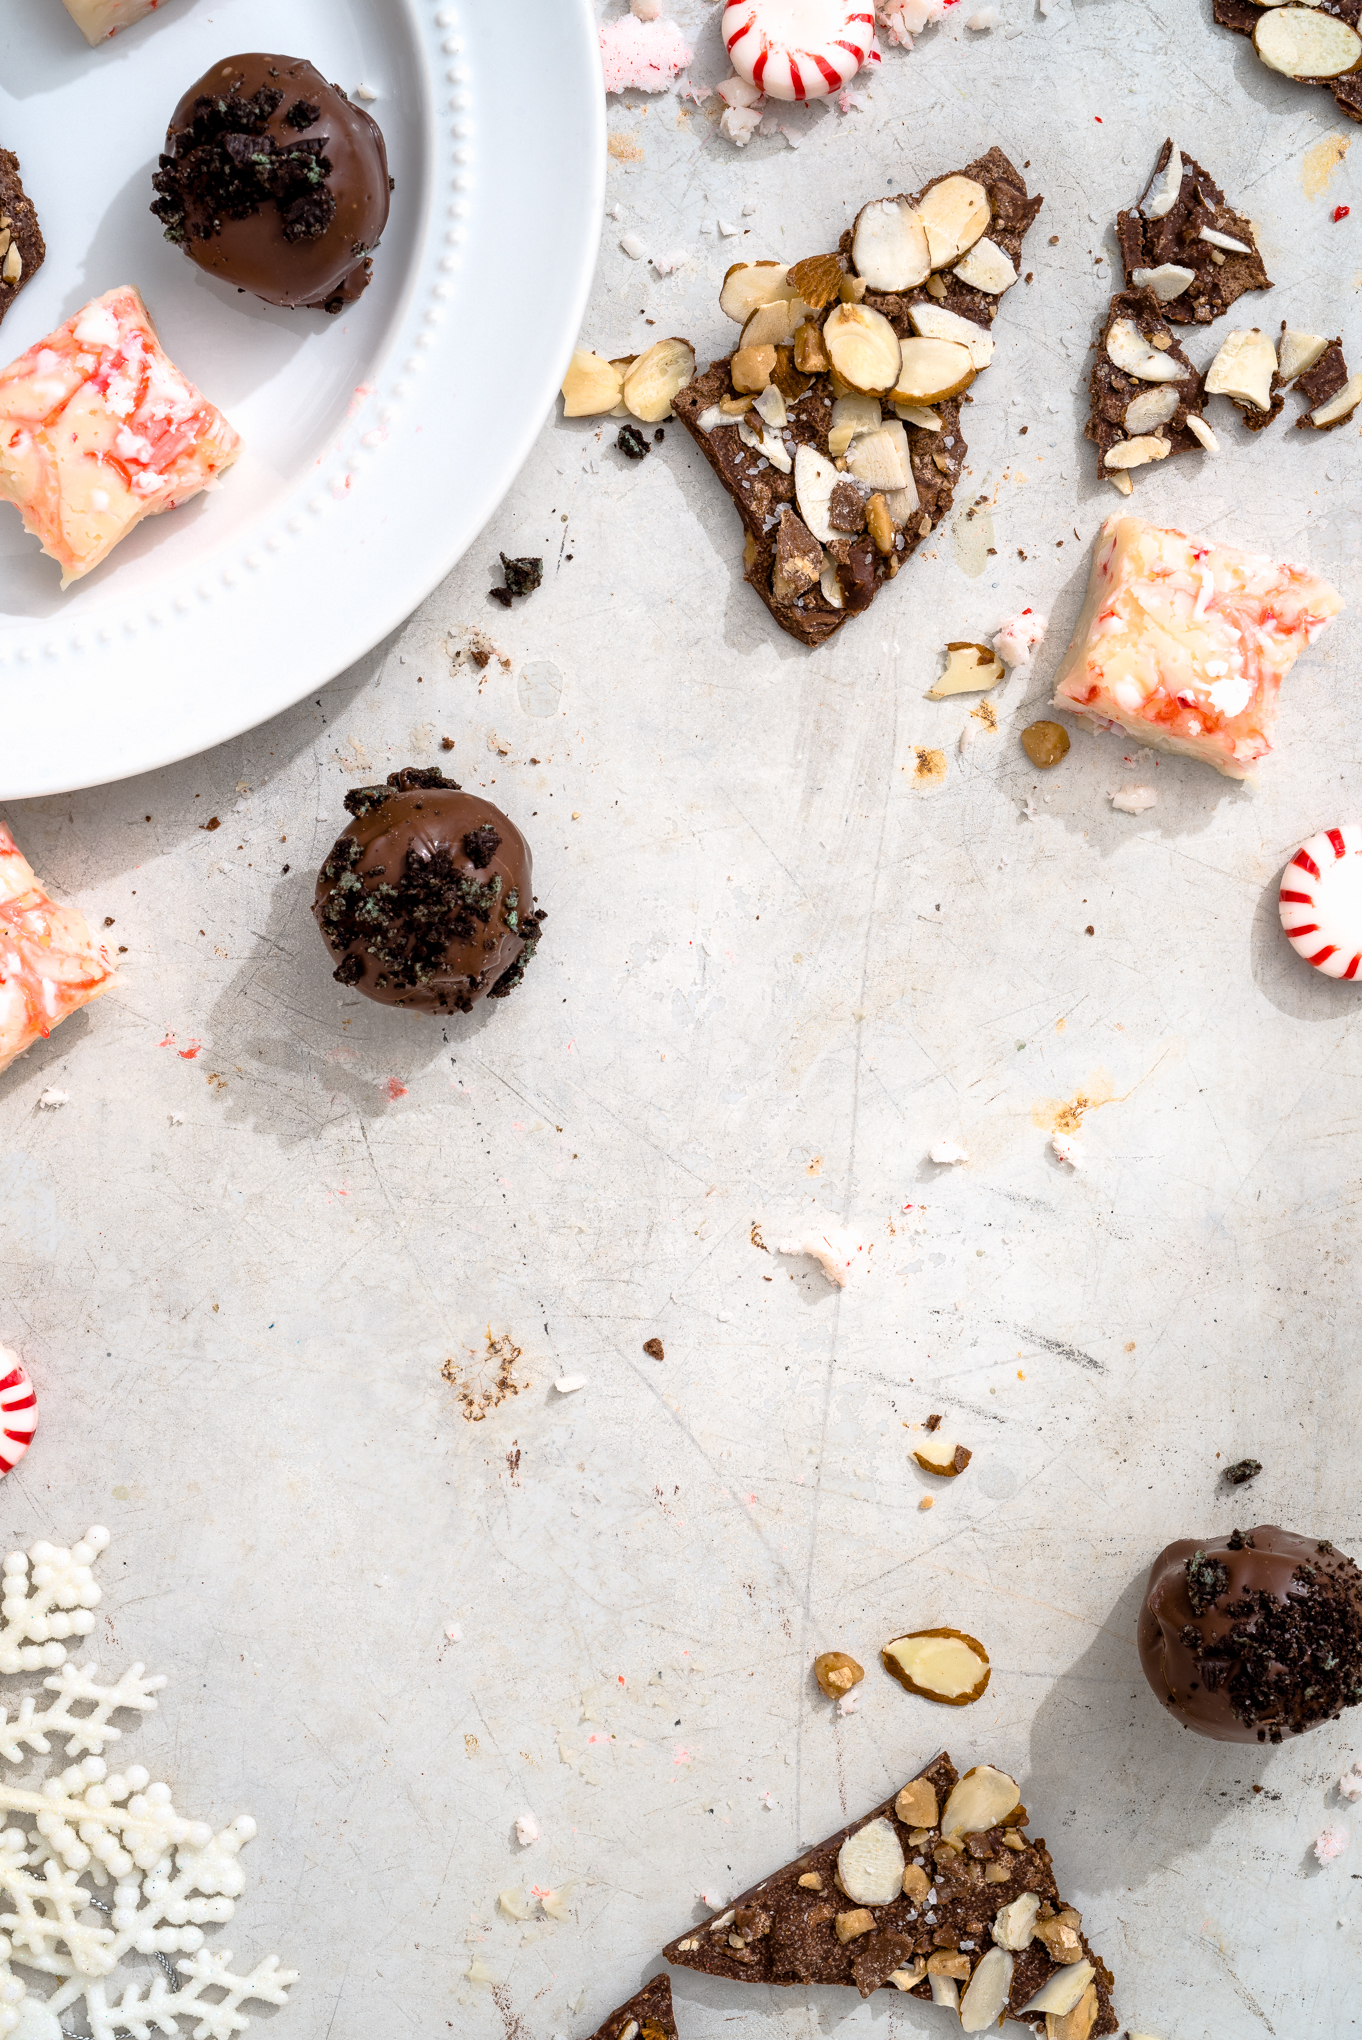
Candy Cane Crunch Fudge
This fudge is delightfully creamy and bright, just like the way even the tiniest bit of snow feels on a cold day. Crushing peppermints releases their fragrance and flavor into the fudge, and with only five ingredients, this treat is also wonderfully simple.
Yield: 28 to 36 pieces
What You Will Need:
- 1 3/4 cups white chocolate chips
- 5 ounces sweetened condensed milk, warmed in the microwave for 20 seconds
- 1 tsp peppermint extract
- 1 tsp vanilla extract
- 1/2 cup crushed peppermints or candy canes, plus 5 peppermints, crushed, for topping
- Sparkle red icing
What You Will Do:
- Prepare an 8 by 8 inch glass baking pan by lining it both horizontally and vertically with waxed paper.
- Heat chocolate chips and condensed milk in a glass bowl for 30 seconds in the microwave. Stir with a rubber spatula. Repeat this process until the mixture is smooth, stirring thoroughly, for about five rounds of 30 seconds.
- Stir in crushed peppermints and extracts until combined.
- Carefully pour into lined glass baking pan. Smooth mixture into corners of pan and smooth top with rubber spatula. Drizzle with sparkle icing, then use a flat toothpick to create swirls. Top with additional crushed peppermints.
- Freeze for three hours, cut into squares and serve!