Change is in the air.
It’s that time of the year- and it’s finally beginning to feel like it in Nashville. Cooler breezes, rainy days, below 70 temperatures- fall is almost upon us. In fact, its exactly a week away.
I also realize that part of the reason why it feels different is because of the tough weather we have experienced in other parts of the country. My heart goes out to every single person who has experienced tragedy in the wake of these horrific hurricanes. I would encourage us all to seek ways we can give, pray, help.
I know that when all of our resources come together restoration can happen.
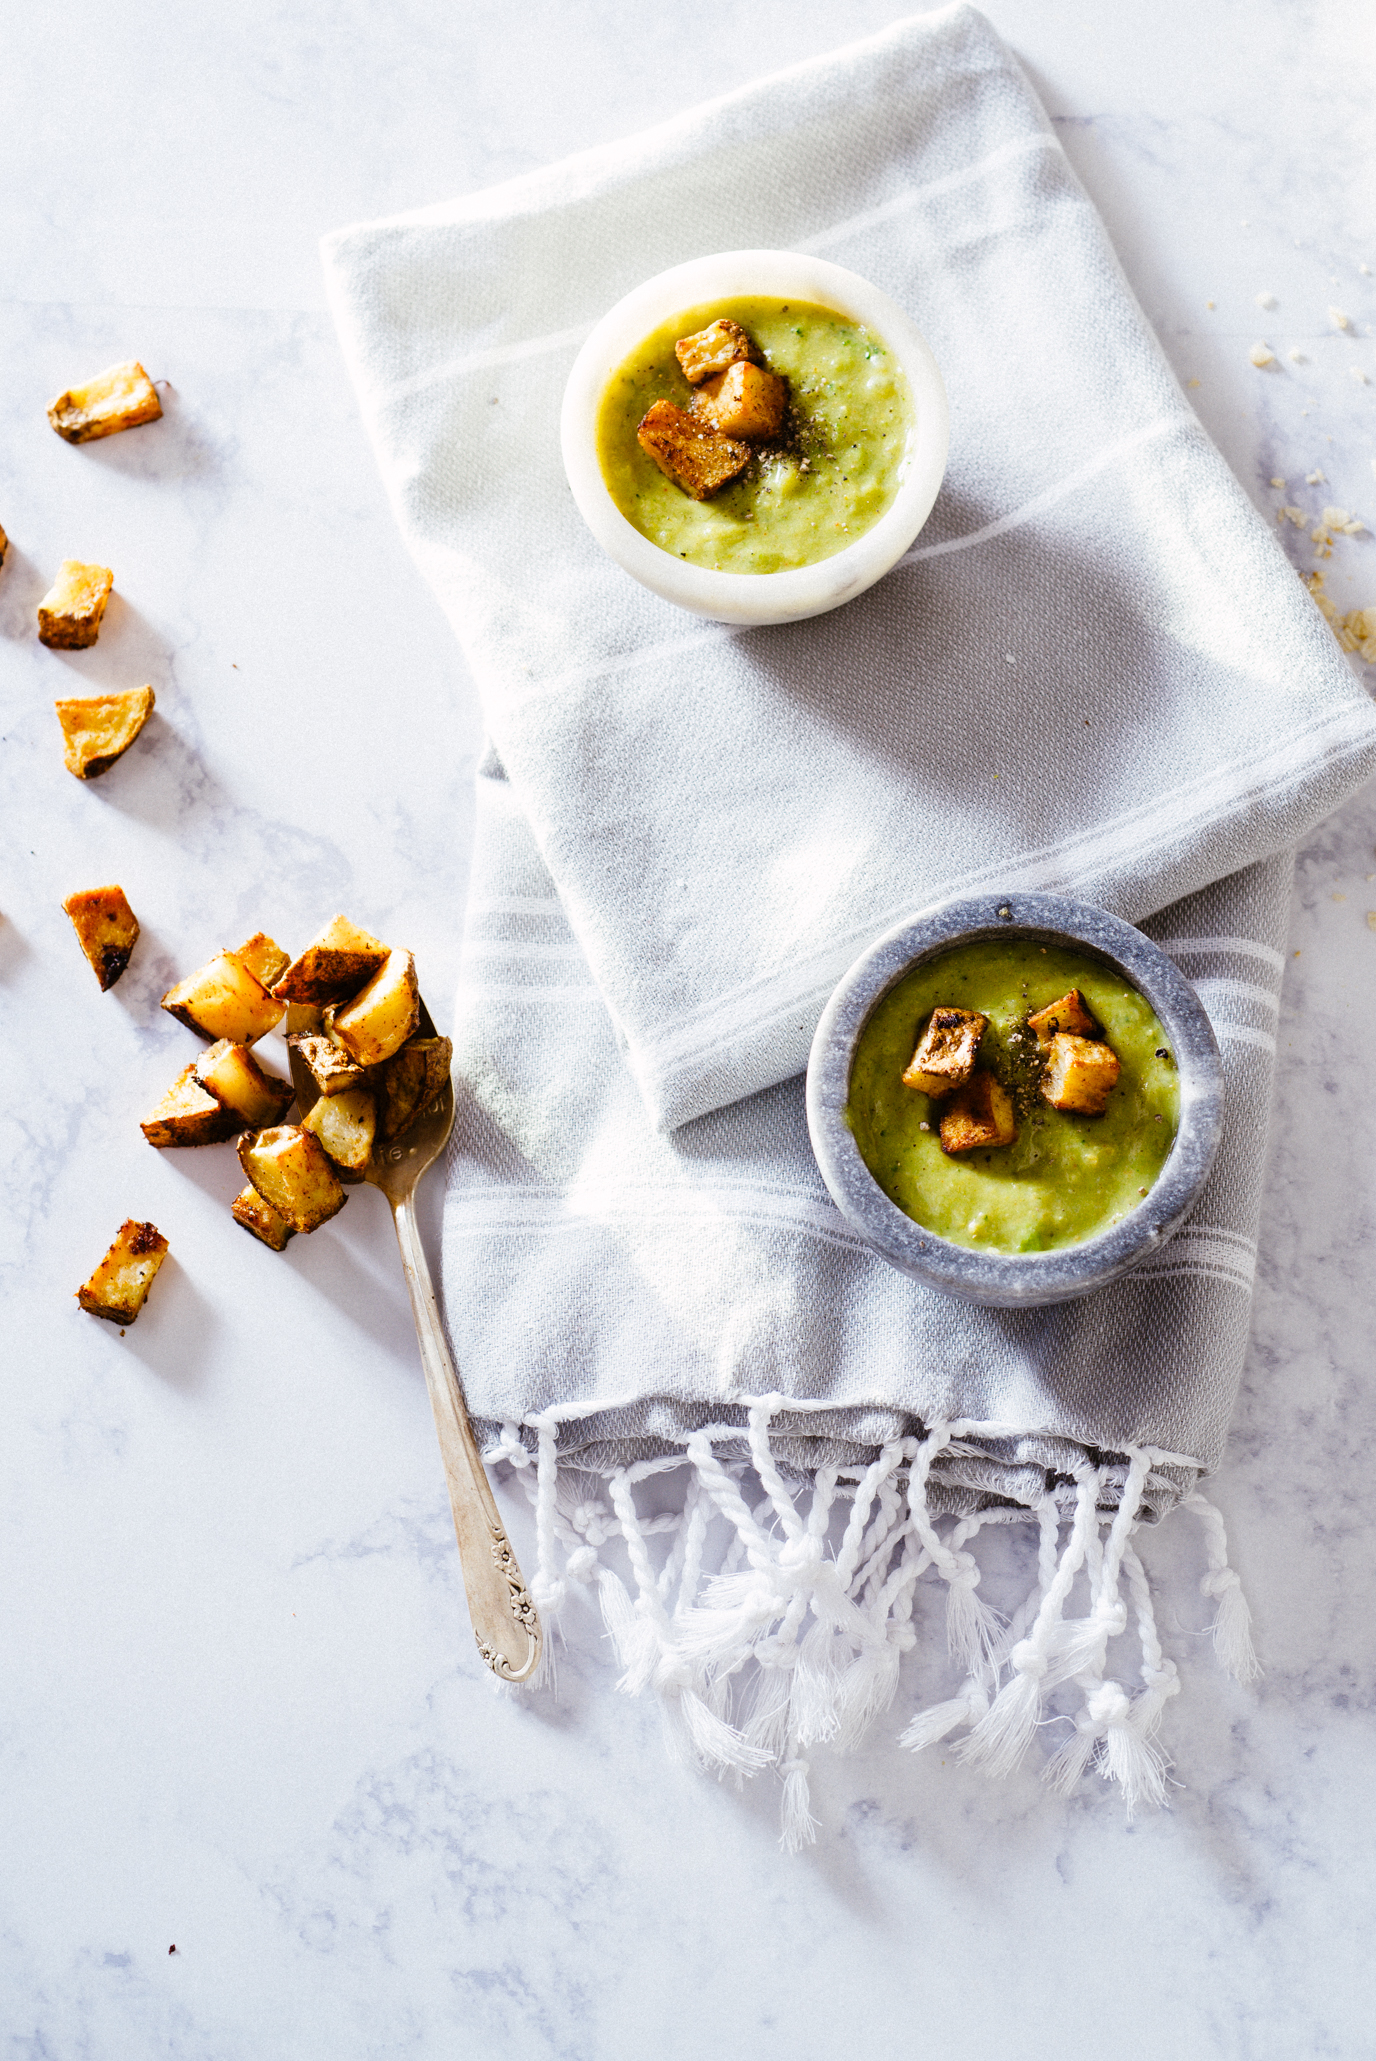
And when things are tough, when people are hurting, when I’m not sure what to say- my go-to response is food. Especially nourishing food- food that is restorative, healing, and helpful.
And this week’s recipe definitely fits that bill!
Nutritionally, cauliflower is a powerhouse. A part of the vegetable family that shares its grouping with collard greens, broccoli and kale, it’s edible florets are actually called “curd.”(So cheesy! Hah, kidding kidding) But it’s also naturally sweet and low-carb, and full of vitamin C AND omega-3 fatty acids. Plus it can be transformed to mimic the umami taste of meat! Which brings me to this week’s recipe…
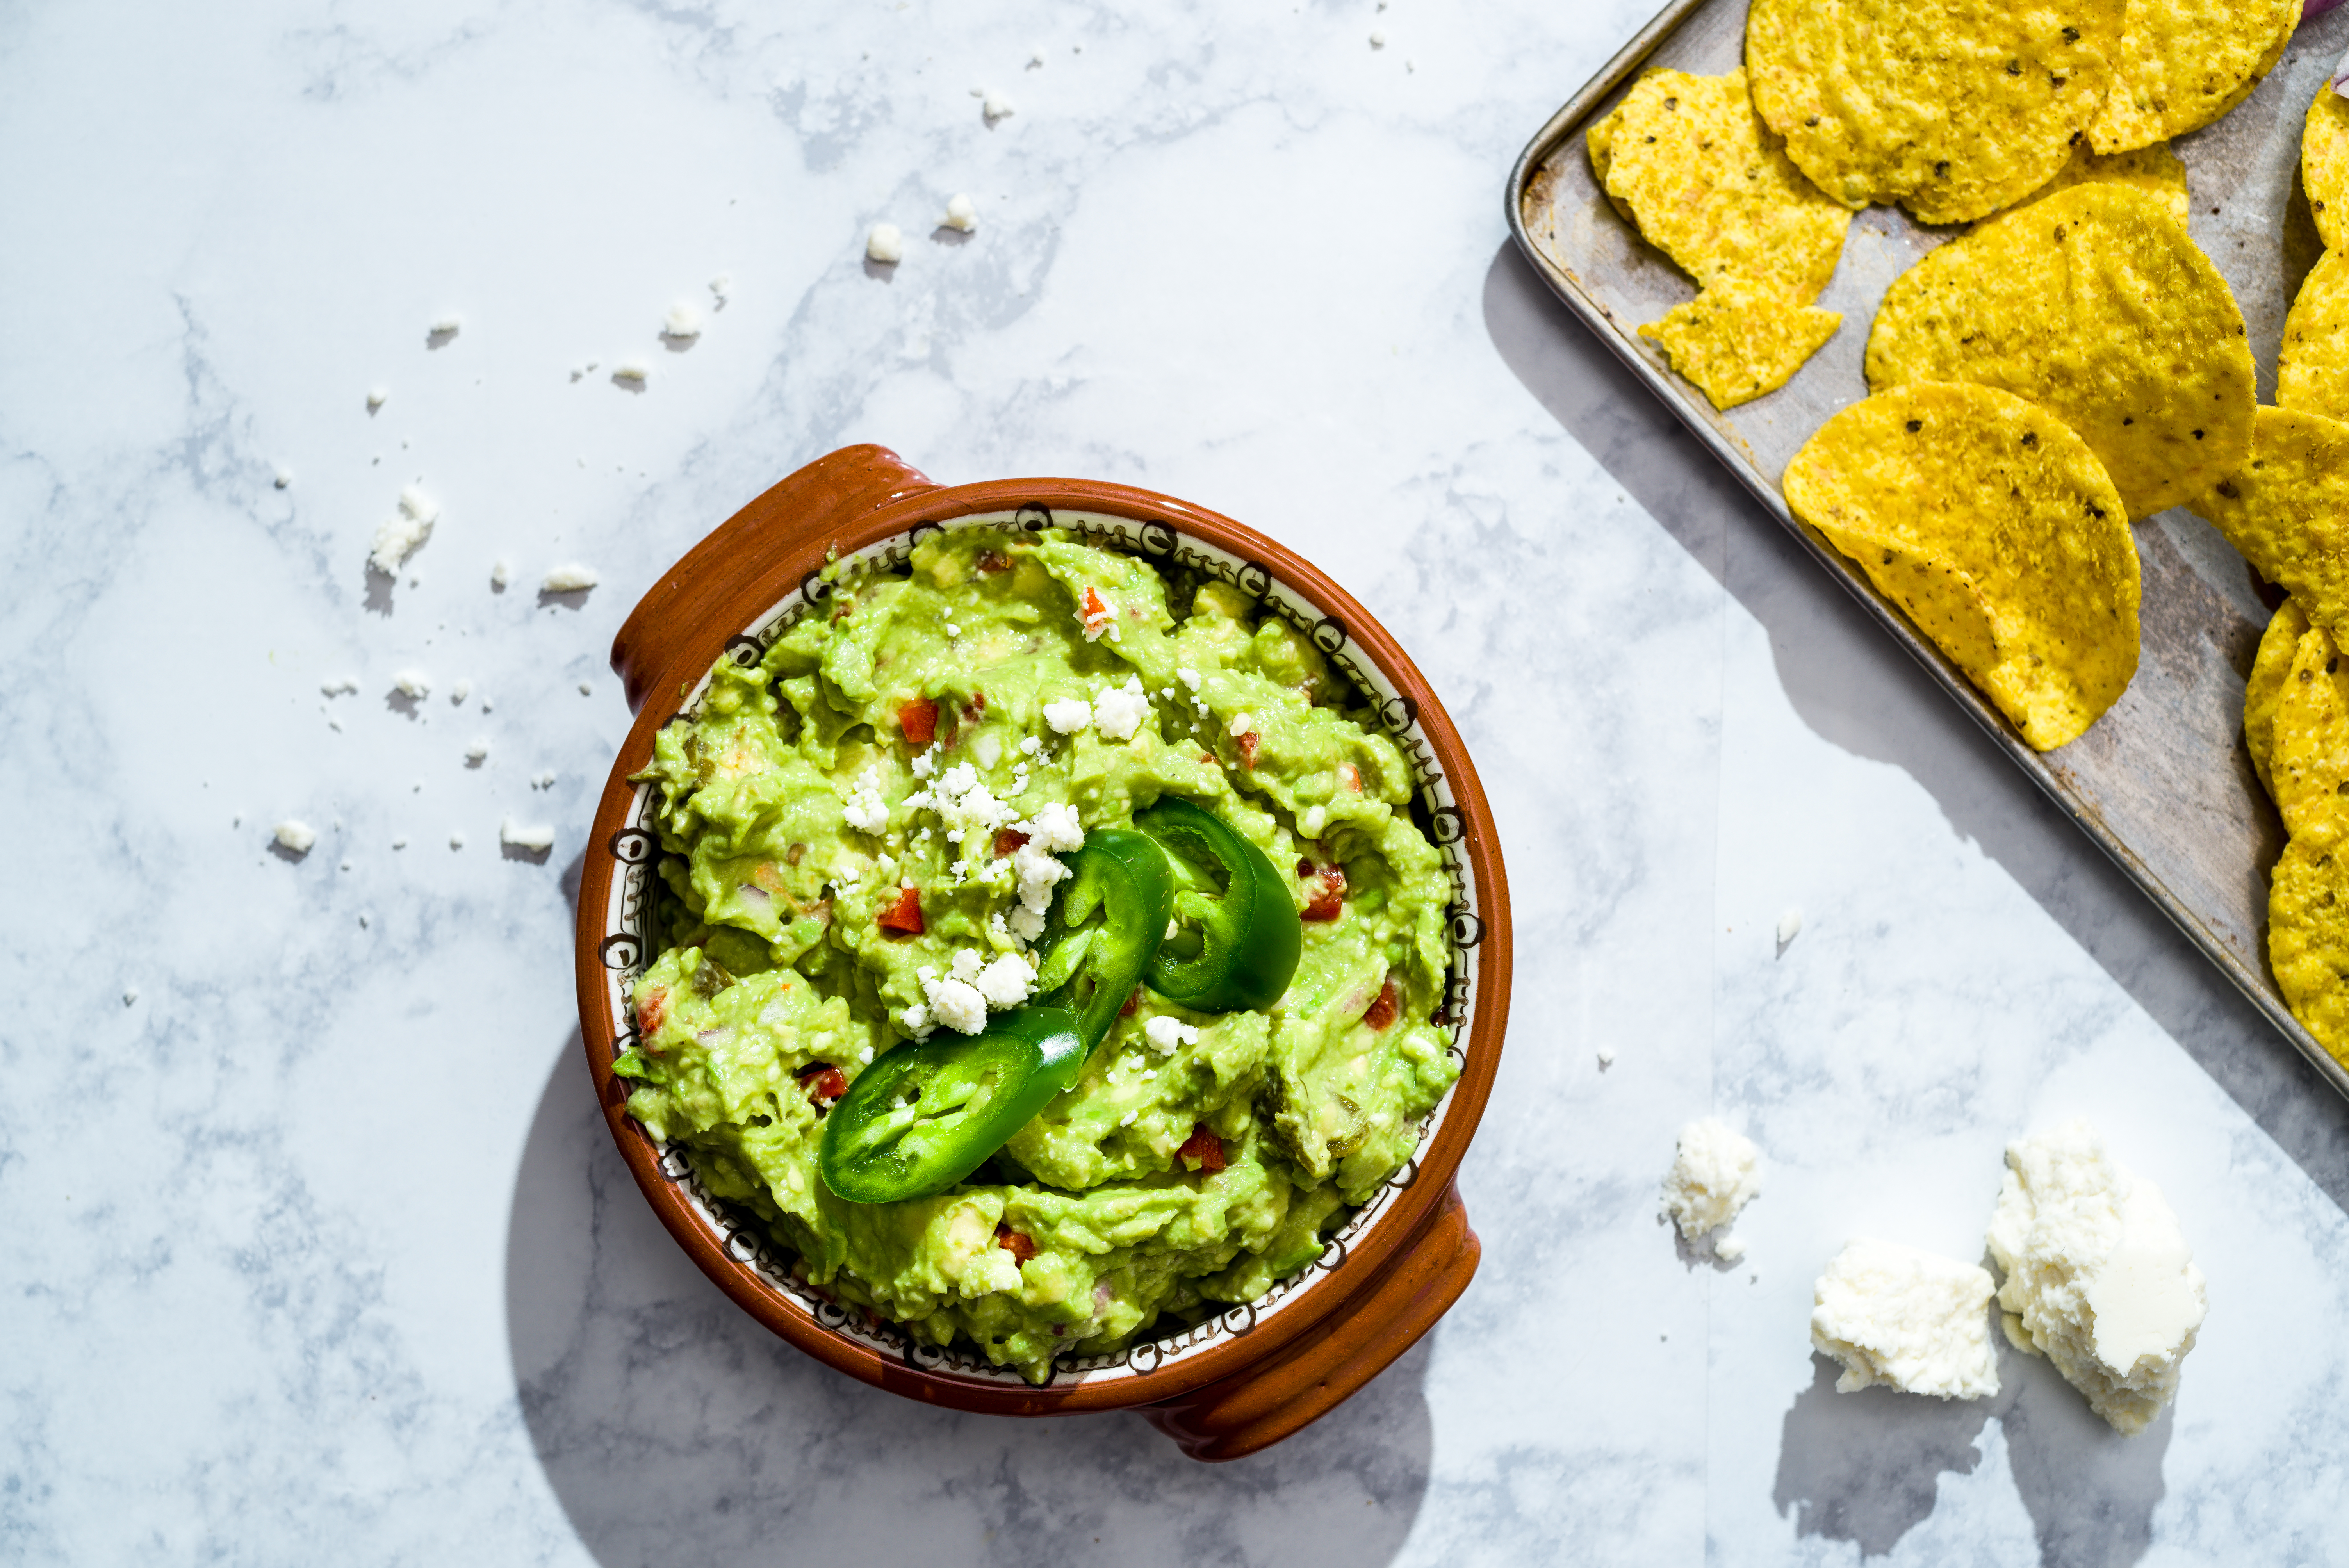
I have become a huge fan of cauliflower as of late- this is my favorite cauliflower fried rice to make at home- and one of my go-to ways to make a healthy, inexpensive, filling dinner is to use cauliflower to make TACOS. Because who doesn’t like TACOS?! And tacos can be adjusted to suit everyone’s tastes. Gluten-free? Use corn tortillas. Dairy-free? Use avocado verde (like below) to add a creamy, spicy element to your wrap. The beauty of cauliflower is that it is a blank slate vegetable– full of endless applications in even your most traditional recipes.
So do your thing, butterbean– and wrap it in a tortilla:)
For the rest of September, we will be highlighting cauliflower, it’s possibilities in both sweet and savory dishes, and hopefully a slammin’ recipe round-up that will get your creative juices flowing! Also, I want to give a HUGE shout-out to Birmingham magazine for featuring these next two recipes in their September issue.
So cozy up you guys- change is in the air, and so is the smell of gochujang, garlic, and cauliflower.
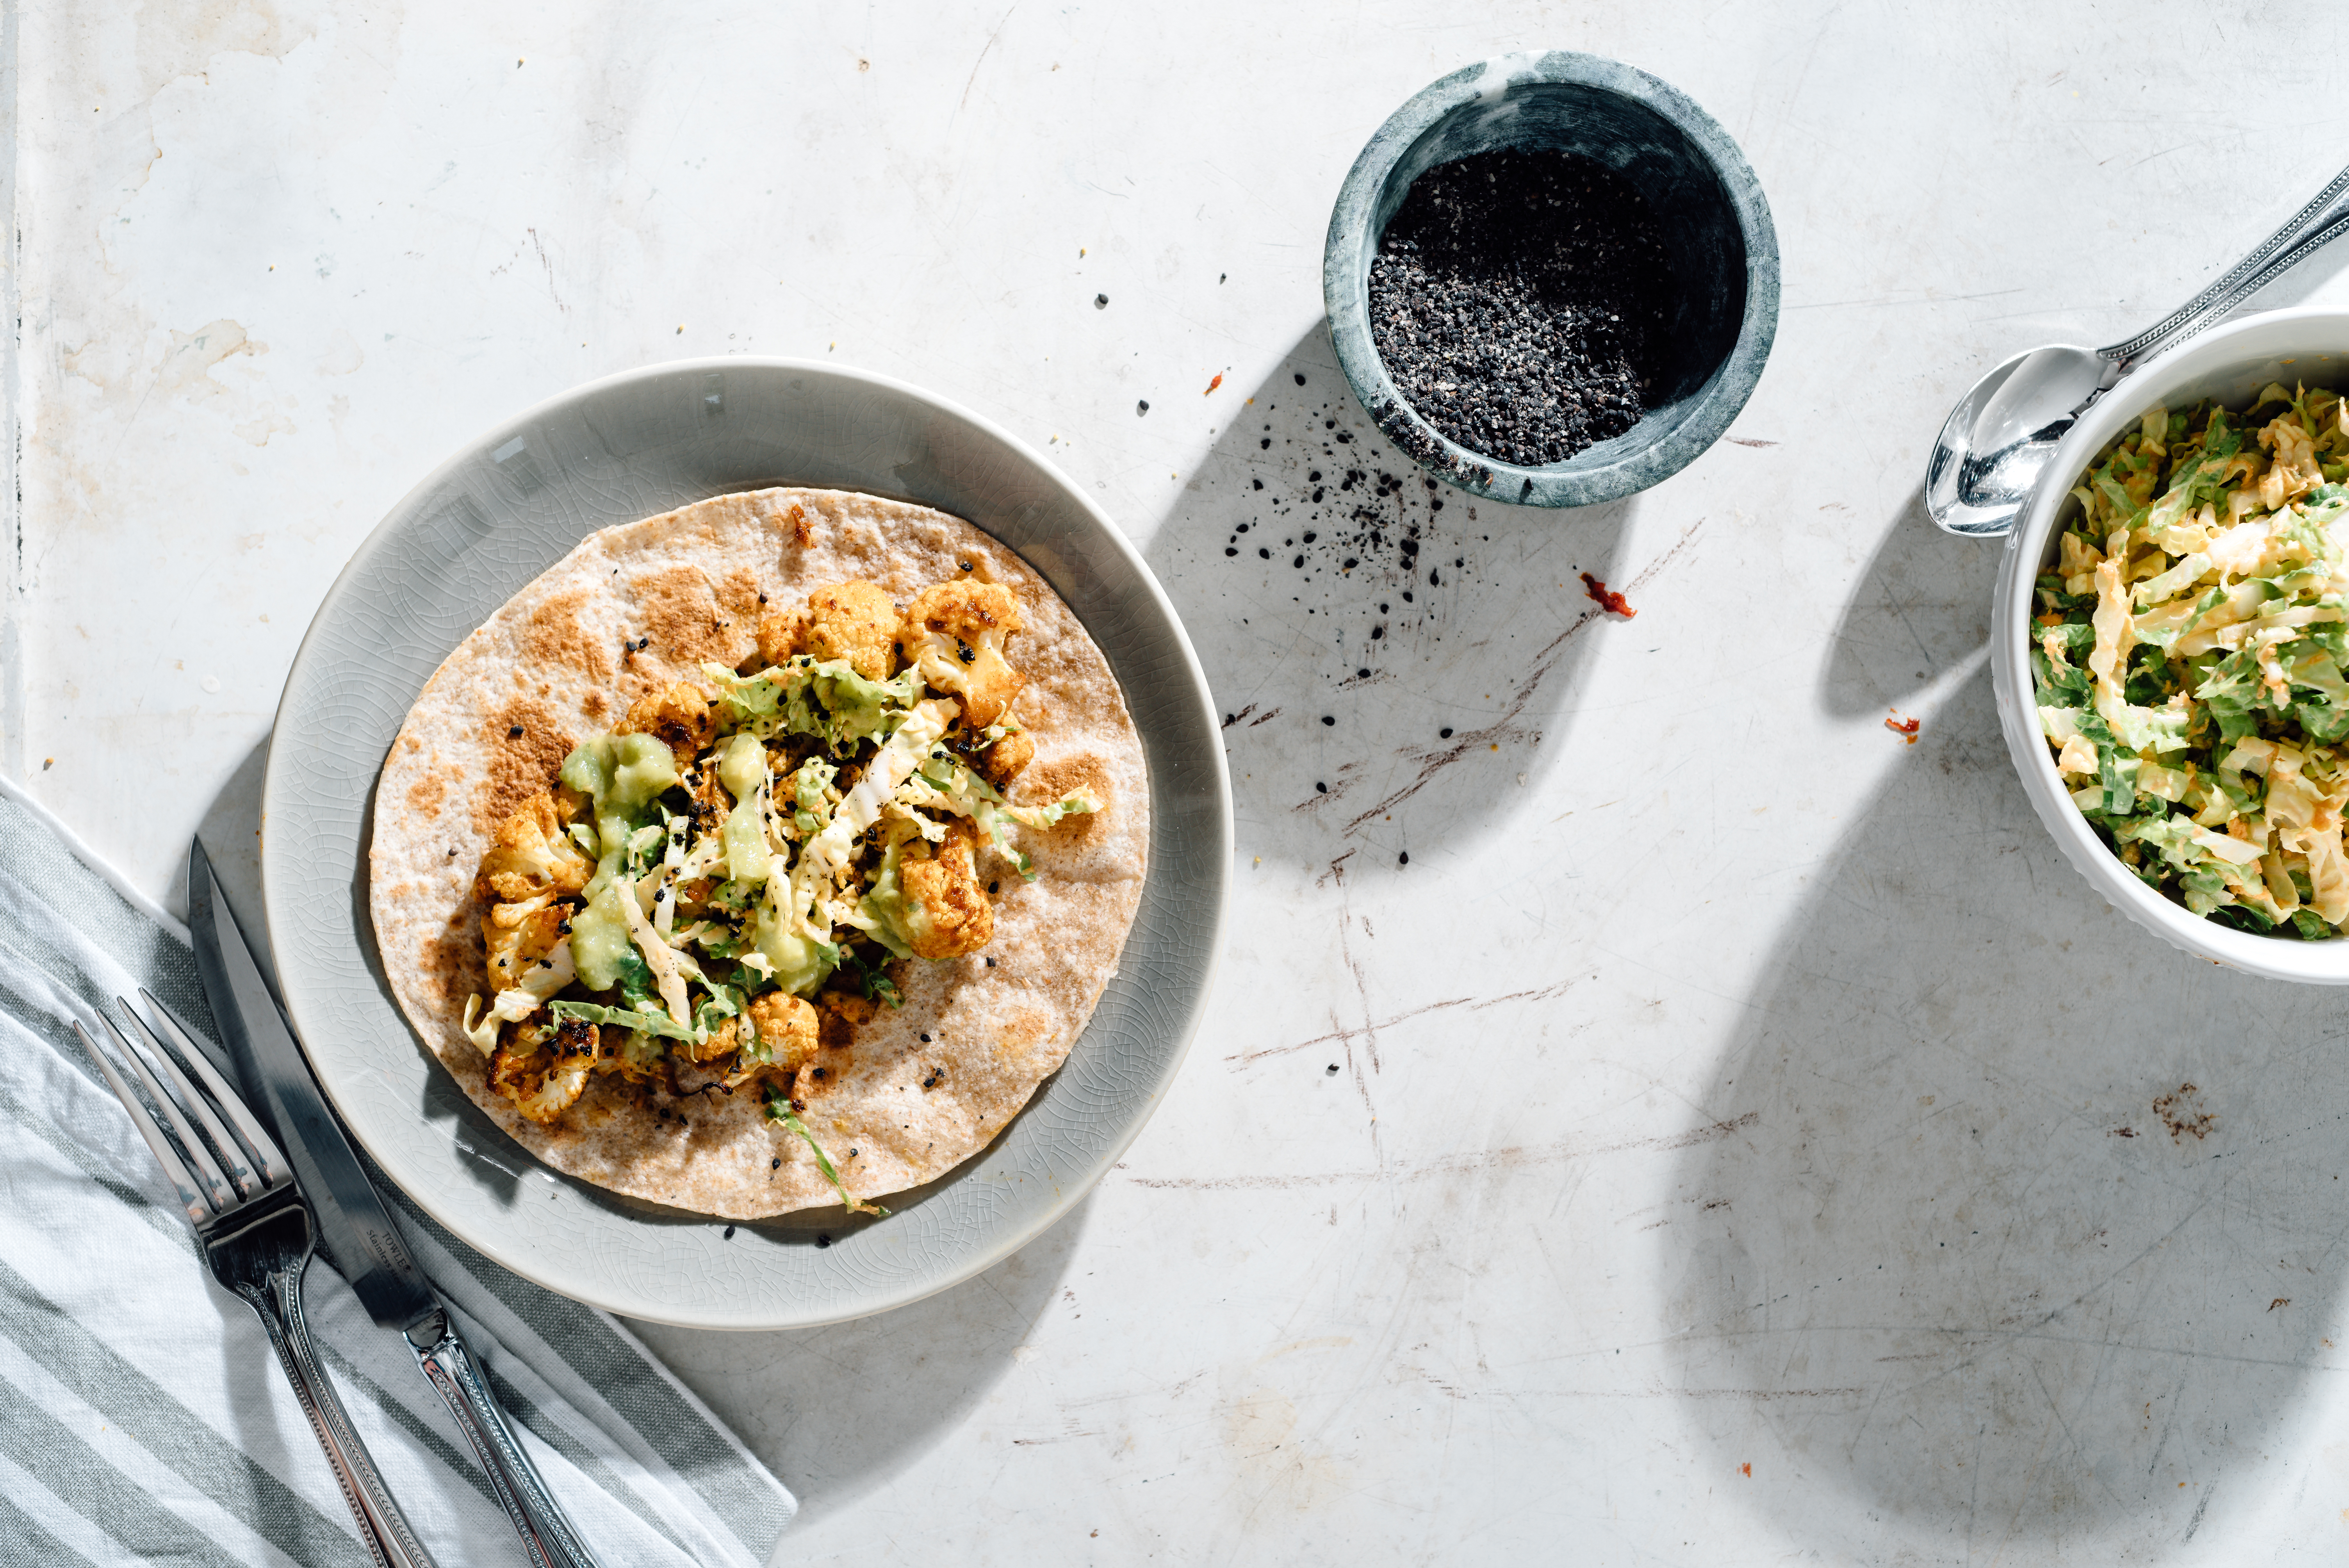
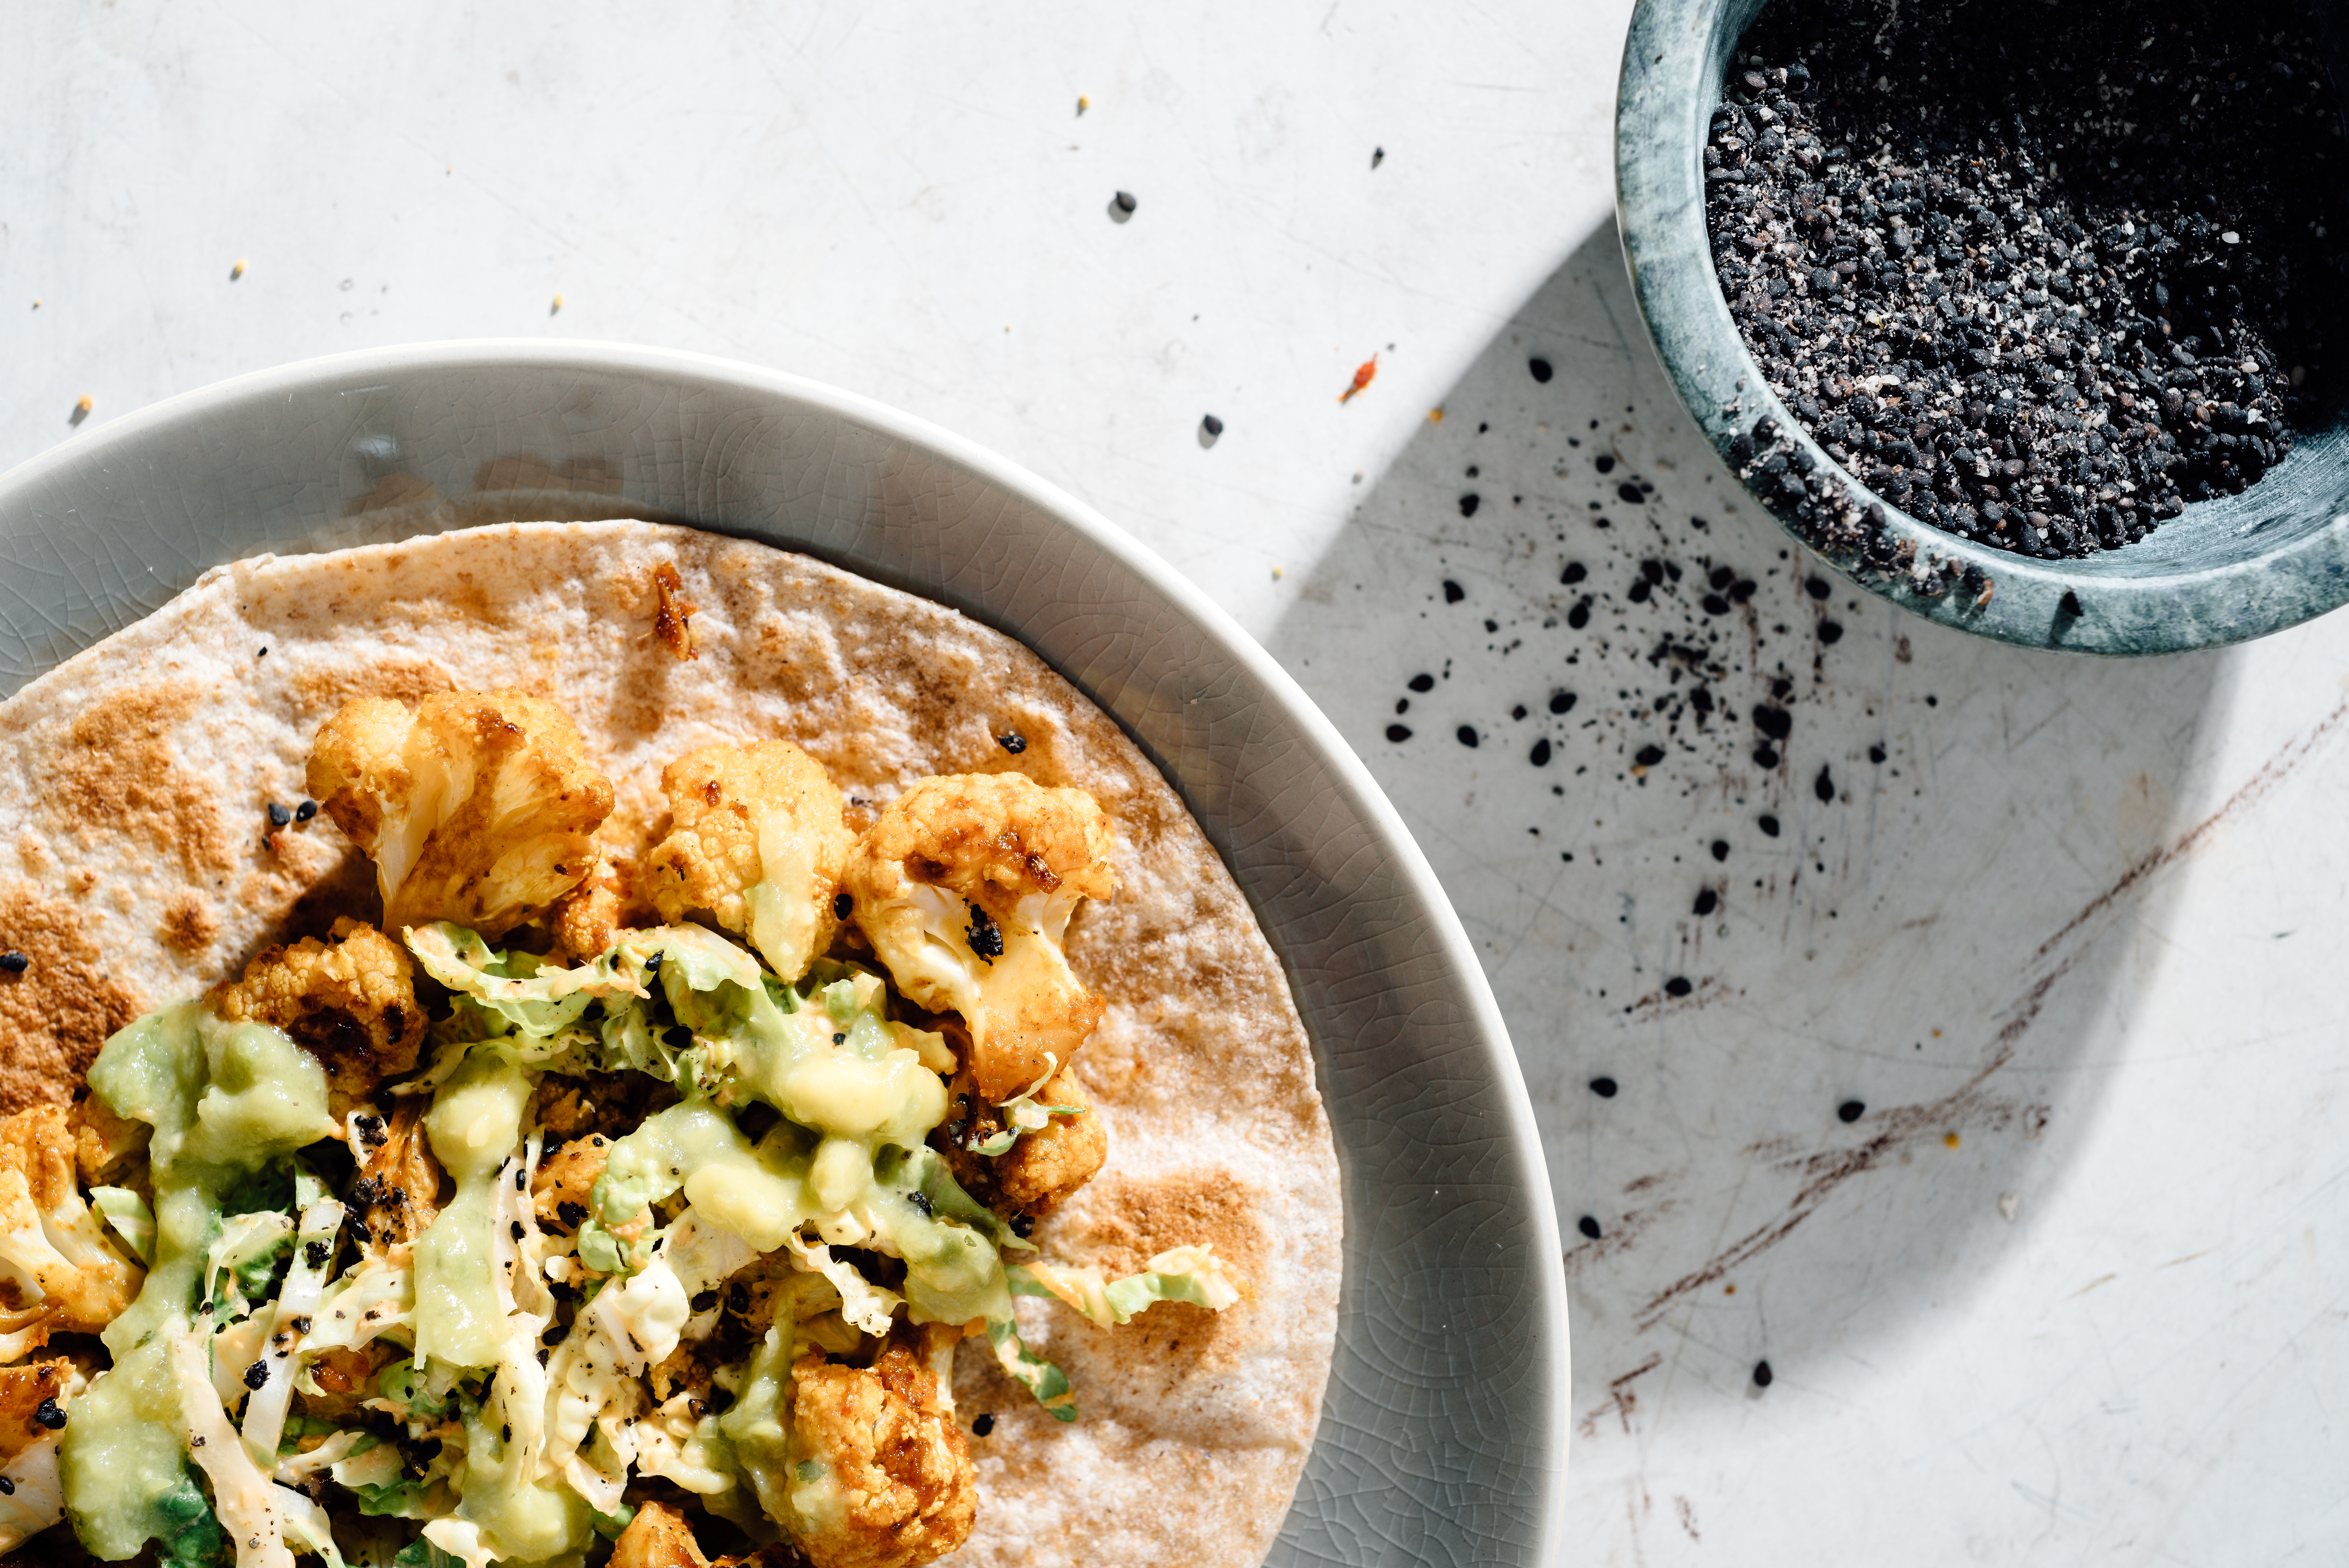
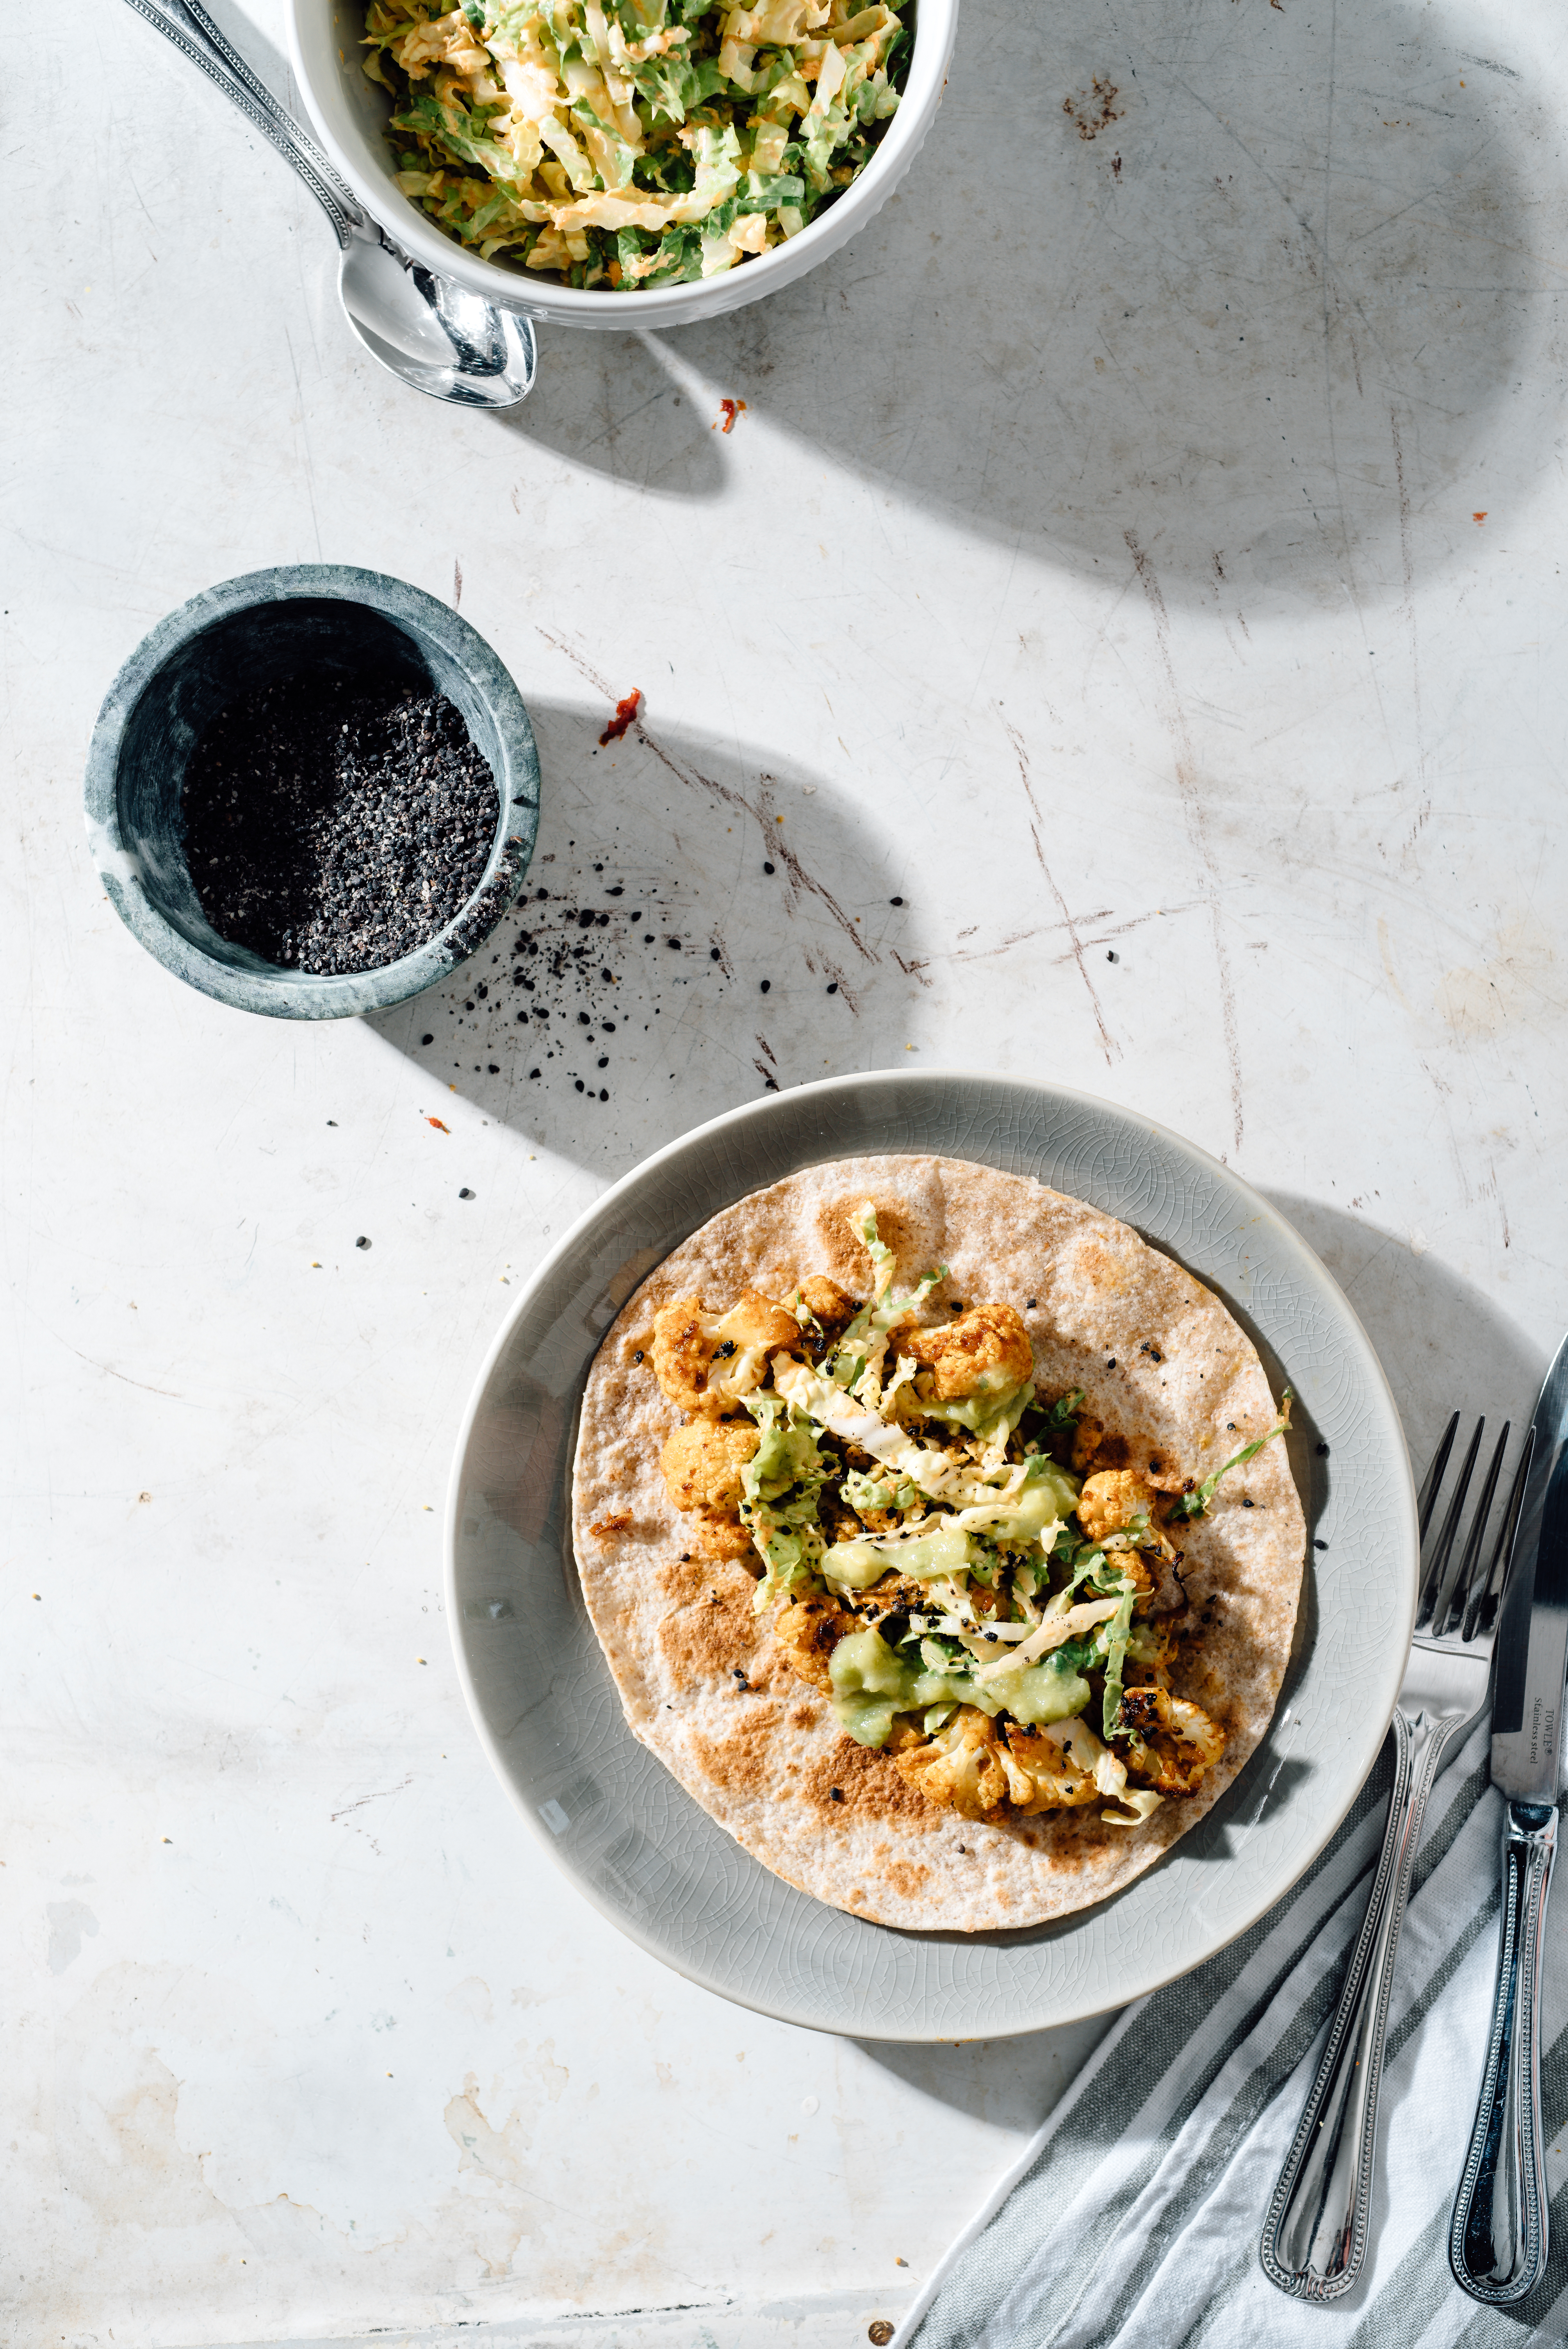
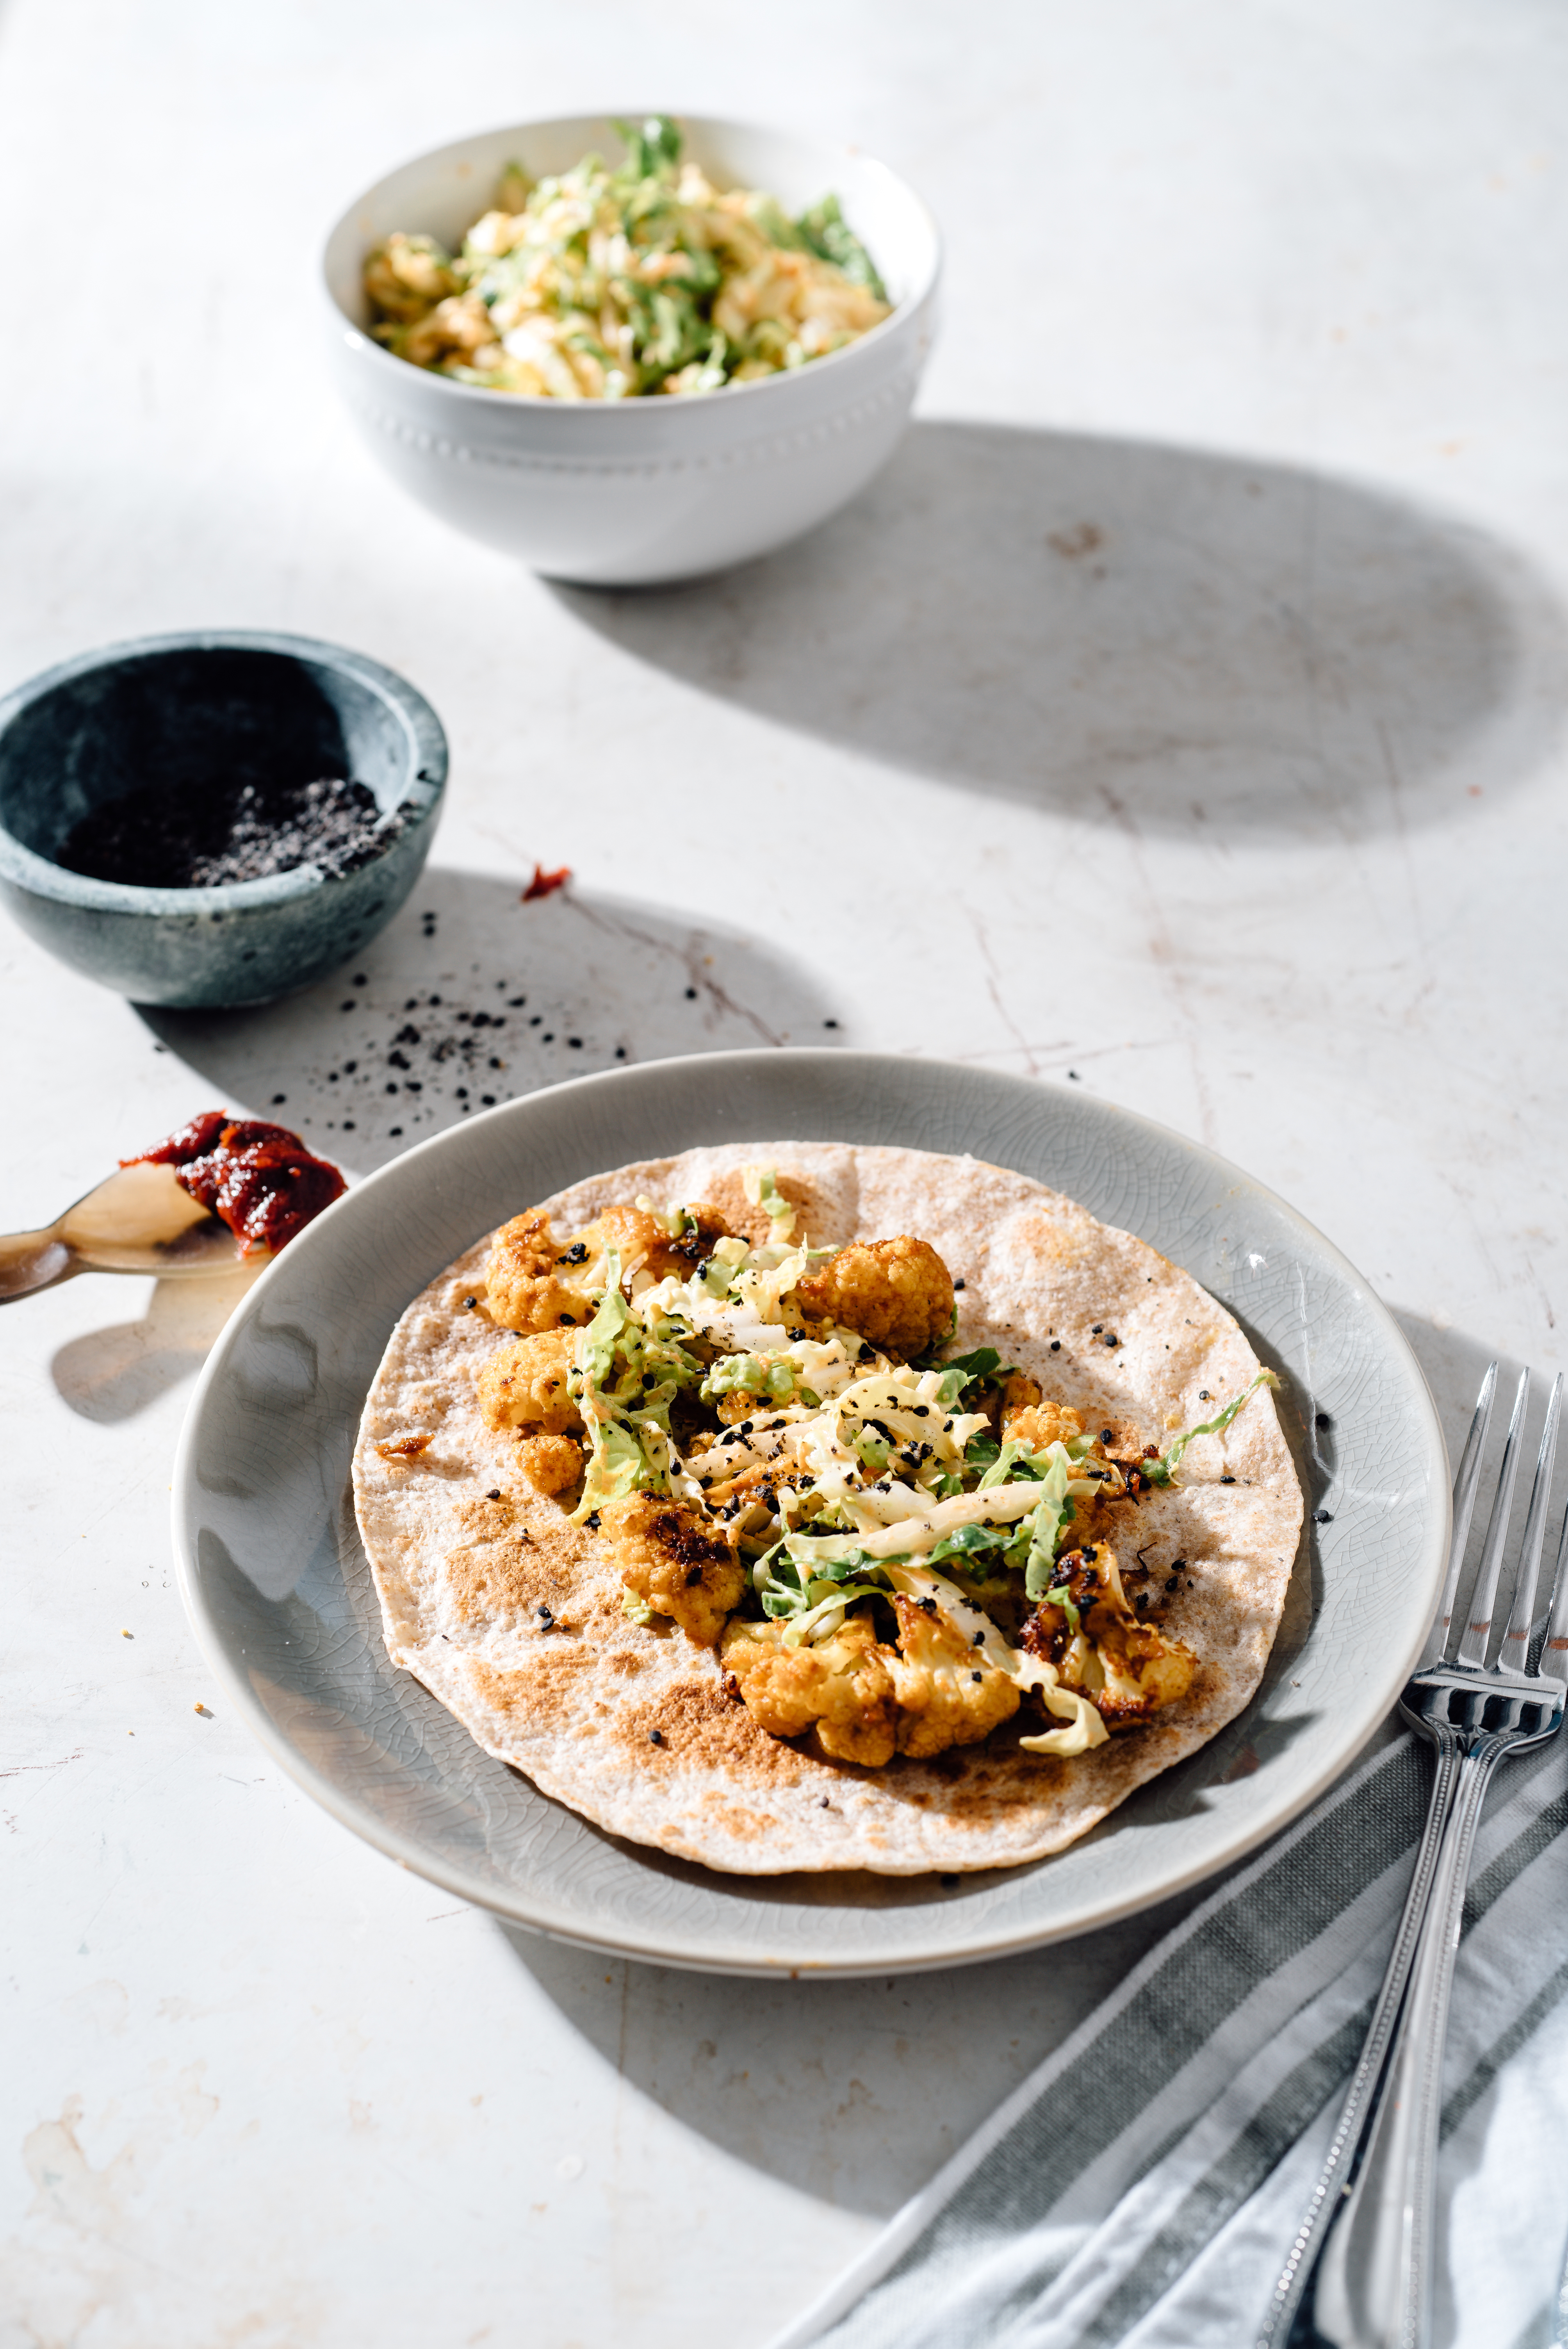
Korean Cauliflower Tacos with Creamy Napa Cabbage Slaw
This recipe highlights the versatility of cauliflower, and showcases the Korean chili paste gochujang. Cut into small florets, cauliflower’s shape mimics that of traditional ground meat, and the addition of soy sauce, sesame oil and gochujang bring out the sweetness, and nuttiness, of the vegetable. Top with the creamy Asian slaw and avocado verde for a spicy vegetarian meal. Also, check out Birmingham magazine for this recipe in print!
Yield: 4 tacos
What You Will Need:
- 3 cups cauliflower (about 13 ounces)
- 1 tablespoon toasted sesame oil
- 1 tsp ginger, grated
- 2 garlic cloves, sliced
- 1/2 tablespoon gochujang
- 2 tsp soy sauce
- 1 tsp coconut sugar
- 1/2 tsp curry powder
- 1/4 tsp white pepper
- Whole wheat tortillas, for serving **or corn, if gluten-free**
What You Will Do:
- Preheat oven to 400 degrees and spray a rimmed, light metal baking sheet with cooking spray.
- In a large bowl, whisk together sesame oil and the rest of the ingredients (excluding cauliflower and tortillas).
- Add florets and toss to coat.
- Put cauliflower, evenly spaced, on baking sheet. Bake for 10 minutes, stir; bake 10 minutes more.
- Serve cauliflower in whole wheat tortillas with slaw.
Creamy Napa Cabbage Slaw
This Asian-inspired slaw is delicious atop cauliflower tacos, but it can also double as a creative, spicy vegetarian accompaniment to smoked meat at your end-of-summer barbecues. Top with black sesame seeds and sliced avocado if serving as a side.
Yield: 6-10 servings
What You Will Need:
- 8 cups Napa cabbage, thinly sliced
- 1 carrot, finely grated, about 1/4 cup
- 1 tablespoon jalapeño pepper, seeded and finely diced
- 3 tablespoons Japanese mayonnaise (or vegan mayonnaise)
- 1 tsp gochujang
- 1 tsp honey
- 1/4 tsp onion powder
- 1/4 tsp salt (plus more to taste)
- ½ tsp rice vinegar
- Black sesame seeds or black gomasio, for topping
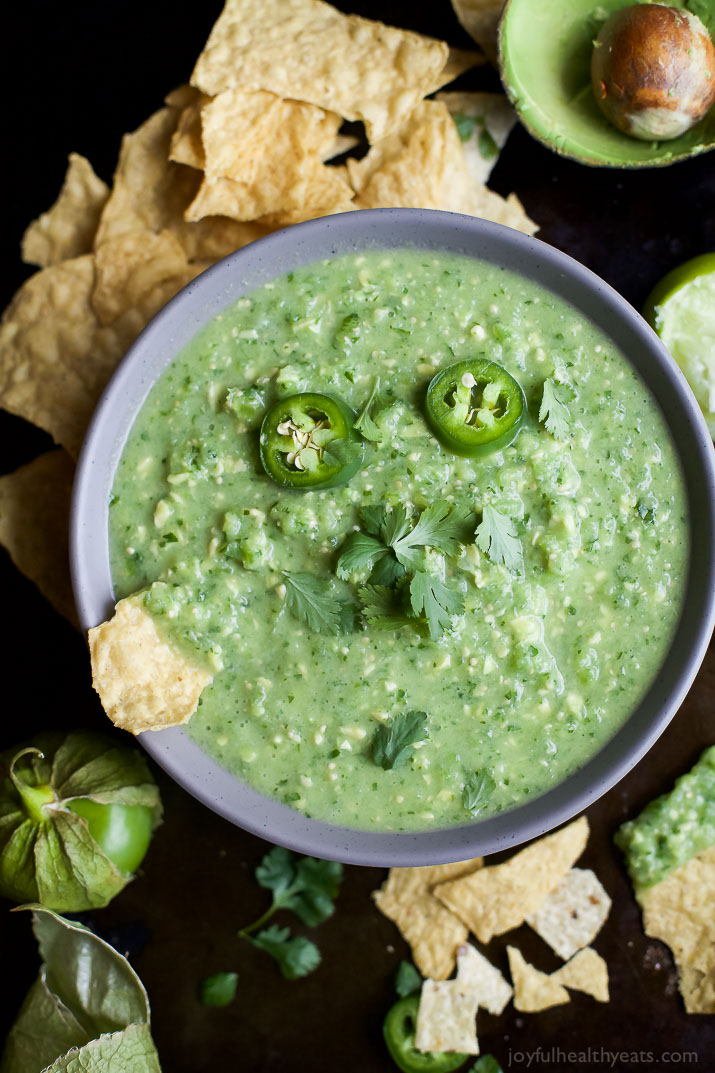
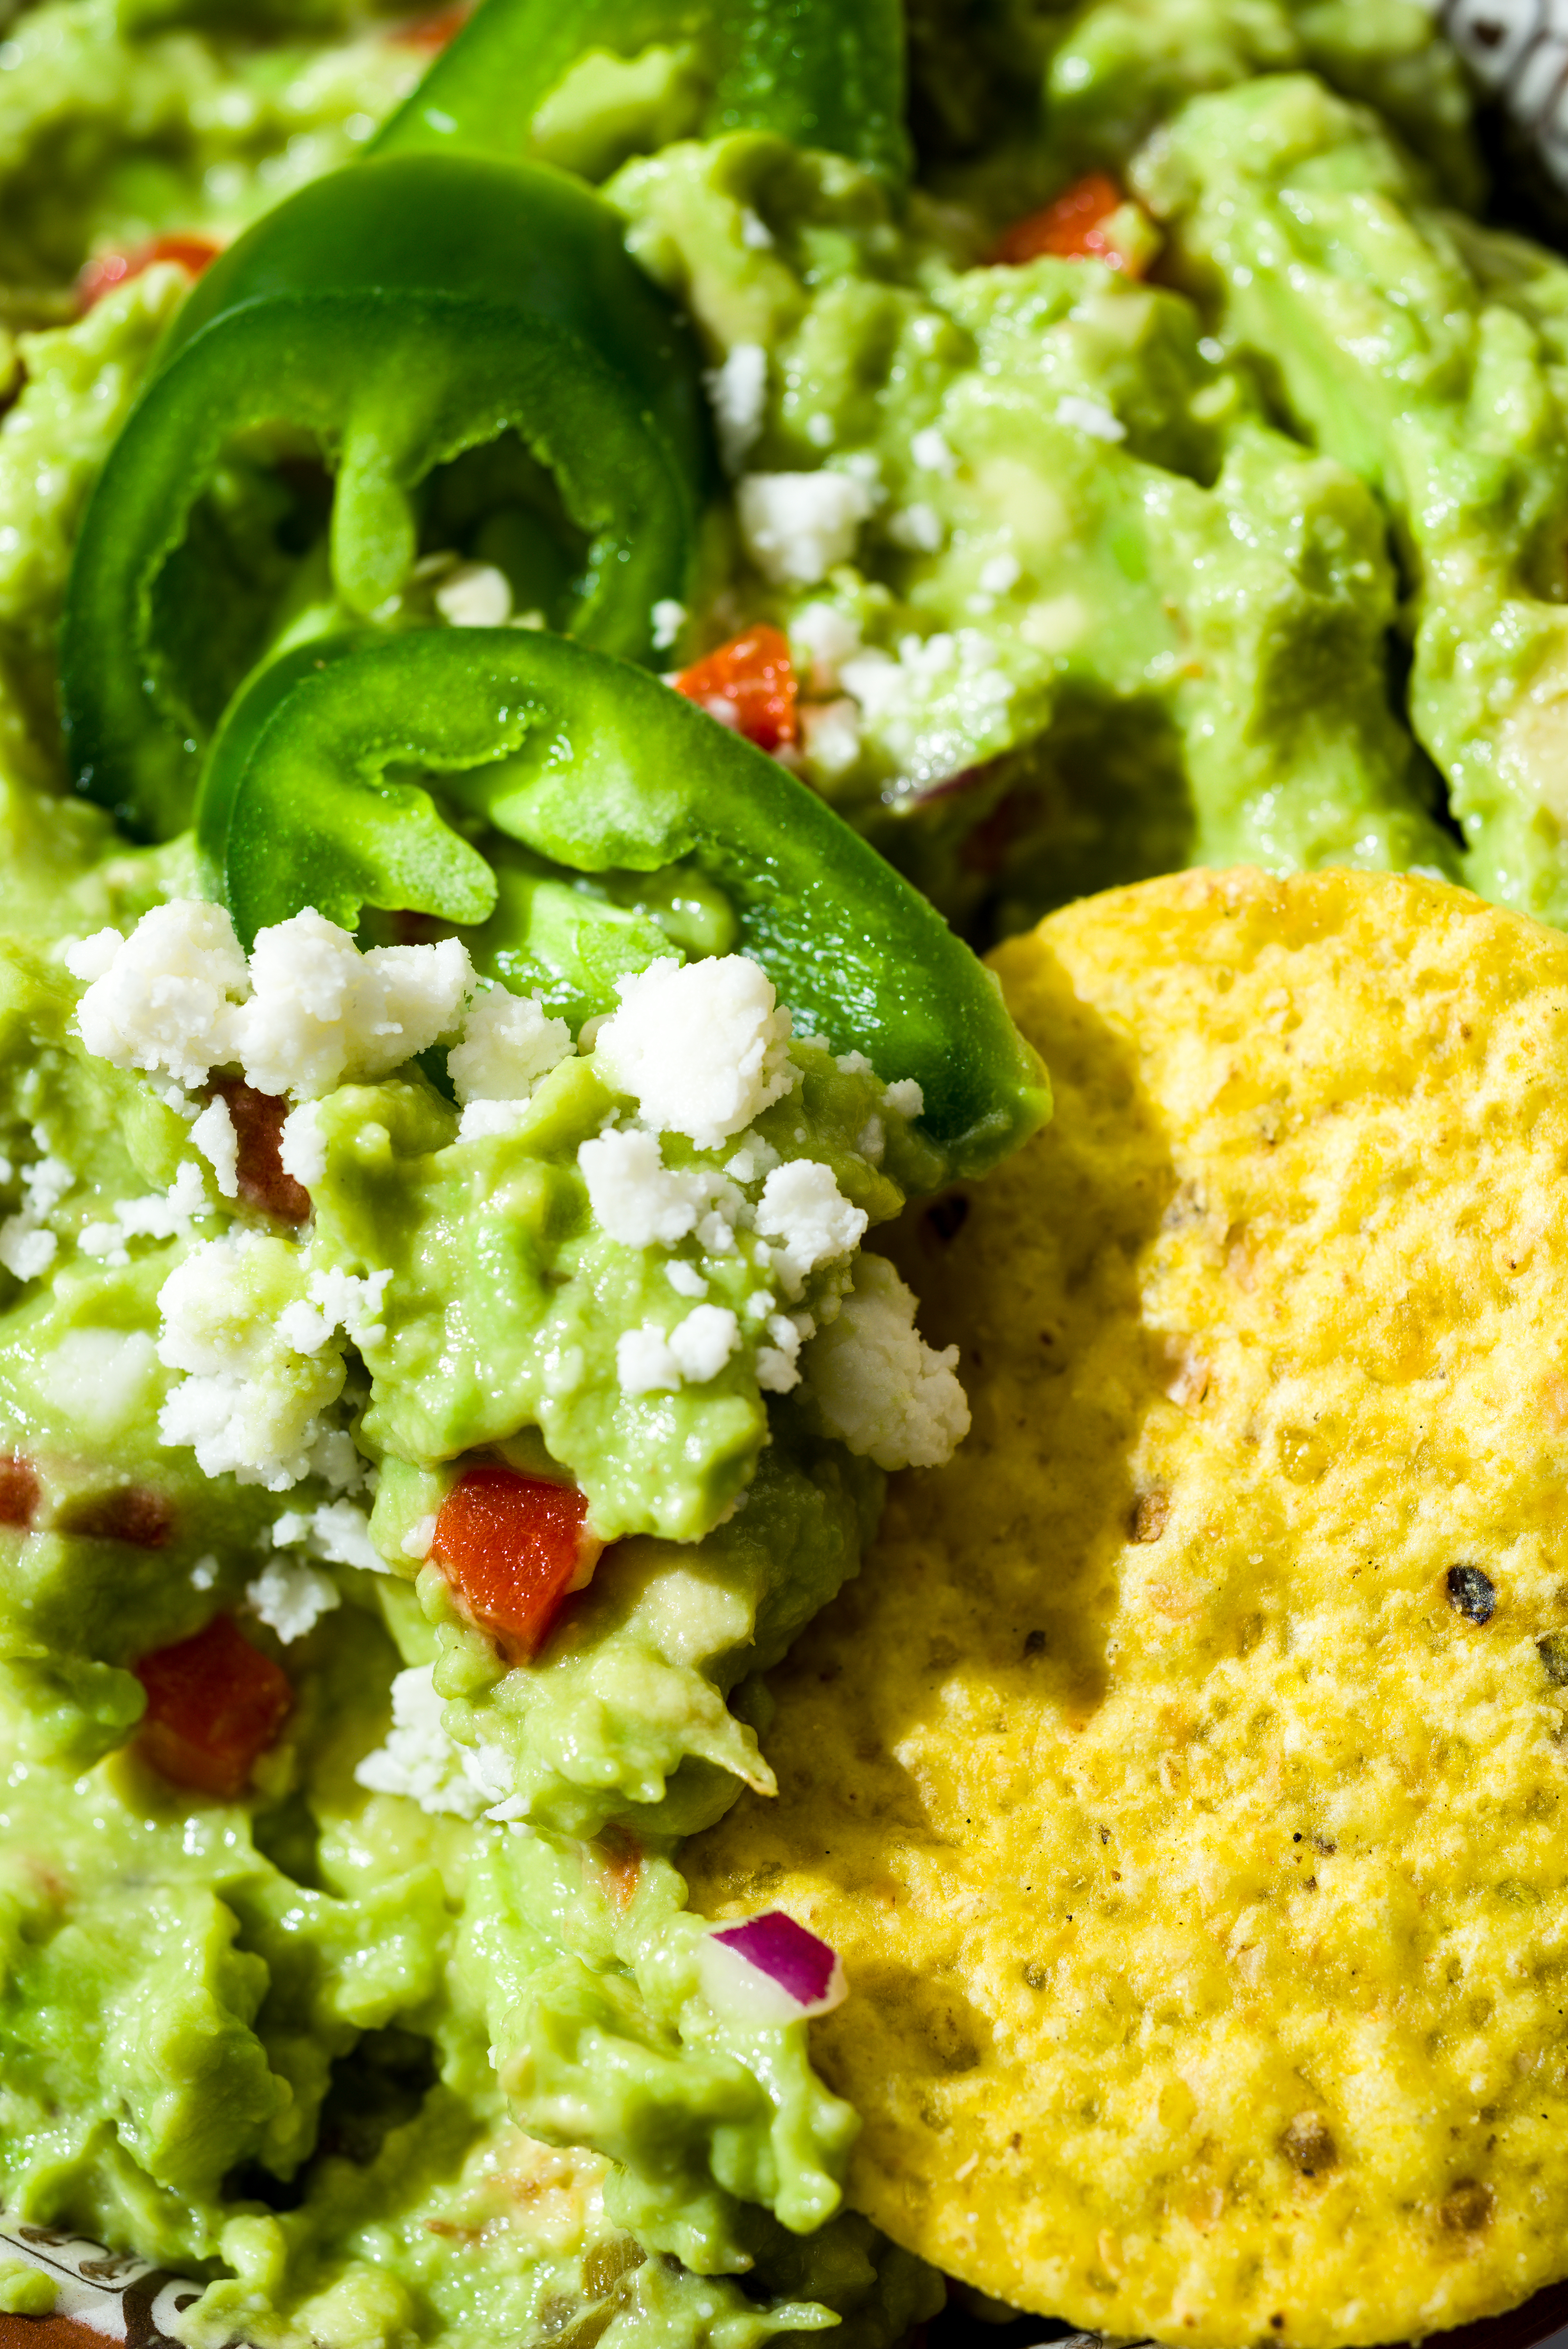
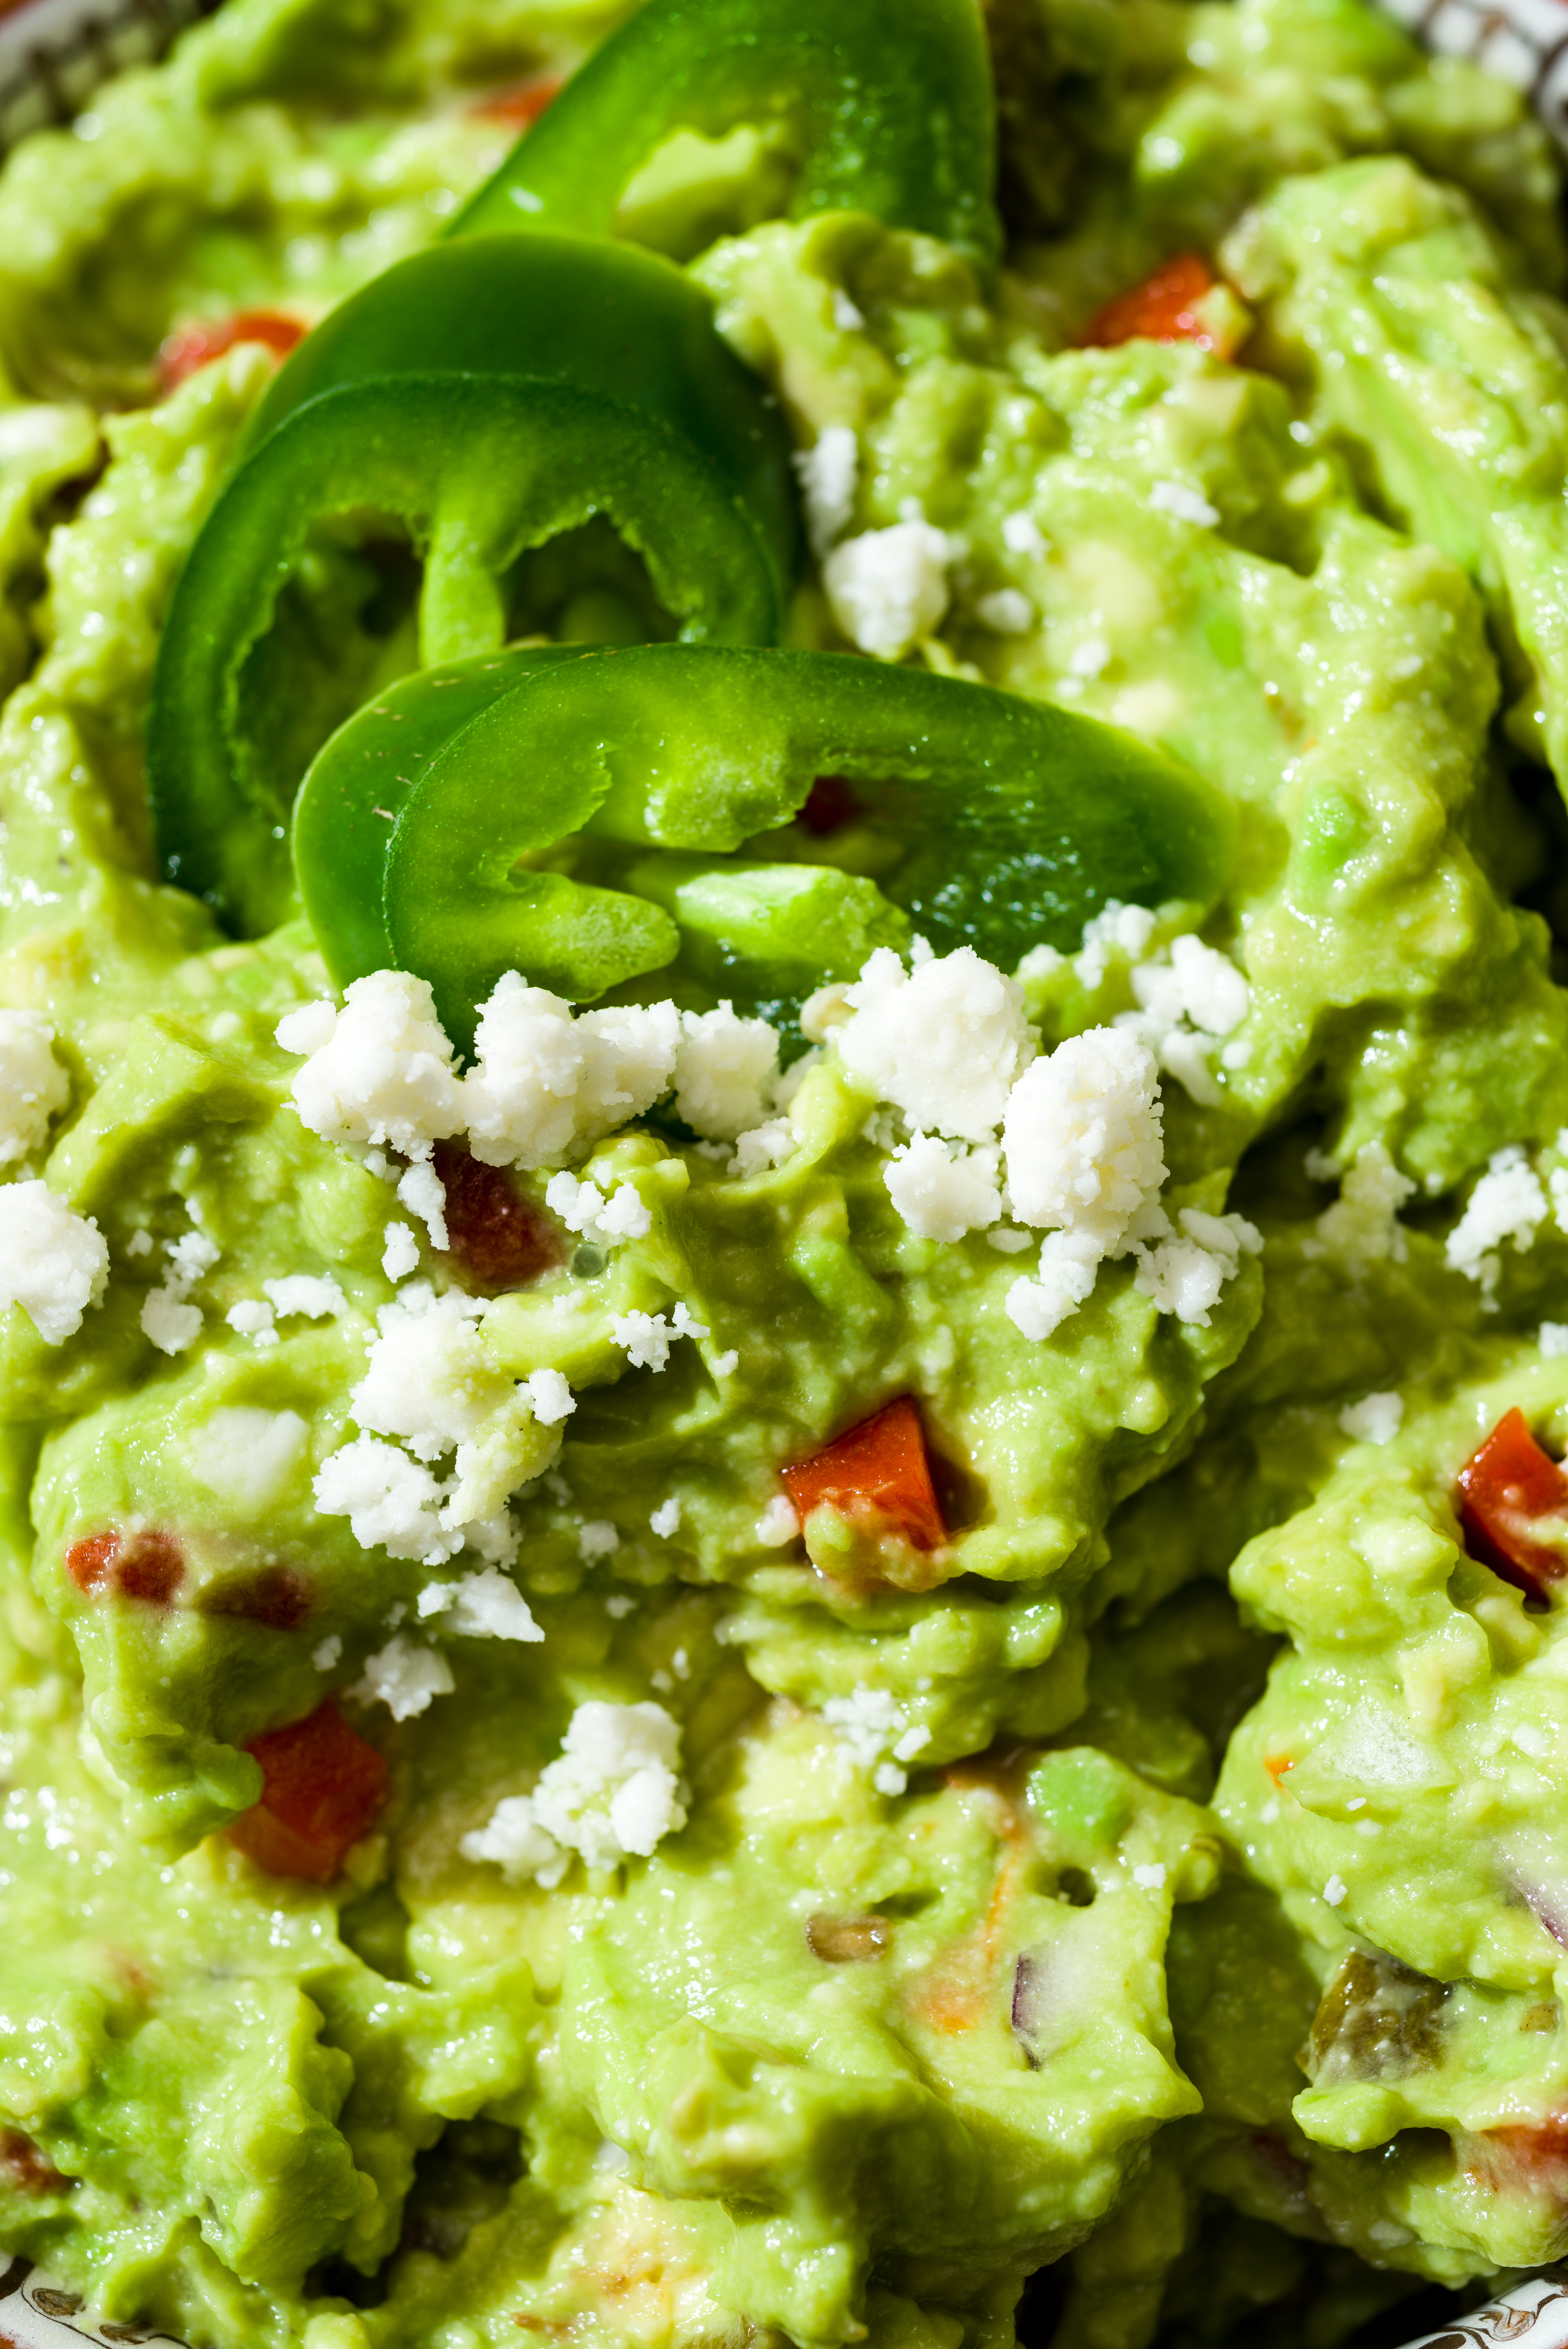
- Store bought avocado verde, for topping (or simply stir together guacamole and green salsa)
Method
- In a large bowl, whisk together the mayonnaise, gochujang, honey, onion powder, and salt until combined. Add Napa cabbage, carrot, and jalapeno and toss to coat. Taste; season with additional salt if desired.
- Put slaw on tacos and top with salsa verde and black sesame seeds, if desired.