
Is anyone having holiday guests over for Christmas? Or New Year’s?
Then do I have some recipes for you!
As part of recipes 7 and 8 of our Twelve Recipes of Christmas, these next two days I’ll be filling you up with easy, comforting, warm- insert alllll the baking adjectives here- recipes to feed the people sleeping in your extra bedroom or on your sofa! Or in our case- umm, in the “creative room” that we also use to store all of our guitars, photo equipment, video cameras, reflectors and a computer. BLESS YOU!
Let’s start the recipes off with mini scones. I loooveee a scone, especially one made with great butter. And a great crumb (*cue Mary Berry!). And an interesting flavor combo. So when these guys came into being, I was pumped. While I love a baked good in the morning, anything too sweet and I feel a bit doozy. Since I like to stick with whole-grain based treats (or anything stuffed with cheese and/or meat) in the a.m.**, I thought I would play around with a combo of white wheat and all-purpose flour, instead of the traditional all white flour I’m used to seeing in scones.
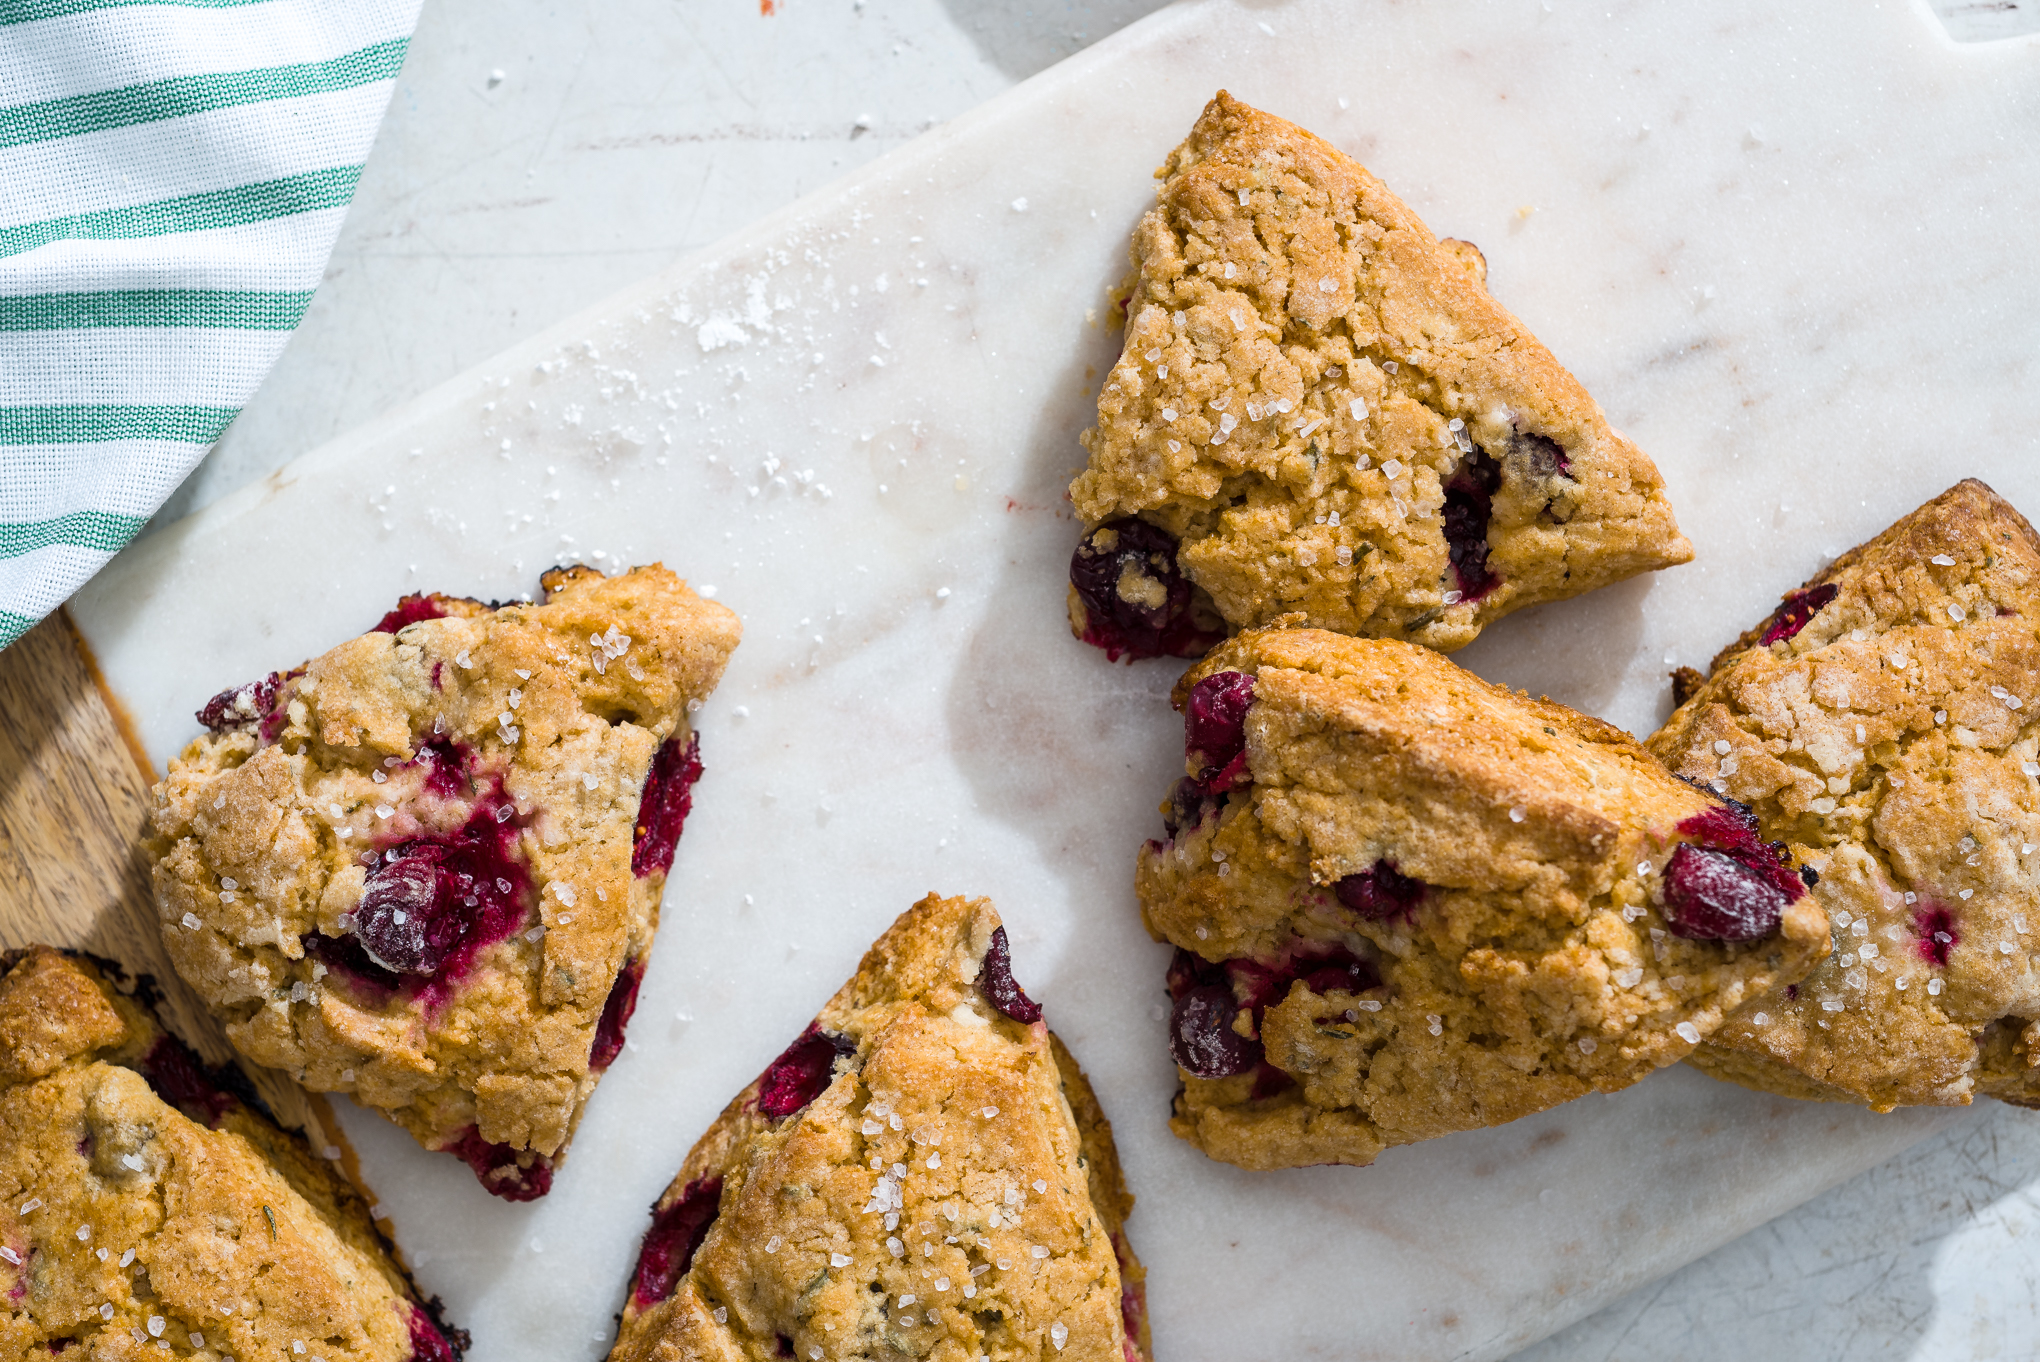
I also left out the vanilla extract and traditional sugary glaze atop this scone- and instead used a bit of coarse kosher salt to highlight the sweetness of the cranberries without adding extra sugar. The addition of rosemary makes things feel nice and holiday-special!
And one last scone-baking tip: freeze your butter! I promise this step is actually worth it and makes your scones all the more fantabulous and buttery. The texture truly is affected by the butter! Also, don’t overmix these guys- the less stirring it takes to incorporate everything, the better. Remember that those chunks of butter are creating the air pockets you WANT in your final baked good!
Alright my loves, let’s make some scones!
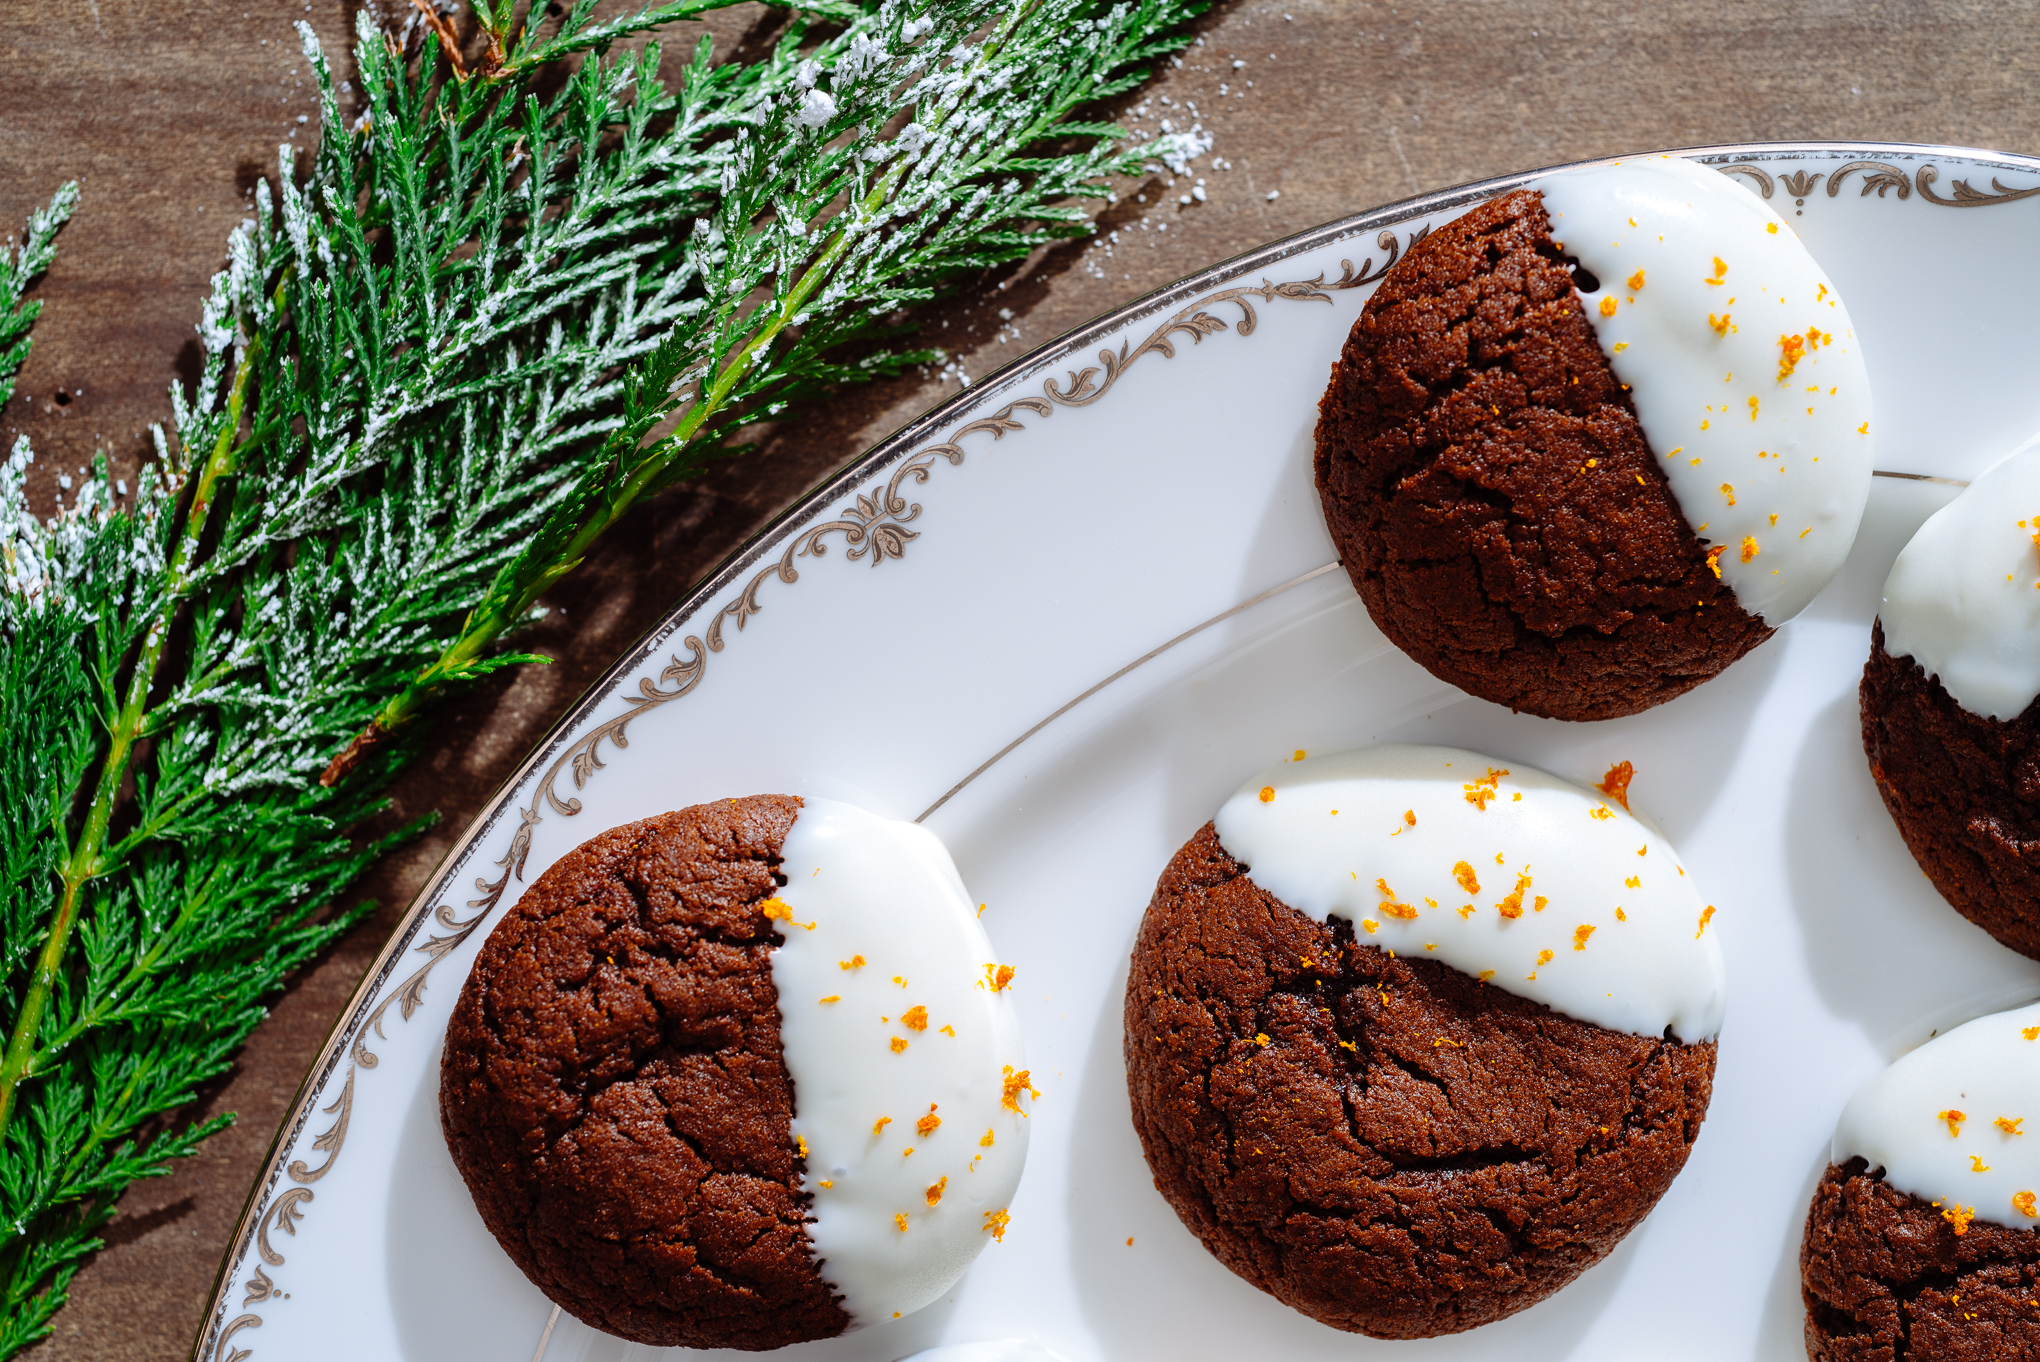
Mini Whole Wheat Cranberry Rosemary Scones
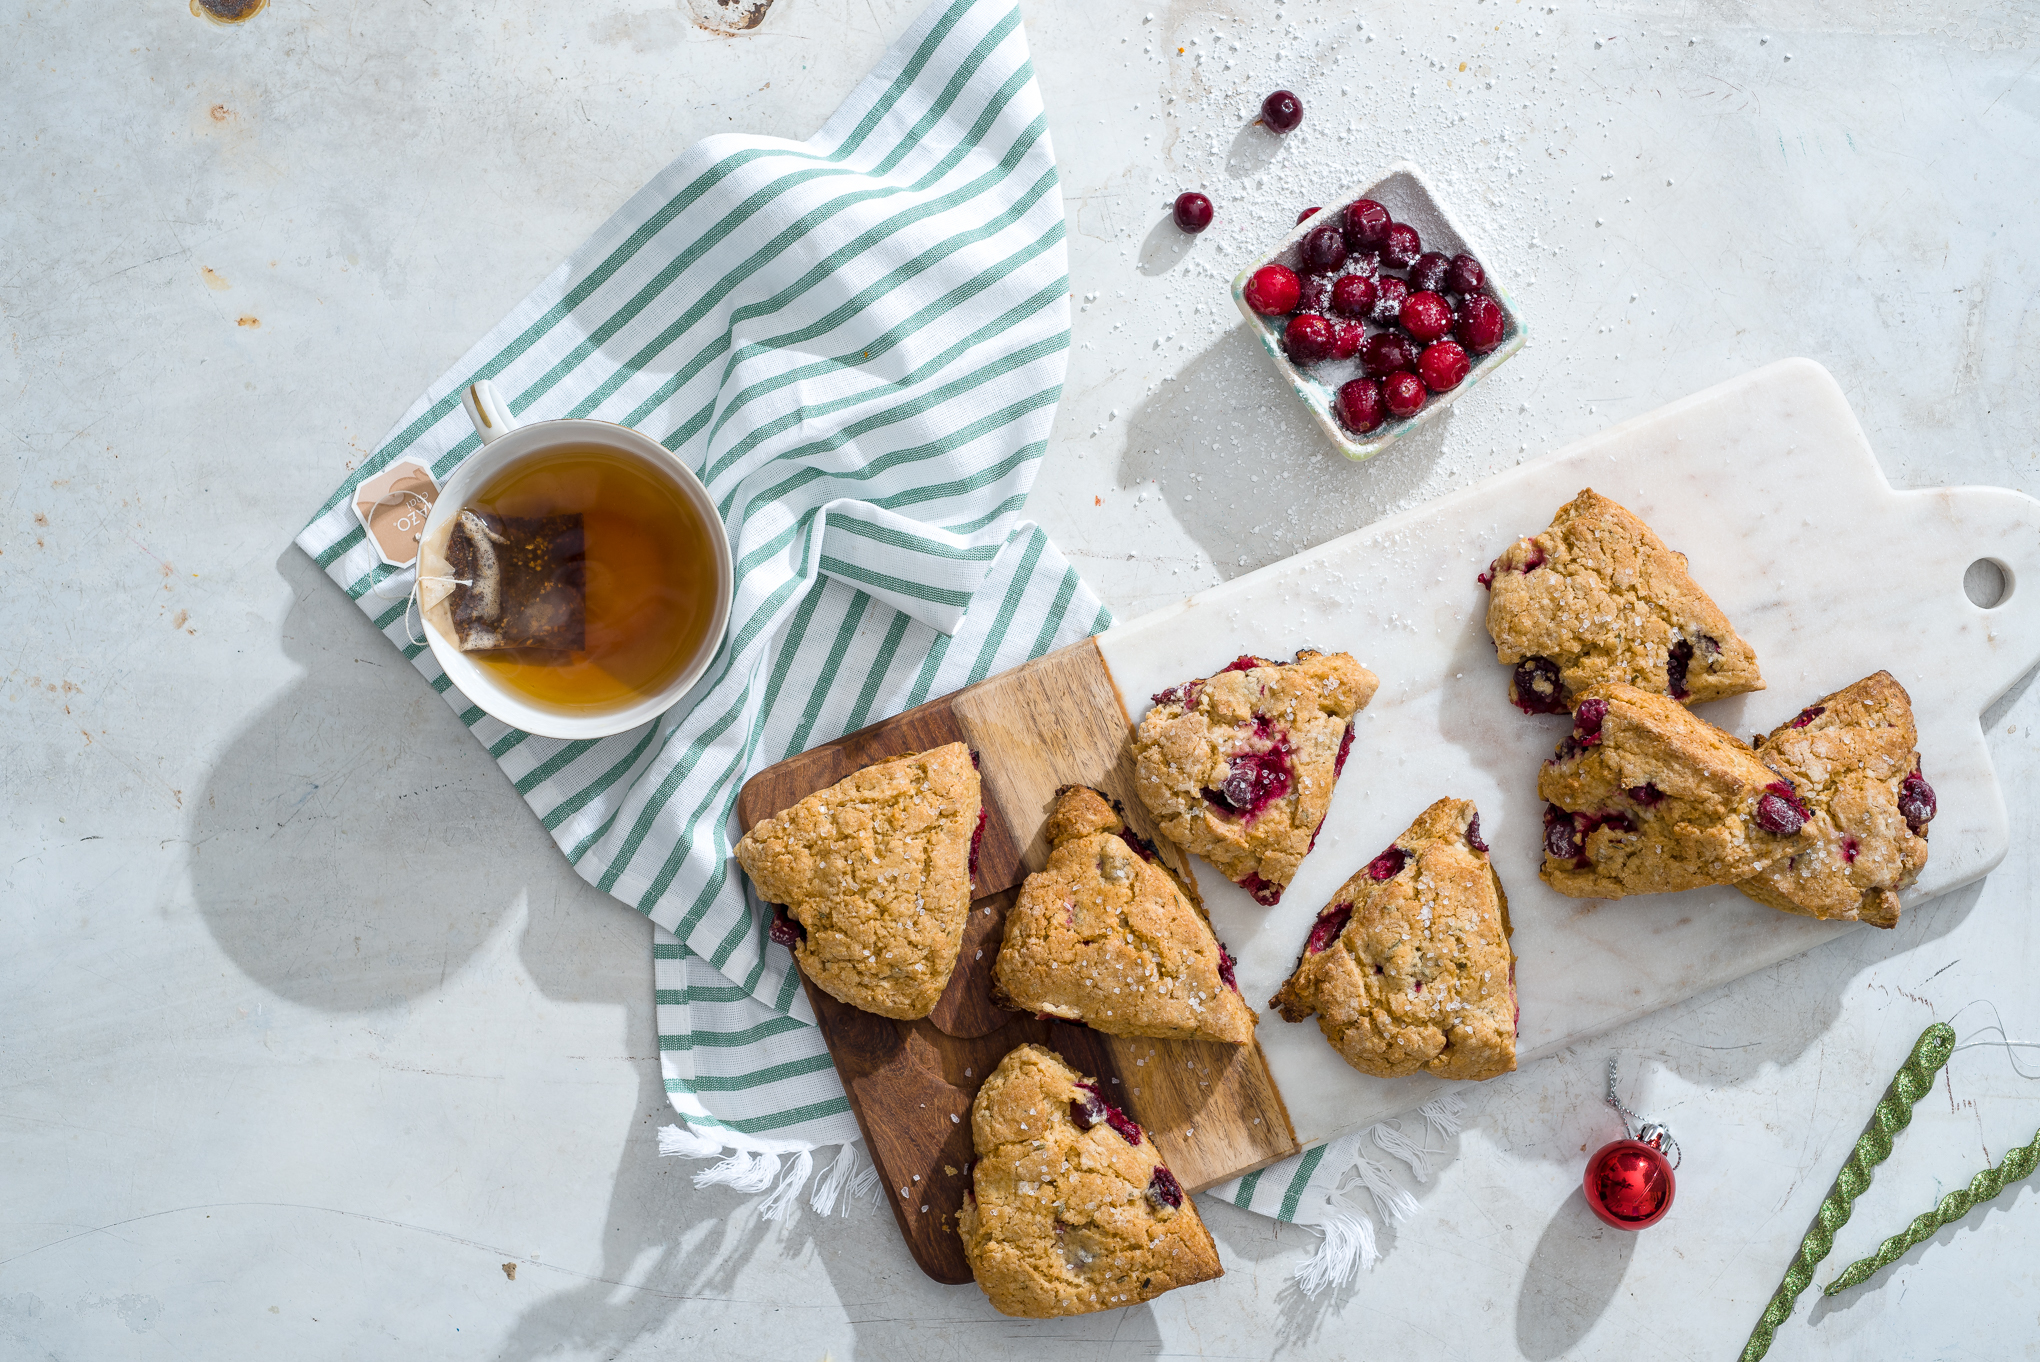
Topping these scones with coarse kosher salt hints at their savory nature. By leaving out the vanilla extract and additional sugary glaze that comes with sweeter recipes, these scones are only lightly sweet with a comforting flavor of rosemary and richness of cream. They are perfect served on a cold winter day with a cup of strong black tea or coffee. You can also find this recipe in the December issue of Birmingham magazine!
Yield: 12 mini scones
What You Will Need:
- 1 cup all purpose flour
- 3/4 cup white wheat flour
- 1/2 cup light brown sugar, packed
- 1 teaspoon baking powder
- 1/4 teaspoon baking soda
- 1/2 teaspoon kosher salt
- 1 tablespoon finely chopped rosemary
- 1/2 cup frozen butter
- 4 ounces heavy cream
- 1 egg
- 1 cup frozen cranberries
- Coarse salt, for sprinkling
What You Will Do:
- Preheat oven to 400. Move oven rack to bottom third of oven; line a baking sheet with a baking mat.
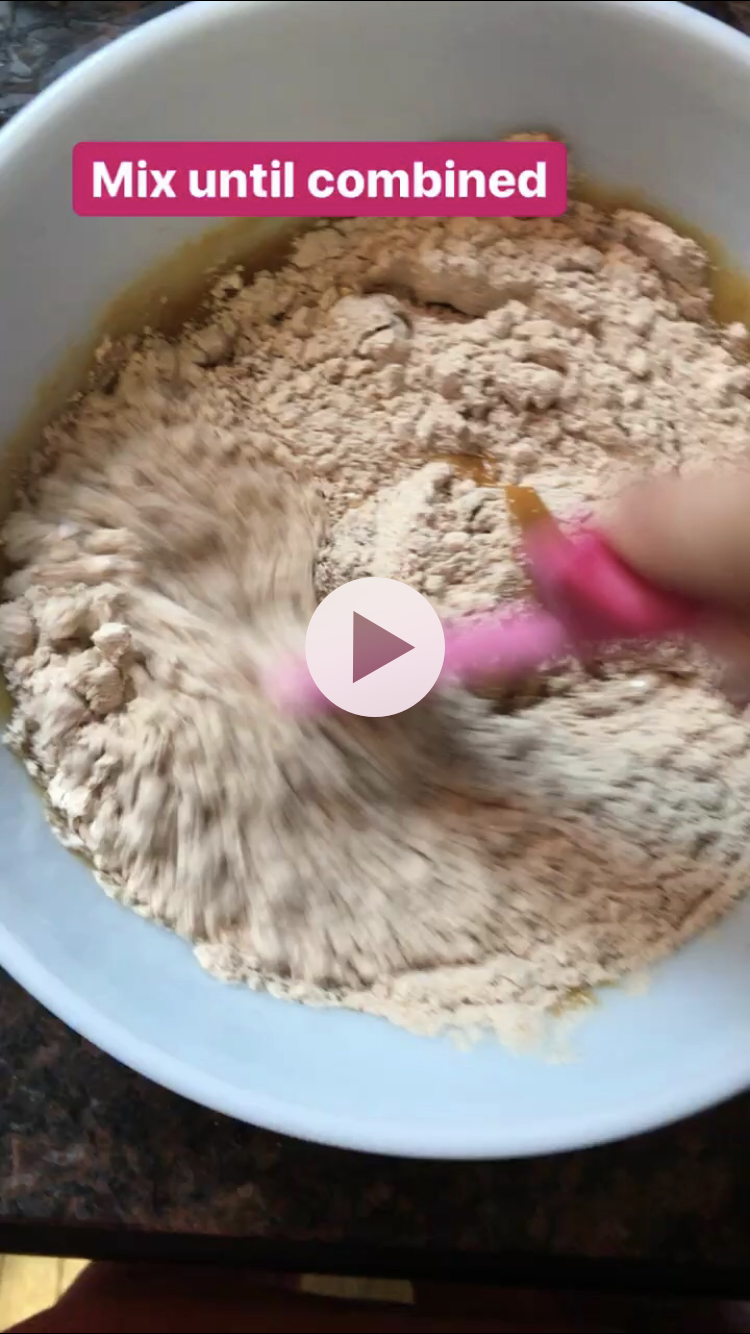
- Whisk together flours, sugar, baking powder, baking soda, salt, and fresh rosemary in a large bowl until combined.
- Remove butter from freezer; grate over the large holes of a box grater into the flour.
- Incorporate the butter curls into dry mixture with your fingers or a pastry cutter until it is a coarse texture and no pieces of butter remain larger than a pea.
- Whisk together egg and heavy cream thoroughly in a small bowl until they are a light yellow color.
- Pour egg/cream mixture into flour/butter. Stir gently with a rubber spatula to barely incorporate the liquid, or until large clumps of dough begin to form.
- Pour 1 cup cranberries into clumped dough and use your hands to evenly distribute. Dough should be sticky; just mix it until the cranberries are not in one large clump in the dough.
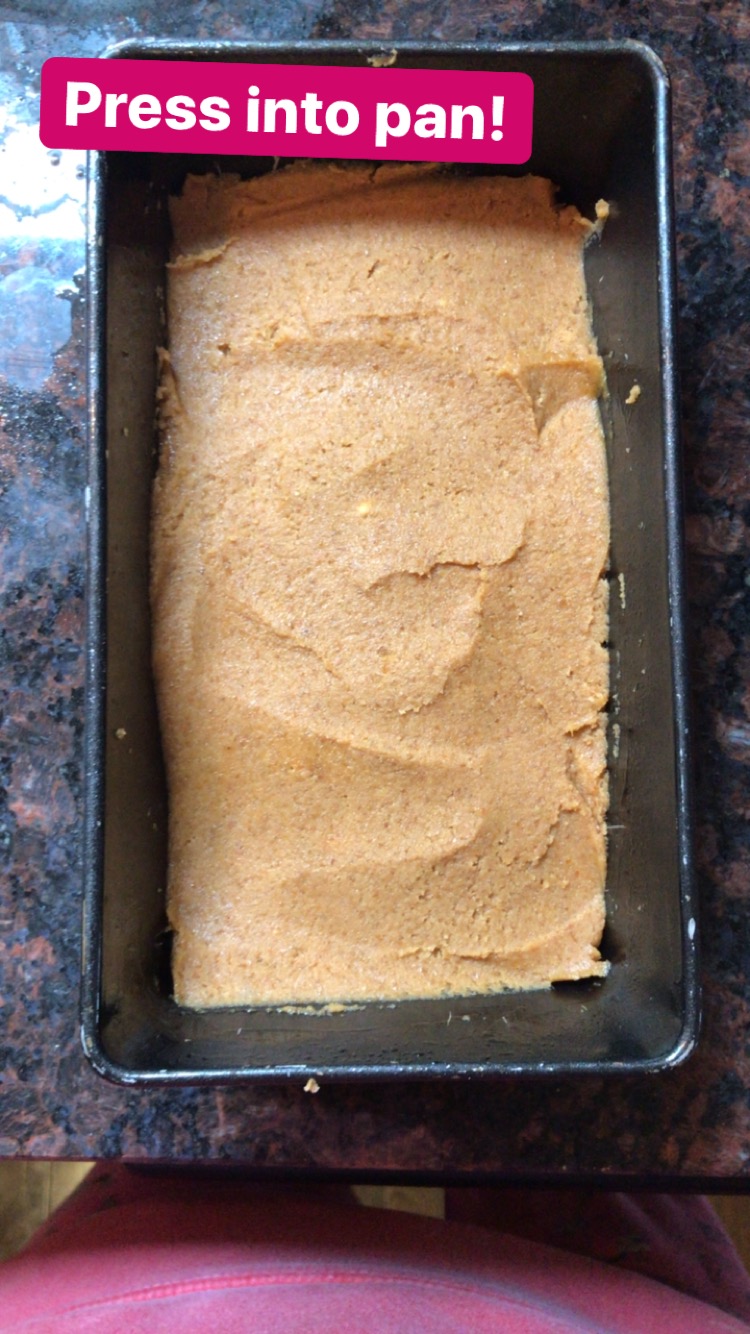
- Here’s the fun part! Gently use your hands to form one large dough. Try not to overmix here- just use your hands until the dough comes together into a large mass.
- Separate the dough into two discs.
- On a heavily floured surface (I like all-purpose flour on the surface), sprinkle each disc and a rolling pin with flour. Roll a disc into a 6 inch diameter, 3/4 inch thick circle.
- Cut dough into six wedges with a sharp knife. Transfer each scone to the baking sheet. Repeat with other disc.
- Put scones on baking sheet a few inches apart. Sprinkle lightly with coarse salt.
- Bake for 18 to 20 minutes, or until they are golden brown!
Tip: Store butter in the freezer for at least 30 minutes to prepare it for the scones.
Tip: Find whole cranberries in the frozen fruit section of your grocery store.
Tip: If you don’t have a baking mat, you can use parchment paper, but the total baking time may be one to three minutes less than 20 minutes.
**Well, except for croissants- but those always get an exception in my book.


