Brownie Recipe Round-up + 5 Fridge Must-Haves!

Brownie Prep!
Brownie shot from Food Faith Fitness blog!

Lovelies!

Today is a fantastic day. You know why? Because, BROWNIE RECIPES! As you know, I share a deep, deep love for brownies, wish they were a part of the food pyramid (*awkward! I realized this no longer exists, hah, as you can see in my Luv Cooks video for the week) and I have a unique ability (some say it could be considered an athletic ability) to relentlessly daydream about recipes. Caramel, pecan, peanut butter, spicy chili, coconut, dark chocolate, cookie dough- name the add-in, I’ll eat it. Well, unless it contains cricket flour. But that’s for a whole other discussion.

Rest assured that none of this week’s recipes involve cricket flour-and oh my geez MY STOMACH IS GROWLING thinking about these!!

coconut-almond-paleo-skillet-brownies-pic

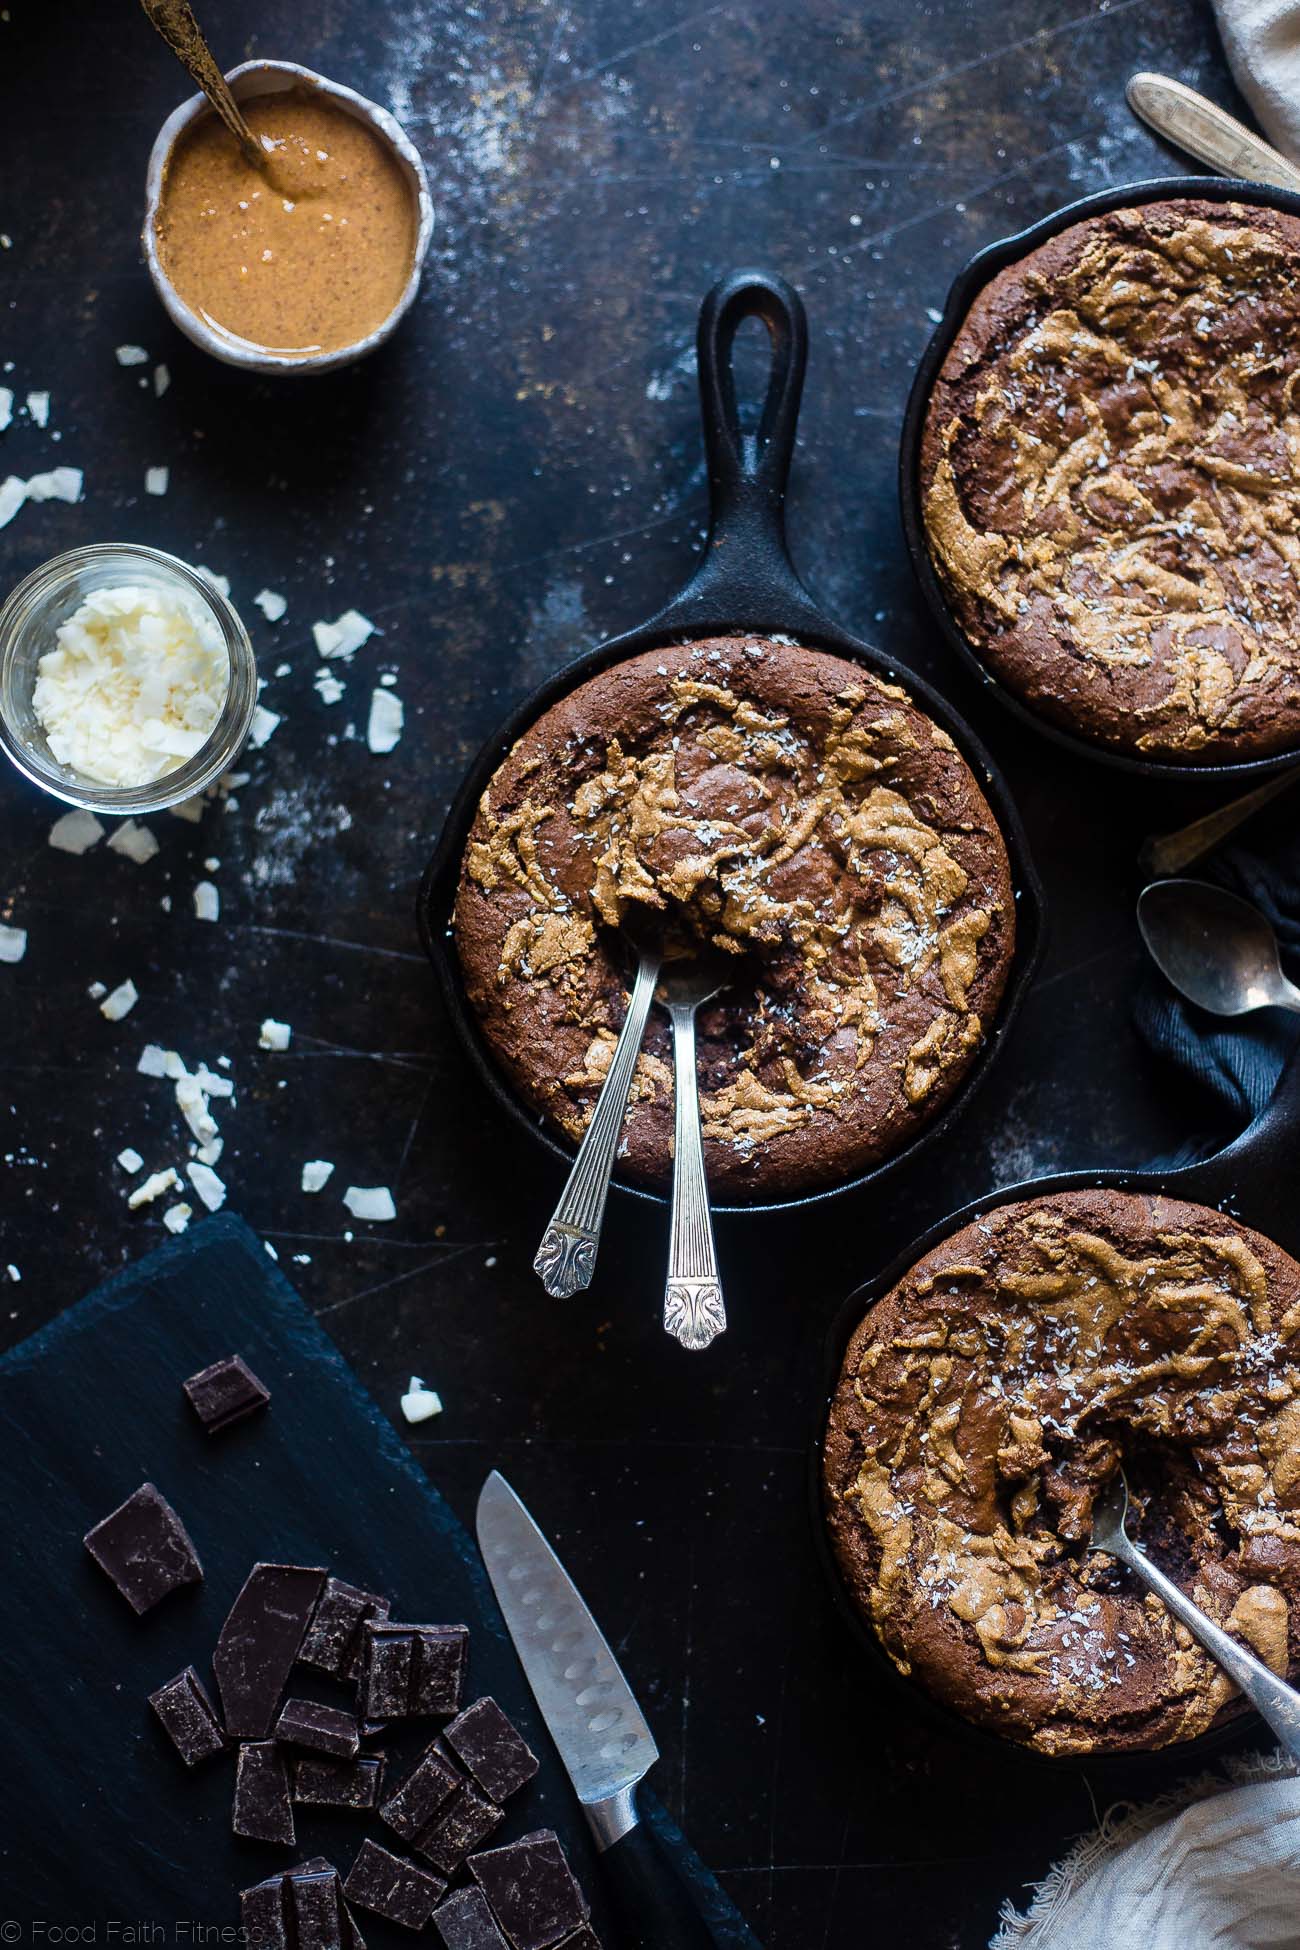
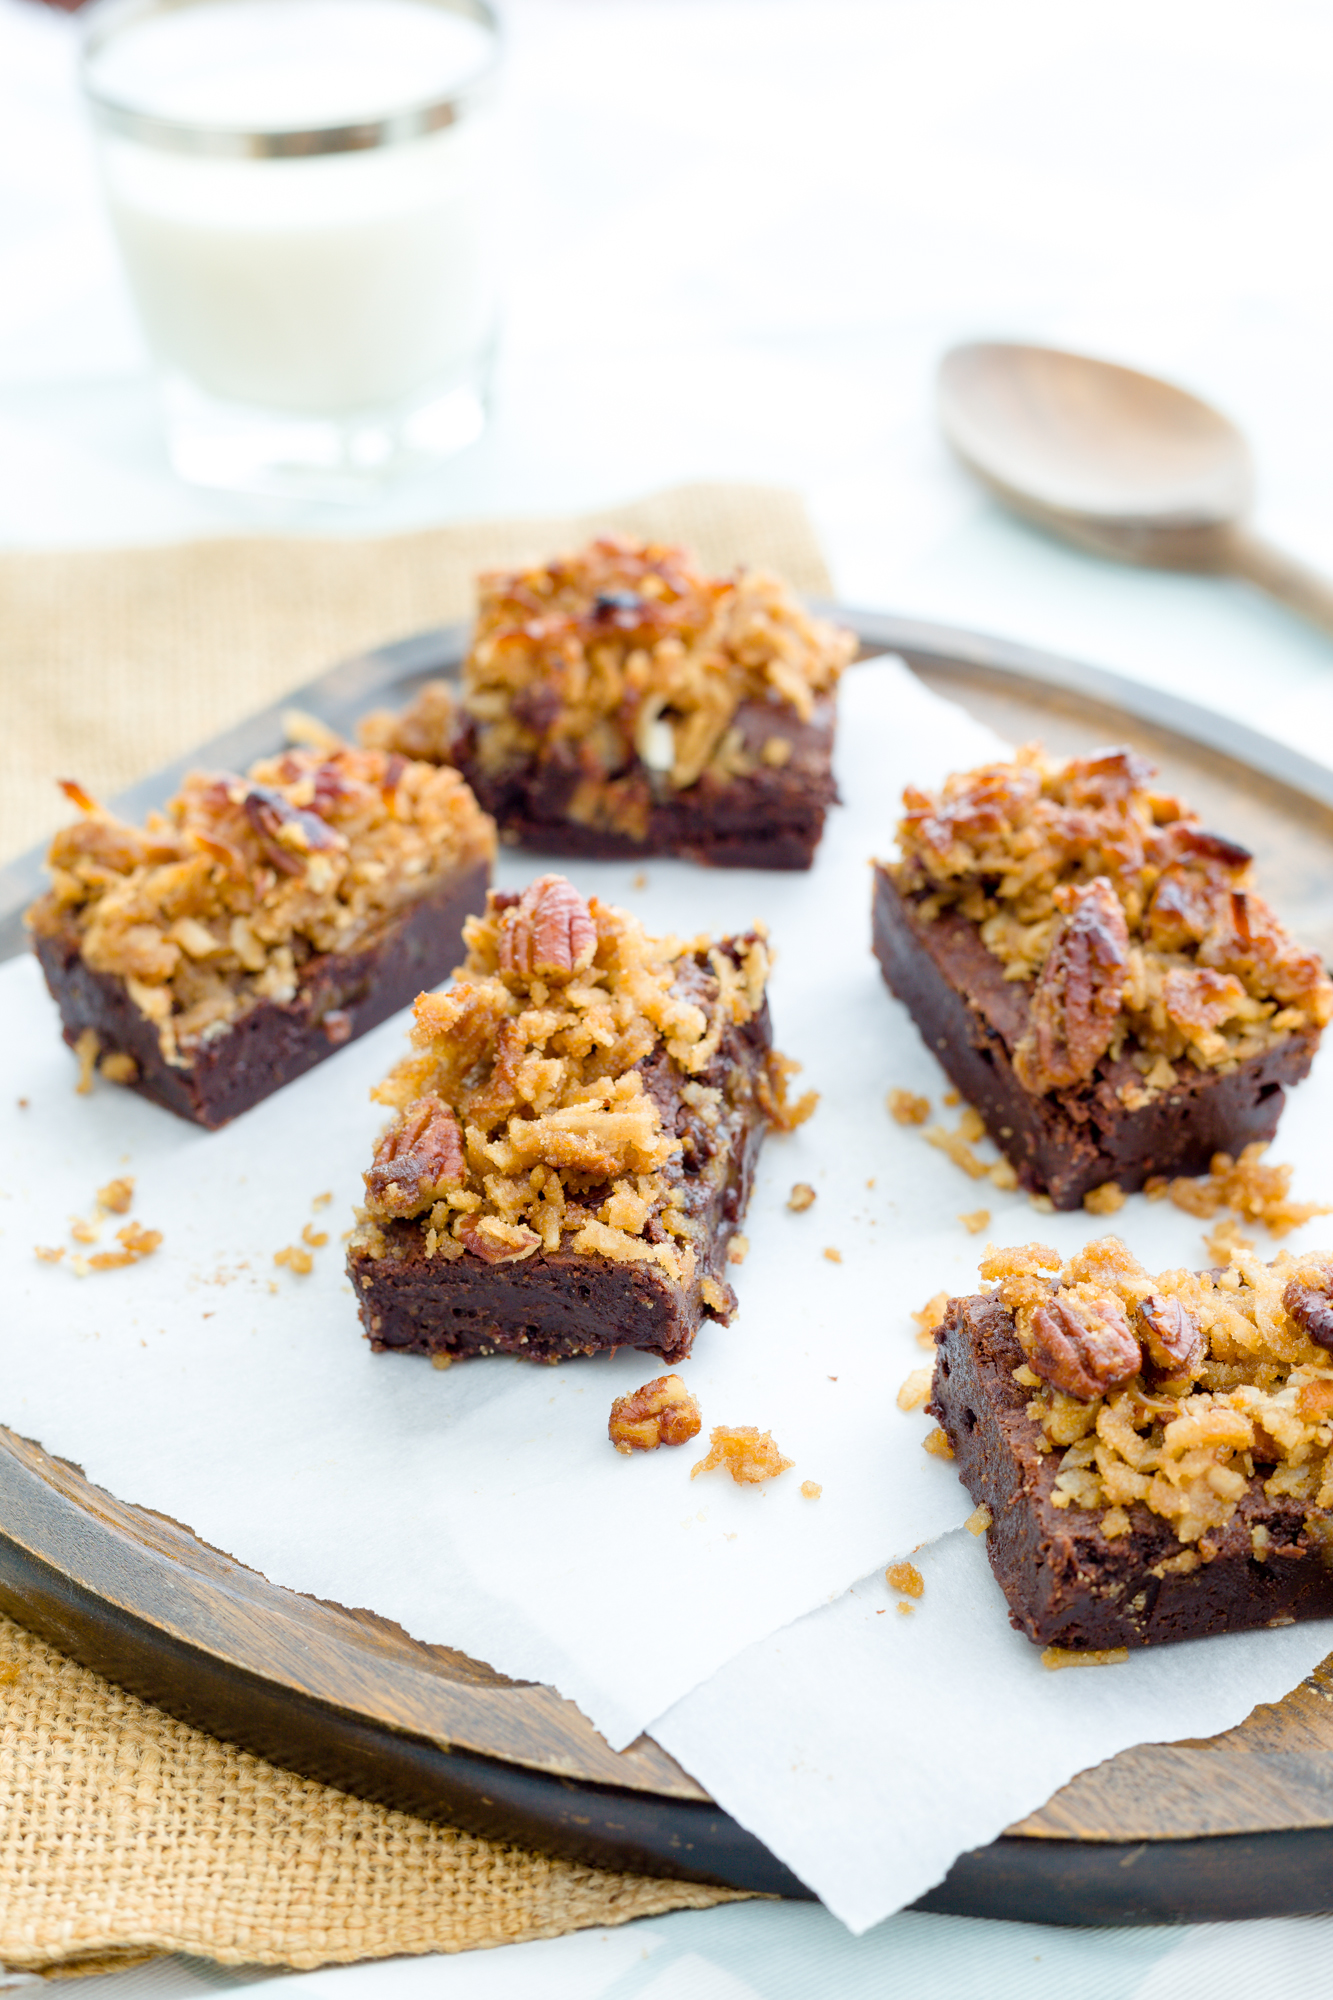
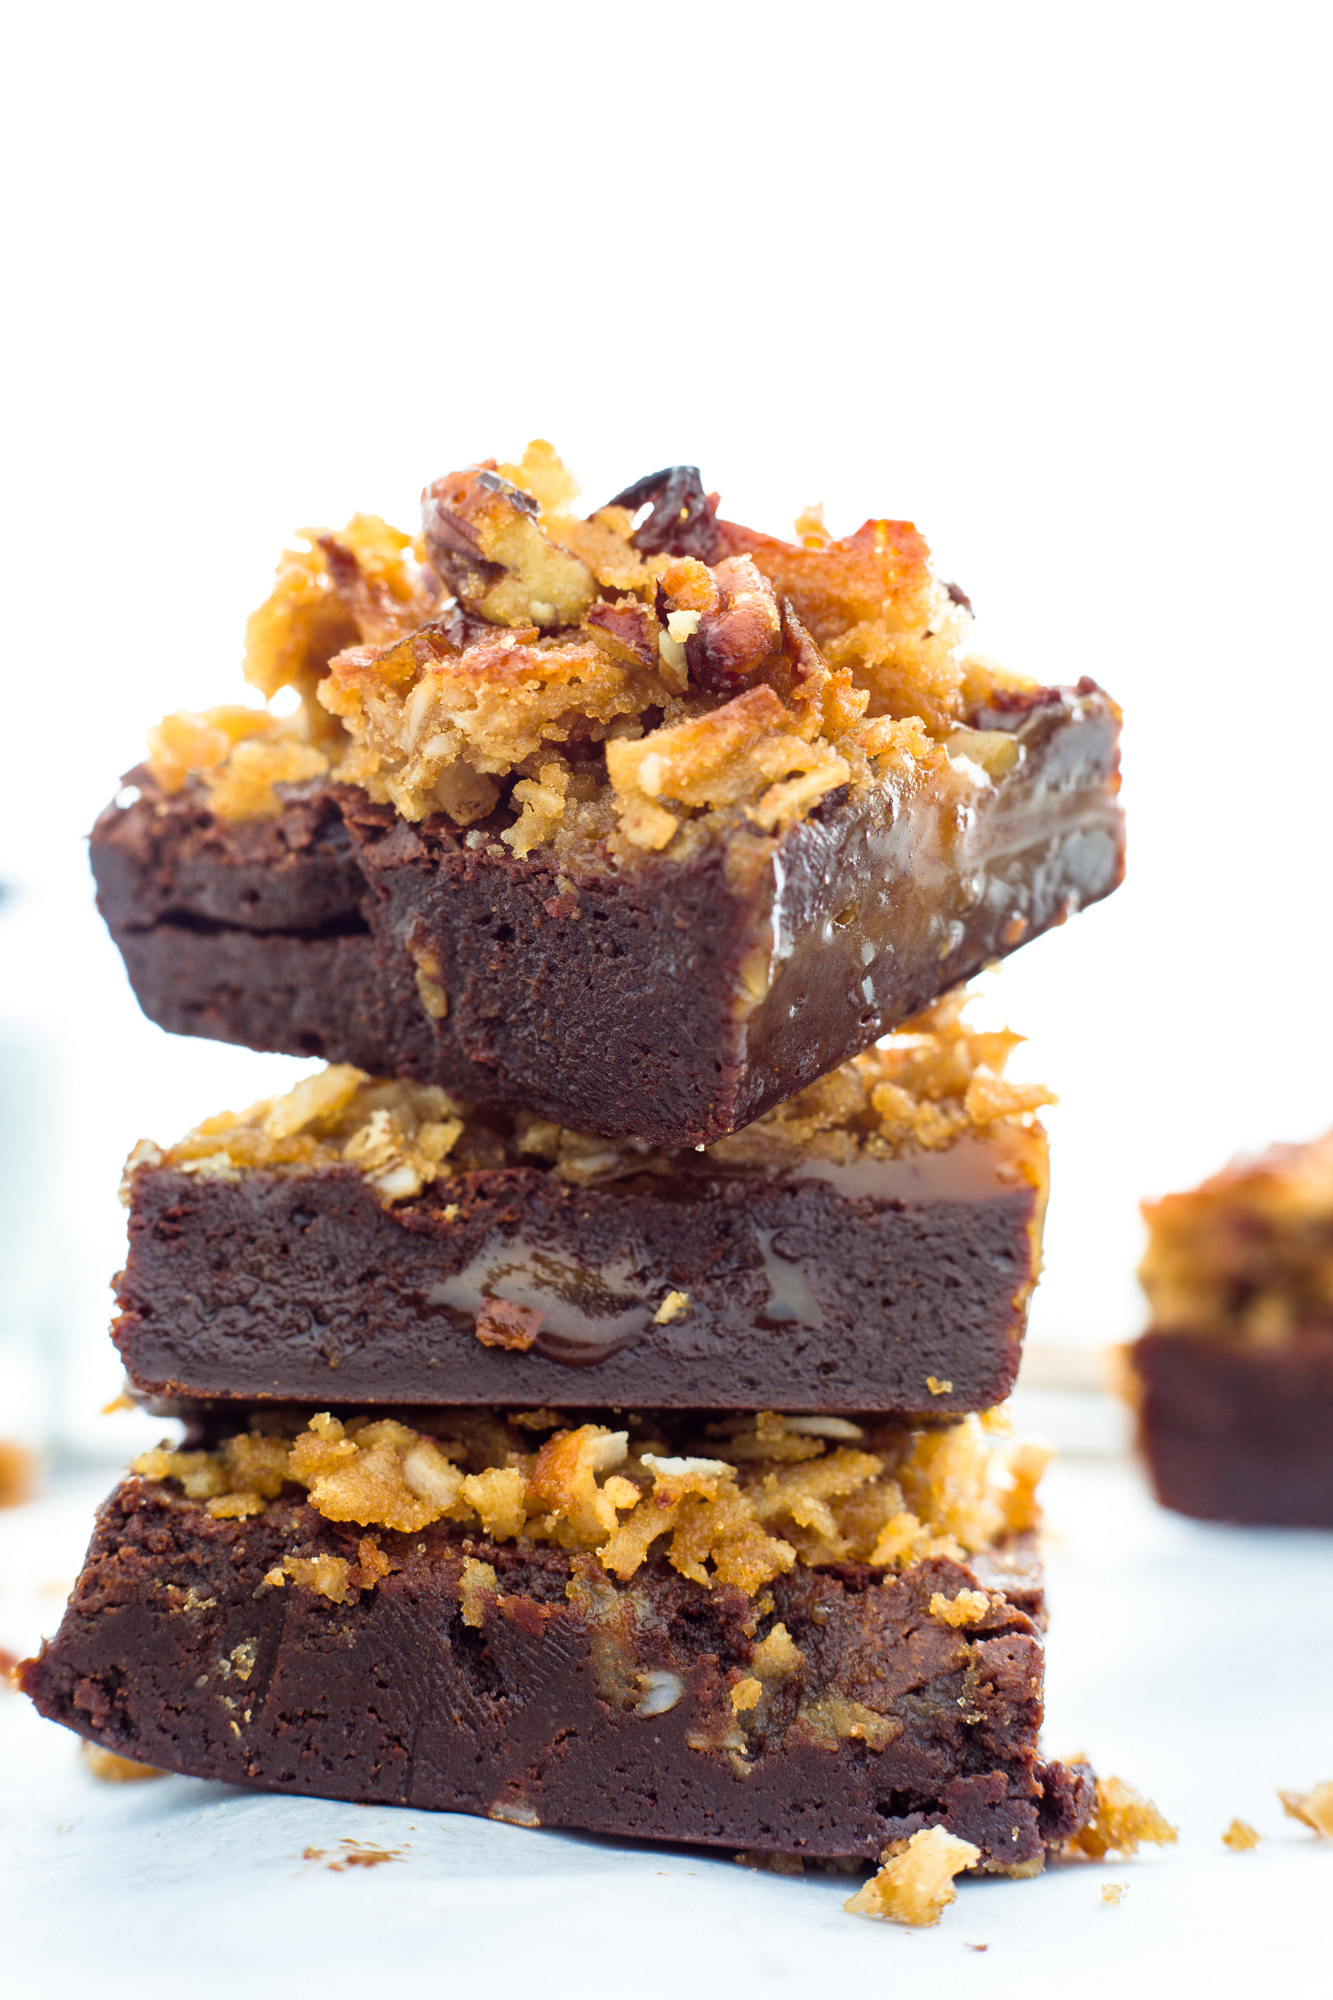
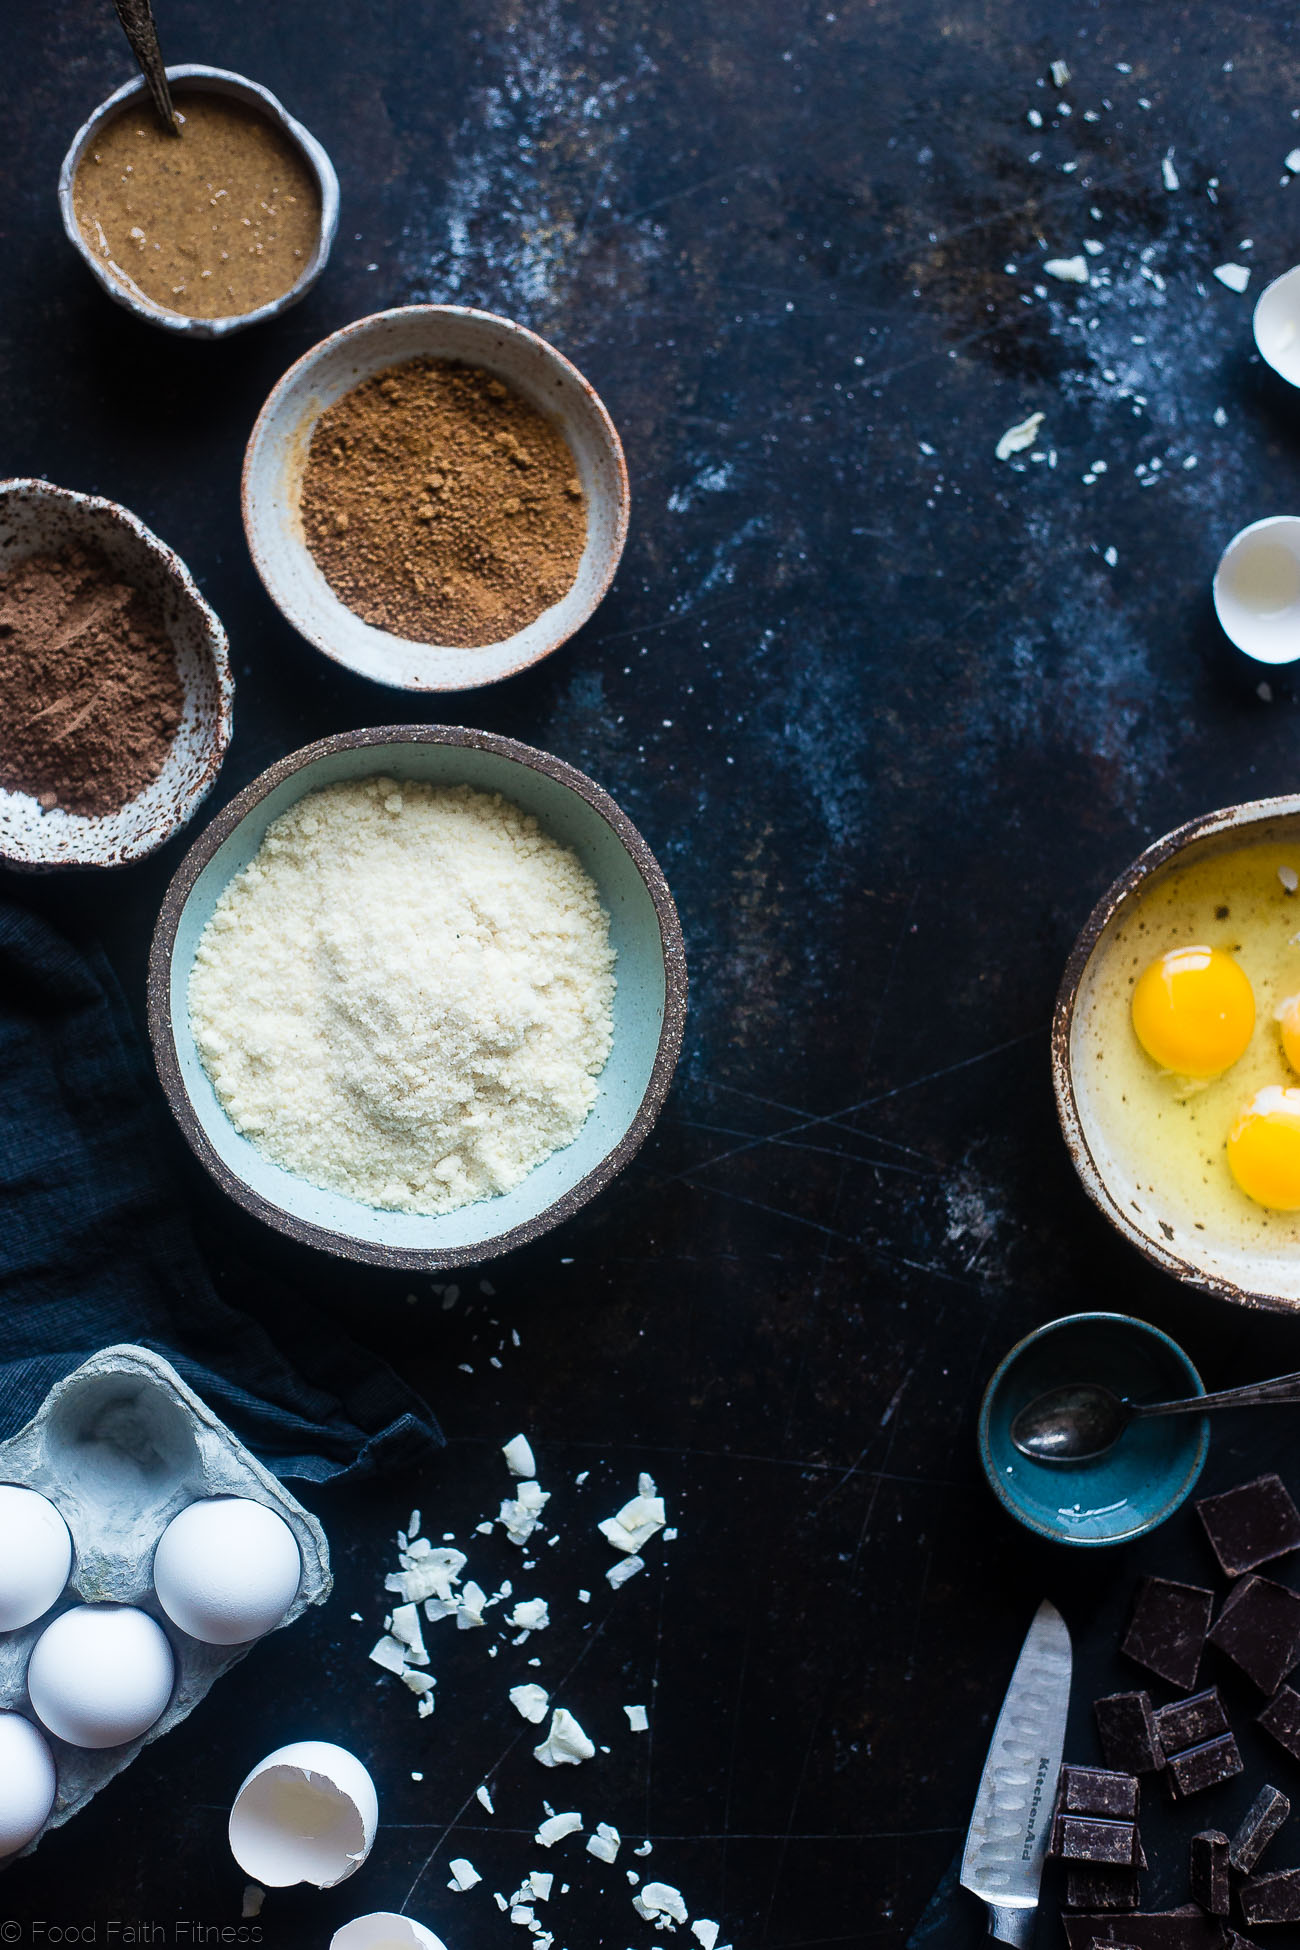
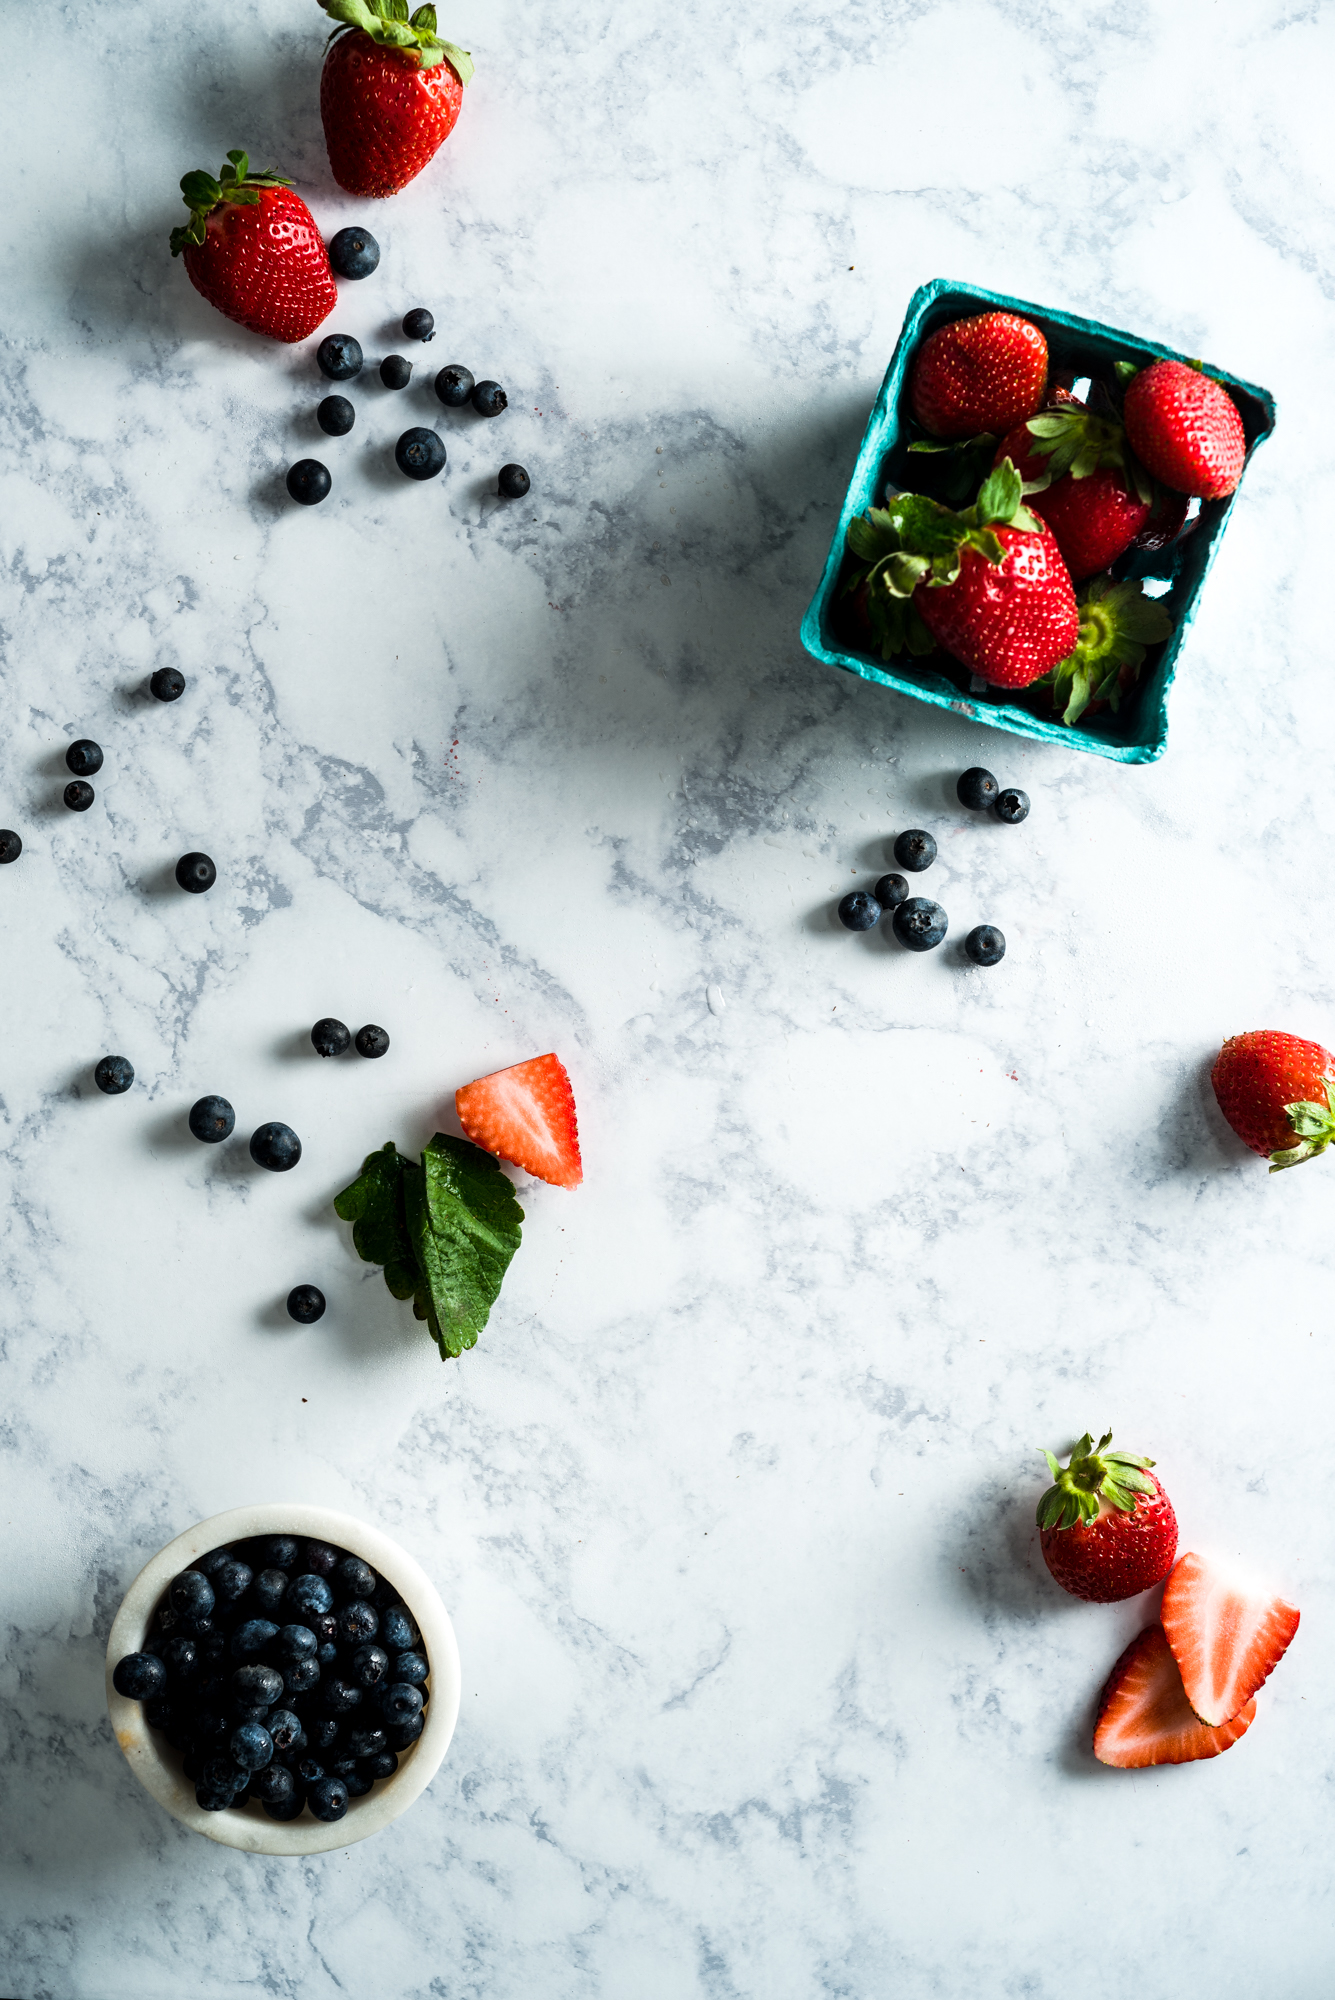
  1. Coconut Almond Skillet Paleo Brownies– WHAT?!! Do you SEE these photos? I am seriously going to make a surface like that as soon as I can. Stunning! And how cute is Taylor?!

Bailey's Brownies

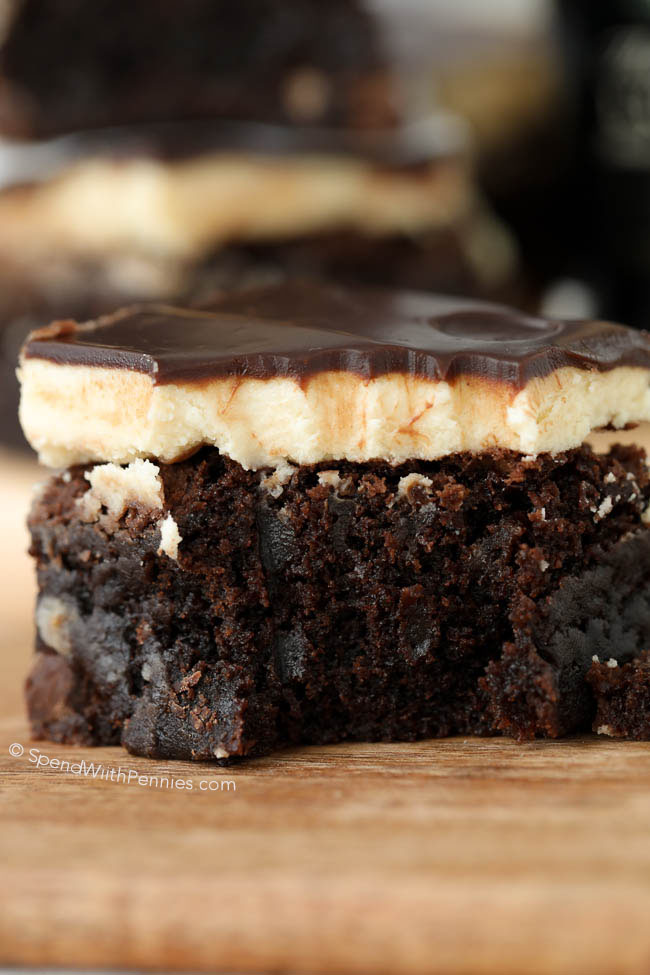
2. Bailey’s Brownies– I am a sucker for Bailey’s, and that cream layer on the top?! Dreamy! This recipe and photo from Spend with Pennies looks delicious!

Brownies 2!

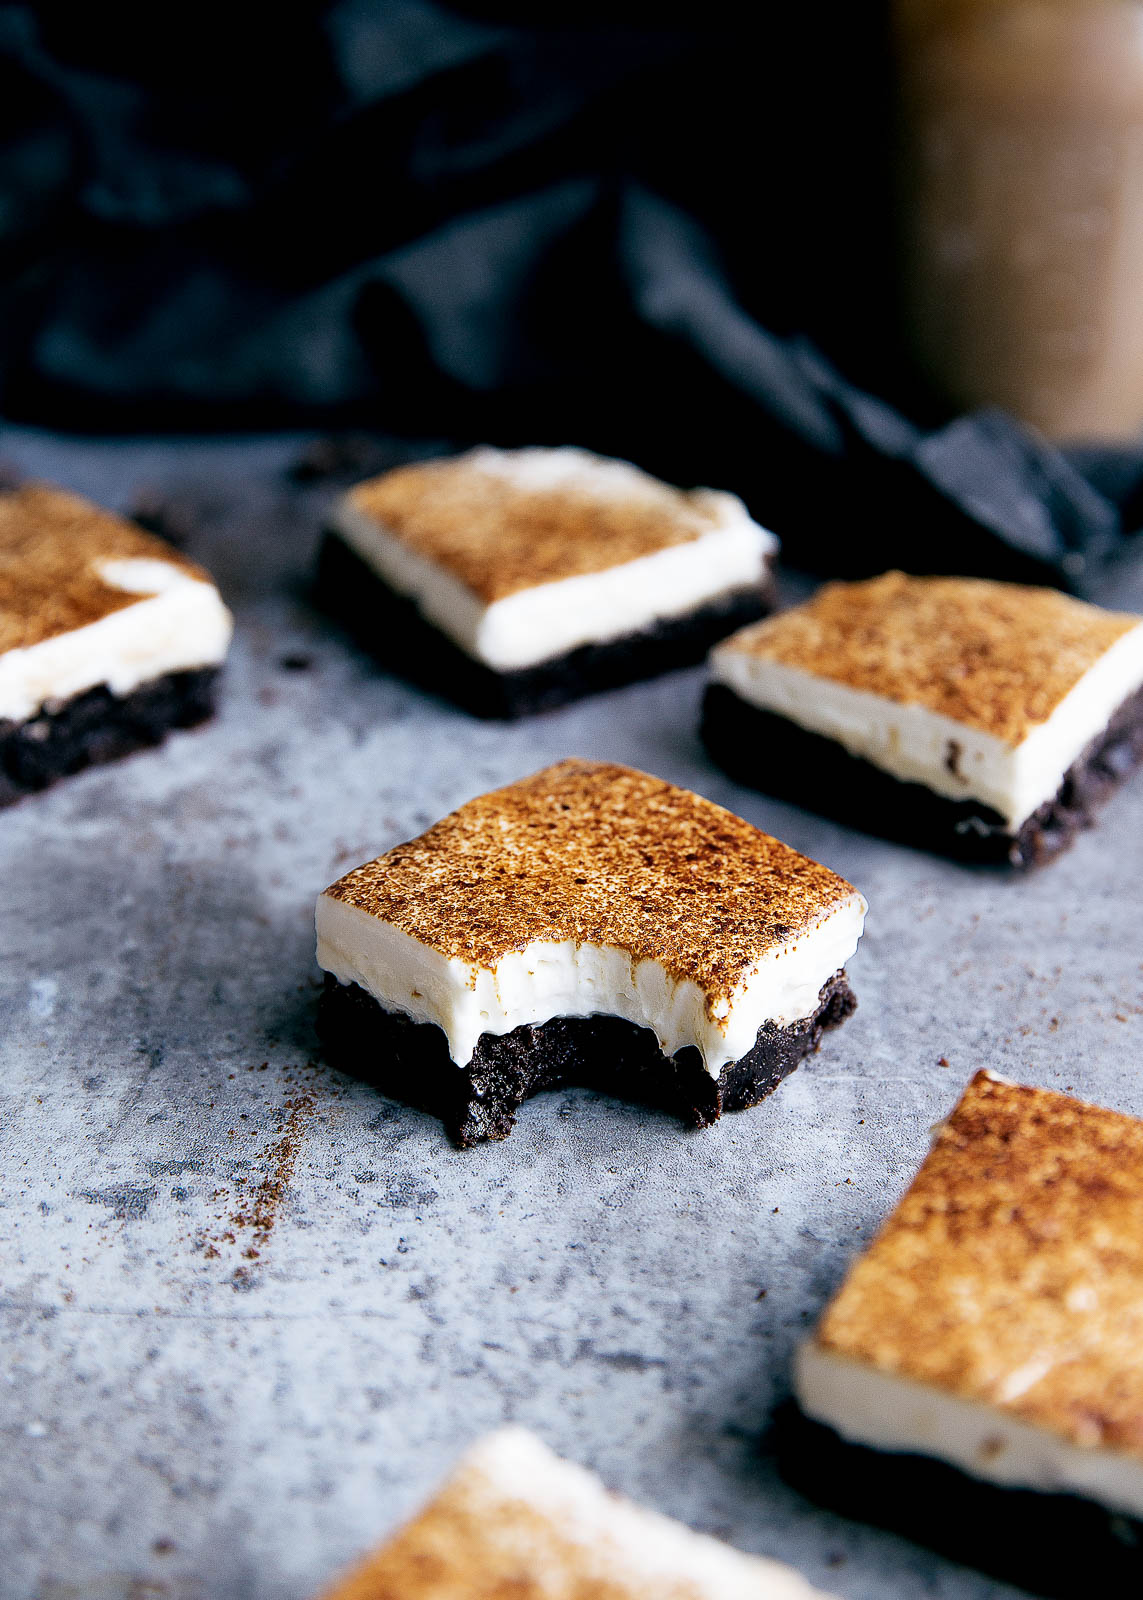
3. Yammie’s Flourless Crunch Marshmallow Brownies I was literally so excited about these brownies that I clicked to open them three times from Pinterest. They have: peanut butter, Rice Krispies, chocolate, marshmallows, more marshmallows…

Salted Caramel Brownies!

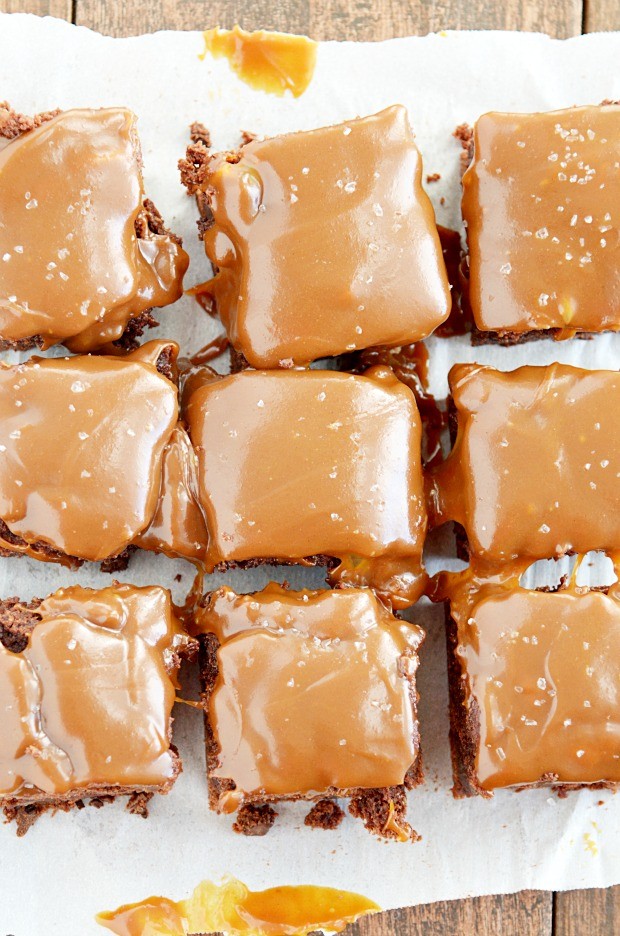
4. Salted Caramel Brownies– My mouth is now watering. Something Swanky is the cutest site! Full of so much color, fun, and mad dessert love. My kind of gal!

Tiramasu Brownies!

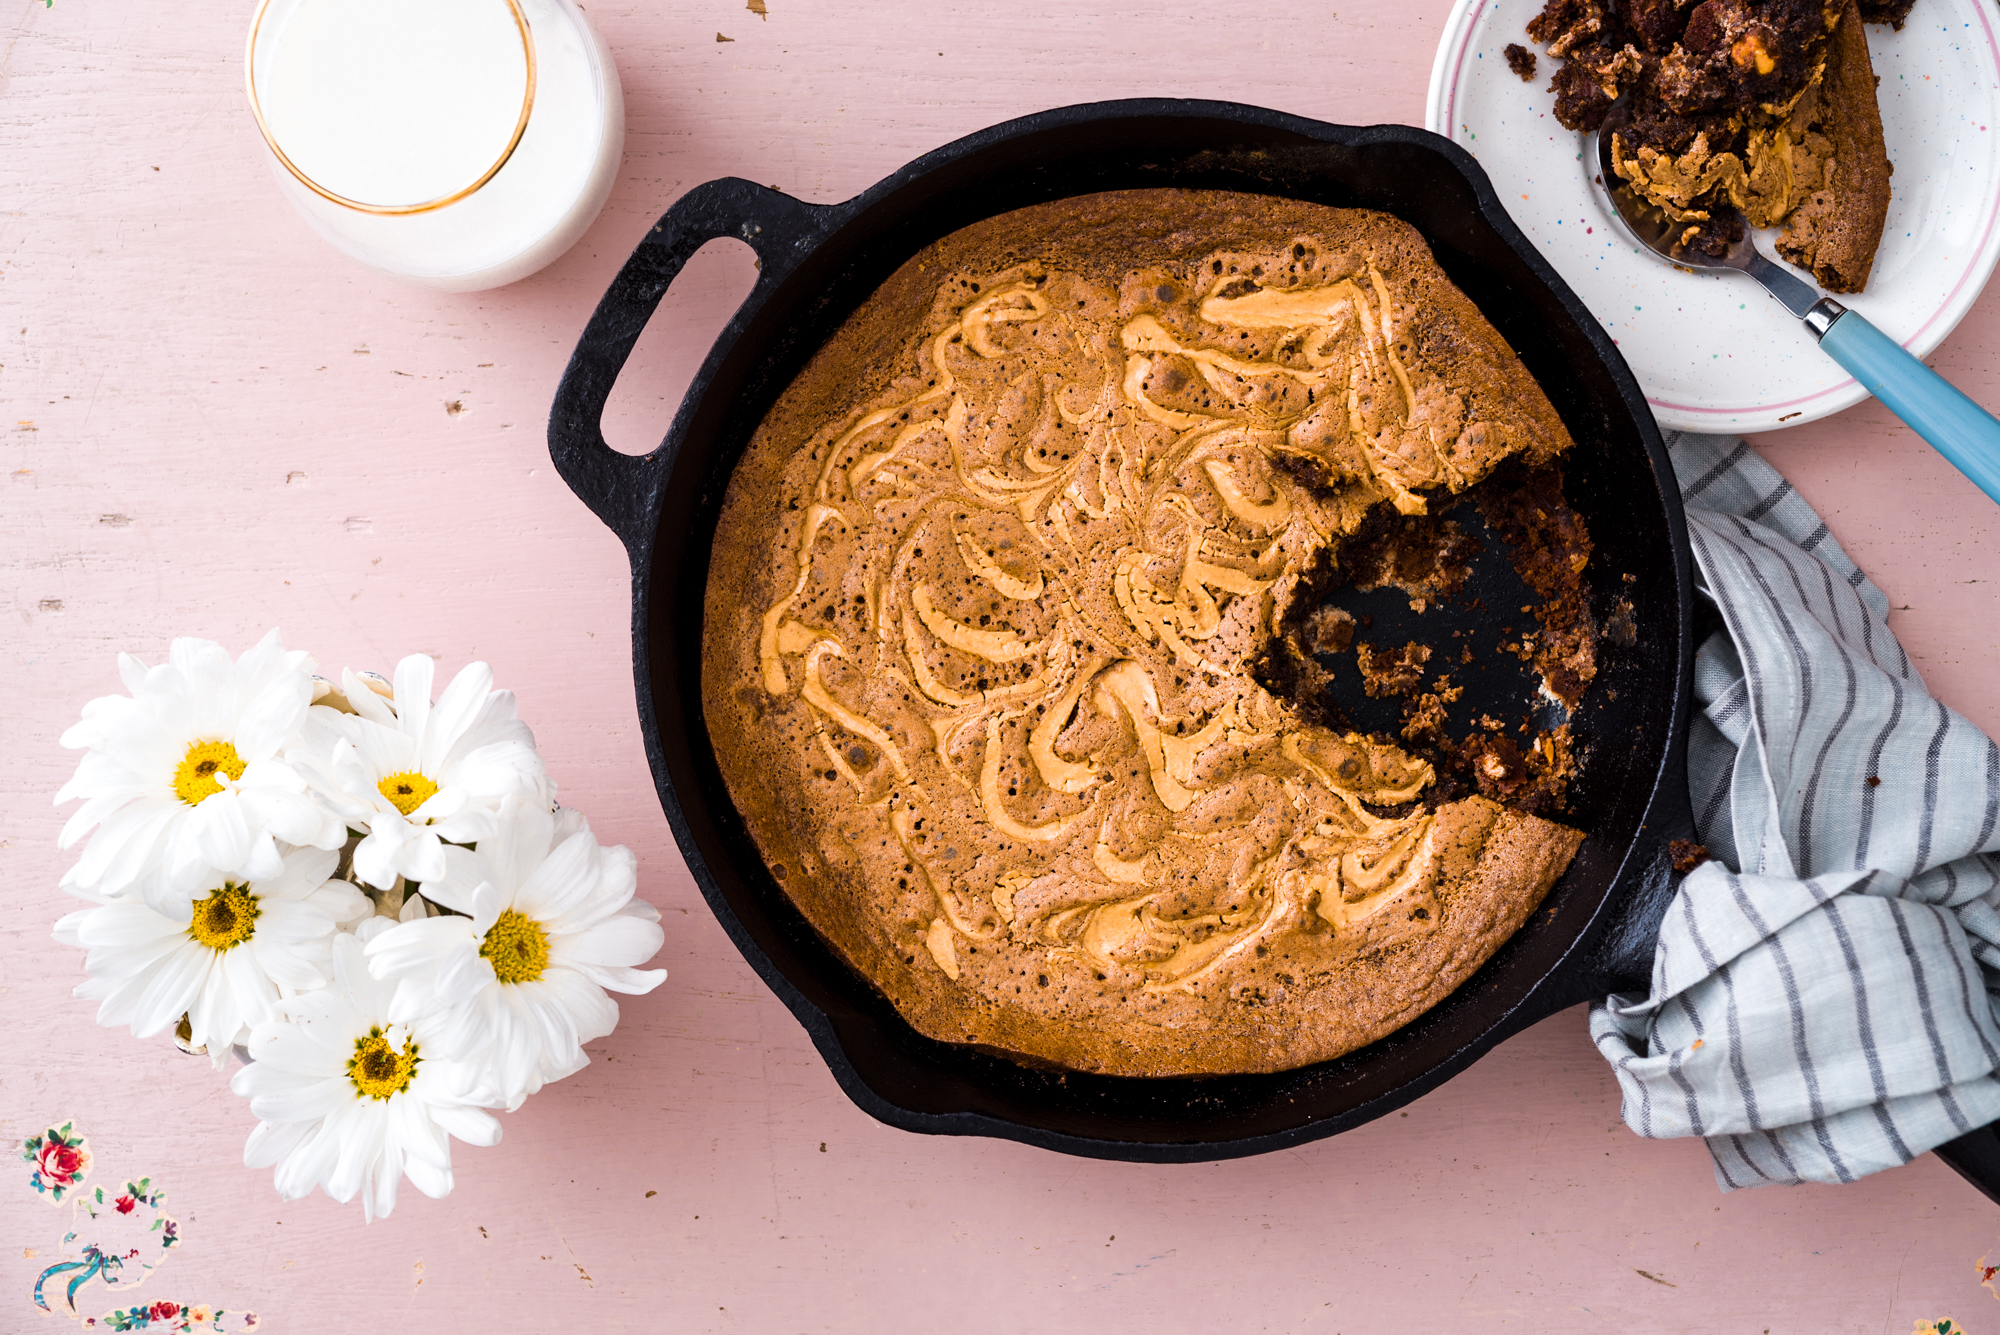
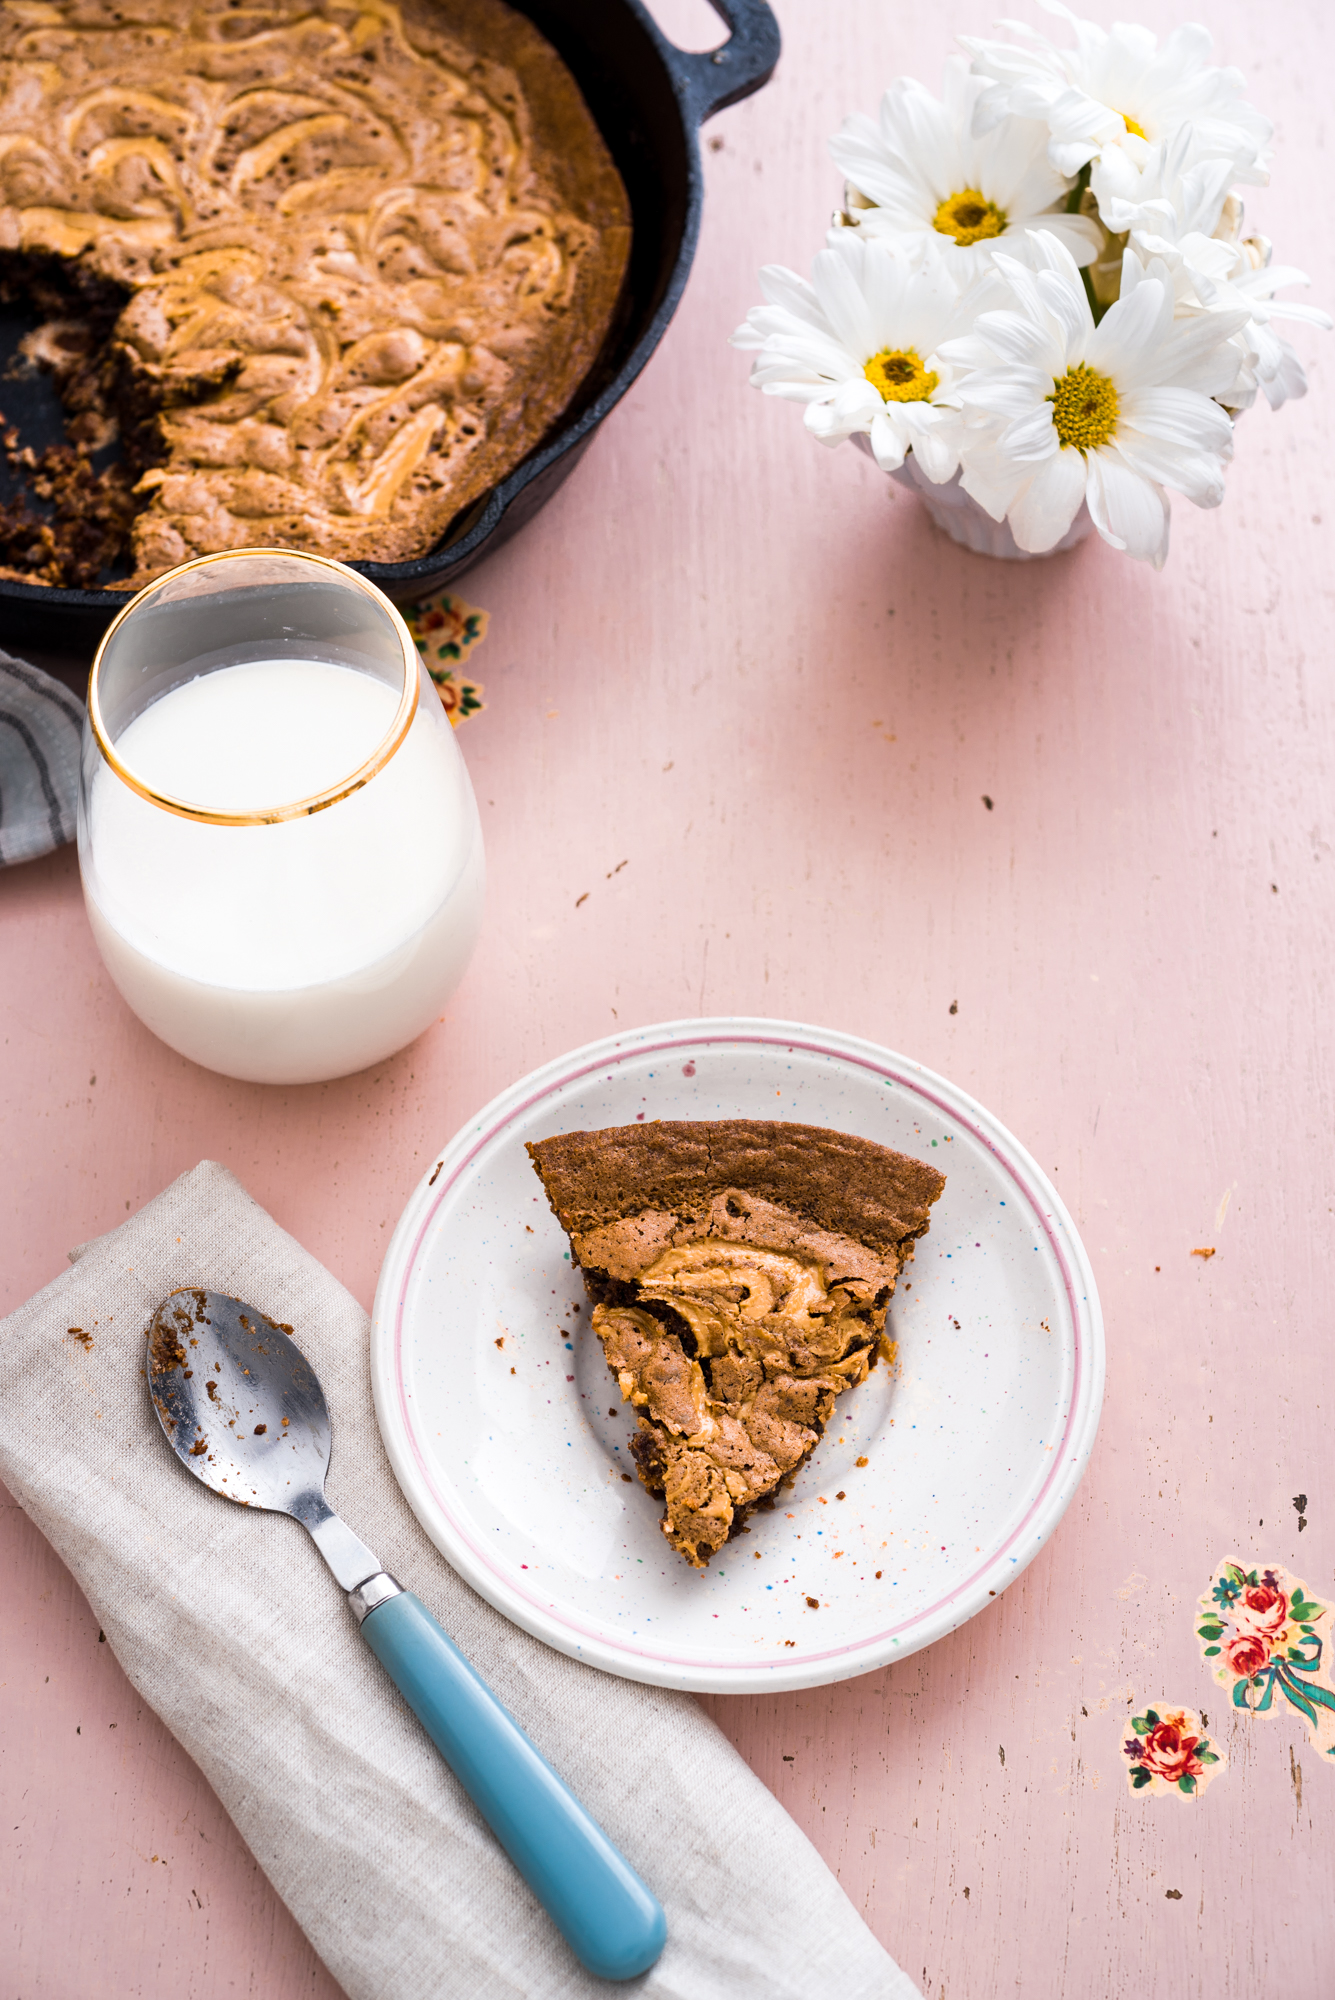
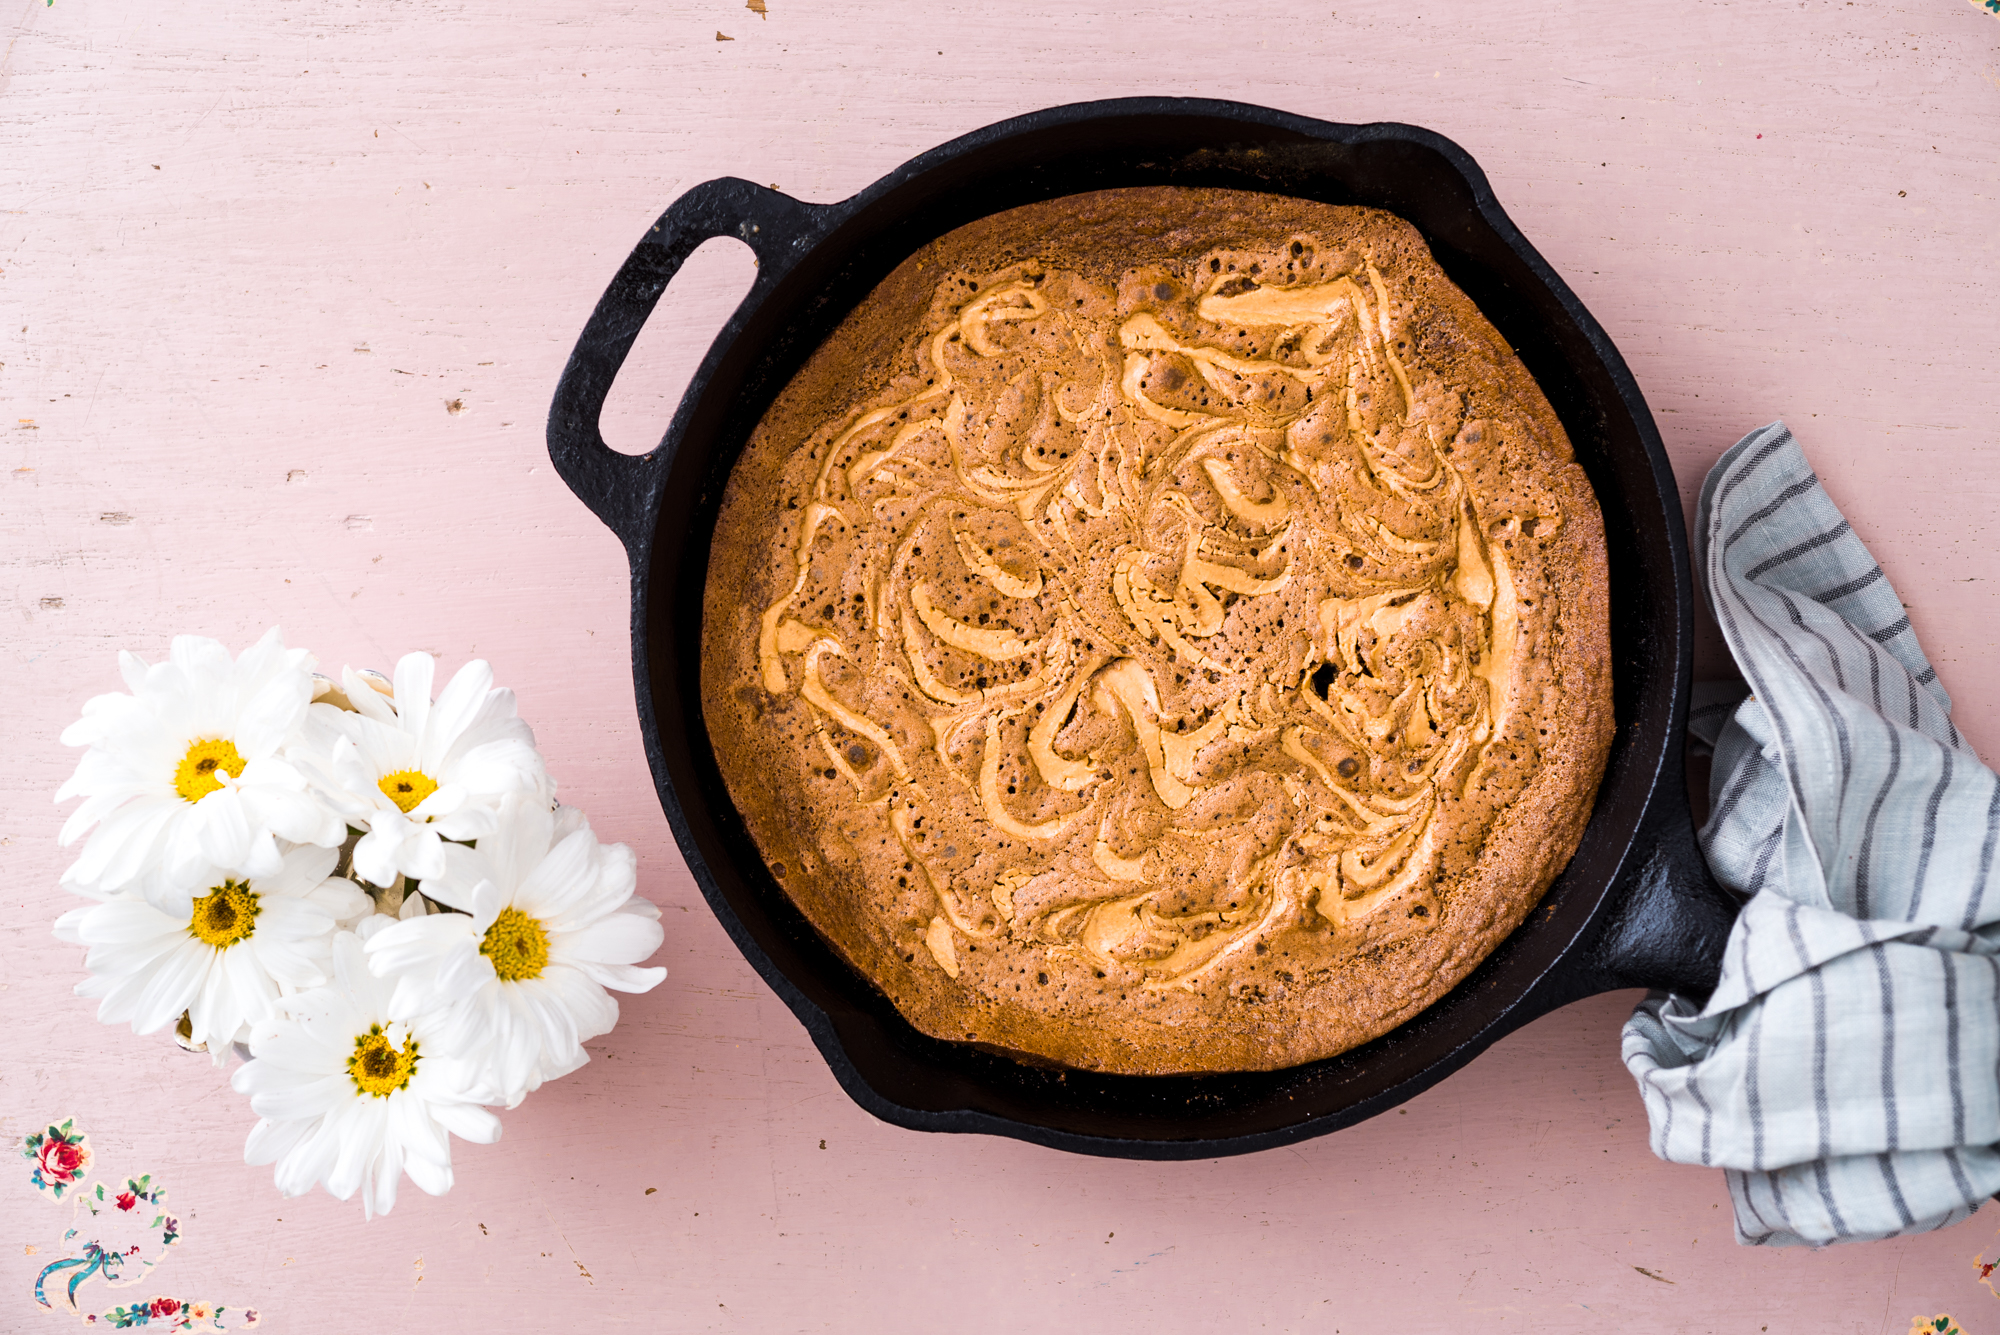
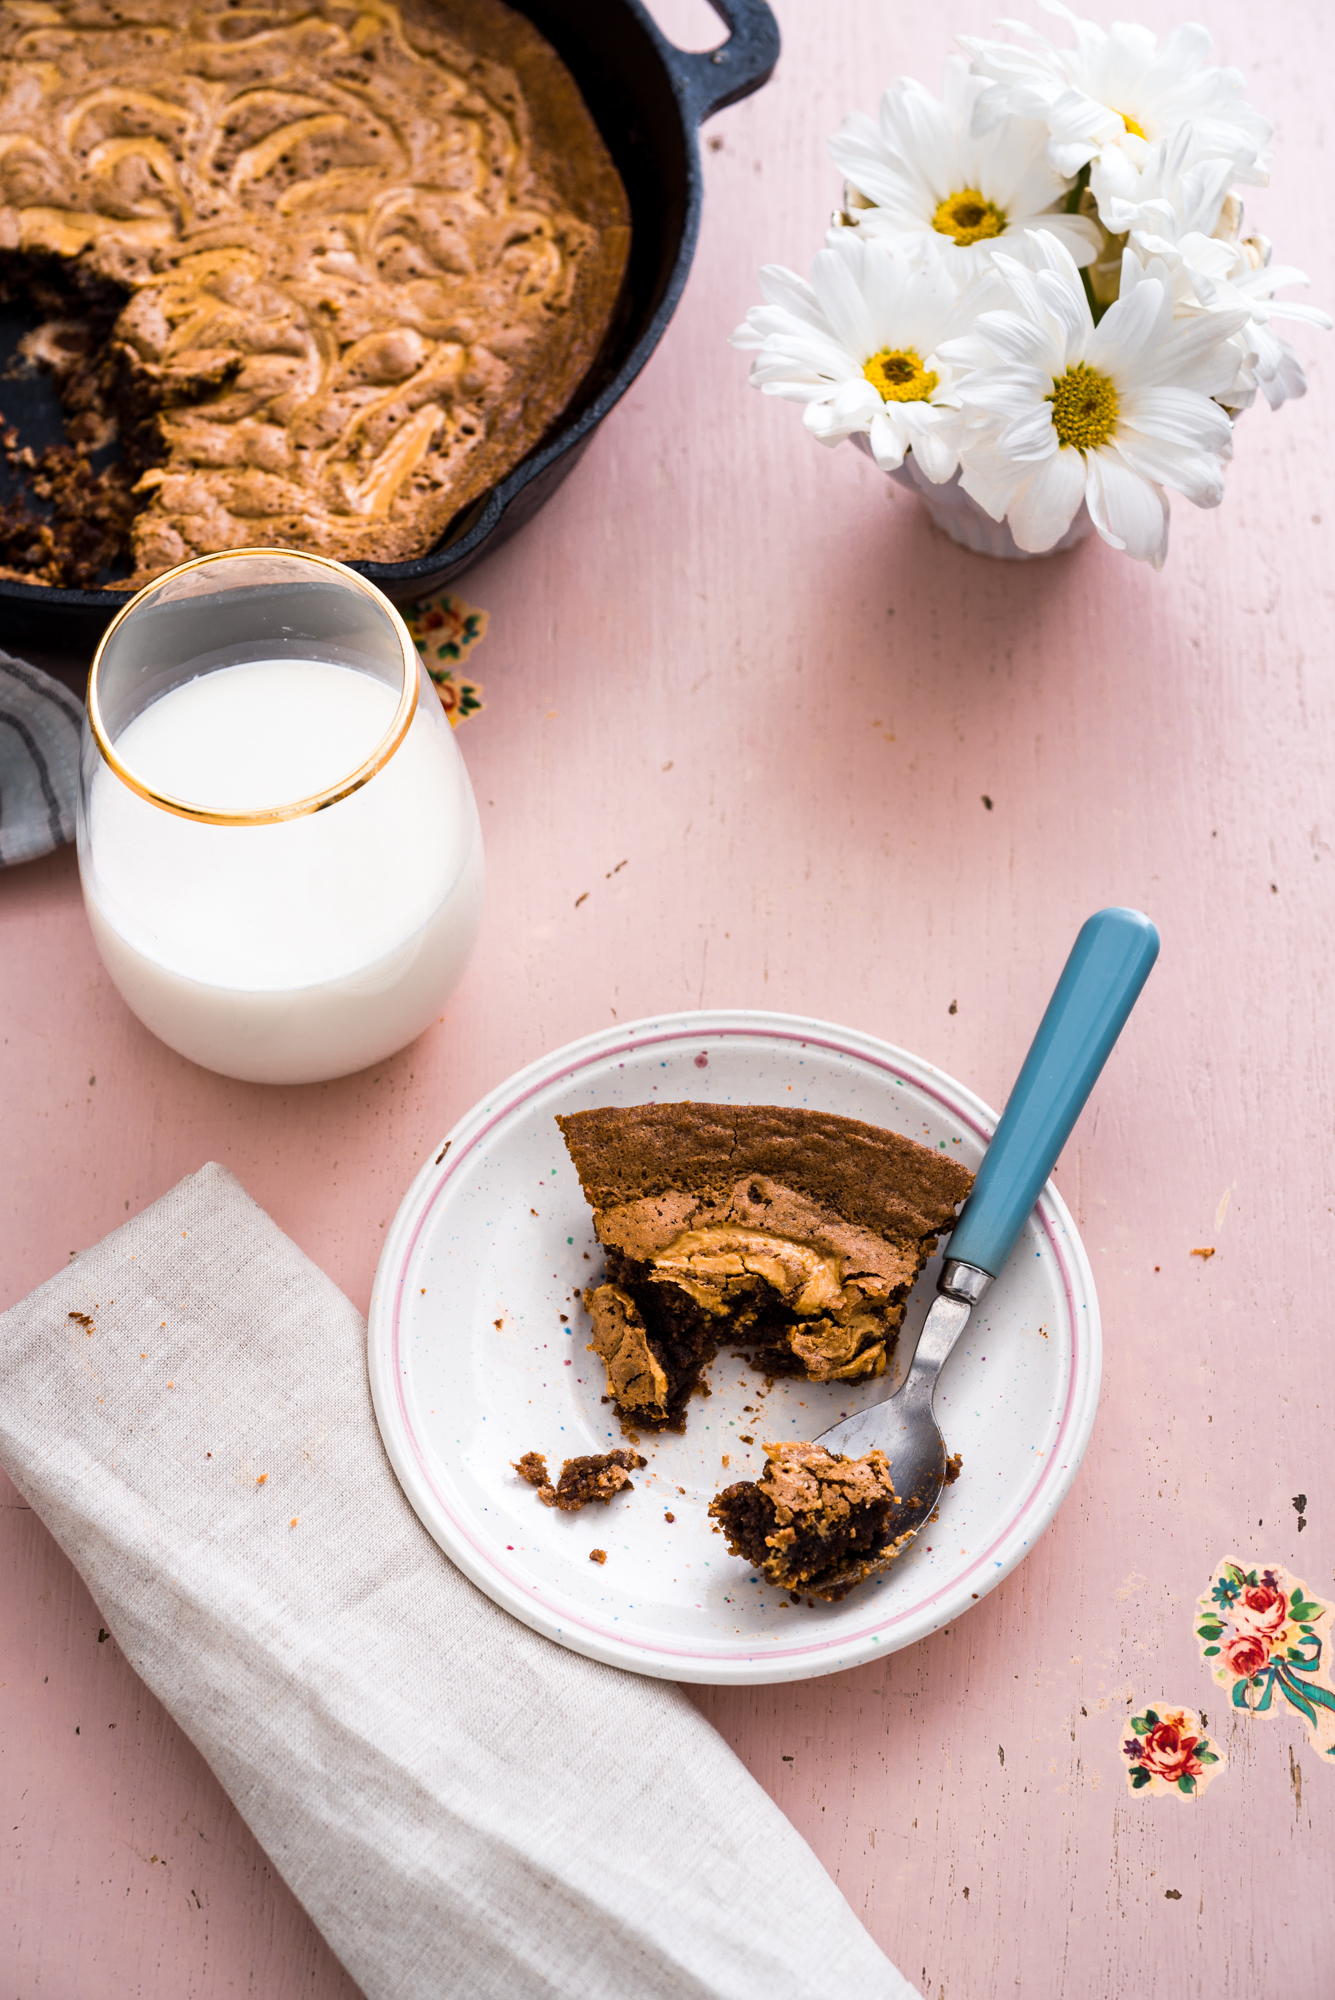
5. Tiramisu Brownies: You had me at COFFEE BROWNIES! These photos and recipe by Broma Bakery are so beautiful, so lovely, and so perfect for breakfast. And dessert. And a snack. And really anytime you feel you need a tiramisu brownie.

Also this week- The 5 Things I Keep in My Fridge!! Because who doesn’t like to spy in other people’s refrigerators? **

**Note: Cleary there is often MORE than five things in my fridge. Especially if I am prepping for a food shoot (normally I am banging my head against a shelf in my freezer during that time; Lord send us a double fridge!).  But on a weekly basis, Jake and I have developed some staples that keep us going and on a (somewhat) healthy track. After all, what is a routine if you don’t have easy access to coffee bombs?:)

So, here’s our list in a non-video form:

Fruit is a fridge staple!
  1. Almond milk: I love unsweetened vanilla almond milk! I drink it all the time with cookies; add it to my cereal, and smoothies, and to powdered peanut butter. I also sometimes substitute the unsweetened original flavor for dairy in soups! It’s a good swap if you need it. We buy ours in the three-pack from Costco.
  2. Yogurt: Whole milk, plain yogurt has become a fridge staple for us. I love Stonyfield Organic whole milk yogurt and my current FAVE thing to do with yogurt is stir in some powdered or regular peanut butter, cocoa powder, a bit of stevia and cinnamon, and voila! It’s like a pseudo peanut butter cup.
  3. Green apples: Green apples cold from the fridge are the best! I chop them up, toss them with cinnamon, add them to oatmeal, dip them in peanut butter- lots of fiber and possibilities there.
  4. Eggs: We also get a 24 count flat of these from Costco! My favorite use is to soft-boil them. Just lower eggs into boiling water, cover, and then take your pot off the heat for about 8 minutes. Rinse the eggs under cold running water and peel. The centers are beautifully runny and fabulous on toast and in broth or with Asian food.New-Year-Smoothies-063

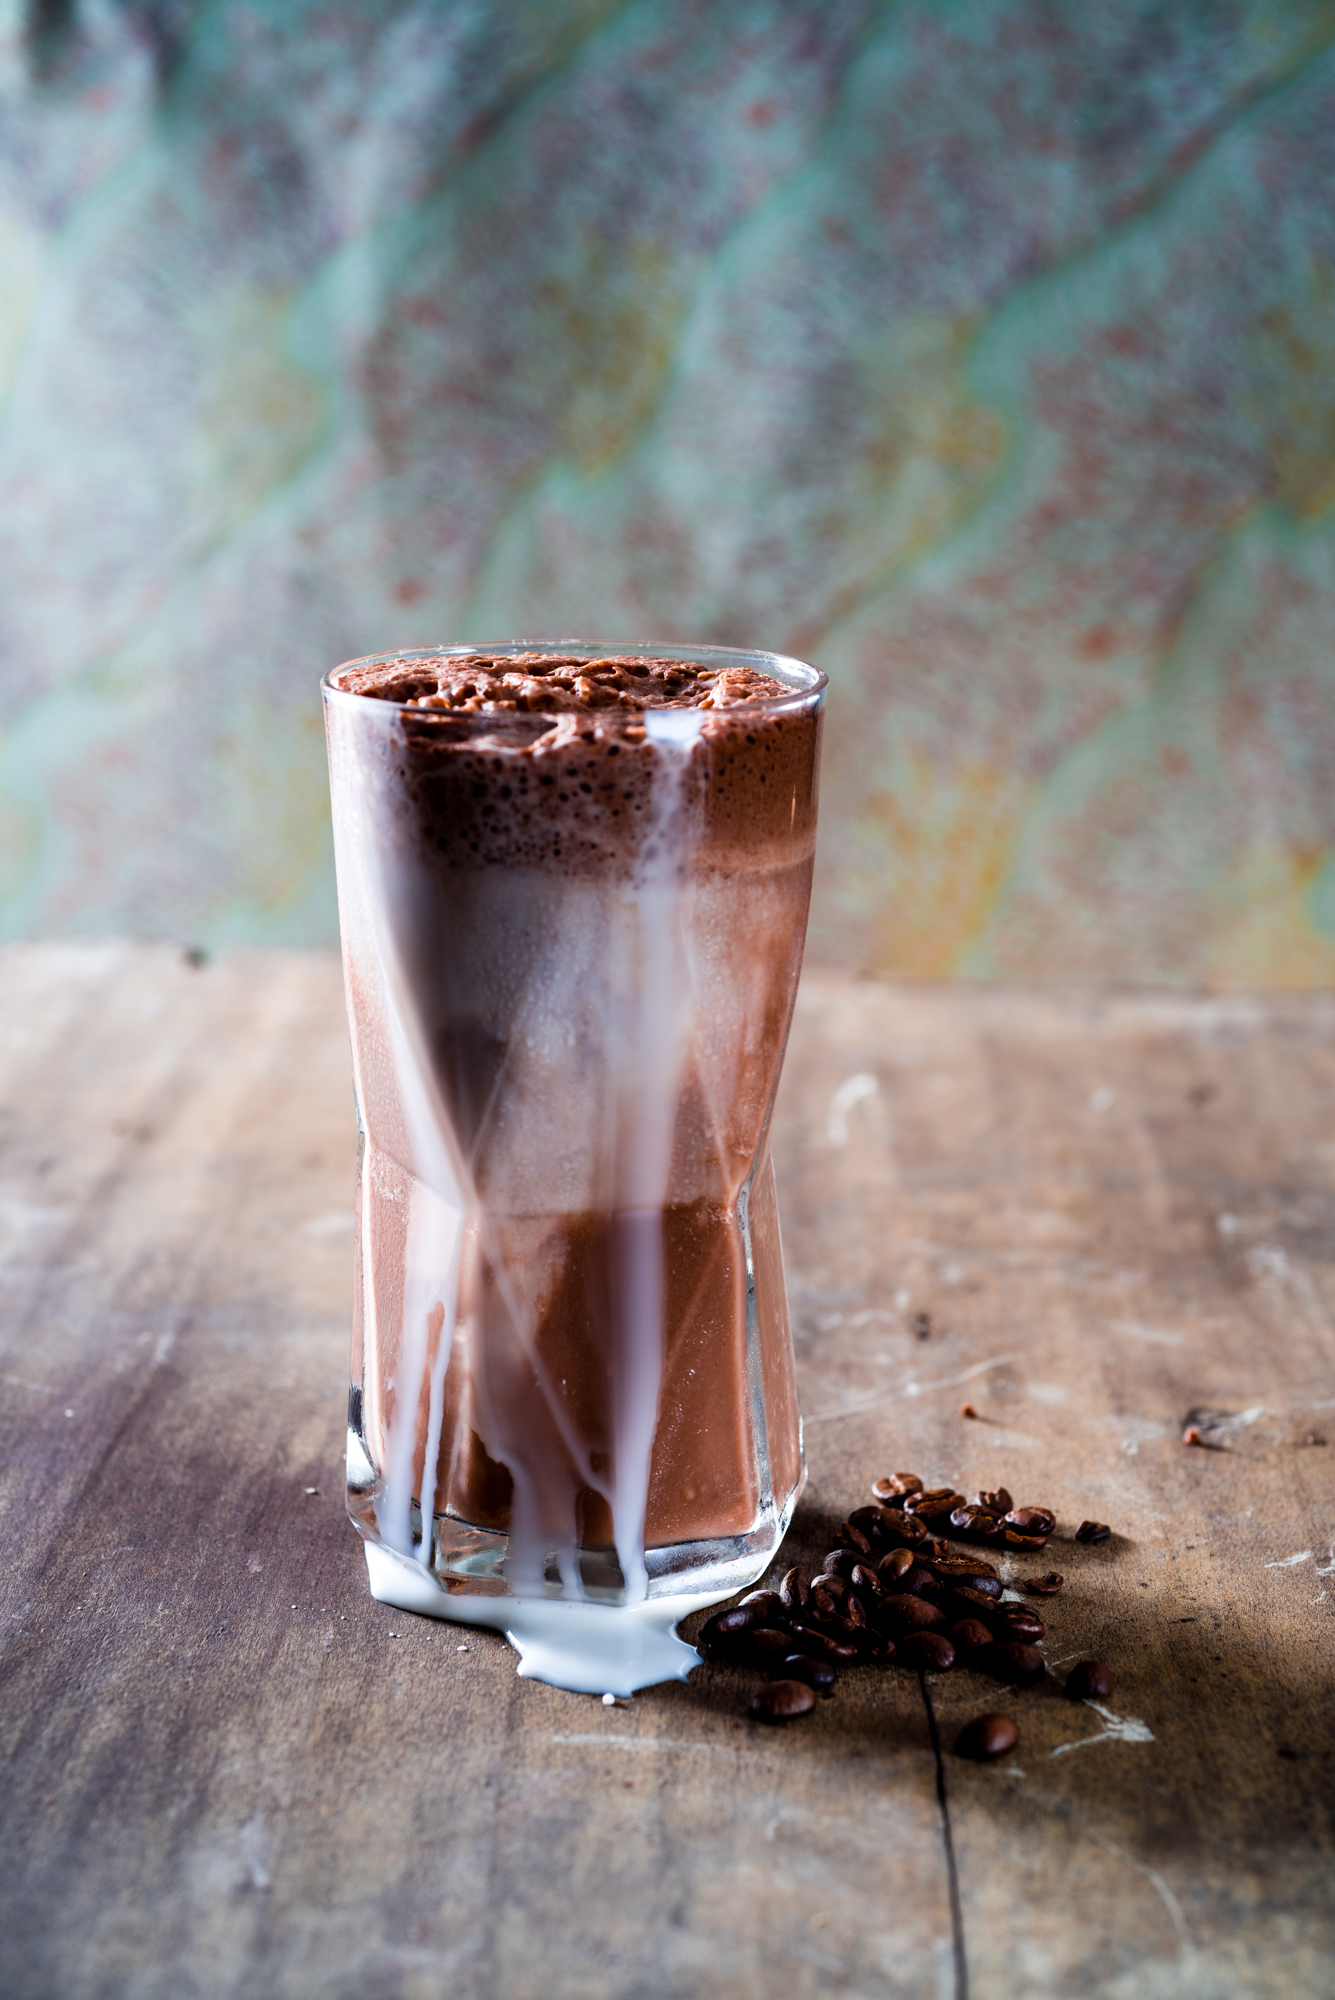
5. Coffee bombs: Y’all know how passionate I am about Ladybird Provisions and their coffee bombs. They are a part of my coffee routine on the daily and I try to always have stacks of them in the fridge! The smoothie above was made with a coffee bomb in it:)

Happy weekend everyone! May your tummies, and fridges, stay full!


Peanut Butter Swirl GF Brownies + Baking in a Cast Iron Skillet

Peanut-Butter-Swirl-Skillet-Brownies-031

Morning my lovelies!

I hope your week has been full of joy and fabulousness. Mine has been a bit crazy, as my husband threw his back out yesterday, our dog had to go to the vet and have an X-RAY OF HIS STOMACH because he swallowed our bathroom drain, my husband’s favorite baseball hat, and the back end of two of my razors, and our dishwasher almost fell out of the wall.

Yep! I know what you are thinking, bless our hearts! Praise the Lord we made it!

Now, as part of this month’s one recipe four ways series, it is finally time for me to give you a full-throttle indulgent recipe that is the epitome of comfort food. If you’ve had a stressful week (#puppies #hubbies #life) then this is the PERFECT way to unwind. Baking is my stress therapy, and these brownies, along with a glass of white wine and Jane the Virgin episodes- that’s a pretty perfect wind down on a Friday night.

Peanut-Butter-Swirl-Skillet-Brownies-050

Also this week I discovered the awesomeness of BAKING in my cast iron skillet. Cue childhood drama and/or a bit of a back story on my relationships with cast iron skillets:

Growing up in the South, one’s relationship with the cast iron skillet was, and still is, a status symbol. Inevitably, you invite your neighbor/Southern friend over to eat at your house and, very politely, albeit inconspicuously, said person would start to wander around your kitchen, eying your cookware, looking for your skillet- only to judge it’s state of readiness to fry a piece of bacon or chicken at a moment’s notice. Seasoned and ready to go? You obviously know your way around a biscuit.

Rusted and/or hidden from site? Good luck with your future.

But a great cast-iron skillet is a bit like having a puppy. It requires a good amount of care, training, and persistence to function at peak performance.*

CUE Bigbsy (our puppy) and I’s YouTube video here!

That’s why baking in a cast iron skillet is pure brilliance. I first learned about all the reasons why this is awesome from Serious Eats‘ J. Kenji Lopez-Alt, and his book The Food Lab. This has become my BEST cooking and food styling resource- it is one of the best purchases I’ve made in my career as an at foodie girl boss. I highly recommend it.

Kenji explains that cast iron’s specific heat capacity is lower than aluminum (what some cookware is made of) and because it is so dense you get double the amount of heat retention (for the same size pan). Which means- the pan DOESNT COOL DOWN when you add food to it. Other pans may drop in temperature up to 300 degrees, but cast iron should stay at about it’s original temp. In other words, your cornbread, pies, rolls, even brownies- get a crisp, evenly browned crust around the batter. Also, if you have an ahem, older…. oven like myself it’s ability to maintain heat even when your oven temp fluctuates is awesome. It ensures that even if the temp sways, your dark, fudge brownie crust will not.

These are all great things! However- here is the trick with cast iron. Until a great layer of seasoning has built up in your pan, things (baked goods, eggs, vegetables) will stick to it. So you have to take lots of care, especially when baking, to make sure the surface of your pan is properly greased.

And this leads me to this week’s recipe from @thekitchn. This is why their team knows what they are talking about and are brilliant in baking. They understand a Southerner’s pride in their cast iron skillet and the science of proper lubrication on the cooking surface. In their gluten-free skillet brownies, you melt the butter in the cast iron skillet, THEN use that butter to prepare the pan’s surface and stir into the batter. Perfect.

So, in the spirit of all things warm and Valentinesish (yes, that is a word), I want to encourage you to whip out your cast iron pans this weekend as  they are the BEST way to feed your guests a bunch of brownies while they are still hot.

Peanut-Butter-Swirl-Skillet-Brownies-026In fact, choose to invite those people over who may be eying your cookware, looking for a skillet. They’ll be surprised to find that you thought ahead- and, at the end of the meal, pulling your skillet brownies out of the oven pretty much qualifies you as a cast iron rock star.

Peanut-Butter-Swirl-Skillet-Brownies-055

Peanut Butter Swirl Skillet Brownies (adopted a bit from The Kitchn Speculoos-Swirl Brownies)

This brownie is amazing on two levels: first, it utilizes a cast iron skillet for baking, which ensures an evenly crisp brownie crust and fudgy center. Second, the bake time is around the 35 minute mark, and you can wow guests at the end of the meal with a dessert everyone can dive into.

What You Will Need:

8 tablespoons (4 ounces) butter
1/4 cup unsweetened cocoa powder
1 cup light brown sugar
1/2 teaspoon salt
1 teaspoon vanilla extract
2 large eggs
1/2 cup almond flour, sifted
3/4 cup peanut coffee nut M&M’s (Any M&M will do, but the coffee flavor is fun here. If you are concerned about gluten contamination, you could do the standard M&M just in case!)
2 heaping tablespoons peanut butter (Nutella or almond butter would be awesome too)

What You Will Do:

  1. Melt the butter in an 8- or 9-inch cast iron skillet over a medium heat.

2. Pour the melted butter into a large mixing bowl, leaving a film of butter on the pan (make sure you swirl the butter around in the pan to evenly coat the surface and a bit of the sides).

3. Whisk the cocoa powder into the bowl with the butter. Add the sugar, salt, and vanilla, and whisk until well combined.

4. Whisk in the eggs, one at a time, then sift in almond flour through a strainer (this avoids lumps). Whisk well. Fold in the M&M’s.

5. Pour the batter into the pre-greased cast iron skillet.

6. Melt the peanut butter on high for 30 seconds; stir, then 15 more seconds, until it is runny. Drop dollops of the melted nut butter over the top of the pan, from around the rim to the center of the brownies. Using the pointed tip of a steak knife, gently swirl the speculoos into the brownies, running the knife lengthwise and crosswise, and making swirls too- really any way you feel!

7. Bake for 30-35 minutes. Test the brownies by inserting the tip of your steak knife into them to make sure the tip comes out clean.

8. Either serve the brownie in scoops to your guests and top with ice cream, or allow to cool completely before cutting into wedges and eating. ENJOY!!!

*This example, and all of the verbiage on cast iron cooking and science, taken from The Food Lab!! Can’t say enough about that book!

Gluten Free Toasted Pecan and Coconut Caramel Brownies

Coconut Pecan Brownies Gluten Free-114


People who bake know that there are certain things you just do. One, you use flour- sifting it with baking powder for cakes, sprinkling generous amounts of it on a board before kneading dough,  stirring fluffy white batches in for cookies. Second, you use an oven; prepping it until it is blazingly hot and then lovingly pushing your doughy creation into the heat box.

However, baking in the South is a bit of a different story. One, it’s ALMOST SUMMER and no one south of the Mason Dixon line should turn on their ovens. This general rule applies from the months of June until at October. The high outdoor temperature combined with additional indoor blasts of heat equals hair frizziness, a higher likelihood of swear-word-slippage and all-around moodiness.

But the second rule- always using flour- I thought was inescapable. What good cook makes biscuits without White Lily? I can’t bring a banana bread made with millet to a bridesmaids brunch! Where I grew up, it’s about like going to Publix without your makeup on and running into your former high school guidance counselor- nightmare! In so many ways in my life, it’s hard to escape that good ol’ Southern upbringing.

Recently, though, my pride hit the fan when I realized my stomach wasn’t bouncing back from a (let’s say, ahem, “international stomach incident”) like I had in the past. After doing some research, I realized that gluten can be a culprit in stomach uneasiness. And Lord a livin’, how this move from wheat has changed my life!

Coconut Pecan Brownies Gluten Free-123

Y’all- I feel so much better, my head feels clearer, and there is an all-around feel-good to my eating that I haven’t had for a long while. But it doesn’t change the fact that I still loooove sweets, and you know, brownies. So here is my attempt at baking a gluten-free recipe from the wonderful, beautiful, inspiring blog The Little White Kitchen. Because you can take the gluten out of the girl, but you can’t take the biscuits out of her psyche. Or the brownies.**

Coconut Pecan Brownies Gluten Free-139

**I’m still working on standing tall when buying gluten-free rice crackers in the aisle at Fresh Market.  If anyone out there has any additional confidence builders, please share.

Toasted Pecan and Coconut Gluten-Free Brownies (from The Little White Kitchen )

What You Need

One batch of brownie dough (recipe below)

One batch of caramel sauce (recipe below)

One batch of pecan coconut topping (recipe to follow)

What You Will Do

STEP A: Make the caramel sauce. Recipe is below:

Caramel Sauce

What You Need

  • 3/4 cup sugar
  • 2 tbsp. corn syrup
  • 1 1/2 tsp water
  • 3 tbsp. unsalted butter
  • 1/4 cup heavy cream
  • pinch salt

What You Will Do

1. Put the sugar, corn syrup and water in a small saucepan. Cook the sugar mixture over medium heat without stirring. With a pastry brush and some water, rinse off any sugar crystals that may form on the sides of the pan.

2. Gently swirl the pot as the sugar melts, but don’t stir (that could crystallize the sugar again). Just keep on swirling it, especially if one side of the pan starts to melt more quickly than the other.

3. Once the caramel reaches a medium amber colour, remove it from the heat and stir in the butter. Whisk in the cream and salt.

4. Set the caramel aside until the first layer of brownie batter has been baked. Keep at room temperature.

STEP B: Bake the brownies.

What You Will Need

  • 10 tbsp. unsalted butter
  • 1 1/4 cups sugar
  • 3/4 cup + 2 tbsp unsweetened cocoa
  • 1/4 tsp. salt
  • 1 tsp. vanilla extract
  • 2 large cold eggs
  • 1/2 cup gluten-free flour blend (I used Bob’s Red Mill)

What You Will Do

1. Preheat the oven to 325 F.

2. Line an 8-inch square pan with parchment paper or spray thoroughly with cooking spray.

3. Combine butter, sugar, cocoa and salt in a medium bowl. Microwave on high for 1 minute and 30 seconds. Whisk until smooth and well-combined (It won’t be completely smooth here, but that’s ok).

4. Whisk in the vanilla, then whisk the eggs one at a time, stirring well until each egg is combined.

5. When the batter looks thick, shiny and well-blended, switch to a wooden spoon, add the flour, and stir until you cannot see anymore flour. Beat vigorously for 40 strokes more with your spoon.

6. Spread half of the brownie batter into the prepared pan and bake for 10 minutes.

7. Remove the pan from the oven and pour the caramel sauce carefully over the baked batter. Spoon the remaining batter onto the caramel and spread it out as evenly as you can with a spatula, making sure to leave lots of undisturbed caramel. Bake the brownies for another 18 minutes, then take them out to let cool (you can insert a knife or toothpick here to make sure they are done; there should be no crumbs left on your utensil).

STEP C: Make the Pecan Coconut topping.

What You Will Need

  • 1/4 cup butter
  • 1 cup shredded sweetened coconut
  • 2/3 cup packed brown sugar
  • 1/2 cup chopped toasted pecans or walnuts

What You Will Do

1. In a small saucepan, melt the butter.

2. Add the remaining ingredients and stir until combined.

STEP D: Top yo’ brownies.

What You Will Do

1. Spread the coconut topping evenly over the baked brownies.

2. Set your oven to broil and make sure the rack is about 6 inches from the top of the oven.

3. Return the brownie pan to the oven and broil the topping until it starts to bubble and turns a nice golden brown. Make sure to keep an eye on it. Mine took a few minutes; I just kept on opening the oven door to make sure it didn’t burn. Once the tops of the pecans turn dark brown pull them out, they can burn before you know it!

4. Once they are ready, cool your brownies on a baking rack and then slice.

ENJOY YOUR GLUTEN-FREE DELICIOUSNESS! Also, these brownies will cut more easily if you can wait on them to cool, then leave them in the fridge for a bit (due to the incredible levels of carmel inside). #yumm