
My memories of yogurt begin at the ripe old age of seven as a proud member of our Baptist Church’s G.A.’s (for those of you who may not have been raised in this pseudo-Girl Scout troop, this stands for “Girls in Action”). Before G.A.’s class began, my precious mom rounded up three- yes three- of her wild children, made them wash their faces, and climb into the Dodge van with wood paneling in order to high-tail it to the Church every Wednesday evening.
This journey was often fraught with fighting (“Callie won’t quit poking me!”), bad hair (“MOM! Can you fix my side ponytail? The velcro roller got squished”) and all around pre-church bickering (“We are eating pot roast tonight? Again?! Eww!”) This adventure also occurred during what we’ll call “fall” in Alabama, which translates to heat, more heat piling into the van, sweat behind your knees, and striped leggings that were way too warm to be wearing in September.
Needless to say, it was a feat and accomplishment for all of us to weekly be in one place at the same time. As a reward for our efforts (and as a way to give my mom a breather, thank you Lord) we always drove our van through the soft serve yogurt drive through after Church. In the (golden age of) the 90’s, soft serve yogurt was definitely not the rage (there was only one “creamery,” gasp!, in our small town) so this experience was a precious commodity to us. I always knew that my chocolate yogurt with chocolate chips was going to be, in one word, bliss.
Fast forward past my teenage and college years, where I began to not feel so great after eating yogurt. Or milk. Or ice cream. Which was horrible. So, my battle with dairy began, and to this day, I still can’t stomach an abundance of it. After meeting my husband, I discovered that he too has the same issue, and so we are constantly trying to come up with solutions to our dairy-free dilemma. Enter, coconut milk yogurt.
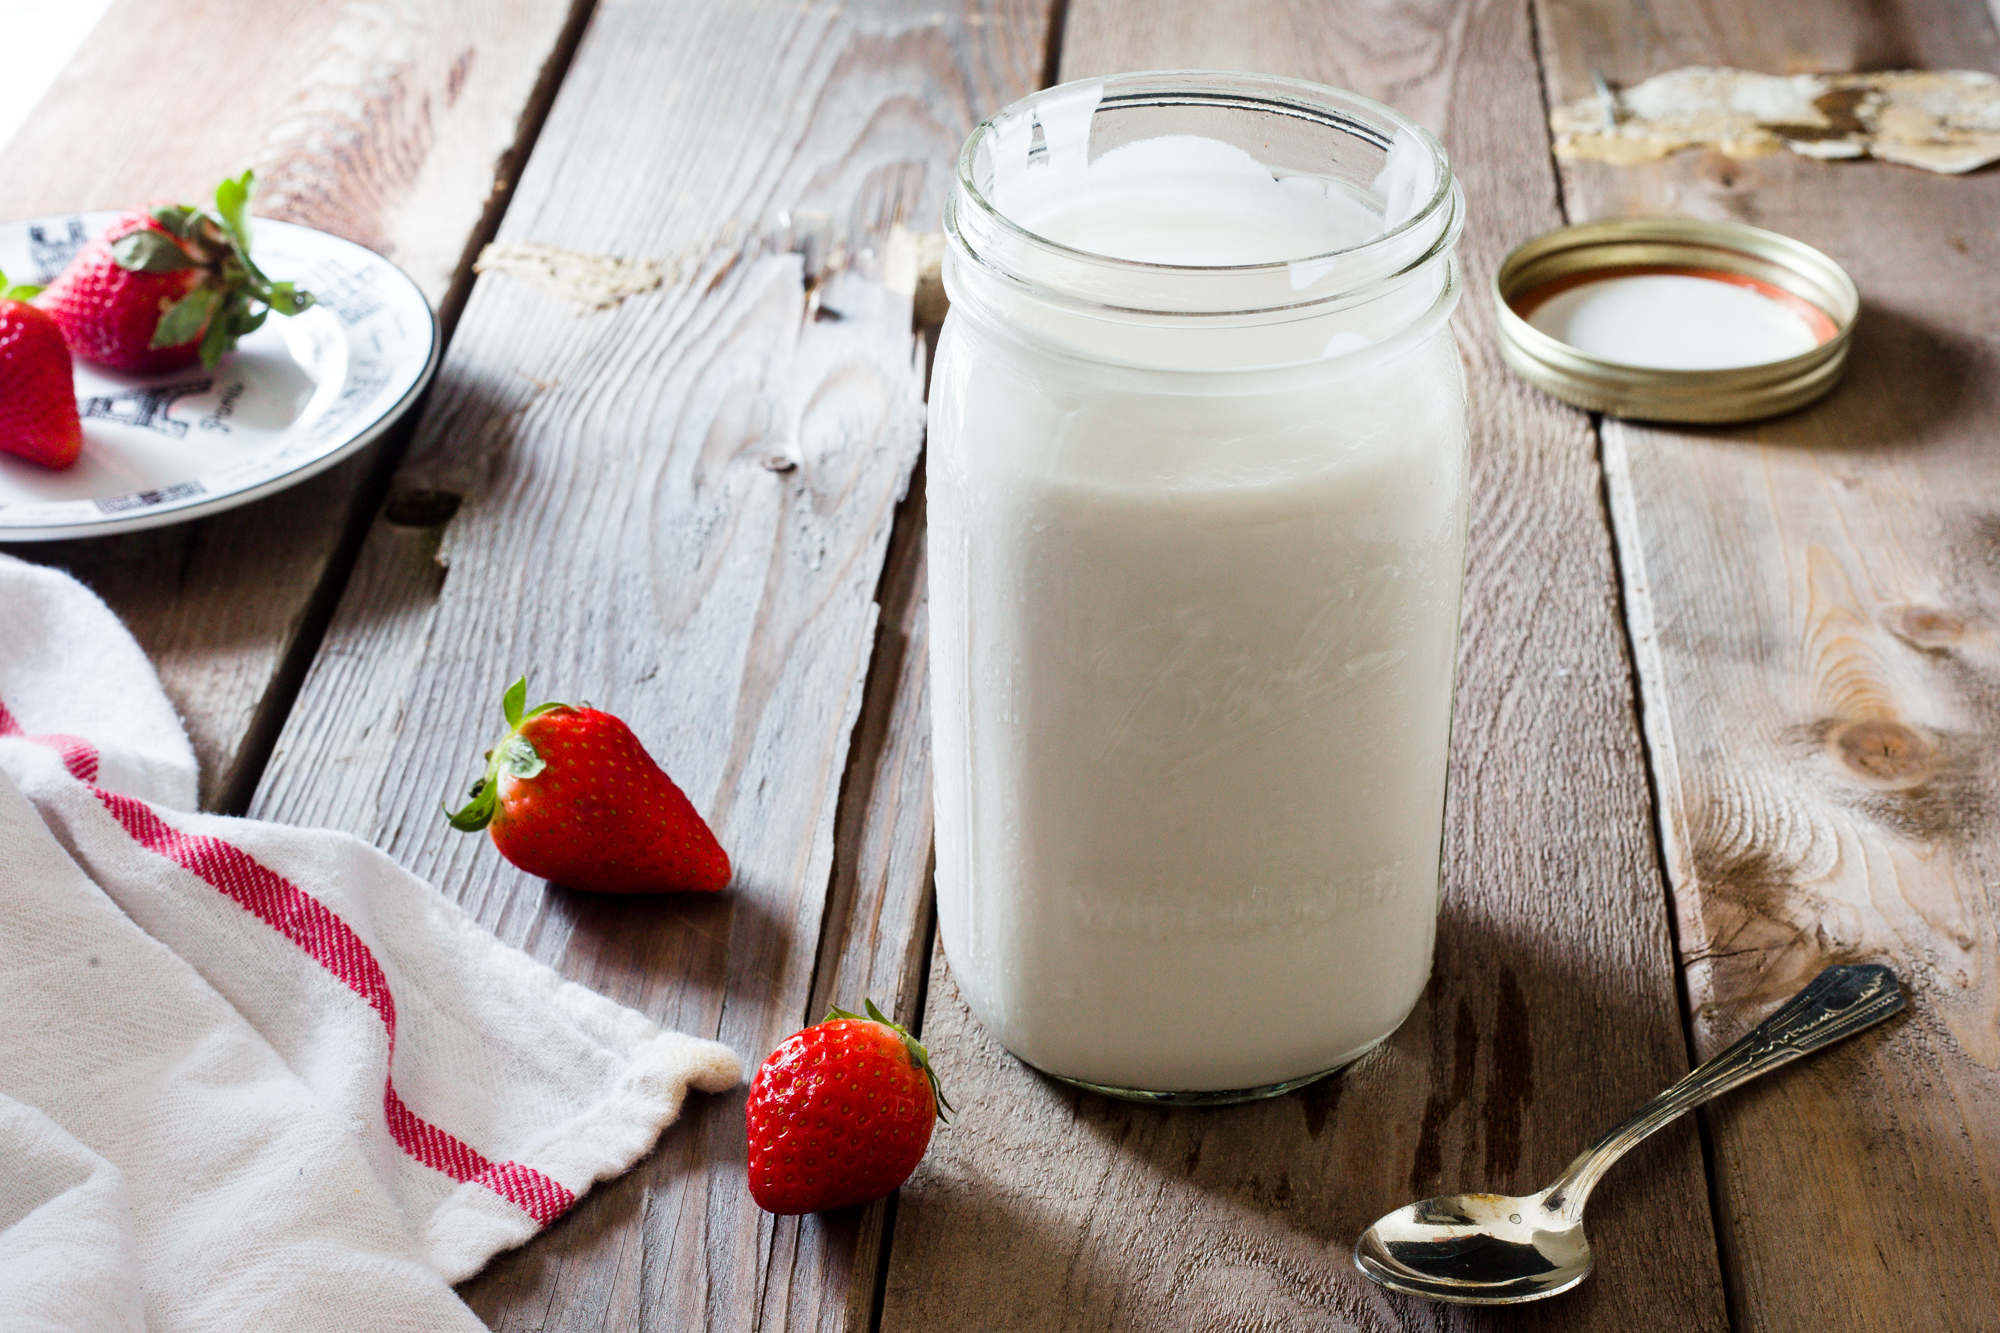
The beauty of coconut milk yogurt is two-fold. One, it is easy to make at home. And, you get to practice your fancy jar-sterilization technique for our upcoming summer season of canning! Check out this video below of my tips for the easiest way to prep you jars- so you can share the probiotics, not the germs:
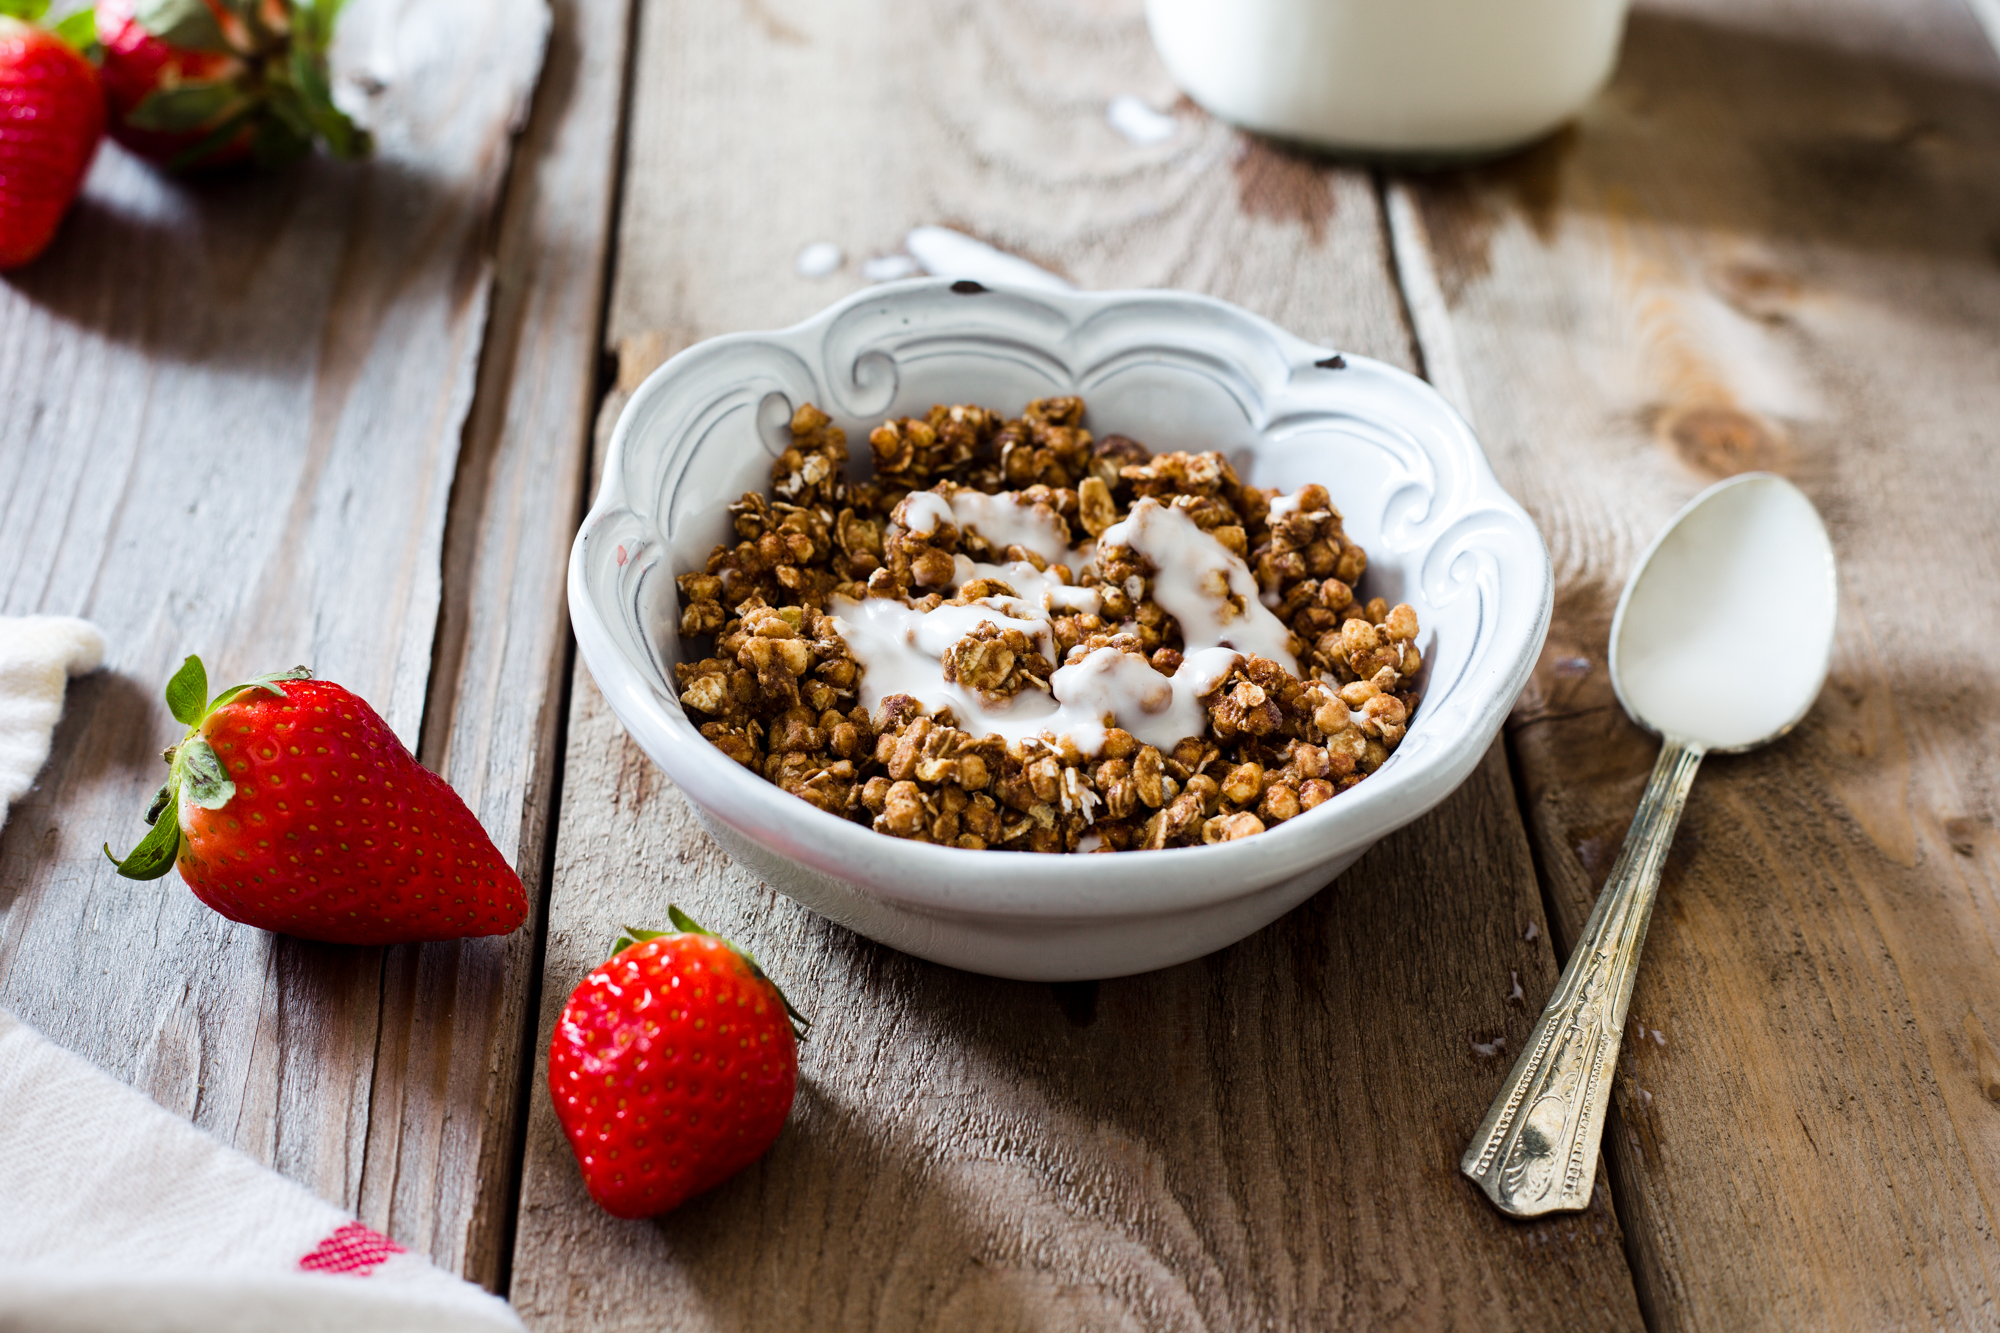
Two, you get the same health benefits/probiotic power from this yogurt as you do from the dairy variety. Oh, and three, I think it’s less expensive than the pre-made variety. Plus, you can sweeten it to your satisfaction. I don’t like my coconut yogurt super-sweet, as I am usually adding it to already sweetened granola or berries or cereal, so I only added a tablespoon of honey for the whole batch. And, you can turn it into soft-serve yogurt if you choose. Actually, great recipes for vegan soft serve abound!!
Oh, and coconut yogurt is fantastic in smoothies!! And the height of smoothie season is almost here, whoop whoop!
So, warm up that oven, sterilize those jars, and get ready for the richest, creamiest coconut yogurt. Because it’s delicious. And you’re #fabulous for making it!
Homemade Coconut Milk Yogurt, Recipe from The Kitchn
This recipe for coconut milk yogurt is wonderful. Seriously, thank you the Kitchn! I recommend making this in the evening, to make sure you set aside 12 hours for your yogurt to become yogurt in the oven. Also, it’s super important that you sterilize your jars, so make sure to follow those steps I listed in the video closely!
What You Will Need:
- 2 (14-ounce) cans coconut milk
- 2 teaspoons agar agar flakes, or 2 tablespoons tapioca starch (I used tapioca starch)
- 4 probiotic capsules, or 4 tablespoons store-bought coconut yogurt (I used store-bought yogurt)
- 2 tablespoons raw sugar or maple syrup, optional (I used a tablespoon honey instead)
Equipment:
- Glass jars with lids, for storing the yogurt
- Measuring spoons
- Medium saucepan
- Whisk
- Thermometer, optional; spatula
What You Will Do
- Put water in a kettle on high heat to bring to a boil.
- Preheat the oven for about 5 minutes, until it reaches about 100°F, then turn off the heat — leave the light on to help keep the oven warm. Fill the jar(s) you’ll use for storing the yogurt with boiling water to sterilize them. Let stand a few minutes, then pour the water out. I also placed the lids to my jar in a bowl, then poured hot water over that. Alternatively, you can run the jars through the dishwasher.
- Pour the coconut milk into a saucepan: Shake the can of coconut milk, open it, and pour it into a medium pot. Whisk until the milk is smooth and uniform.
- Add the thickener: If you’re using agar agar, sprinkle 1 teaspoon of agar agar flakes into the pot over the coconut milk — but don’t stir! If you’re using tapioca starch, scoop out roughly 1/3 cup of the coconut milk and transfer to a bowl with the starch. Whisk this together until the starch is dissolved, then pour back into the pot. The tapioca starch method is the one I used and it worked great!
- Warm the coconut milk: Place the pan on the stove over medium heat and warm until the coconut milk starts to simmer. (The agar agar will also start to melt together.) Whisk the milk and turn down the heat to low. Continue cooking on low, whisking occasionally, for 5 to 10 minutes, until the agar agar flakes are fully dissolved or the tapioca starch has thickened the mixture.
- Cool the milk: Cool the milk until it’s just warm to the touch, about 100°F. I used a candy thermometer to measure this:)
- Add the probiotics: Twist open the probiotic capsule and pour the powdery contents over the milk (discard the capsule’s casing). Whisk to combine. Alternatively, whisk in 4 tablespoons store-bought coconut yogurt. I whisked in the coconut yogurt and it was delicious!
- Add the sugar or maple syrup (I added about a tablespoon of honey to make it a less-sweet variety). Whisk together well.
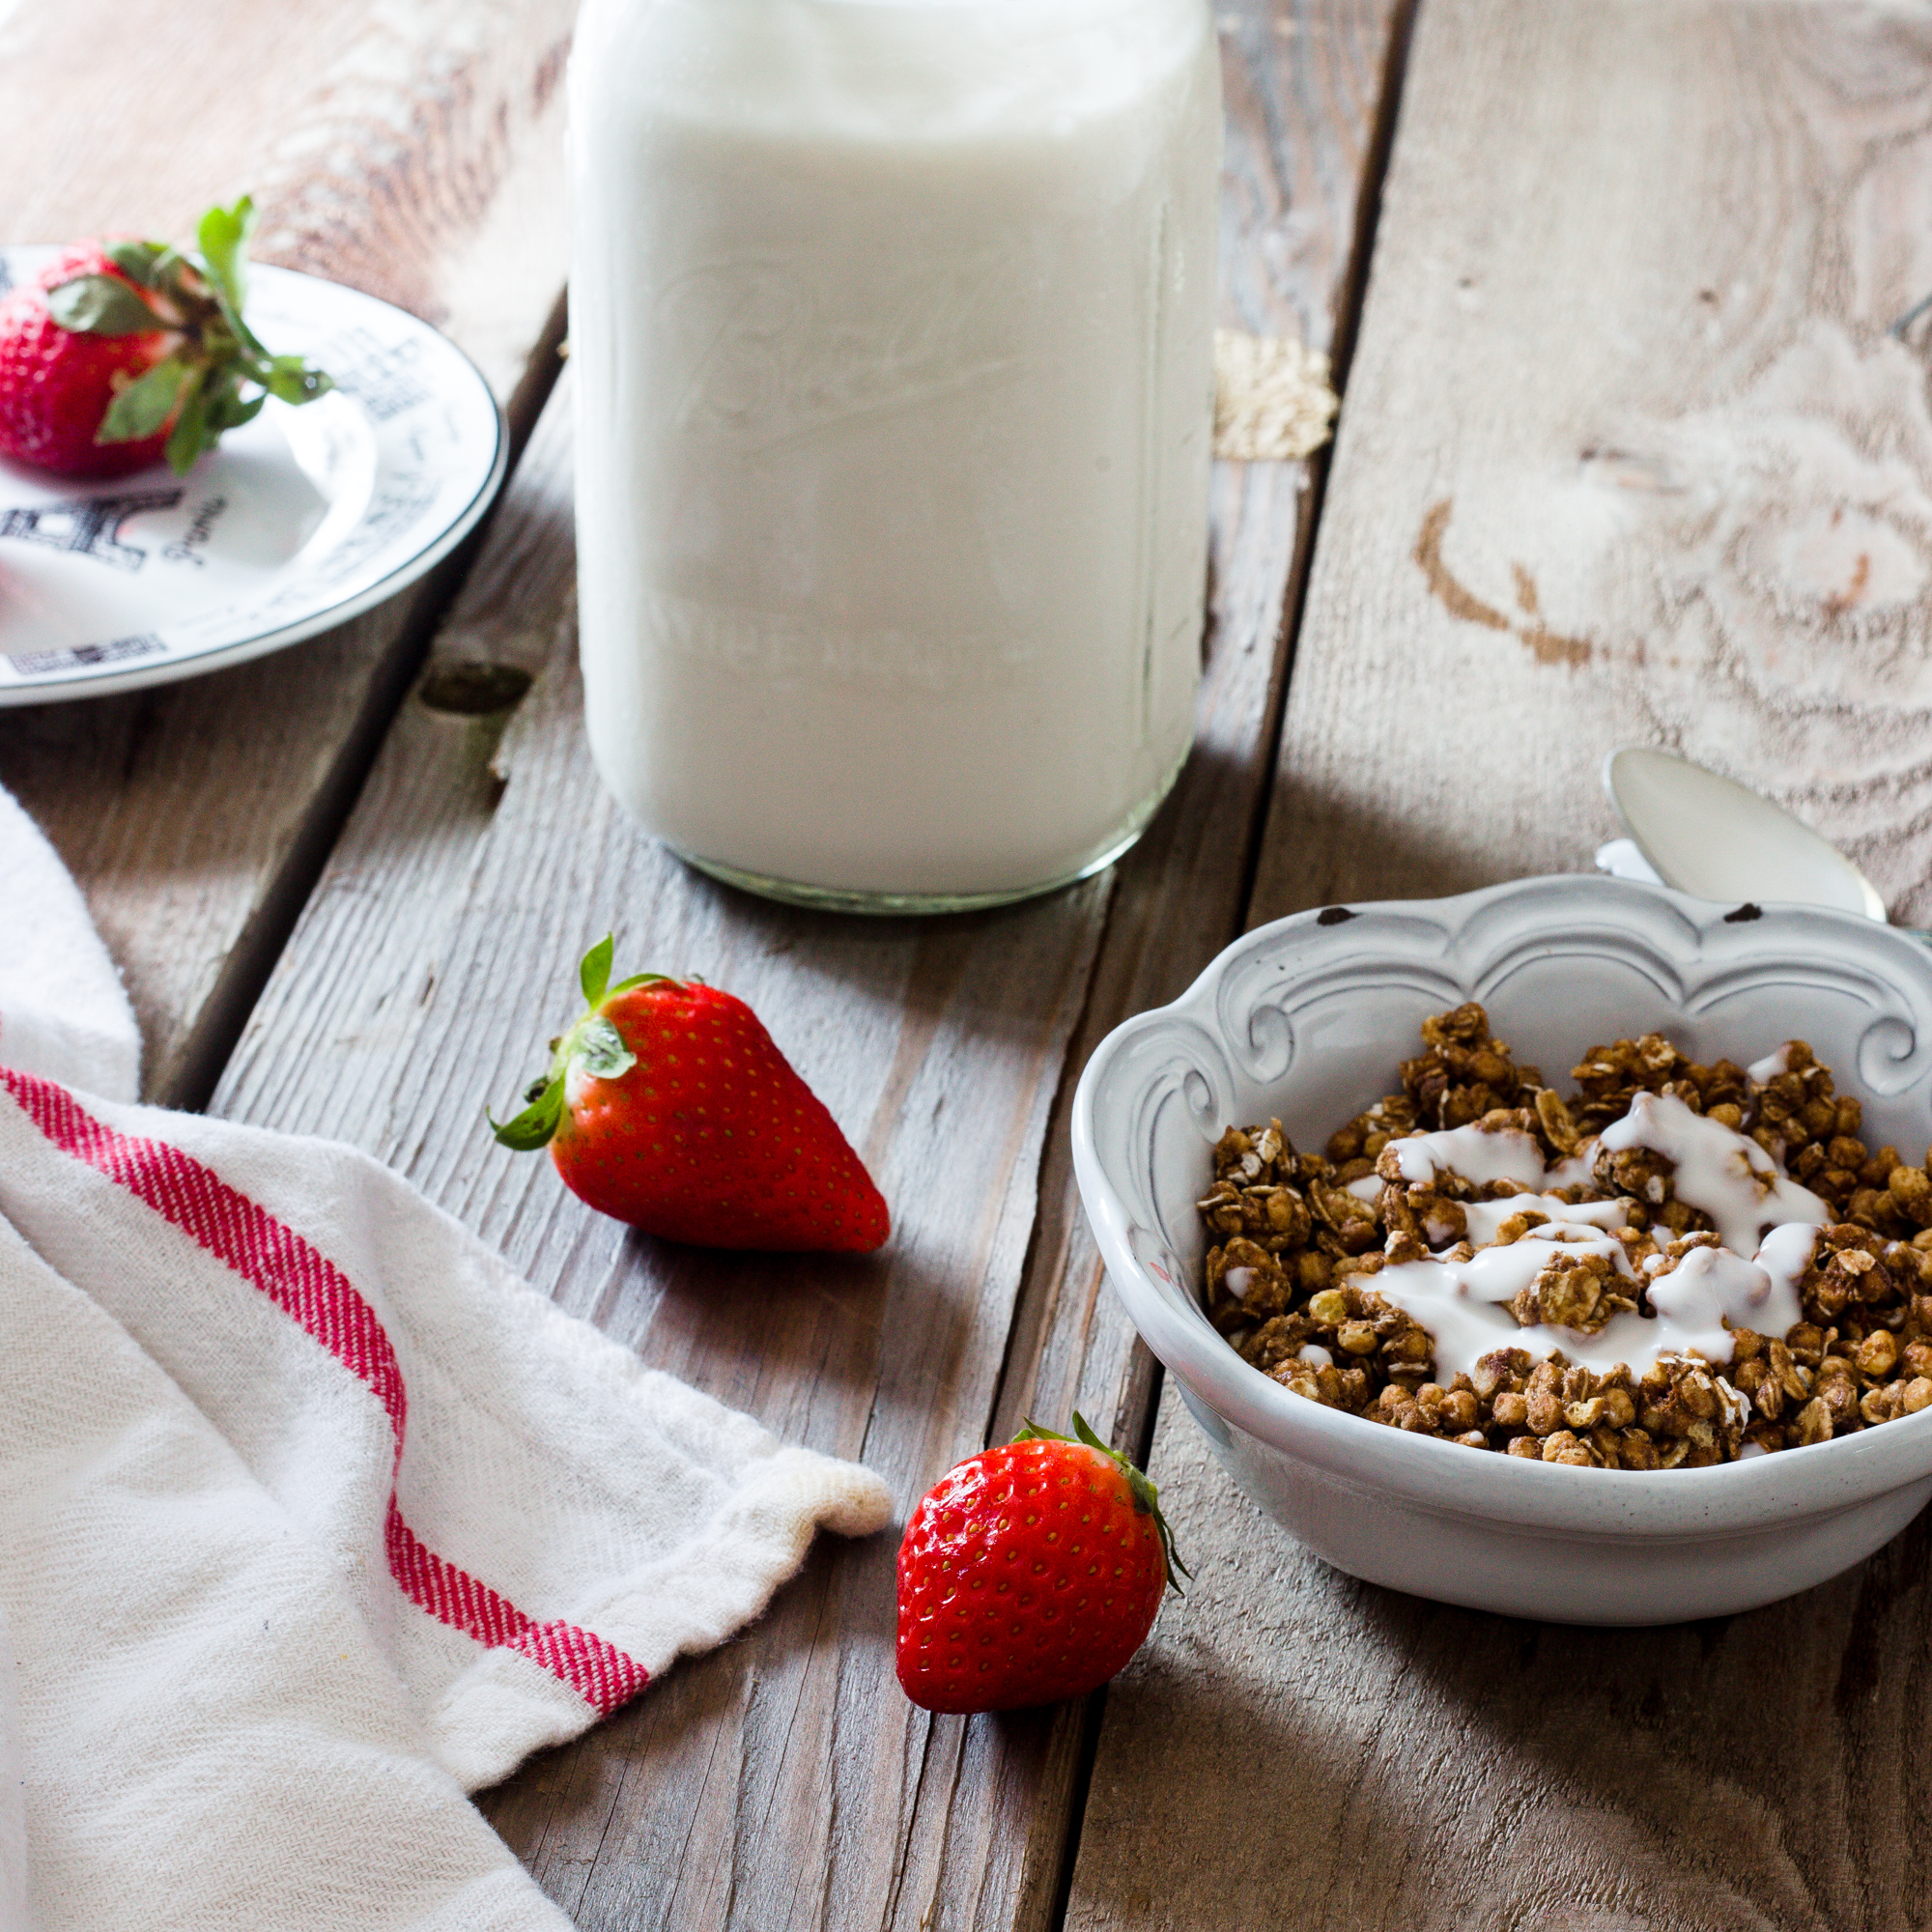
- Pour into jar(s) and allow the yogurt to set for 12 to 24 hours: Pour the coconut milk into the sterilized jar(s) and screw on the lid(s). Place into the oven — turn the oven light on to keep the environment warm. Alternatively, use a yogurt maker or place into a dehydrator at 110°F. Leave for 12 to 24 hours without disturbing.
- Chill the yogurt: Place the set yogurt into the fridge and chill for at least 6 hours. The yogurt will become thicker as it chills. After this stage, you might find that the mixture has separated with a yellowish, translucent layer at the bottom and a thicker white layer on top. Stir to recombine or scoop off the top layer for thicker coconut yogurt.
- Keep coconut yogurt refrigerated and use within 2 weeks. Enjoy your fabulous yogurt success! And use your yogurt with abandon- over cereal, oatmeal, fruit, in a smoothie, freeze some to add thickness to a smoothie- the list goes on and on!
Extra Tips from the Kitchn:
- If the yogurt develops a pink or grey discoloration on its surface, that means it has been contaminated with bad bacteria. Throw it away and do not eat it!
- Thickener-free coconut yogurt: The night before making the yogurt, chill the can of coconut milk. Do not shake. Open the can of chilled coconut milk and scoop off the top layer of cream, leaving behind the liquidy coconut water below (you can discard the water or use it for making smoothies or cooking oatmeal). Add the probiotics and continue making the yogurt as directed.