Chicken Tetrazzini

My new go-to dish.

I am a chicken tetrazinni convert.

Since childhood, I remember avoiding it.  In cafeteria lines, it was passed over every time in favor of it’s neighbor, baked spaghetti or chicken poppy seed casserole; I would have rather eaten another helping of canned green beans than touch the rubbery, tasteless blob of chicken goo. Or, in other circles, the chicken tetrazzini I came across was brought by well-meaning friends as a gift of family dinner. This version had the dreaded crunchy noodle syndrome: a lukewarm, almost cool bottom with a piping hot, tough, burnt-noodle crust.

But, as a good Southern child, I swallowed every bite, made a “happy plate” (which in my household meant not a speck of food was left), and vowed never to eat chicken tetrazzini again, as far as it depended on me.

When my friend Emme surprised me a few nights ago with a hand-delivered batch of her version, I admit my knee jerk reaction- Run. Far, far away, to pass along to a hungry neighbor I could feel less guilty about giving it to.

But, I should have known this experience would be unlike any I had before. Monique is an incredible cook. Her “Nana’s gravy” has changed my take on marinara sauce (they key is in marinating the meatballs/pork in the sauce all day long, people!) and so I decided to trust her and give it a try.

This chicken noodle dish was refreshingly different. It was creamy, and the noodles were al dente, and the chicken was seasoned and salty. There were even bright specs of red pepper and hearty mushrooms. Gone was the crunchy noddle crust- this was topped with a delicate layer of parmesan cheese.

It tastes even better in a large bowl. Because then you can eat more.

The moral of this story is that tetrazzini can be delicious. And this chicken tetrazzini is my new go-to recipe for sick relatives, new moms, and anyone else who needs a meal delivered. Because for all of the bad chicken tetrazzini memories I suffered, I feel it deserves to have a redemption in someone else’s mind. And for the next child who eats it, bon appetit. May your odds of your chicken tetrazzini being Emme’s recipe be ever in your favor.

Emme’s Chicken Tetrazzini

You will need:

1 16 oz bag of fine egg noodles

8 oz fresh slice mushrooms (white button)

1 Tablespoon Butter

1 Tablespoon Olive Oil

1 can cream of chicken soup (10 3/4 ounce can)

1 can cream of celery soup (10 3/4 ounce can)

22 ounces of chicken stock (fill your empty soup cans to measure)

5 ounces of Half and Half

4 cups of chopped rotisserie chicken

¼ C Chopped Pimentos or roasted red peppers (chopped)

½ to 1 C of freshly grated parmesan cheese

You will do:

In a medium sauce pan, heat butter and olive oil, add mushrooms and sauté until golden.  Add soups, stock, and half and half, and mix with a whisk to incorporate.  Heat on medium until the noodles are cooked (see below).

Meanwhile, cook the noodles according to directions—until al dente.  Drain noodles; add drained noodles back to noodle pot and add the following: soup/mushroom mixture, chicken, and pimentos.  Stir well.  Once incorporated add ½ cup to 1 cup (depends on how cheesy you like it) of fresh parmesan cheese and salt and pepper to taste.  Pour mixture into lightly greased baking dish. Sprinkle with any additional parmesan cheese.  Bake at 400 for 15 minutes until bubbly.

*If bringing to a sick friend or new mom, or freezing, Emme recommends not baking it ahead of time. Also, this makes a good amount, and it freezes well!

Sweet Potato Drop Biscuits

Image
Sweet potatoes meet your match.

It was the biscuit disaster of 2012.

Image
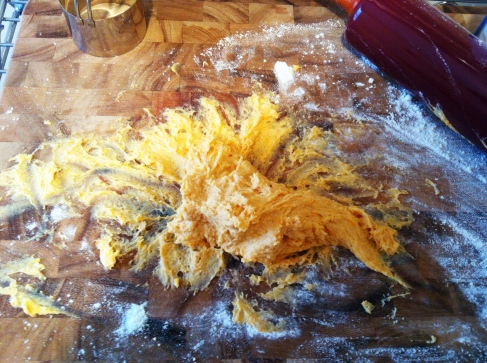
The failed result of a biscuit crisis.

A sticky, lumpy orange mass had attached itself to my cutting board. Flour was smeared on my fingertips and was causing everything I touched to stick to them, including the bag of flour I was desperately trying to pour more of onto my board. The scene from Christmas Vacation where Clark Griswold fought with tree sap and lost flashed in my mind, and I began to feel the panic rise in my chest.

“Please Lord,” I prayed. “Please salvage these biscuits.”

Truthfully, the reason why these biscuits meant so much to me was because I was born, raised, and still live in the South. Around here there in an expectation- no, unwritten rule- that if you are Southern, then you can make biscuits. They are on the same table as staples like black-eyed peas and fried okra. They are what you eat for breakfast, lunch, and dinner. I had them with the ham station at my wedding reception. And I felt like NOT being able to make them somehow disqualified me from my heritage, and how I was raised.

Real heavy, real fast. Hope returns!

Anyway, and while we are being brutally honest, this recipe I attempted was not for drop biscuits. It was for fluffy sweet potato biscuits. What resulted was what happens when you can’t make fluffy biscuits. (Side note: I added too much liquid to the dough. My brilliant sister helped me solve this one. If you choose to make regular biscuits instead of drop biscuits, just make sure you are light-handed with the milk. You should have  a sturdy, sugar cookie-like dough, not a wet one.) But for me, this is what the dough became. And you know what? They were delicious.

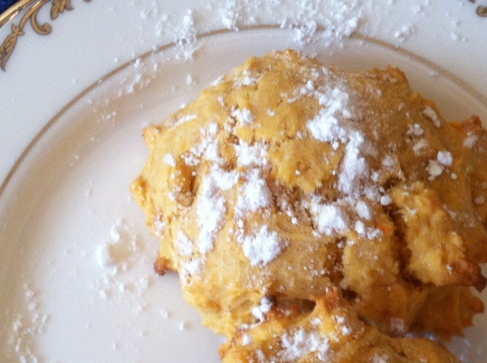
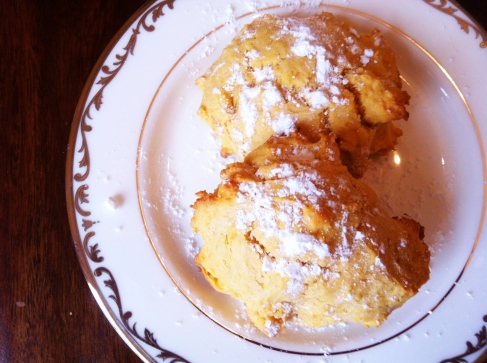
What I uncovered with this recipe is that actually, I don’t think it mattered that I made a mess. They were light, rich, and slightly sweet with a buttery crumb. And with a bit of powdered sugar on top, I would be proud to serve them at any Southern luncheon-or table.

So join me in what might be the first recipe I have posted that you really can’t mess up. If you are like me, then you might make lots of mistakes in your kitchen. But sometimes mistakes can be our greatest cooking triumphs. That is the beauty of cooking- it turns lemons into lemonade, plain milk and eggs into ice cream, and biscuit dough into, well, drop biscuits.

C

Image
Success with powdered sugar on top.

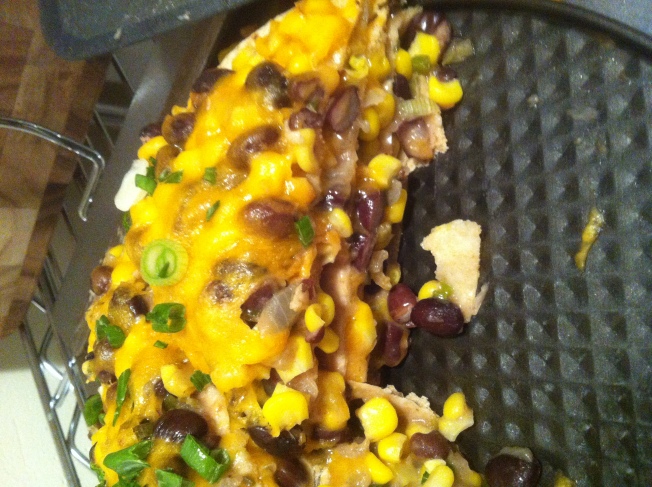
Whole wheat black bean tortilla pie

Tower o' black beans

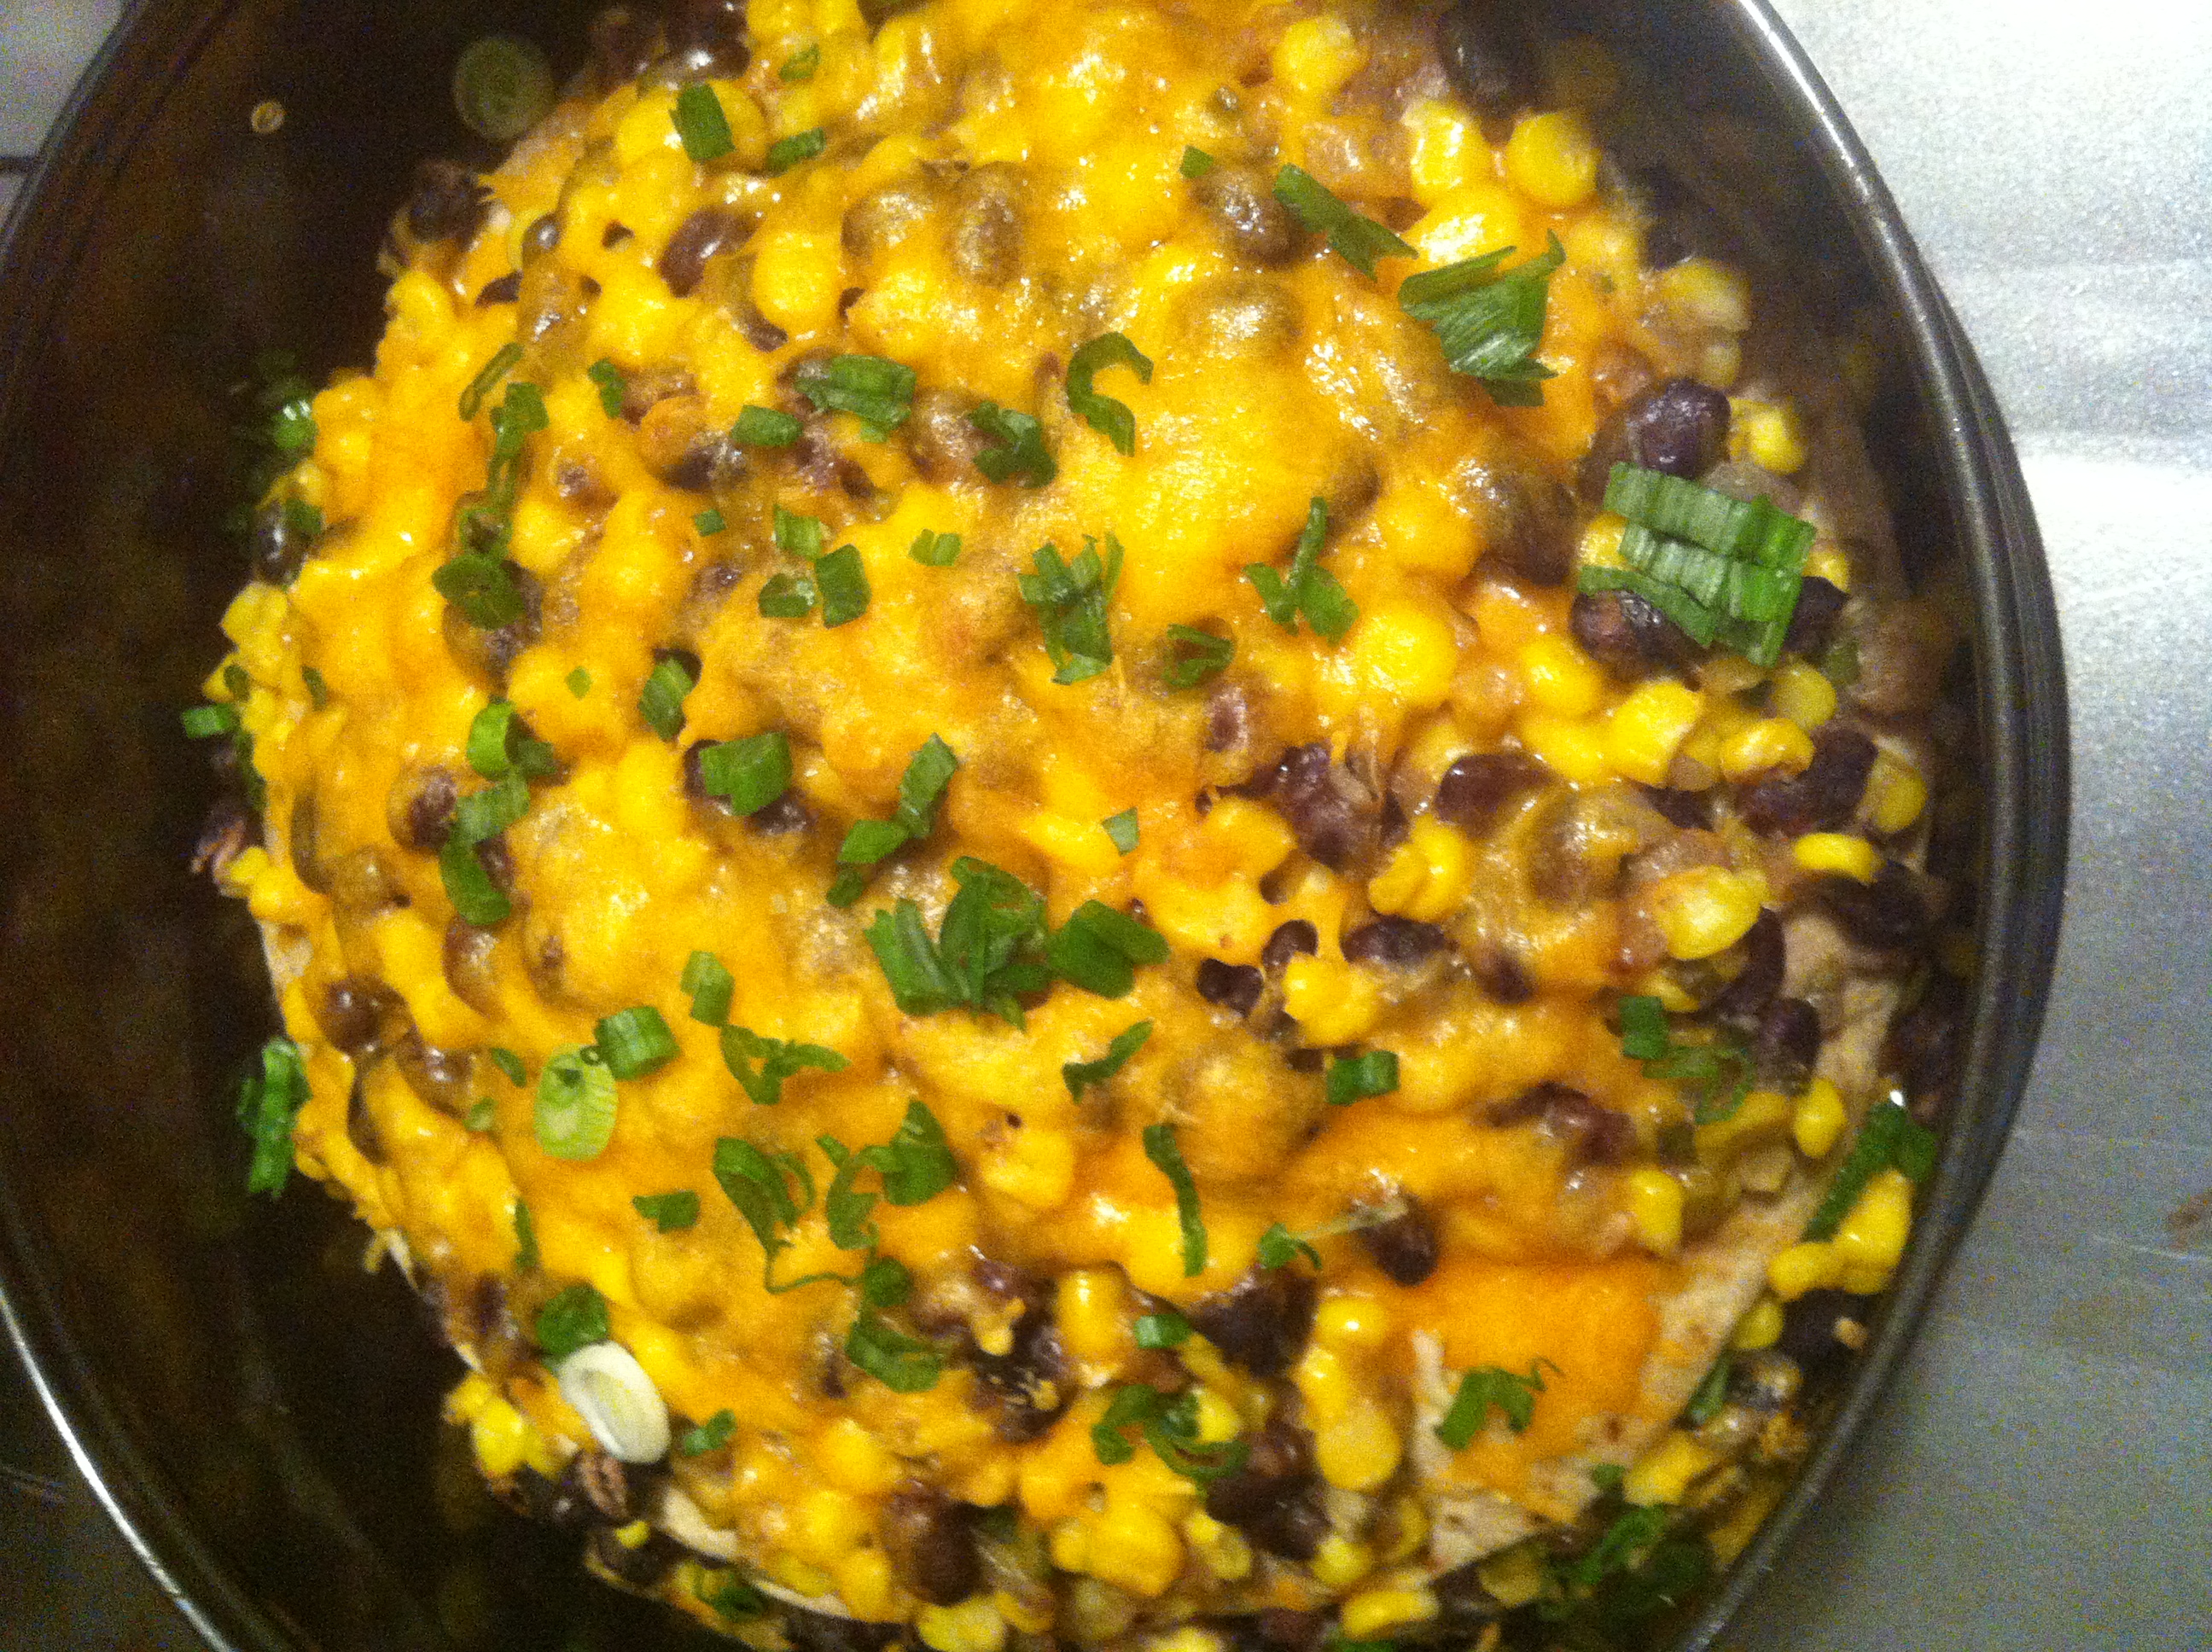
This is what black beans do on their vacations- make layers and bake.


Image
This is what black beans do on their vacations: make layers and bake.

I am all for easy. I am all for Mexican food. And I looooooove black beans.

Did I say I love black beans? I. Love. Black. Beans.

Yes, there is something to be said for taking an entire afternoon to make your own homemade version (just ask Heidi Swanson). I am sure it is worth it. And before you ask- no, it was not attempted on this recipe. Though maybe one day I will get over ambitious, watch too much Cooking Channel, and decide to make a day of it.

The recipe below was not only easy, it hit the niche of what I was craving: something spicy, cheesy (this seems to be a running theme on this blog; note to self: do not post something cheesy for the next entry-hah!), and full of black beans. It also reminds me a bit of those layered Mexican dips you see at parties, only way bigger and better.

So if you have an extra thirty minutes to spare, are aching to use those jarred cans of black beauties, and love a layered Mexican dish like I do, strap on your onion goggles and get choppin’.

For my favorite brand of canned black beans, go here.

For my favorite restaurant’s black beans, go here.

This recipe came from marthastewart.com, but I modified it a bit.

Ingredients

  • 4 10-inch flour tortillas  (I used “medium” size and the whole wheat version instead)
  • 2 tablespoons canola oil
  • 1 large onion, diced
  • 1 jalapeno chile, minced (one can remove ribs and seeds if one desires; one may also leave them in if one loves jalepenos like I do)
  • 2 garlic cloves, minced
  • 1/2 teaspoon ground cumin (I also added a bit more cumin because this spice loves Mexican food)
  • Coarse salt and freshly ground pepper
  • 2 cans (15 ounces each) black beans, drained and rinsed (you know what brand to use)
  • 12 ounces beer, or 1 1/2 cups water
  • 1 package (10 ounces) frozen corn
  • 4 scallions, thinly sliced, plus more for garnish
  • 8 ounces cheddar cheese, shredded (2 1/2 cups)

Directions

  1. Preheat oven to 400 degrees. With a paring knife, trim tortillas to fit a 9-inch springform pan. Use the bottom of the pan as a guide. Set aside. (I did not trim my tortillas because they were smaller than 10 inches and it worked great.)
  2. Heat oil in a large skillet over medium heat. Add onion, jalapeno, garlic, and cumin; season with salt and pepper. Cook, stirring occasionally, until softened, 5 to 7 minutes.
  3. Add beans and beer, and bring to a boil. Reduce heat to medium; simmer until liquid has almost evaporated, 8 to 10 minutes. Stir in corn and scallions, and remove from heat. Taste and adjust for seasoning. (I needed more salt here.)
  4. Fit a trimmed tortilla in bottom of springform pan; layer with 1/4 of the beans and 1/2 cup of cheese. Be careful here to keep the bean layers even. In my overexcitement, and what some may call “eagerness” to eat and therefore put this bean bliss in the oven, I sort of haphazardly piled the beans on the middle of the tortilla and by the end of the recipe it resemebled more of a bean tower than a neatly layered dish. Well, we can’t all be Martha Stewart.
  5.  Repeat three times, using 1 cup cheese on top layer. Bake until cheese melts, 20 to 25 minutes. Remove side of pan; sprinkle pie with scallions. To serve, slice into wedges.
This makes a normal six servings, or, for my husband and I, two meals’ worth.
Image

Comfort food

If this doesn't make your mouth water I am concerned.

This is comfort food for me: Eggs. Cheese. Top with bread and/or grits. Perfect.

Since VentureBoy was away tonight at a networking event (This is all part of the current trend that involves techie hipsters who know where to eat. If you need somewhere to go for delicious coffee or an underground cave that serves ridiculously good tacos, find someone who works in graphic design and man-handles their iphone, and ask him or her.  This particular event’s location has a gorgeous, restored-wood whiskey bar downstairs and a hip California-inspired eatery above it.) I decided it was high-time to make an egg sandwich for dinner.

For me, after a long day, there is nothing better than this. I think my obsession began in college when I was broke and forced to eat from my campus’ meal plan. Eggs were cheap and this became my go-to dinner/late-night snack. And it continued. I’ll never forget the first time I anxiously asked my husband what he thought about egg sandwiches. Sigh of relief when he responded with “That sounds sooo good….” Thank you Lord!

Recently my world was ROCKED when a favorite blogger of mine introduced me to the concept of the perfect egg sandwich (also notice the link on this blog to smittenkitchen. Enough said.) Everything I knew about my version changed in an instant. Could there be a better way? Yes. Absolutely, positively, yes. And the first time I made this recipe I watched in wonder as the egg cooked evenly and the yellows brightened then mellowed;

Awesomeness settling in.

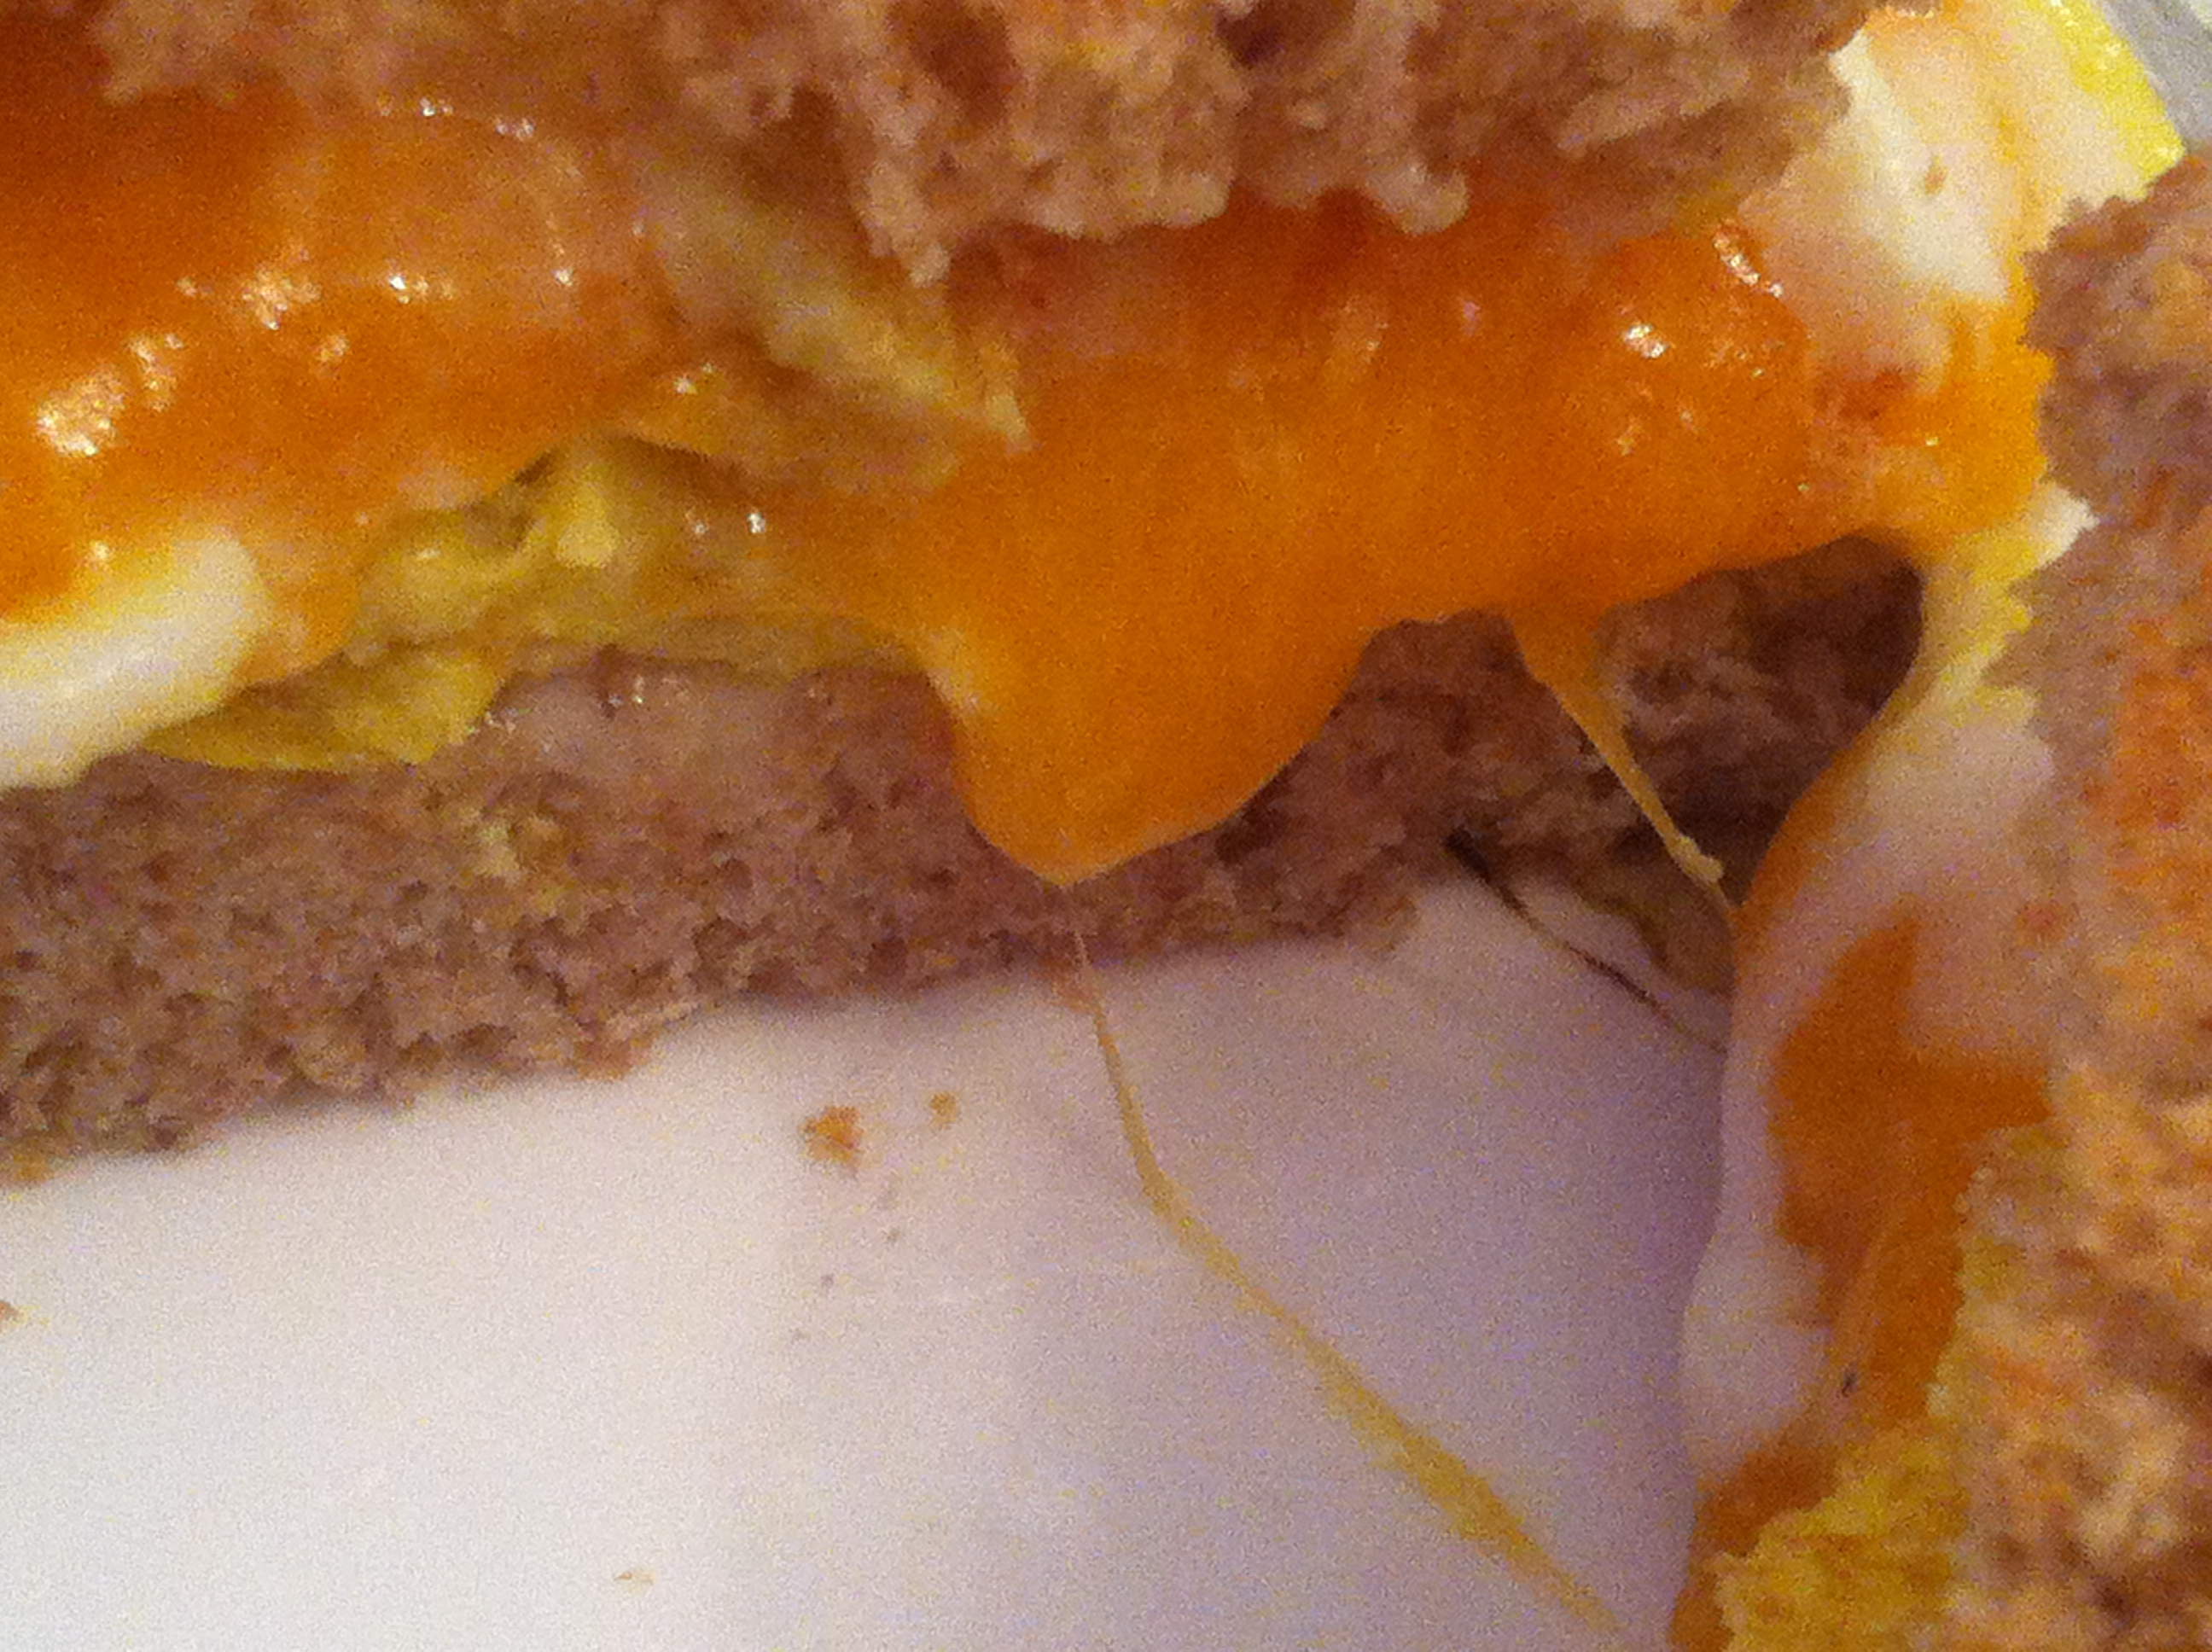
the cheese melted at just the right temperature to be gooey and perfect when you slice into the egg/cheese pouch it creates inside two slices of bread.

The cheese-egg pouch in all its glory.

And truly, I am convinced- it is the perfect way to make an egg sandwich, takes less than five minutes to assemble, and will, I promise, personally revolutionize your current breakfast conundrum or like me, obsession with egg sandwiches.

Bon appetit my friends. May your days be long and full of lazy egg sandwiches.

Recipe for The Ultimate Egg and Cheese Sandwich

You’ll need: An English muffin or two slices bread of your choice

1 to 2 teaspoons butter or oil

1 egg

Salt and pepper

1 slice of cheese or a tiny pile of grated or crumbled cheese

Spoonful of sliced scallions, chives, crumbled bacon, or whatever else you want in your eggs

Put the bread in a toaster. Heat a 9-inch skillet, preferably nonstick, on medium. Beat one egg with ½ teaspoon water (or two eggs, with 1 teaspoon water), a couple pinches of salt and a few grinds of black pepper until just blended (ok here is where I add more than a couple pinches of salt and Greek seasoning. We can blame this on being raised to eat country ham for breakfast- which meets a large animal’s daily sodium requirement). I always use a fork for this.

Melt butter in your pan or brush it with oil, to thinly coat it. Pour in the eggs and roll them around so they cover the pan, as a thin crepe would. Immediately plop a square of cheese (or, for VentureBoy a slice of Velveeta) or a small pile of grated cheese (for me) in the middle. Toss whatever fixings you wish on top of the cheese. I really like red onion or scallions. A single egg will cook in 1 to 1½ minutes; two eggs in 2 minutes. You’ll know its cooked when poking into it with a corner of your spatula won’t cause any loose egg to slip through to the skillet.

Fold the part of the egg closest to you over the cheese, like the first part of a business letter fold. Repeat this on the three remaining “sides,” forming a small square. You can also have fun here and fold it into a shape that matches your bread- or, in my case, just make it so it will fold-over in general. Leave the folded egg-and-cheese in the center of the skillet to cook for another 30 seconds, then slide onto you muffin or toast. Top the sandwich with the other half and eat it at once. (This is the part you don’t want to be lazy about).

*Recipe taken from acupofjoe.com.