It’s all about balance.
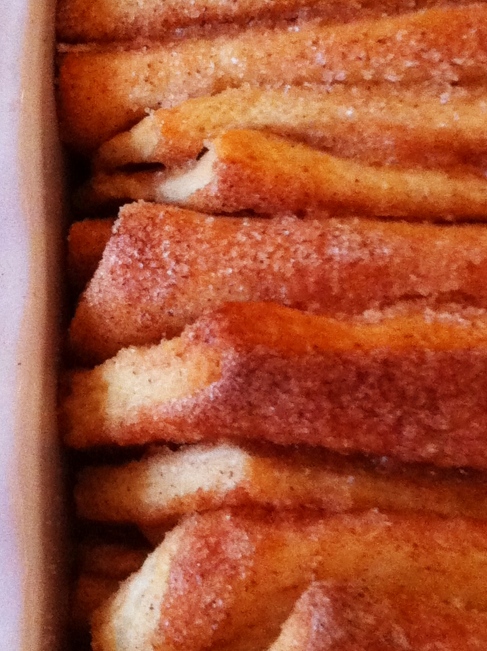
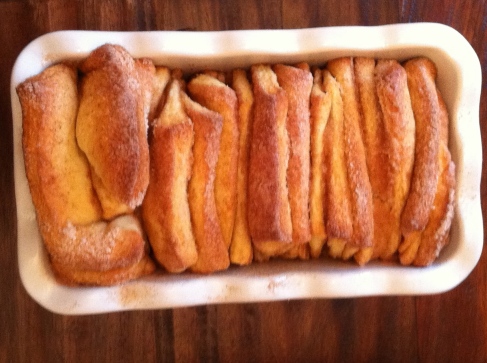
Yes, I know- posting a picture of this buttery-brown-cinnamon goodness does not make one think of nutritional balance per-say (Or, if you are like me, you think- “Sure, this is healthy! It has cinnamon!”). Yet, this recipe is really about that idea. Balancing the time it takes to let the dough rise and deflate; browning the butter until it reaches it’s peak temperature; balancing the stacks of tasty sweet dough on top of one another and slicing through them, then piling them neatly in your 9 X 3 loaf pan.
And, let’s be real- THIS BREAD IS THE MOST DELICIOUS CINNAMON BREAD YOU MIGHT HAVE EVER TASTED. It tastes like what a cinnamon roll dreams of when joining with other cinnamon rolls to form a team of something greater than itself. All with a hint of nutmeg.
Also, before we move forward, let me warn you. The delicious aroma that will waft from your oven when this bread is about 15 mintues away from being done is the most aggresively inticing smell you can fathom. It will take you to a faraway place very similar to what I believe heaven will be like. And here is where you are at risk of loosing all self-control. Because your stomach wants you to swing open the door of your oven, throw caution to the wind, and slice right into it. If this happens to you, please do not do this. I repeat, do not do this. A.) Your dough will deceive you and will not be all the way cooked through and B.) there is no one to blame but the ellusive smell-fantom that every cook understands but chooses not to acknowledge when it forces them to take things out of the oven prematurely.
Confession: I have given in to this many times.
It’s sort of like waiting for brownies to cool- you know you should, but you don’t. But please do here, because unlike brownies, yeast dough actually needs to set to be at it’s most balanced and delicious.
Since we have that settled, I suggest you clear your schedule and come along for this wonderful baking journey. Now to find my stretchy pants…
Mad props to Joy the Baker for this recipe. I came across this a while ago and could not stop thinking about it until it was made! Find a link to it here.
You will need:
For the Dough:
2 3/4 cups all-purpose flour plus 2 tablespoons all-purpose flour
1/4 cup granulated sugar
2 1/4 teaspoons (1 envelope) active dry yeast
1/2 teaspoon salt
2 ounces unsalted butter
1/3 cup whole milk
1/4 cup water
2 large eggs, at room temperature
1 teaspoon pure vanilla extract
For the Filling:
1 cup granulated sugar
2 teaspoons ground cinnamon
1/2 teaspoon fresh ground nutmeg
2 ounces unsalted butter, melted until browned
You will:
In a large mixing bowl (I used the bowl of my stand mixer) whisk together 2 cups flour, sugar, yeast, and salt. Set aside.
Whisk together eggs and set aside.
In a small saucepan, melt together milk and butter until butter has just melted. Remove from the heat and add water and vanilla extract. Let mixture stand for a minute or two, or until the mixture registers 115 to 125 degrees F. (I think mine rested for about a minute.)
Pour the milk mixture into the dry ingredients and mix with a spatula. Add the eggs and stir the mixture until the eggs are incorporated into the batter. The eggs will feel soupy and it’ll seem like the dough and the eggs are never going to come together. Keep stirring. (Ok, this is where my biceps started to really burn.) Add the remaining 3/4 cup of flour and stir with the spatula for about 2 minutes (This is where they plum wore out and I quit stirring. Joy probably has much stronger arms and bigger baking chops than me. Go sister-friend.) The mixture will be sticky. (Mine definitely was.) That’s just right. (I think your’s will be great!)
Place the dough is a large, greased bowl. Cover with plastic wrap and a clean kitchen towel. Place in a warm space and allow to rest until doubled in size, about 1 hour. *The dough can be risen until doubled in size, then refrigerated overnight for use in the morning. If you’re using this method, just let the dough rest on the counter for 30 minutes before following the roll-out directions below. (I don’t know how people could wait overnight on this one! If you do, mad props to you too for your Katniss Everdeen-like patience.)
While the dough rises, whisk together the sugar, cinnamon and nutmeg for the filling. Set aside. Melt 2 ounces of butter until browned. (A tip I learned when browning butter: use a pastry brush, the same one you will use in a bit, to scrape the yummy brown pieces from the bottom of the pan so they don’t burn.) Set aside. Grease and flour a 9x5x3-inch loaf pan. (I used cooking spray.) Set that aside too.
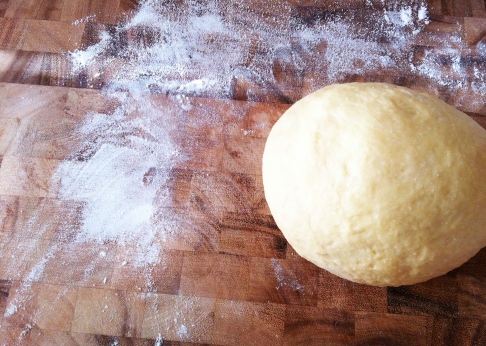
Deflate the risen dough and knead about 2 tablespoons of flour into the dough. Cover with a clean kitchen towel and let rest for 5 minutes. On a lightly floured work surface, use a rolling pin to roll the dough out. The dough should be 12-inches tall and about 20-inches long. If you can’t get the dough to 20-inches long… that’s okay. Just roll it as large as the dough will go. Use a pastry brush to spread melted butter across all of the dough. Sprinkle with all of the sugar and cinnamon mixture. It might seem like a lot of sugar. Seriously? Just go for it.
Slice the dough vertically, into six equal-sized strips. Stack the strips on top of one another and slice the stack into six equal slices once again. You’ll have six stacks of six squares. Layer the dough squares in the loaf pan like a flip-book. Place a kitchen towel over the loaf pan and allow in a warm place for 30 to 45 minutes or until almost doubled in size.
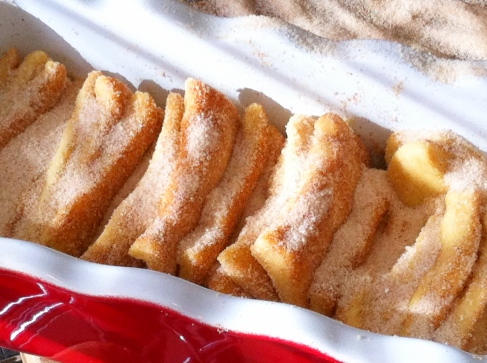
Place a rack in the center of the oven and preheat to 350 degrees F. Place loaf in the oven and bake for 30 to 35 minutes, until the top is very golden brown. The top may be lightly browned, but the center may still be raw. A nice, dark, golden brown will ensure that the center is cooked as well. (This is where you have to make every effort to avoid the Jedi-mind tricks your nose will play on you, as mentioned previously. Make sure it is dark brown when it comes out of the oven. I promise it is worth it!)
Remove from the oven and allow to rest for 20 to 30 minutes. Run a butter knife around the edges of the pan to loosen the bread and invert onto a clean board. Place a cake stand or cake plate on top of the upside down loaf, and carefully invert so it’s right side up. Serve warm with coffee or tea. Enjoy!
