Aunt Annie’s Strawberry Layer Cake

Perfect strawberry heaven
Spring strawberry greatness

I wish I had an Aunt Annie.

If I did, I would ask for her for her home address so I could show up every Saturday morning and listen as she lovingly taught me to bake cakes.

The unfortunate reality is that this recipe was not easy to come by. I did not find it on Pinterest, or google “best strawberry cake,” or ask Pioneer Woman. No, this cake took me by complete surprise. And the moment I tasted it, I knew the recipe had to be yours.

Cake on a platter

At a recent photographer friend‘s birthday party, a coworker of ours arrived with a strawberry cake. I love strawberry cake. There is a bakery in my hometown that makes impeccable strawberry cake. But I had yet to recreate anything like it on my own. And to be completely honest, I almost didn’t try this one. I had been let down too many times, sure that it was going to be another missed attempt at strawberry greatness.

But my first bite was a game changer. This cake was pure strawberry; fresh, light and moist with chunks of strawberry, delicately sweet and airy. The frosting was whipped, dense with a strawberry punch. A perfect precursor of spring on a plate. With light streaming in from the cafe windows where we ate, I thought for a brief moment I was living and breathing happiness. And before I left my dream state, the slice was gone.

I think something's missing

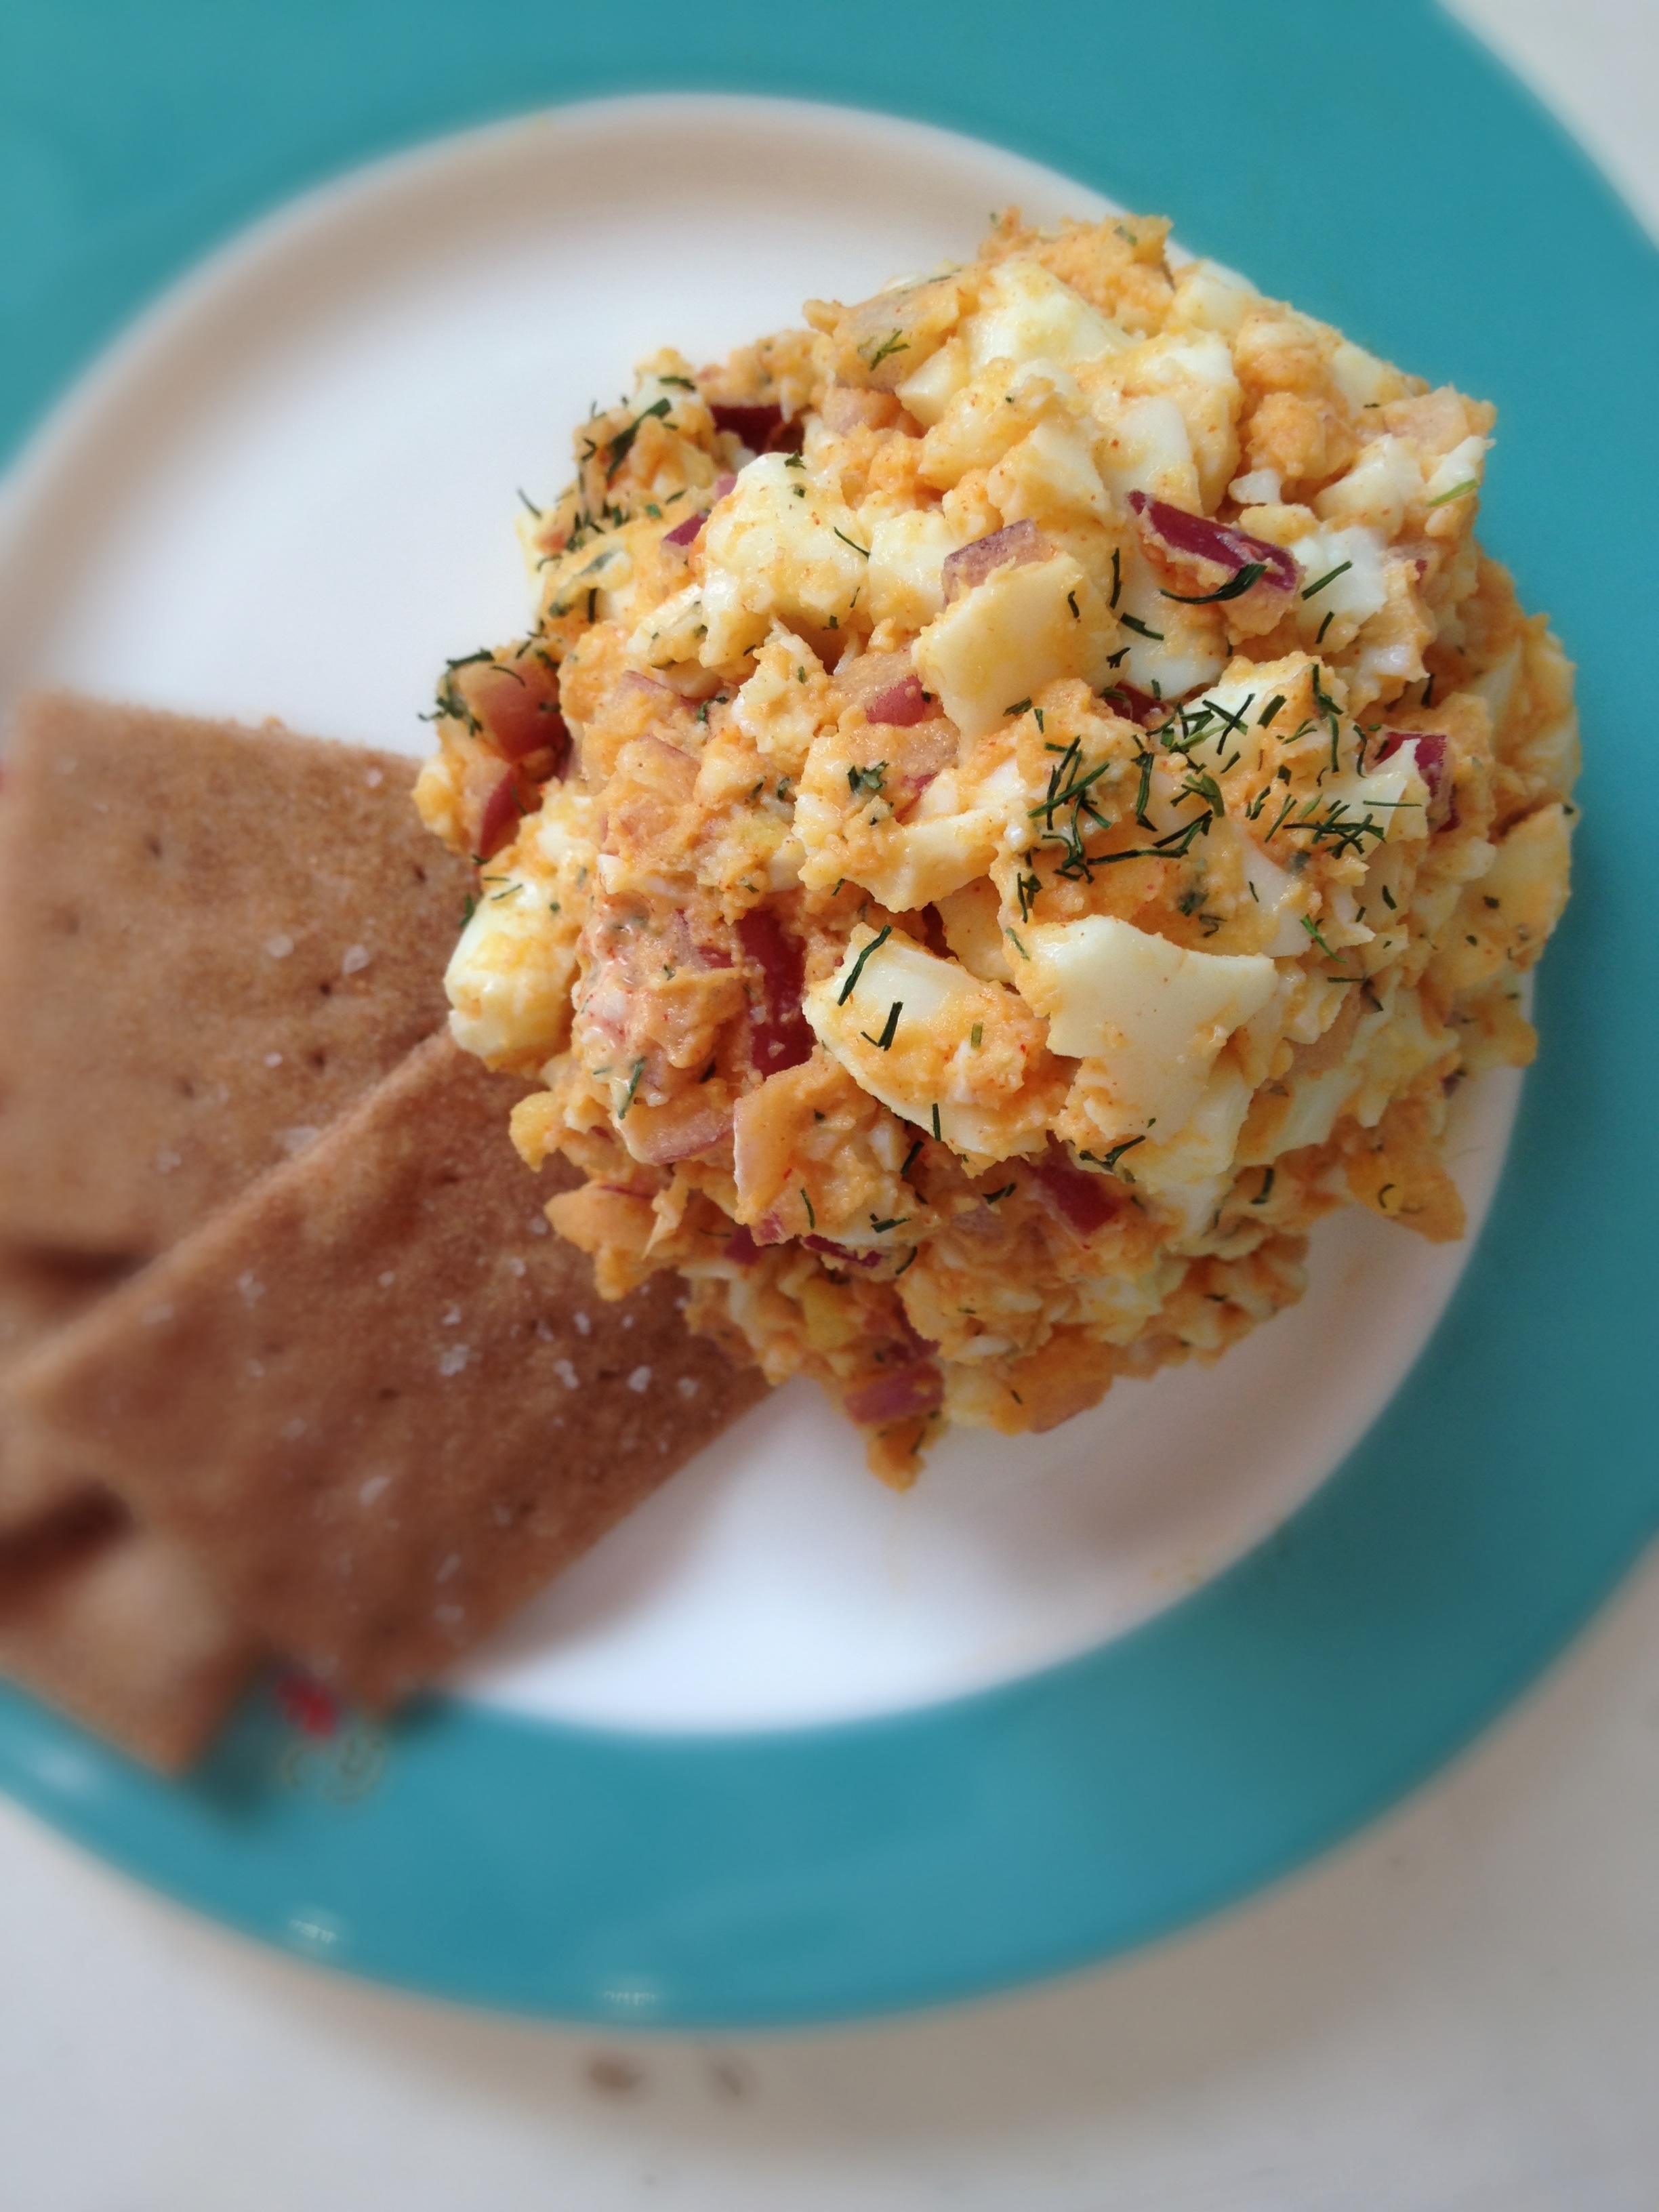
My obsessive quest for the recipe began. The owner of the ingredients list did not want to share it (see egg salad dowry entry last week), and so there was one thing left to do: I stalked her. I came by her desk every day and told her I wouldn’t give up. I pled, whined, hid behind office doors to pop out and remind her I wanted it . Then one day, a lovely slip of paper appeared at my desk. A lovely piece of newspaper.

Newspaper recipes are a lost art. I know my generation has passed them over for quick reviews and input from social media sources; I can’t tell you the last time I read a local paper on a Sunday. But the great thing about recipes in the Food section is you know they were loved. Someone took the time to type it out from most likely a handwritten card. They knew it was worth printing and putting on everyone’s front door step. And that’s what I want for this blog- to share with you recipes that are loved, known, and appreciated.

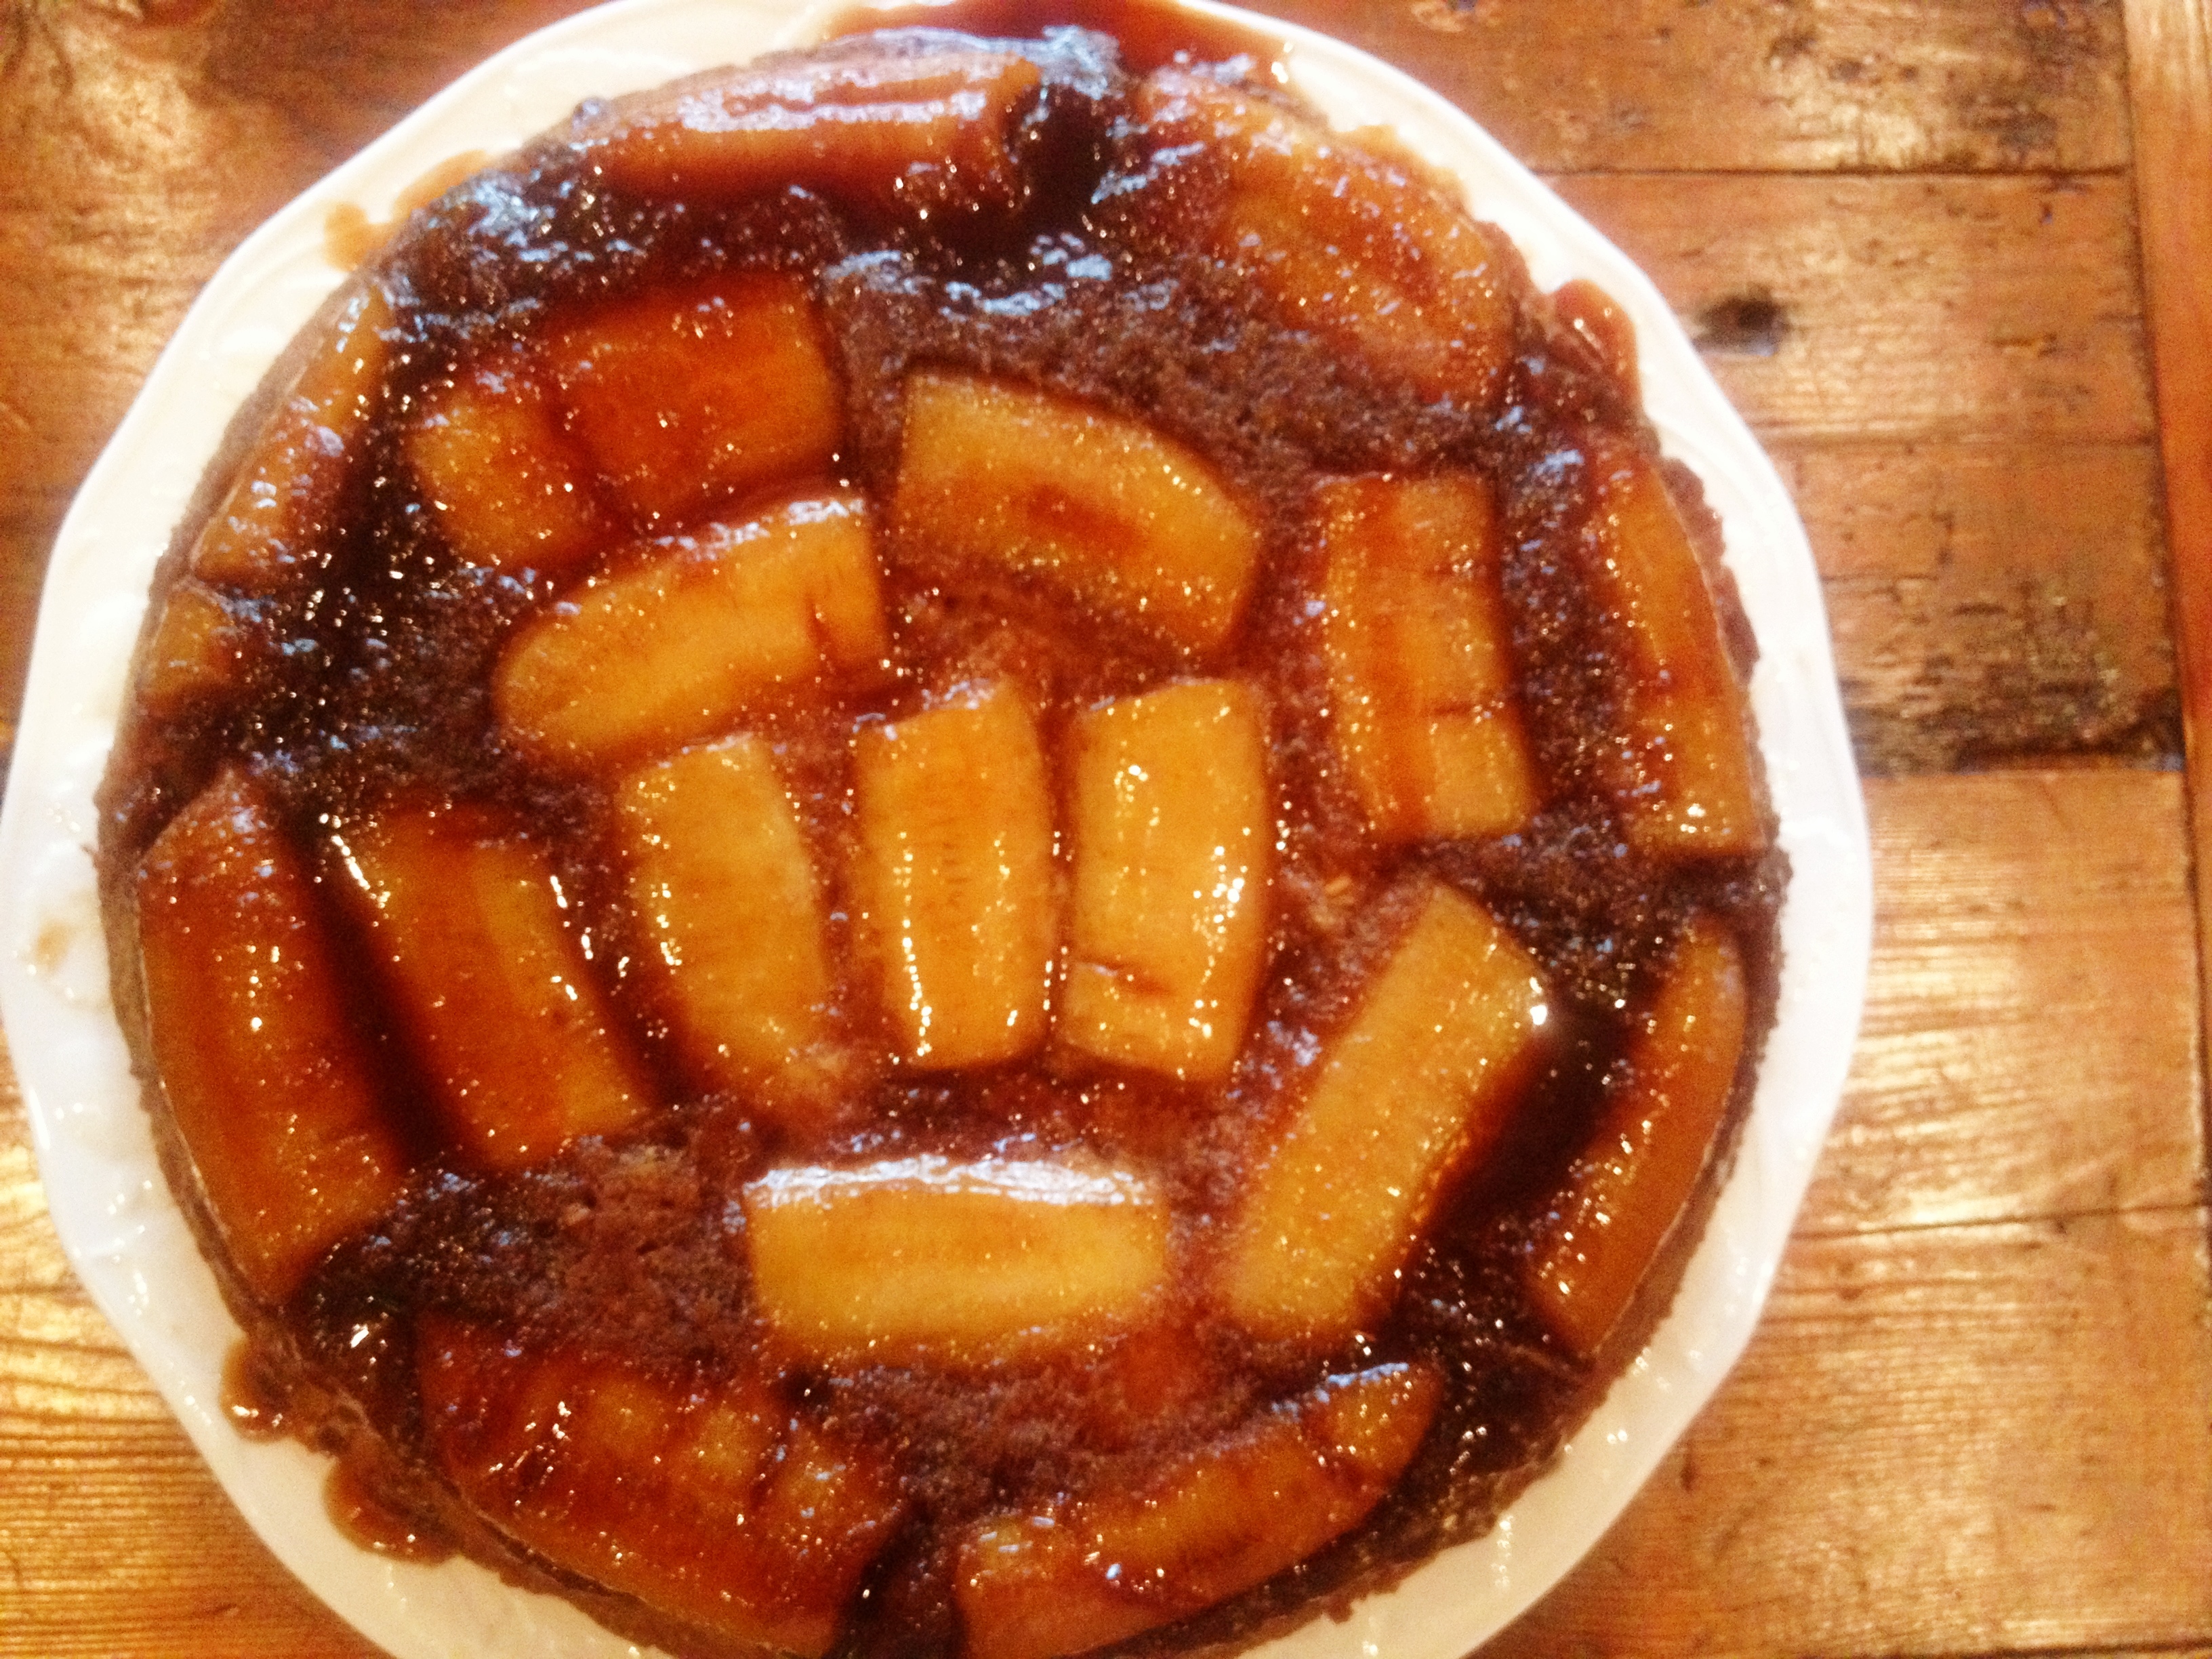
And so, without further ado, I present to you the infamous (stalked) Auntie Anne’s Strawberry Layer Cake. Trust me, it’s worth the effort.

A slice of strawberry

Aunt Annie’s Strawberry Layer Cake

What You Will Need:

1 cup fresh frozen strawberries, thawed (I washed two pints of strawberries, sliced a cup of them in half, then put that cup in a freezer safe bag for the cake. I then froze and thawed the rest of the berries to make sure I had enough juice for the frosting.)

1 box white cake mix

1 box strawberry Jello

3 tablespoons all-purpose flour

1 cup vegetable oil

4 eggs

1/2 cup water

2 batches strawberry butter cream frosting, recipe below

Fresh sliced strawberries and white chocolate coconut truffles for garnish if you like

What You Will Do

1. Preheat your oven to 350 degrees.

2. Spray two (9-inch) metal cake pans with nonstick cooking spray. Set them aside.

3. Drain your cup of strawberries well, reserving the juice for the frosting. I would go ahead and drain the rest of your frozen strawberries separately at this point to make sure you have enough juice.

4. Combine the cake mix, strawberry Jello powder and flour in a large bowl of an electric mixer. Add the oil, eggs, water and drained strawberries. Mix well on low for 30 seconds, then at medium speed for two minutes (make sure NOT to overmix here; it messes with the jello texture), scraping the sides of the pan as neccessary.

5. Divide the batter equally among two prepared pans and bake for 30 minutes. Check these at about 28 minutes to make sure they don’t over-bake. Remove the cake from the oven and let it cool for 10 mintues in the pan, then turn it out onto wire racks to cool for another 30 minutes.

6. At this point you can go ahead and frost the cake with buttercream. However, BAKERS ALERT– you will have a moister cake if you take these rounds, wrap them in plastic wrap first then aluminum foil, and freeze them overnight. Take them out of the freezer the next morning and let them sit at room temp until you need to frost them.

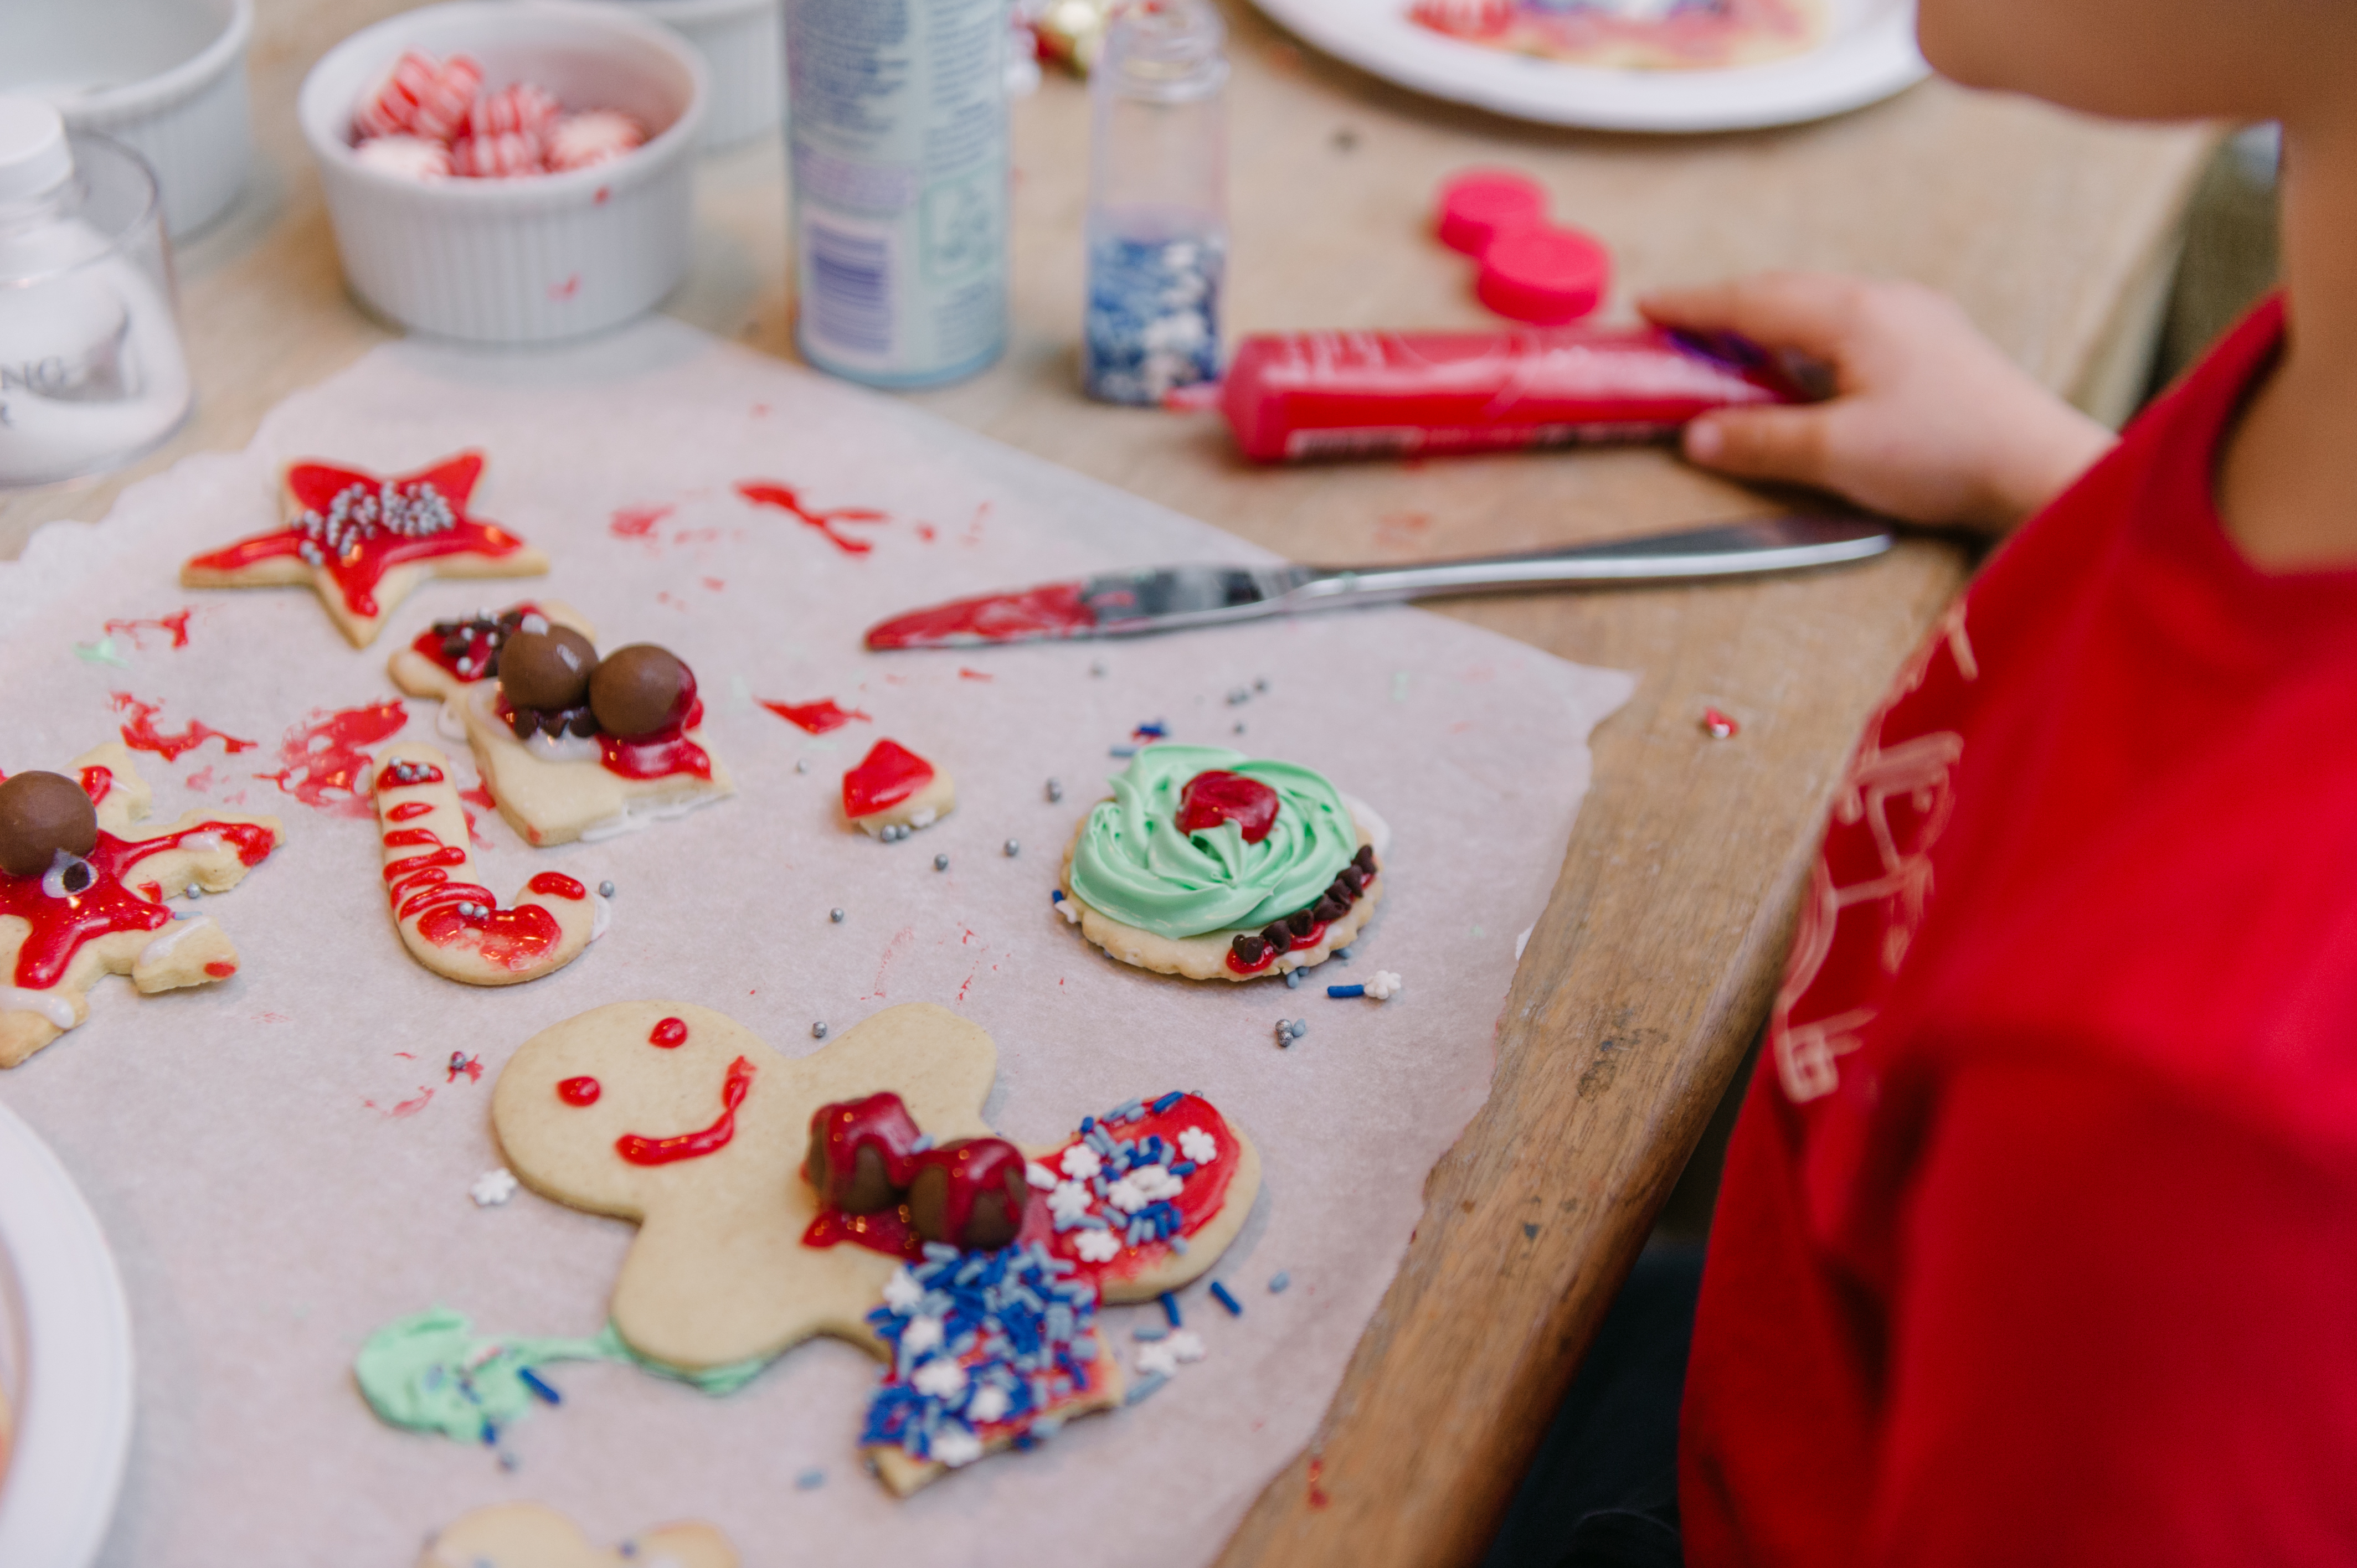
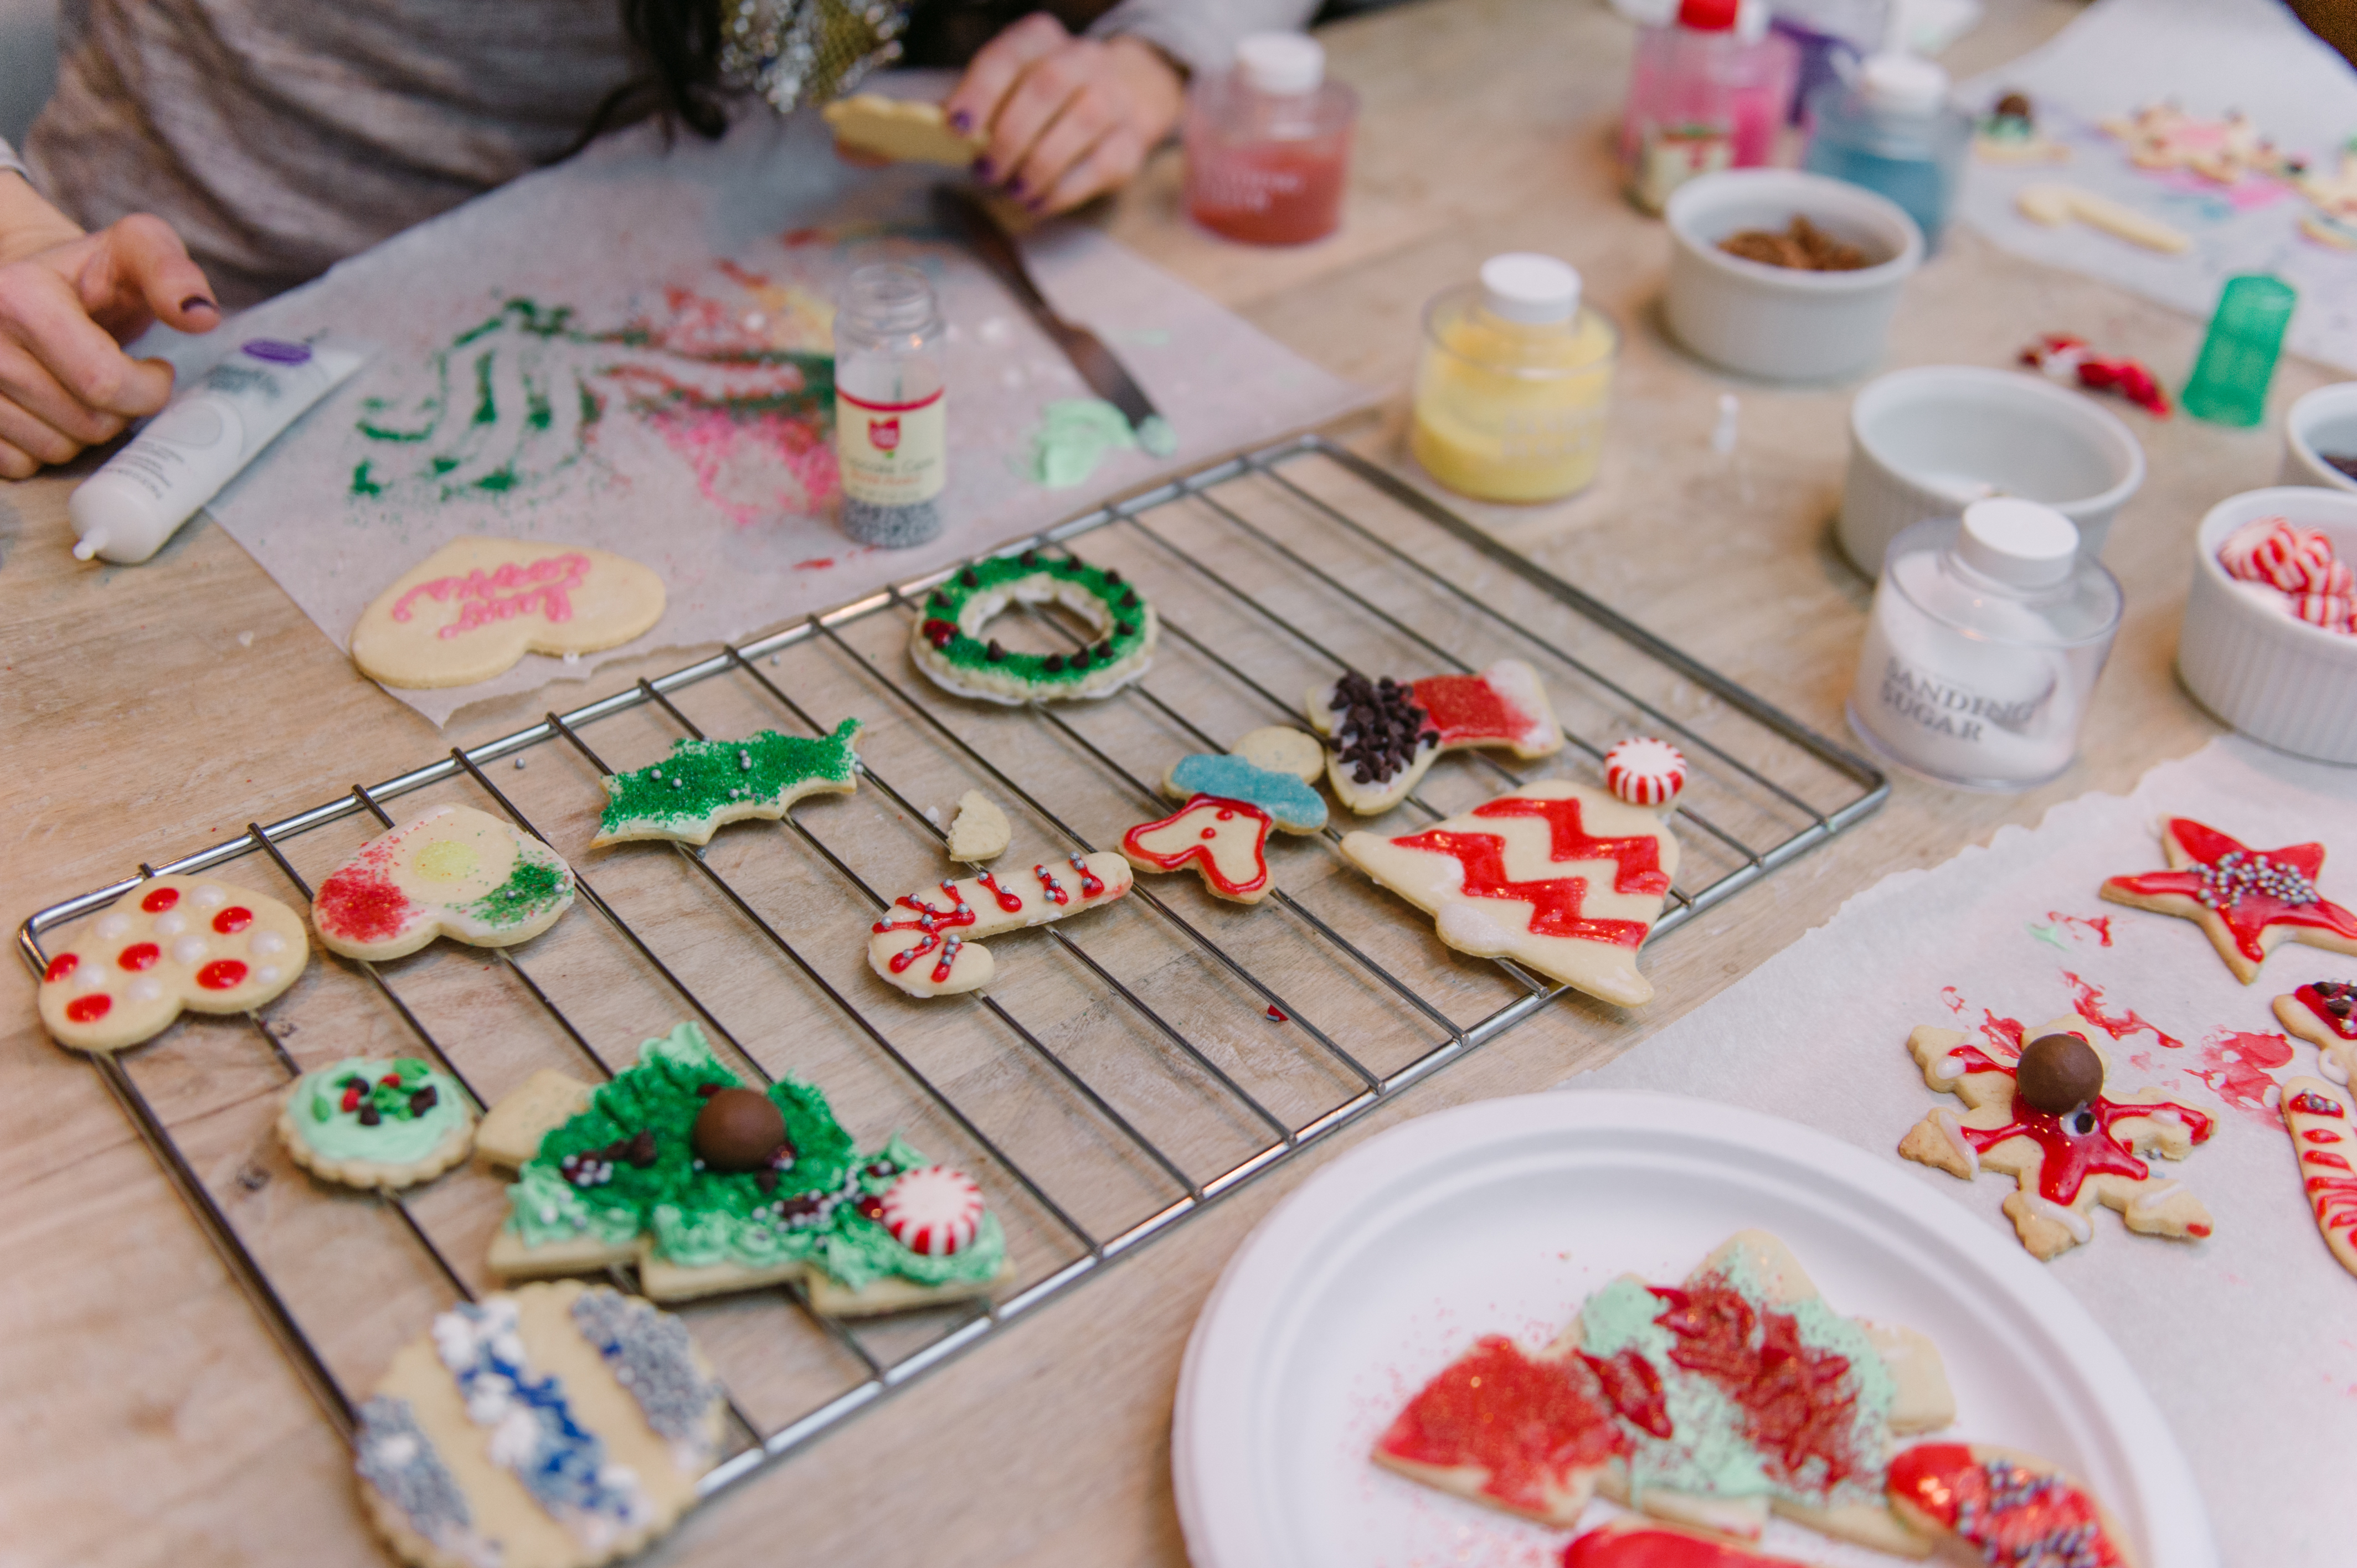
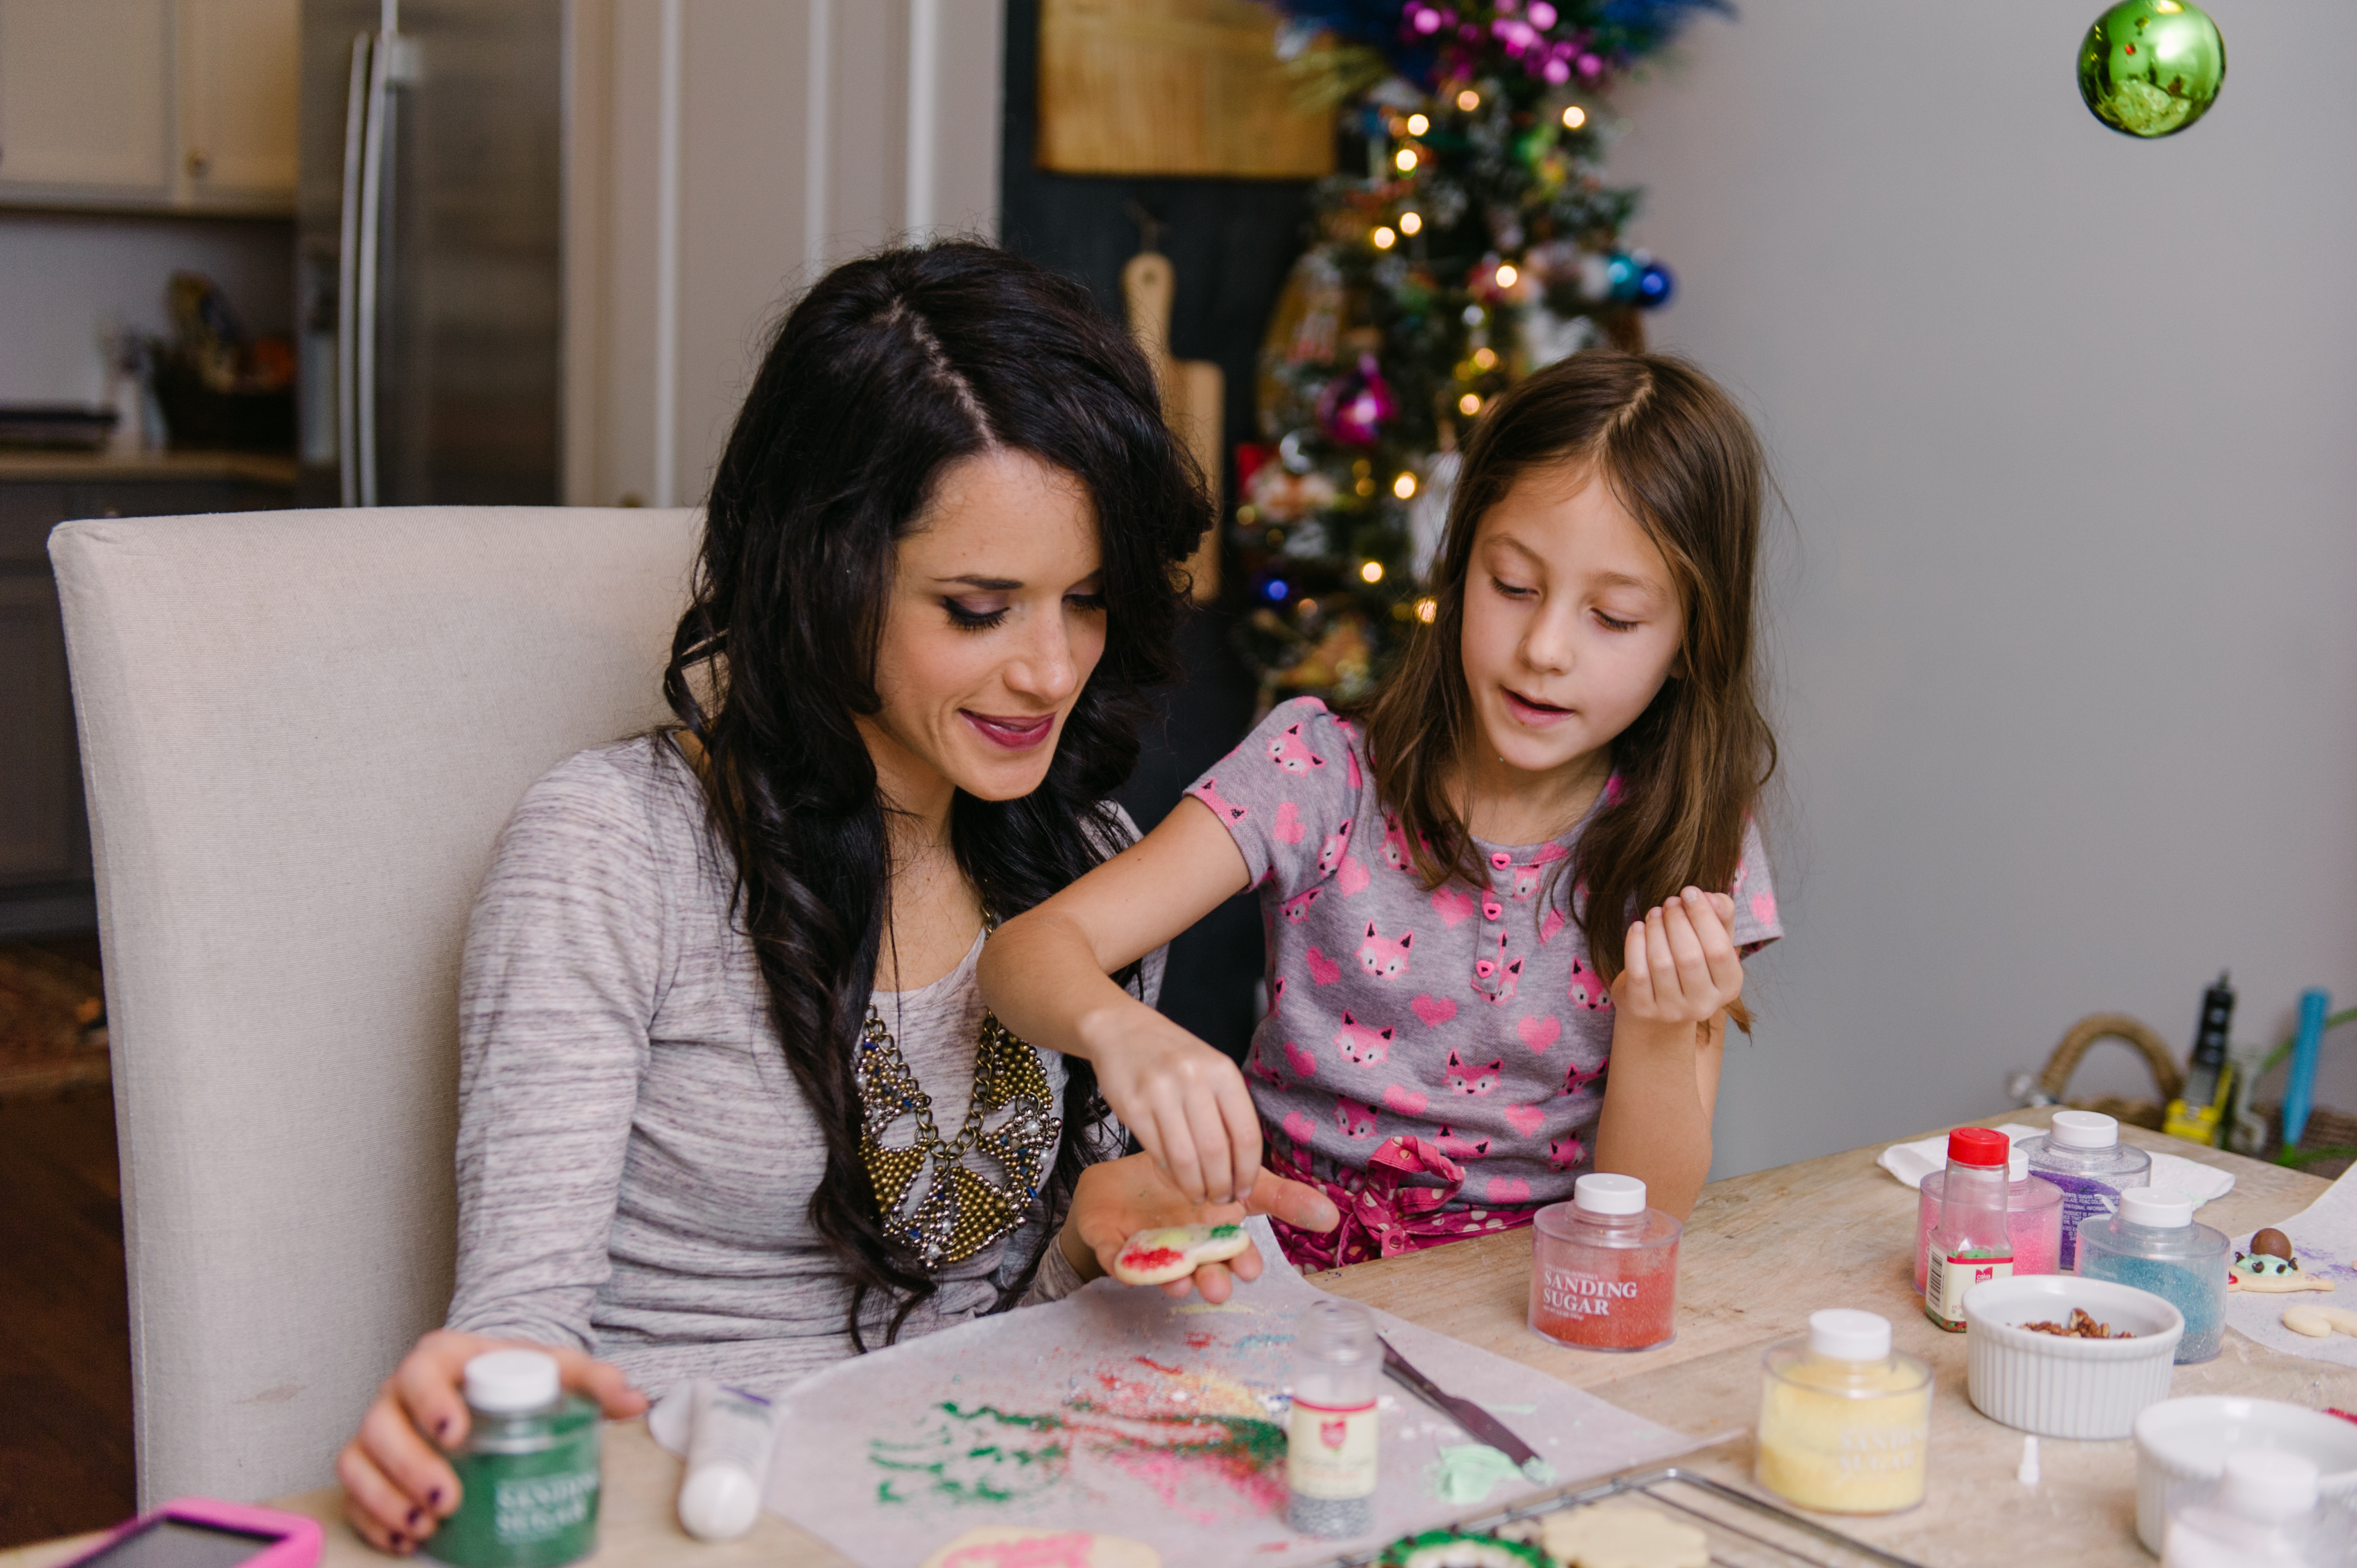
7. Garnish to your heart’s content with strawberries, white chocolate truffles, sprinkles, marshmallows, edible glitter

Strawberry Buttercream Frosting

What You Will Need

1 stick butter at room temperature (This is important for your frosting to whip up to it’s peak fabulousness)

1/4 cup strawberry juice (Please, please, please don’t skimp on this; the juice makes this frosting!)

1 pound powdered sugar

What You Will Do

1. Using an electric mixer, mix the butter, juice, and sugar together on low until blended. Then cream the mixture on high until light and fluffy, about two minutes. The icing will start to form peaks and feel like a dense buttercream when it is ready.

2. Scrape the sides of the bowl and/or taste frosting as necessary.

BAKER ALERT (These are way too much fun) If you dip your icing knife or spatula into a bowl of warm water, it will help smooth the frosting without tearing the cake. Also, it is easier to make one batch of frosting for the layer between the two cakes, then make a second batch for the top and sides of the cake. This ensures even frosting in the center and on the outsides of the cake.

Spicy Egg Salad with Homemade Wheat Thins

Bright and spicy, a sweet twist on a Southern tradition
Bright and spicy, this egg salad is a sweet twist on a Southern tradition

Maybe it’s the bunnies, or the baby showers, or the easter egg dying I have been eying on Pinterest, but spring is in the air. And it has left me with a serious craving for egg salad.

Spring is a season for parties in the South, and a good egg salad recipe is very similar to the antiquated idea of a bride’s dowry- a pursuit to be taken seriously, most importantly because it ends up on your great Aunt Frances’ silver platter that was passed down through three generations and used at your next best friend’s wedding shower. The pressure is on to not mess this thing up- expectations are high, but unfortunately, egg salad is something that can easily over promise and under deliver.

Too much mustard and it’s stained a fluorescent sunshine color; too much mashing and your eggs end up the texture of warm cement; too much mayonnaise and it tastes about as bland as a jar of the stuff on a spoon.

This fact, as you might have assumed, drives me crazy.  Every recipe that winds up on this blog should be a winner- something you are proud to take to your great aunt Sally’s third cousin’s twice removed housewarming party. Something people will scoop onto their plastic plate, taste, and go, “This is fantastic! I must know you! And your recipes!”

Spicy and smoky-sweet from the paprika (I highly recommend Hungarian paprika here) with a liveliness and bright note of dill, this egg salad ushers in spring beautifully. And to top it off (no pun intended), the homemade wheat thins are a fabulous vehicle for the eggs. Well worth the extra effort, the crackers are crispy (depending on how thin you roll them), slightly sweet and deliciously nutty. Sprinkle them with a bit of flaky salt and voila- so much better than the version you tear open from a box.

Addictively easy and delicious

I can’t wait to see all that spring has in store- for you, for me, and for our egg salads.

Spicy Egg Salad (This recipe was adapted from Meg’s Everyday Indulgence)

What You Will Need:

8 boiled eggs (This is the best method for boiling eggs, trust me)
1 tablespoon mayonnaise (I like Duke’s brand)
2 tablespoons prepared Dijon-style mustard (I like Grey Poupon)
1 teaspoon dried dill weed
1 teaspoon paprika
1/4 cup minced red onion
salt and pepper to taste
Homemade wheat thins (recipe below)

What You Will Do

1. In a large bowl, combine the eggs, mayonnaise, mustard, dill, paprika, onion and salt and pepper.

2. Mash the mixture well with a fork, but make sure you don’t get carried away and form a paste. Egg paste never appealed to anyone; its best left for tooths.

3. Serve on your best silver platter with a plate of homemade wheat thins.

Homemade Wheat Thins (This recipe is adapted from none other than one of my favorites, Smitten Kitchen. Have I told you lately that I want to be like Deb when I grow up? Because I do.)

What You Will Need 

1 1/4 cups (155 grams) whole wheat flour
1 1/2 tablespoons (20 grams) light or dark brown sugar
1/2 teaspoon (3 grams) table salt, plus additional for topping
1/4 teaspoon smoked paprika (a friend of mine gifted me with this kind and I am officially addicted; it smells amazing)
4 tablespoons (55 grams) unsalted butter, cold is fine, cut into small bits

What You Will Do

If you have a food processor:

1. Combine the flour, sugar, salt, paprika and butter in a food processor, pulsing the mixture until the butter is evenly disbursed in the crumbs. It looks like fine sand. Drizzle in 1/4 cup (60 ml) cold water with the machine running; run it until the mixture begins to form a ball. You might need more than 1/4 cup of water; just slowly add a little bit of water until the mixture darkens and clumps together.

If you don’t have a Cuisinart and love to work out your arms:

1. Combine the flour, sugar, salt, paprika and butter in a medium bowl. Using a pastry blender or your fingertips, work the butter into the mixture until mixture resembles coarse cornmeal. Add 1/4 cup (60 ml) cold water, stir with spoon until combined. Knead once or twice on counter.

2. Roll your dough out, half at a time, to a large, very, very thin rectangle-ish shape on a well-floured counter. Thinner than you even think necessary is best. I rolled mine out to be about 6 inches wide by at least twelve inches tall. Frequently check to make sure your dough isn’t sticking (this is an important step because it sticks easily); if it is, gently scrape a spatula underneath to lift it, then flour the counter again. Using a knife or pastry wheel, cut dough into about 1 1/2-inch squares. Dock crackers all over with a toothpick or sharp knife.  I sort of free styled the dots like I thought Emeril Lagasse would if he were making these. Bam!

3. Evenly coat a baking sheet with cooking spray.

3. Transfer crackers to baking sheets using your hands or a spatula, depending on how delicate they are. You only have to space them a little bit because they really don’t spread. Sprinkle with flaky sea salt if you’d like to approximate the salty exteriors of the store-bought crackers.

4. Bake the crackers until they are crisp and bronzed, about 5 to 7 minutes, but please keep a close watch on the first batch as thinner crackers will bake faster and the thicker ones will take longer. I also didn’t roll my dough out perfectly evenly, so some of my crackers cooked faster than others. If this happens, I recommend just sliding the thinner crackers off the sheet to cool and baking the others a few minutes longer, until the edges turn light brown or look crisped.

5. Cool the crackers in baking pans on racks. Crackers will keep in an airtight container officially for a week, if they can last that long, but mine have seemed to disappear. You can also freeze them in an airtight container between sheets of waxed paper for a couple months.

Spicy Turkey Sausage and White Bean Soup

Makes you feel warm inside.

In the south, “winter” is a loosely defined term.

Sometimes it means 75 degrees, flip-flops, shorts, and a football sweatshirt. Other days, it is defined as freezing temperatures, layers, more layers, gloves, and a freak snowstorm which requires at least another layer.

But this week, we are in a weather gray zone. Not quite warm- it hovers around the lower fifties, upper forties; drizzly, with no snow; and fog. Fog in the morning, fog in the evening, fog in the noontime.

And it’s times like these that call for soup. It’s the one time a year I feel (somewhat) urban with my cooking, imagining myself walking home from the market around the corner, toting a super cool umbrella and handmade grocery bag, skipping up to my loft and making a big pot of stew from locally grown organic tomatoes, hand-fed chicken broth, and the cilantro I raised in my rooftop garden.

But, back to reality, my tiny foggy kitchen, and the February “Winter Comforts” issue of Bon Appetit. Their Chorizo and White Bean Stew recipe caught my eye- the flavor profile was spicy, balanced by the beans, and quick. Looking for a way to make due of what I currently had in my refrigerator (and not being able to retro-bike to my nearest fresh foods market) I substituted spicy Italian turkey sausage for the chorizo, splurged on fresh thyme at Publix, added some smoked paprika, and got simmering.

This soup hit the spot, easily one of the best I have made in a while, and made me long for the end of the in-between: when fog clears, the sun comes out, winter needs no definition, and it’s time for flip-flops again. But this time without the layers.

Spicy Turkey Sausage and White Bean Soup

This recipe was adapted from Bon Appetit

What You Need

  • 2 tbsp olive oil, divided, plus more for drizzling
  • 1 1b spicy Italian turkey sausage (or you could use mild for a sweeter flavor)
  • 1 large onion, thinly sliced
  • 4 garlic cloves, finely chopped
  • 1 sprig thyme
  • 2 15-ounce cans cannellini (white kidney) beans, rinsed
  • 2 cups low-sodium chicken broth
  • Kosher salt, freshly ground pepper
  • 5 ounces baby spinach (about 10 cups)
  • Smoked paprika

What You Will Do

1. Heat 1 tablespoon oil in a large skillet over medium heat. Add sausage and cook, turning occasionally, until browned and cooked through, 15-20 minutes. Mine took about 23 minutes; I think turkey sausage links take a bit longer to cook through. Transfer the sausage to a plate.

2. Reduce heat to medium. Heat remaining 1 tablespoon oil in the same skillet. Make sure you keep all of those delicious pork bits in the pan to saute with your veggies. Add the onion slices, garlic, and thyme sprig. Cook, stirring occasionally, until the onion is softened, about 5-8 minutes. I like to add the garlic later; at about six minutes. Because burned garlic is no good to anyone.

3. Add the rinsed beans and broth and cook, crushing a few beans with the back of a spoon to thicken sauce, until slightly thickened, about 8-10 minutes. Watch the soup here; mine needed a bit longer to thicken. When it is the consistency of a chili, it’s perfect. Season with salt and pepper. Add spinach by the handfuls and cook just until wilted, about 2 minutes.

4. Slice the turkey sausage and fold it into stew; add water to thin, if you like. Normally I don’t like to add water because I feel it dilutes the flavor, but this is a thicker soup, so you have some room to play. Taste it again to make sure your salt and pepper ratio is working.

5. Divide the soup among bowls; drizzle with oil. I highly recommend sprinkling it with more paprika, and then some more just for good measure.

Peanut Butter Chocolate Crunch Granola

Oats baked to a sweet, nutty crunch

Happy Belated Valentine’s Day!

For a blog devoted to luv, it is bit embarrassing that I missed the February 14 deadline for this recipe.

To be fair, the treat I planned to debut was a bit of a sweet-potato-biscuit disaster. Marshmallows melted with chocolate do not become marshmallow fluff, they become liquid Tootsie-Roll, and my gluten-free heart-shaped peanut butter cookies were a bit ambitious.

But, hope springs! And, if you are like me, and may have eaten one too many sugary hearts, truffles, cereals, cupcakes, and donuts this week, then this recipe might be a nice change of pace.

Plus, when it comes to nutty-sweet combinations, peanut butter and chocolate wins.  If chocolate combinations competed in a doubles tournament, pb+c would serve aces every time, win the trophy, and do a fantastic victory dance over the net. Strawberry-and-chocolate, vanilla-and-chocolate, banana-and-chocolate: no competition. Peanut butter and chocolate’s flavor profile is simply complimentary; rich whipped peanuts and sweet, dense chocolate: perfect. This is why the following confession is a bit embarrassing.

I have never posted a peanut-butter chocolate recipe on this blog.

I know, I know. I talk a mean game, but have yet to deliver. Maybe I have been waiting for the right recipe, maybe I was caught off guard by how dependable and delicious this recipe is-maybe I was afraid to commit to the first posting. But you know something good when you find it, and I can’t think of a better way to start a day than with a perfect pair for breakfast. Or lunch. Or dinner.

Peanut Butter Chocolate Crunch Granola

*This recipe has been adapted from Allrecipes.com version 

What You Need:

2/3 cup creamy peanut butter 

1/3 cup honey

1/3 cup agave nectar

1/2 teaspoon cinnamon  (I like Saigon Cinnamon, it has a kick to it)

1 teaspoon vanilla

4 cups uncooked rolled oats

1 cup dry-roasted, salted peanuts

1 bar semisweet chocolate

What You Will Do

  1. Preheat oven to 300 degrees.
  2. In a small saucepan, combine peanut butter, honey, agave, cinnamon, and vanilla, over medium heat, and stir until smooth.
  3. Place oats and peanuts in a large, shallow roasting pan or a 15 x 10 x 1-inch baking pan. Pour warm peanut butter honey/agave mixture over the oats and peanuts and stir gently until oats are coated. Spread evenly in the pan.
  4. Bake, taking the oats out of the oven every 10-15 minutes, stirring to make sure they are evenly cooked. I did mine in two rounds of 15 minutes, then baked them for about 8 minutes more. Just make sure your oats are golden and a bit crunchy; you don’t want to burn the edges of the granola, or the peanuts.
  5. Burned peanuts are not delicious.
  6. Once the granola is done, put your cookie sheet on a baking rack to cool for about 15 minutes.
  7. While your granola cools a bit, use a vegetable peeler to peel half of your chocolate bar into small curls. Once you have passed the 15 minute mark, sprinkle the chocolate curls over the granola and stir to combine, making sure you coat all of the oats with the chocolate.
  8. Let the granola cool for about an hour, then chop the other half of your chocolate bar into small chunks. Sprinkle the chunks over your granola, and mix to combine.
  9. This makes a large batch, so you could easily feed an entire tennis team with it, or two large families, or yourself, if all you had to eat was this for a week.

Salted Brown Butter Rice Krispie Treats

Squares of melt-in-your mouth marshmallow decadence
Squares of buttery, marshmallow goodness

It’s funny how cookbooks can change your mind about things.

To me, Rice Krispie treats lack the luster of other desserts. Piled high on the glass shelf of almost every bakery in America, they pale in comparison to  dark chocolate chunk break-up cookies, golden Nutella croissants, or pink raspberry macaroons.

But- Deb Perlman changed my mind. About a month ago I began consuming the Smitten Kitchen Cookbook like it was my job, and came across her recipe for salted brown butter crispy treats. It flipped every traditional recipe for the bars on it’s wax-paper-lined 8X8: browned butter instead of melted; marshmallows folded into the butter until they were light and airy; the addition of coarsely ground kosher salt.

Deb's recipes are detailed, beautiful amazingness.

And Deb, like she always does, provided just enough detail in the recipe to make you feel like a.) you should do this and b.) if you don’t do this, you are making a poor life choice because she does such a great job of making things easy to follow. Result?

Y’aaaalllllll.

These will, guaranteed, change your opinion of the (formerly lowly) crispy treat.

Treats stacked

The squares are rich, decadently buttery, and brought to life with the accent of salt.  The first time I made these, my mom, sister and I ate roughly 1/3 of the pan- my brother ate the rest.

In one day.

This recipe, like Deb’s blog, will not disappoint you. In fact, pull out an old cookbook or two from the back of your (cook)book shelf. Which, if you are like me, may or may not be covered in what appears to be dust-or is that a fine layer of powdered sugar? Remnants of what used to be frosting? Wait- I think that’s grits.

Regardless, the search for a new take on an old recipe might surprise you. But be warned- this recipe will make you pass over every other crispy treat you find, even if you weren’t one of those snub-your-nose, make-judgements-about-dessert-choices, kind of people. Totally unlike anyone I know…

Salted Brown Butter Rice Krispie Treats, text detail added, from Smitten Kitchen‘s recipe here

What You Will Need:

4 ounces (1/4 pound or 1 stick) unsalted butter, plus extra for the pan
1 10-ounce bag marshmallows
Heaping 1/4 teaspoon coarse sea salt
6 cups Rice Krispies cereal (about half a 12-ounce box)*

What You Will Do:

1. Butter (or coat with non-stick spray) an 8-inch square cake pan with 2-inch sides.

2. In a large pot, melt butter over medium-low heat. It will melt, then foam, then turn clear golden and finally start to turn brown and smell nutty. Stir frequently, scraping up any bits from the bottom as you do. Make sure you stir it frequently; I like to use a pastry brush to lift any bits off of the bottom.

3. Don’t take your eyes off the pot. While you may be impatient for the butter to start browning, the period between the time the butter begins to take on color and the point where it burns is often less than a minute. If your butter burns, then it will make little black specks in your treats. Unless you like the way white highlights black specks in your baked goods, watch the butter.

4. As soon as the butter takes on a nutty color, turn the heat off and stir in the marshmallows. The residual heat from the melted butter should be enough to melt them, but if it is not, turn the heat back on low until the marshmallows are smooth. Make sure and don’t over stir this; take the mixture off the heat when it just comes together, or it will get too stretchy and lose the light texture we are looking for.

5. Remove the pot from the stove and stir in the salt and cereal together. Quickly spread into a prepared pan. I like to use a piece of waxed or parchment paper that I’ve sprayed with oil to press it firmly and evenly into the edges and corners, though a silicon spatula works too. I have done both, and prefer the parchment paper method- this gives you the smoothest finish.

5. Let the mixture cool, it took mine about twenty minutes, and cut into squares. Try not to take them to your nearest bakery and taunt others. I dare you.

*I did a test to compare the off-brand of crispy cereal to Rice Krispies. Rice Krispies not only tasted more toasted, but they had a darker color. It’s worth it to splurge on the name-brand here.

Black Bean Smothered Sweet Potatoes

A bright spot in January

I may have eaten more vegetables in the past twelve days than December combined.

As a lover of meat, and Southern cook comfortable sticking to the dairy, powdered sugar, and Diet Coke aisles,  I was a bit concerned about this 21-day transition into vegetable territory. There are few things that comfort like a bit of hot, melted butter and dark chocolate, whisked together and poured over ice cream.

This journey as a pseudo, 21-day-vegetarian has taught me two things. One, I want to be Heidi Swanson. Two, few things out- perform a black bean in flavor and fillability.* If I was crafty, I would take their cans, paint them gold and shape them into a trophy, then award Goya the MVP kitchen medal for January.

IMG_2040
Fresh basil and cilantro with powdered peppers are delicious.

But my friend Courtney from Kinora Films (the best wedding videographers in the universe) inspired my affection for the black beans and sweet potatoes combo. She has a killer black bean and sweet potato chili recipe that one day I hope to share with you.

The recipe below is a modified version of one I found online; I thought the added brightness of basil and the kick of ground chipotle peppers would elevate the flavors, and it takes a roasted sweet potato to, as they say, a whole-notha-level. Or, as my relatives say, “man, them sure is ‘werd but tasty.” Good black beans smothering anything will do that to you. Maybe even more than chocolate-covered ice cream? Let’s not get carried away…

Black Bean Smothered Sweet Potatoes

What You Will Need

  • 2 medium sweet potatoes
  • 1 15-ounce can black beans, 1/4 of beans removed; 3/4 rinsed
  • 1 medium tomato, diced
  • 2 scallions, chopped
  • 1 tablespoon fresh basil, chopped
  • 1 tablespoon fresh cilantro, chopped
  • 2 teaspoons extra-virgin olive oil, plus more for drizzling
  • 1/2 generous teaspoon ground cumin
  • 1/4 teaspoon smoked paprika
  • 1/4 teaspoon ground chipotle peppers
  • 1/teaspoon kosher salt, plus more for drizzling**

What You Will Do:

  1. Preheat oven to 450.
  2. Prick sweet potatoes with a fork in several places. Do this gently. When I pricked mine, I was a tad aggressive and accidentally got my fork stuck. Be warned; this is not an easy disassembly.
  3. Drizzle a bit of olive oil on your cleaned sweet potatoes, then sprinkle them lightly with kosher salt. Wrap each in aluminum foil, making sure to leave no skin exposed, and put both on a cookie sheet.
  4. Cook until tender all the way to the center, about one hour. Side tip: If you are feeling adventurous with your potatoes, cook these babies for 2 hours. They develop a roasted, sweet, pillowy softness that is addictive.
  5. Meanwhile, combine beans, tomato, scallions, basil, cilantro, oil, cumin, paprika, smoked peppers, and salt in a medium saucepan.
  6. When they are cool enough to handle, cut each sweet potato lengthwise, press them open to make a well in the center, and spoon the bean mixture into the well.  Hot sauce is also an excellent topper here.

*This word refers to a bean’s ability to make you feel like you ate meat.

**Depending on how salty you like things, you could use a bit less salt than this because of the addition of the unrinsed beans. I like things salty, so it worked for my palate.

White Christmas Snack Mix

IMG_1995
Snack food heaven

Happy New Year!

I am really looking forward to 2013. The idea of a brand new year is always exciting- but it’s also an excuse to be more creative with your life. To plan new things, set goals, make changes, drizzle dark chocolate like Jackson Pollock over a heap of white chocolate-covered marshmallows and cashews.

Yes, New Years is a fantastic time for the ultimate, chocolate-covered, dessert mix. It couldn’t be easier, or a better fit for New Years football games, parties, or just sitting at your kitchen table making grand plans for 2013. Whatever works.

This is dangerous to serve on large platters. It means more people can eat your leftovers.
Serving this on large platters means more people can eat your leftovers.

To be frank, whenever I see a recipe for dessert/snack mixes- really anything loosely tied together by a sugary substance with some Chex cereal thrown in- I am wary. I have too often been dissapointed by dessert mixes that look amazing (peanut butter, pretzels, and powdered sugar- sign me up!) but end with a cloyingly-sweet aftertaste.

This mix is different. The light white chocolate layer over salty cashews and pretzels is a nice balance- and I adore marshmallows, so any excuse to add those in anything is perfect. Also, this recipe requires white chocolate almond bark, which (don’t be decieved) is not a health-food product. It is the easiest way to melt white chocolate, and for this recipe, it’s what you need.

Here’s to the best year yet- and an excuse to fling dark chocolate in whatever way you please.

White Christmas Snack Mix

What You Will Need:

6 cups of Crispix cereal
2 cups of Honey Nut Cherrios cereal
Big can of cashews halves and pieces (or an 8 ounce bag)
1 large bag of peanut butter M&M’s
One bag of mini marshmallows
2 cups of knot pretzels
2 high quality dark chocolate bars  (don’t skimp on quality here; it really makes a difference in the contrasting tastes between the two types of chocolate)
Wax paper
What You Will Do:
1. In a very big bowl, mix the Crispix, Honey Nut cheerios, cashews, M&M’s, marshmallows, and pretzels.
2. In a separate bowl, melt one package of white almond bark in the microwave, or follow the directions on the package to melt it on the stove. Pour melted white almond bark onto the cereal mix and stir, making sure to coat each piece.
3. Spread the entire mixture out on wax paper.
4. While it is hardening, melt two dark chocolate bars in the microwave. My preferred method is to melt both bars on high in a microwave-safe bowl for one minute; then microwave the chocolate for 15 second intervals, stirring briskly after each heat blast, to melt the chocolate and create a smooth consistency. Try and microwave the chocolate as little as possible;  the more you microwave it, the more likely it is to burn.
5. After the dark chocolate is melted,  take a spoon and drizzle it over the cereal mixture like the artist that you are. Let it harden for about 15-20 minutes.
6. Once hardened, break the pieces apart and share them with your loved ones. Or not. :)

Dark Chocolate Christmas Cookies

Salty and sweet. Kind of like a sailor with a santa hat.
Salty and sweet. Kind of like a sailor with a Santa hat.

Can you tell I like Christmas cookies?

Honestly, I didn’t want to do two Christmas cookies posts in a row. It goes against every food blog rule out there. But I had to, because this recipe is so good. It’s worth a second batch of Christmas cookies. And I want you to have the chance to make some before time runs out and we are all post New Year’s, drinking smoothies and eating kale.

Well, some people are doing that. I never liked kale and only drink smoothies with peanut butter. But best of success to you, juicers!

These cookies are dense, chocolatey and rich, and the salty kick after you bite into them takes the flavor to another level. And for those of you who don’t like the chocolate/sea salt combination, you can also accent them with cinnamon candies, sanding sugar, and what the heck- go all out with some icing too.

I wish all Christmas trees were made of chocolate.
Chocolate cookies en papillote (sort of)
Chocolate cookies en papillote (Well, sort of; I think that was French-lish)

Dark Chocolate Christmas Cookies with Sea Salt

(This recipe is adapted from the fabulous blog Sweetapolita; My changes are in italics)

What You Will Need:

  • 6 cups (750 g) all-purpose flour, sifted (I used whole wheat pastry flour)
  • 1 and 1/4 cups (137 g) dark cocoa powder (I love organic cocoa powder!)
  • 1 teaspoon (8 g) salt
  • 2 cups (454 g)(4 sticks) unsalted butter, softened (Try organic here too)
  • 2 cups (400 g) granulated sugar (I used 1 3/4 cup)
  • 1 cup (228 g) light brown sugar
  • 3 eggs, cold
  • 2 teaspoons (10 ml) pure vanilla extract
  • Various fun toppings (cayenne pepper, sea salt, icing, more chocolate, sprinkles!)

What You Will Do:

  1. In large bowl, sift together flour, cocoa powder and salt. Set aside.
  2. In an electric mixer fitted with the paddle attachment, cream butter and sugars until fluffy and pale, about 5 minutes. Beat in eggs until just combined.
  3. Add flour mixture and mix on low speed until thoroughly combined. (Please do this slowly. I got carried away and ended up with a light brown powder on my mixer, counter, and clothes. And pants? I have no idea.) Add vanilla and blend.
  4. Remove 1/2 of the dough from bowl, make a ball, and place it on a large piece of plastic wrap on the counter.Wrap the sides of wrap over the ball, then press down with the palm of your hand and make a disc about 2″ thick. Finish wrapping the disc with the plastic wrap. Repeat with the second half of dough. Chill both discs of dough for about 45 minutes or up to a day in the fridge.
  5. Once ready to bake, preheat your oven to 325.
  6. Remove one disc and remove the plastic wrap. Place on top of a large piece of parchment paper (I used a silicone bakers mat underneath it to make sure it didn’t slip while I was rolling it out), then put another large piece of parchment paper on top of the dough.
  7. Roll dough with a rolling pin (Ok, this is where your work-out comes in. It takes a bit to get it warm and ready to cut) until it is an even thickness; I aimed for about 1/4 of an inch.
  8. Remove the dough from the fridge, and cut your shapes using the cutters of your choice, placing them on a cookie sheet lined with parchment or a Silpat, with 2″ clearance around each one and the edge of sheet. Top with salt, cayenne- whatever you like!
  9. Bake until cookie edges are just crisp, about 16 minutes. Repeat with the second disk of dough.
  10. Cool the sheets on wire racks for 10 minutes, then gently remove cookies and place on wire racks to finish cooling. After cool, ice or glaze to your heart’s content! And don’t forget the sprinkles!
  11. Promptly consume with a large glass of egg nog. So delicious!

Holiday Sugar Cookies

Our finest Christmas masterpieces on display.
Our finest Christmas masterpieces

I love decorating cookies.

So far this season I believe I have baked at least 96. And as a child I especially loved the dough. As in, I would sneak it from the round ball on the cutting board into the sides of my cheeks, hoping that no one would notice. My sweet mom would then ask me how the cookie-cutting was going, and the dough would fall gracefully from underneath my tongue onto the counter. I know, I was pretty cool at a young age.

Paula and Kellen's children are much cooler than I was at their age.
Paula and Kellen’s children are much cooler and creative than I was.

There is an art to holiday sugar cookie dough. Unless you have a great foundation, a cookie won’t hold up under mountains of icing and sprinkles. Too soft, and your cookies will pillow up in the oven like an overstuffed Santa. Too hard, and biting into them is about as pleasant as eating stale crackers.

And one of the most fun things about holiday cookies is who you decorate them with. This brings us to my amazing, talented friend Paula Coldiron from Two Ellie blog, who volunteered both her talent and her sweet children to decorate cookies together.

The best use of green icing and milk chocolate balls I have ever seen.

twoellie&luvcooks.12 (44 of 61)

Paula has an incredible gift for interiors- she can make the most generic of spaces light up with style like a Christmas tree- and she also has a way with a camera. So, if you are looking at this post and thinking, “Wow; her food photos look fantastic! Better than they ever have!” It’s because Paula took them. Her and her husband Kellen also have a wedding and lifestyle photography business.

I was beyond excited and thrilled to partner with Two Ellie for this post. Check out all of Paula and her impeccable style, holiday and otherwise, here. She also has a fantastic shop for anyone looking for last-minute holiday gifts.

This dough below is one I modified a bit to make it taste more holiday-esque, but it rolls out beautifully and responds well to hefty cookie cutters. Go ahead and roll the dough out to 1/8 inch; that will give you the perfect weight and density for your cookie.

Half of these cookies are glazed to make the icing colors pop.

And don’t forget to add something special to every cookie you make. I’ve learned this year that it’s not always what you bake- it’s who you decorate it with.

I wish you and your loved ones a very merry-and sweet-Christmas season.

The mini-decorator at work.

Holiday Sugar Cookies (this recipe has been adapted from Bon Appetit via Epicurious.com)

What You Will Need:

  • 1 cup unsalted butter, room temperature
  • 1 cup (packed) golden brown sugar
  • 1 large egg
  • 1 teaspoon vanilla extract
  • 2 2/3 cups all purpose flour
  • 1 teaspoon baking powder
  • 1/2 teaspoon salt
  • 1/2 teaspoon ground cinnamon
  • freshly grated nutmeg

What You Will Do:

1. Using an electric mixer, beat butter and sugar in a large bowl until fluffy. Beat in egg and vanilla.

2. Sift flour, baking powder, salt, cinnamon, and nutmeg together in a bowl. Add the dry mixture from the bowl slowly to the mixer until fully incorporated; it took me about three big pours.

3. Turn the dough out onto lightly floured surface and knead it gently for one minute. You will know it’s ready when it feels elastic and warm in your hands.

4. Shape the dough into a 1/2-inch-thick rectangle. Cut it into 4 equal mini-rectangles. Wrap each rectangle in plastic wrap and the original recipe said to refrigerate them for at least 3 hours and up to 1 day.  Honestly, you can just roll this dough on out, but it does make life easier if you refrigerate it first. If you have time to refrigerate it, let the dough soften slightly at room temperature before rolling it out.

5. Position a rack in the center of the oven and preheat it to 350°F. Spray a large baking sheet with cooking spray, or use a Silpat. Working with one dough piece at a time, roll out dough with a floured rolling pin on a lightly floured surface to 1/8-inch thickness, lifting and turning dough often and dusting surface very lightly with flour to prevent sticking.

6. Use your most celebratory Christmas cookie cutters to cut the dough; I highly recommend Santas, snowmen, angels, stars, candy canes, and hearts. Pull away excess dough from around cookies, then transfer the cookies to a prepared baking sheet, spacing 1 inch apart (cookies will not spread). Gently reroll dough scraps; cut out more cookies. Transfer them to the same sheet.

7. Bake cookies until light brown, about 11 minutes. It is always better to take them out earlier rather than later; if you bake them too long the cookie edges will get crispy and might burn on the bottom.

8. Let the cookies cool for 5 minutes on the sheet. Transfer the cookies to a rack; cool.

9. Repeat this process with the remaining dough pieces, baking one sheet of cookies at a time. Cool baking sheet completely and butter the sheet lightly between batches.

10. Finally, decorate until you can decorate no more. For this shoot I used green fluffy icing, red and white sparkle gel icing, Christmas sprinkles, milk chocolate balls, and edible silver balls.

Banana Toffee Upside Down Cake

Carmelized bananas on a platter. Delicious.

Bananas remind me of my family; especially my mom. Sliced, frozen, raw- I grew up eating them. My mom’s favorite ice cream flavor is- you guessed it- banana, and I have vivid memories of peanut butter, banana, and mayonnaise toasted sandwiches, shared with my sister as we attempted to climb up and sit cross-legged on our kitchen counter. (My sister and I always made an adventure into climbing on top of things. I have no idea why.)

For those of you whose reaction to the sentence before last was “You had what on your peanut butter and banana sandwiches?” You haven’t lived until you have had one. (However, if you do make this, please lightly toast your white bread and lightly spread a bit of mayonnaise on your slices, then a layer of peanut butter, then a layer of sliced bananas. Key word: lightly. Now enjoy your new perspective. :))

The banana cake from above.

And there is something about baking during the holidays that stirs you to create extra special desserts for the ones you love- and incorporate their favorite flavors into what you serve. Wanting to move outside of just banana bread, I came across this recipe on Pinterest and immediately fell in love.

Caramelized bananas in brown sugar and butter? Yes. Baking in my favorite cast-iron skillet? Yes again.

And topping it all off with my mom’s homemade vanilla ice cream? Si; Oui, s’il vous plaît; and yes some more.

I hope this cake wows your loved ones like it did mine. It is perfect served warm out of the oven, so put it in as you sit down to your main course. Which, if you are lucky, will be a peanut butter, mayonnaise, and banana sandwich.

Warm cake with homemade vanilla ice cream.

Banana Toffee Upside Down Cake

This recipe was taken from Foodess.com– one of my new favorite food blogs.

What You Will Need:

For the topping:

  • 1/3 cup (3 ounces) butter
  • 3/4 cup packed brown sugar
  • 2 tbsp rum
  • 3 large, ripe bananas, laved lengthwise and cut into 1 1/2″ pieces (I think you could even cut the bananas into rounds if you felt so inclined. I know, some days you just need to chop something.)

For the cake:

  • 1 3/4 cups all-purpose flour
  • 2 tsp baking powder
  • 1/2 tsp cinnamon
  • 1/2 tsp nutmeg
  • 1/4 tsp salt
  • 1/3 cup (3 ounces) butter, softened
  • 3/4 cup white sugar
  • 2 large eggs
  • 1 tbsp rum
  • 1/2 tsp vanilla extract (I use this because I am a vanilla extract snob)
  • 3/4 cup whole milk

What You Will Do:

1. Preheat oven to 350 degrees. Melt butter in a 10-inch cast iron skillet. Add sugar and rum; stir briefly, then allow to bubble and caramelize for about 5 minutes, until it becomes a rich, golden brown. Remove from the heat and arrange bananas over toffee.

2. In a medium-sized mixing bowl, whisk together flour, baking powder, cinnamon, nutmeg and salt. In the large bowl of a standing mixer, beat the butter and sugar until light and fluffy, about 3 minutes. Add eggs, one at a time, beating thoroughly after each. Beat in rum and vanilla extract.

3. With the mixer speed on low, add one-third of the flour mixture, then one half of the milk. Repeat, ending with the flour mixture, mixing until just combined. I am not sure what this specific order actually does, but it made me feel very professional.

4. Pour the batter into the cast iron skillet over your banana/toffee mixture.

5. Put your skillet into the pre-heated oven and bake for 30-35 minutes, until it is golden brown on top and a toothpick inserted in the centre comes out clean. Watch it though; mine got pretty brown at about 28 minutes.

6. Allow the cake to cool in the pan 5 minutes before inverting it onto a plate. Then try not to climb on your kitchen counter and eat it all.