Your Best Smoothie EVER (TIPS+VIDEO) + Easy Greens Smoothie

Fresh green asparagus!

It’s JANUARY!! I don’t know about y’all, but I could not be more excited about a fresh start to the year. As we have talked about on the blog, 2016 had a lot of highs and lows, so I am setting my intentions on a steady, thriving year ahead.

You know what else that means? Adding things to our lives that make it easier and more enjoyable. Ways to help us all feel better and live abundantly. And for me, that is- SMOOTHIES! As my friends will tell you, I am a smoothie fiend. I am also a chocoholic and lover of anything that involves candy. However, as I have learned, all that energy (some may refer to this as sugar) is not so awesome to eat for breakfast every day so here is my solution: smoothies.

And in my effort to share with you guys the cooking tips that have worked, and haven’t, here is what we are focusing on in January- smoothies! Smoothie tips, favorite smoothie recipes, and favorite smoothie add-ins will be our topics of interest. This week’s recipe- a greens smoothie.

Did I mention I also don’t love leafy greens? Well, unless they are of the collard variety, bathed in glorious pork fat and served with cornbread.

I’ve tried lots of recipes to get myself to eat more kale, turnip greens, collards, all of those “bitter is better for your liver” plants- those just don’t make my taste buds to a happy dance. BUT what I’ve figured out is that smoothies do- so what if I froze the greens and blended them in with other yummy things? Sold.

So, in an effort to bless you guys with what I’ve learned and get YOU pumped about making your own smoothie creations, here are my Top 4 Smoothie Tips!

  1. ORDER is important: I didn’t realize this until I started making smoothies  daily that there is a rhythm to it all! Steps:
    1. Dry ingredients + liquid: Blend together, on low, your liquid of choice (milk, non-dairy milk, water, juice, coffee) with your dry ingredients (cinnamon, protein powder, peanut butter).
    2. Add frozen ingredients next: It’s helpful if your frozen goodies are in smaller chunks so your blender doesn’t explode (Hah! Several times mine had a distinct burnt metal smell. Probably not so good). So, I like to break my bananas in half, slice my strawberries, pick smaller ice cubes, etc.
    3. Set speed from low to high: After you have added your frozen ingredients, put the blender on low speed until no more large chunks appear. Move to a medium speed setting until you no longer see any fruit/veggie pieces. Then, blast that sucker on high for about 10-15 seconds, or until your smoothie is frothy and ready-to-drink!
  2. Freeze ALL THE THINGS: Texture is so important in a good smoothie! I want mine to be thick and frothy. So, I freeze pretty much every ingredient I put in my smoothies and stash them in large ziplock bags in the freezer. So- kale, bananas, berries, coffee in ice cube trays- ***Tip, frozen coffee cubes cab make your smoothie taste like a Frappucino!***– all of it goes in the freezer box.
  3. Bring the FLAVOR: Check in and see what your taste buds are in the mood for. Is it spiciness? Try cinnamon, chili powder, pumpkin pie spice. Something creamy? Vanilla or almond extract. Sweetness? Try stevia, coconut sugar or honey.
  4. Prep Yo’self. Making breakfast in the morning can be overwhelming, so let’s make it easy!
    1. Make individual baggies of your frozen ingredients. Just put your frozen veggies and fruits for the day in a pre-measured plastic bag and throw that in the freezer.
    2. Measure out your dry ingredients and put them in a small bowl by your blender.
Easy green's smoothie!
Easy green’s smoothie!

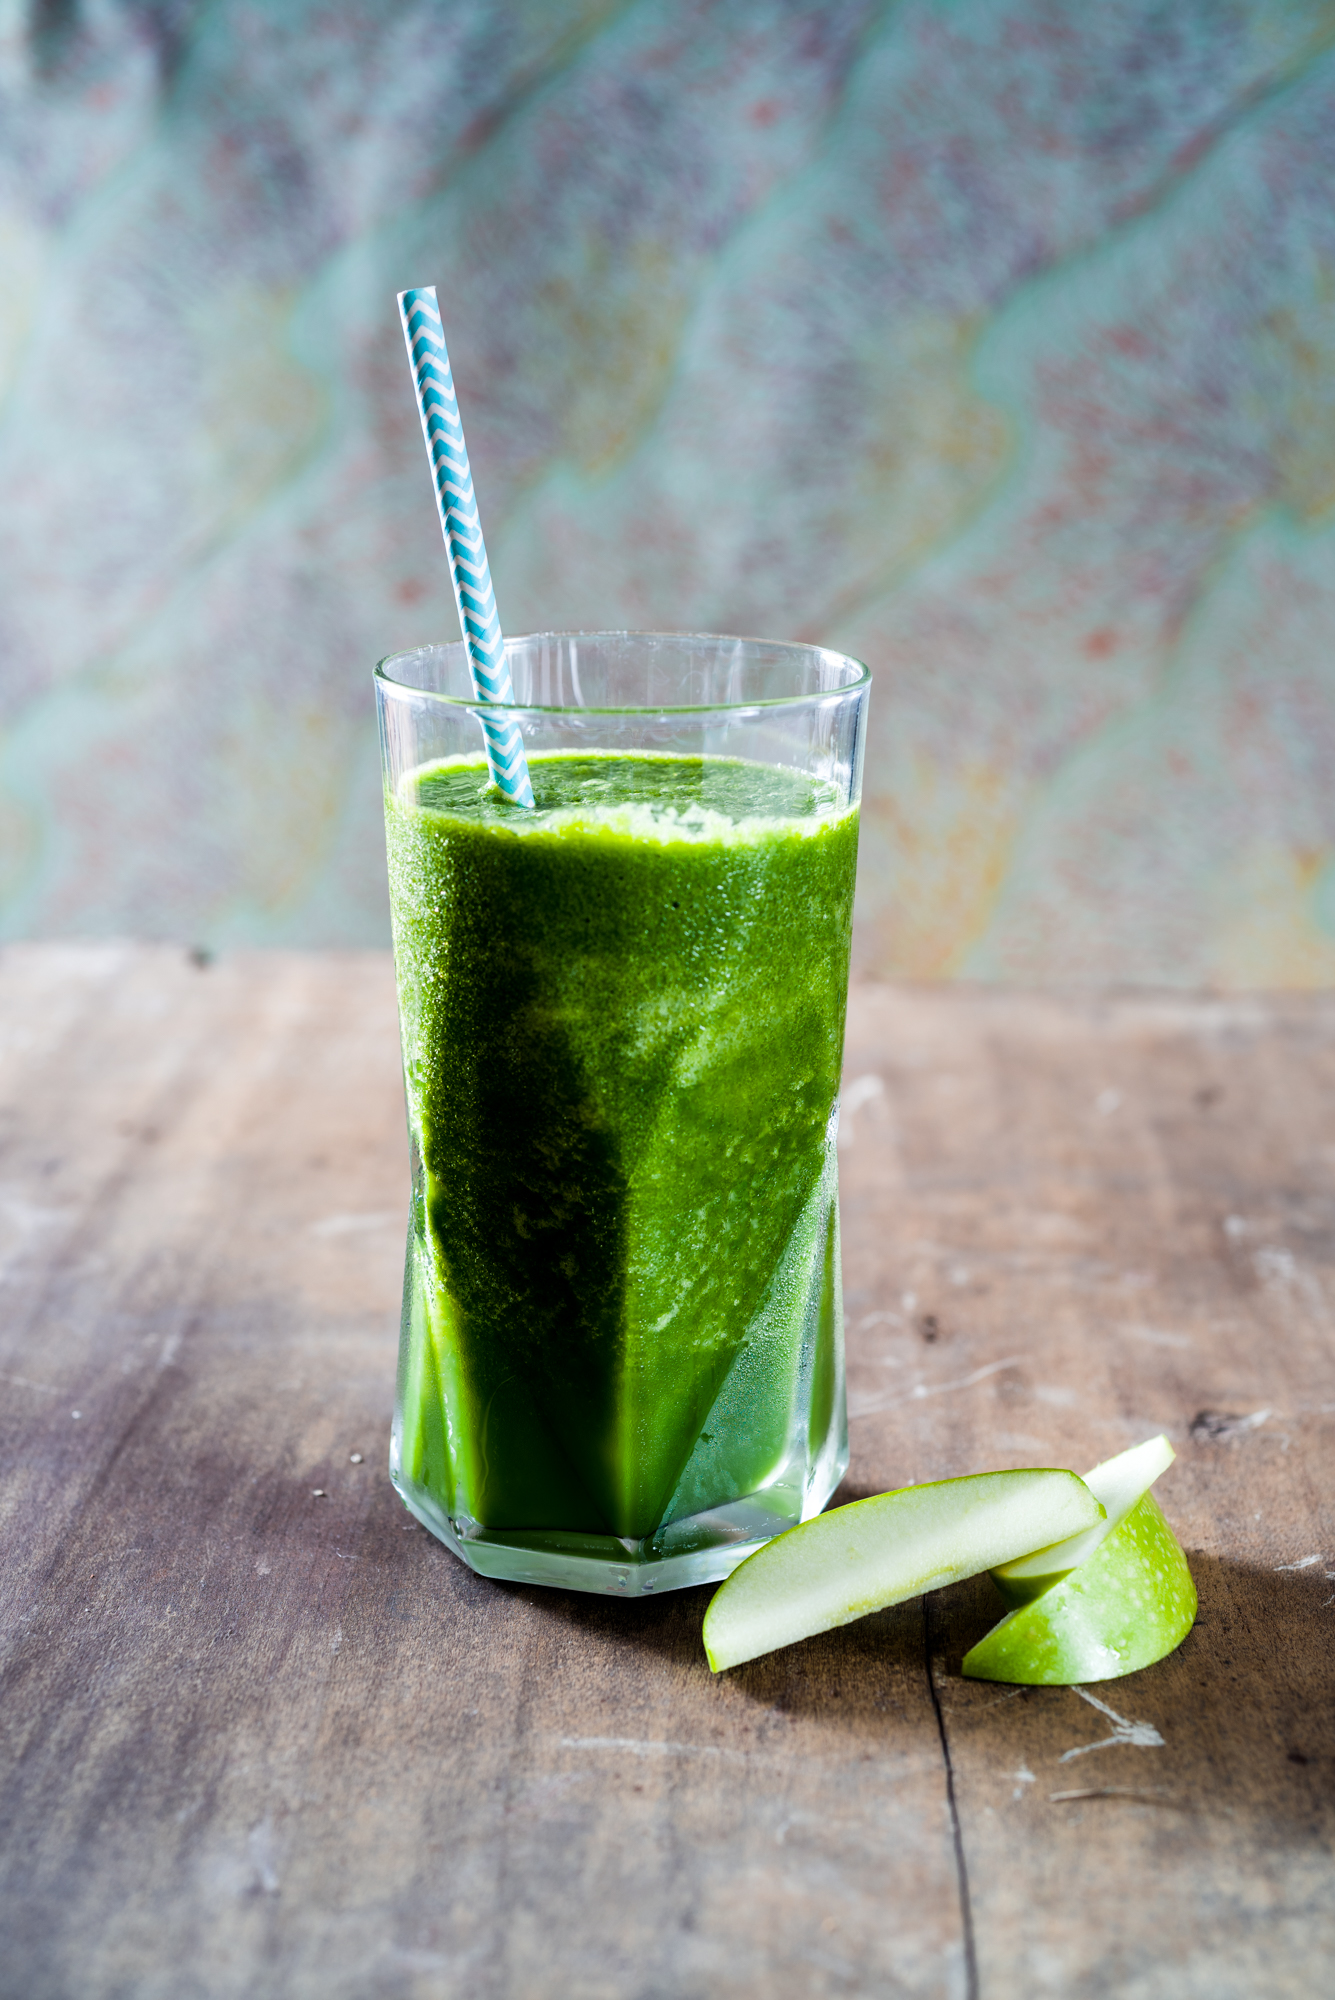
Alright, let’s use those tips to make our Easy Greens Smoothie!

What You Will Need:

  • 1/4 cup filtered water*
  • 1/2 cup orange juice*
  • 2 cups frozen kale
  • 1/2 large banana, frozen
  • 1/2 green apple, chopped
  • 1/2 cup filtered water ice cubes
  • Powdered stevia, to taste

What You Will Do:

  1. On low speed, pour juice and water into blender and blend together until combined.
  2. Switch off blender. Next, add kale, banana, green apple, and ice cubes. Blend on low until no large chunks appear. Move to medium speed, and blend until no pieces remain and a uniform color is achieved.
  3. Now, blast that baby on high for 10 seconds until nice and frothy. Taste; if you want it sweeter, add in some powdered stevia. Stick a straw in and enjoy!!

**You can reverse the ratios on your orange juice and water (1/2 cup water, 1/4 cup OJ) if you like things less sweet. In that case, I would add more stevia, to taste.

Chicken Soup with White Wine, Kale and Tomatoes

Kale Soup with White Wine

Sometimes in life, creative inspiration and writing about food comes easily. Other times, one might prefer to bang one’s head against the wall while using a rolling pin to make mad stabs at the keyboard, hoping that something along the lines of creative thought (maybe in the form of a surprise Microsoft Word spell-check rewrite) appears.

And, we’ve all had chicken soup. Your typical recipe is predictable and comforting, and that’s good; but is anyone else out there bored with the standard version? What if we turned the typical method on its head and did something creative and ahem, fun?

Now, to be honest, my sudden zeal for revamping the chicken soup scene did not happen on it’s own. The inspiration actually came from my friends at uproot wines in Napa Valley. Greg and Jay are self-described “renegade wine makers” with a passion for looking to the future to inspire a better, more modern way of creating delicious wine. They are using the best-of-the-best equipment, ingredients, and techniques to create innovative wine like you’ve never tasted before.

And, in a side note, for a novice wine drinker like myself, I appreciate the fact that they label their bottles-how cool is this-by color, with each bar on the bottle representing the wine’s flavor profile. So, the purple stripe represents passion fruit, light green is melon, yellow is grapefruit. Genius.

I will always be grateful to Jay and Greg because, after following their example, there is no better way for me to express my love for this new recipe for chicken soup. Frying the chicken skins in olive oil at the start gives deep, chicken-y richness to the broth, and the de-glazing work done by the 2011 Sauvignon Blanc creates a mellow sweetness, while kale and tomatoes round out the umami punch.

The final result is deliciously inviting on a crisp fall day, smells like roasted chicken with garlic, and is as full-bodied and flavored a soup as I’ve made (the complete opposite of the overly salted, condensed versions lurking in your canned goods pantry).  In fact, this soup is so good that if I could afford a magic carpet, I would find you and bring you a batch of mine (and I don’t play when referring to world travel).

On a final note, you know what makes this soup taste even better? Drinking it with the uproot Sauvignon Blanc. The lively, sweet-but-smooth white is dynamite with the hearty chicken and potatoes in the soup. I can not wait for you to try this. So put a little pre-Thanksgiving vinyl on your record player, visit the uproot site to get inspired, and make some deliciousness this week.

Yes, that's my awesome boyfriend photographer in the spoon.
Yes, that’s my awesome boyfriend photographer in the spoon.

Chicken Soup with White Wine, Kale, and Tomatoes

What You Will Need:

  • 1 rotisserie chicken, meat shredded and skins removed (set the skins aside for the frying process)
  • 3 tablespoons olive oil
  • 1 cup uproot 2011 Sauvignon Blanc
  • 1 white onion, diced (about 1 1/2 cups onion)
  • 2 celery ribs, sliced (don’t forget to include the leafy tops here too!)
  • 3 cloves garlic, minced
  • 1/2 teaspoon smoked paprika
  • 1/4 teaspoon chili powder
  • 4 cups chicken stock
  • 4 red potatoes, diced
  • 1 Parmesan rind (about one to two inches in width and height)
  • 1 15-oz can canned, diced tomatoes
  • 5 cups kale, shredded and ribs removed (I used bag kale for mine)
  • 3 cups white beans (I prefer to make mine from dried using the method below*, but you are more than welcome to used canned white beans too! Just rinse them ahead of time.)

What You Will Do

For the Soup

1. Heat 2 tablespoons olive oil on medium heat to simmering in a large dutch oven.

2. Add about 1/2 cup chicken skin. Flash fry the skins in the oil for about 10-15 seconds, until dark brown bits start to form on the bottom of the pan.

3. Using a slottted spoon, remove the chicken skins, and add 1 tablespoon more oil. Add the onion and celery and saute until translucent, stirring frequently. Once the vegetables are soft, add the garlic, paprika, and chili powder and cook for about one more minute.

4. Add the Sauvignon Blanc and stir frequently, deglazing the pan and capturing all of those tasty brown bits that might be left. Cook until the liquid is reduced to about half.

5. Add the chicken stock, potatoes, Parmesan rind, and tomatoes, and bring to a boil. Once boiling, reduce the heat to medium and cover for twenty minutes.

6.  Add the shredded chicken, 3 cups beans, and kale. Let everything warm through until the kale is slightly wilted. Remove the Parmesan rind if it hasn’t dissolved, and season with additional salt and pepper  to taste. Serve the soup, adding extra grated Parmesan cheese if desired.

*For the beans (if making from dried; this method was adapted from Whole Foods instructions):

What You Will Need

  • 1 lb dried white beans
  • 2 bay leaves
  • salt and pepper

What You Will Do:

1. Sort through 1 pound of white beans, removing any stragglers or broken beans.

2. Rinse beans over a colander to remove any extra grit.

3. Put beans in a large dutch oven, and cover with water until you have about a two- inch margin of water above the beans (about six to eight cups of water). Put the beans in the fridge about eight hours or overnight.

4. Once ready, drain and rinse your beans one more time.

5. Bring your soaked white beans with enough water to cover them by about 1 1/2 to 2 inches, two bay leaves, and a generous dash of salt and pepper to boil in a large dutch oven. Once the beans are boiling, skim the beige foam that forms off of the top. Reduce the heat to simmer, and cover the beans for about an hour to an hour and a half, or until they are tender.