I’d like to begin this post with an essay entitled, “Why Peach Ice Cream Matters.” Here I will prove the point that a summer without peach ice cream is like a beach trip without watermelon juice running down your chin, sand in your towel, and Celine Dion blaring from the speakers of a hot, sticky golf cart.
Why Peach Ice Cream Matters
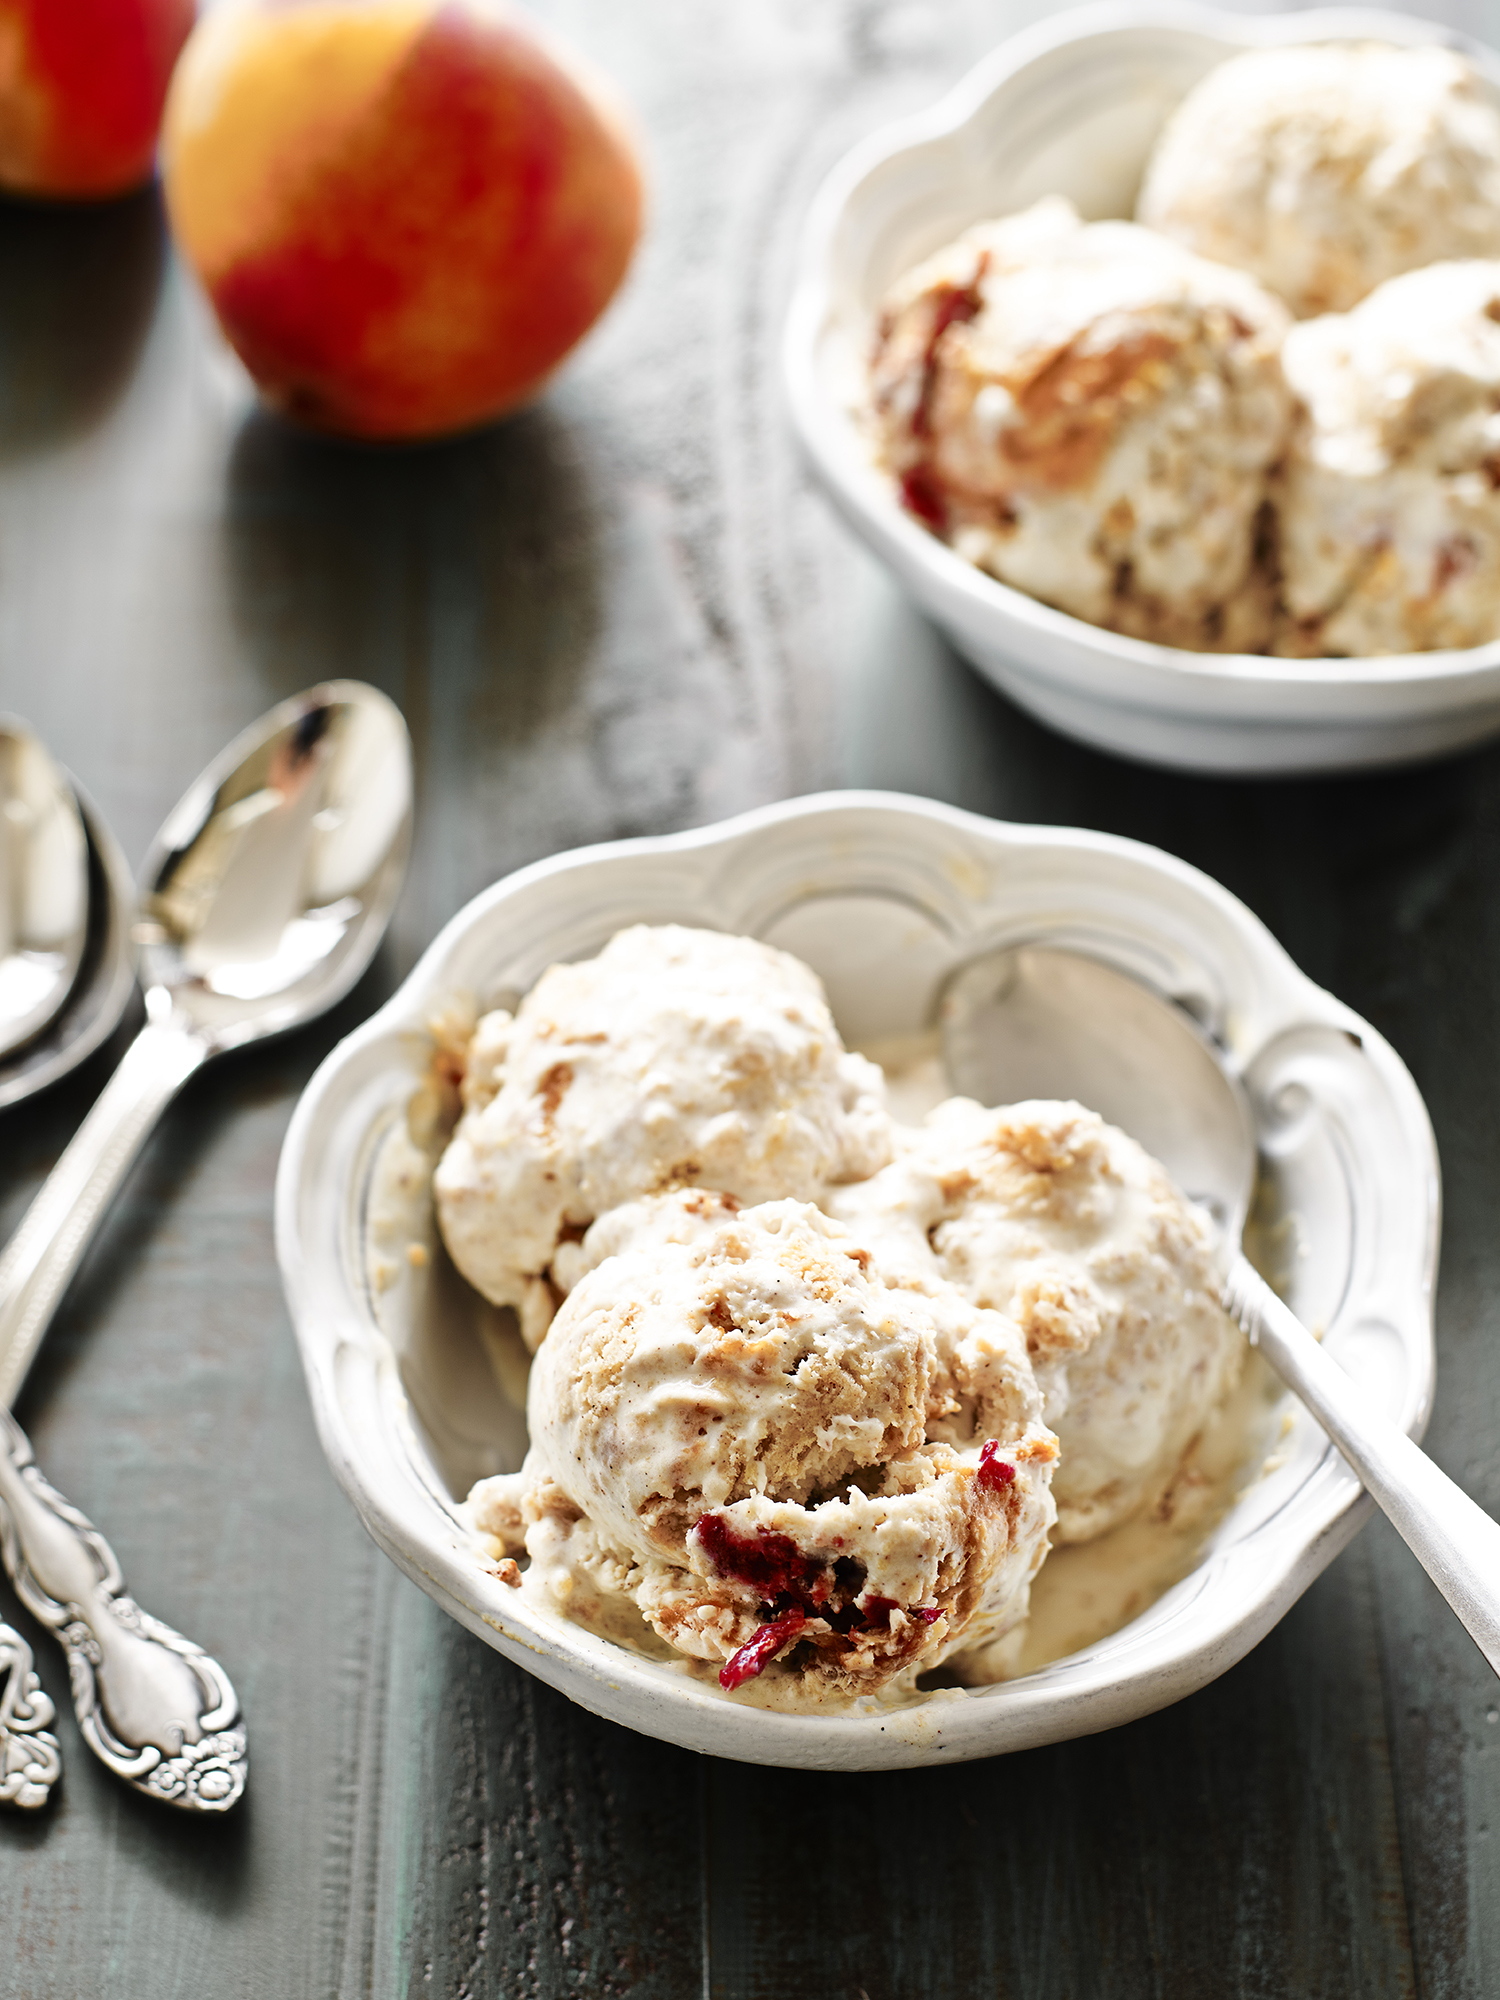
Peach ice cream matters. It matters because it is the epitome of the Fourth of July and of summer: ripe, sweet peaches blended into cold cream, glorious cream, that’s churned and frozen in a freezer, smoky air blasting out as you open the door in the summer heat. Or, served soft-serve, like my mom always made it, after the hours of piercing, crushing ice-rock noise in the ice cream maker stilled, and her sweet fruit cream was ready. It’s family memories, friends around a huge wooden table while humid light pierced through the slits of a screened in porch, or making it on my own, twinging my toes with delight as my husband took his first bite. It’s the pay-off, the end celebration to a waiting for the perfect peach moment in July. It’s the goods, the glory, and the guarantee of a sweet downturn into fall, only a few months away.
And this recipe, my friends, is outrageously, fabulously, delicious. The most important element of this ice cream, is, of course, the peaches, and we pulled out all of the stops for this one. The Peach Truck in Nashville is the best source out there, and I’ve never had as sweet, dense, and red of a peach in my life. Grilling these peaches takes the sweetness and turns the flavor profile to caramel. It’s divine and once I tasted the grilled peaches we are all lucky they actually made it to the ice cream. Also, the gluten free pie crust recipe I used is from Authentic Foods. Y’aaalllll- oh my Lord this is so good in this ice cream. The pie crust has a sort of cinnamon flavor to it; it’s addictive and a perfect balance to the sweet peaches.
Also, as you can see in the fantastic video of our recipe below ***HUGE shout out to Stephen Devries Photo for helping Jake and I film this video at his incredible Studio 410! It is a beautiful space, and Stephen’s photo and video talents never cease to amaze me*** the key to success here is baking your pie crust, grilling your peaches, and letting your milk mixture chill in the fridge- ahead of time. That way you can get right to the fun part of bringing it all together in your ice cream maker.
To conclude with my essay-style post, July 4 is one of the best holidays we have the chance to celebrate as Americans. Let’s take this day to love the people around us and honor those who have sacrificed for our freedom. Let’s love people in a way that honors life itself- with laughter, joy, and food. Let’s be the people that our forefathers challenged us to be. And I can’t think of a better way to inspire that kind of life than with peach cobbler ice cream. God bless the USA!
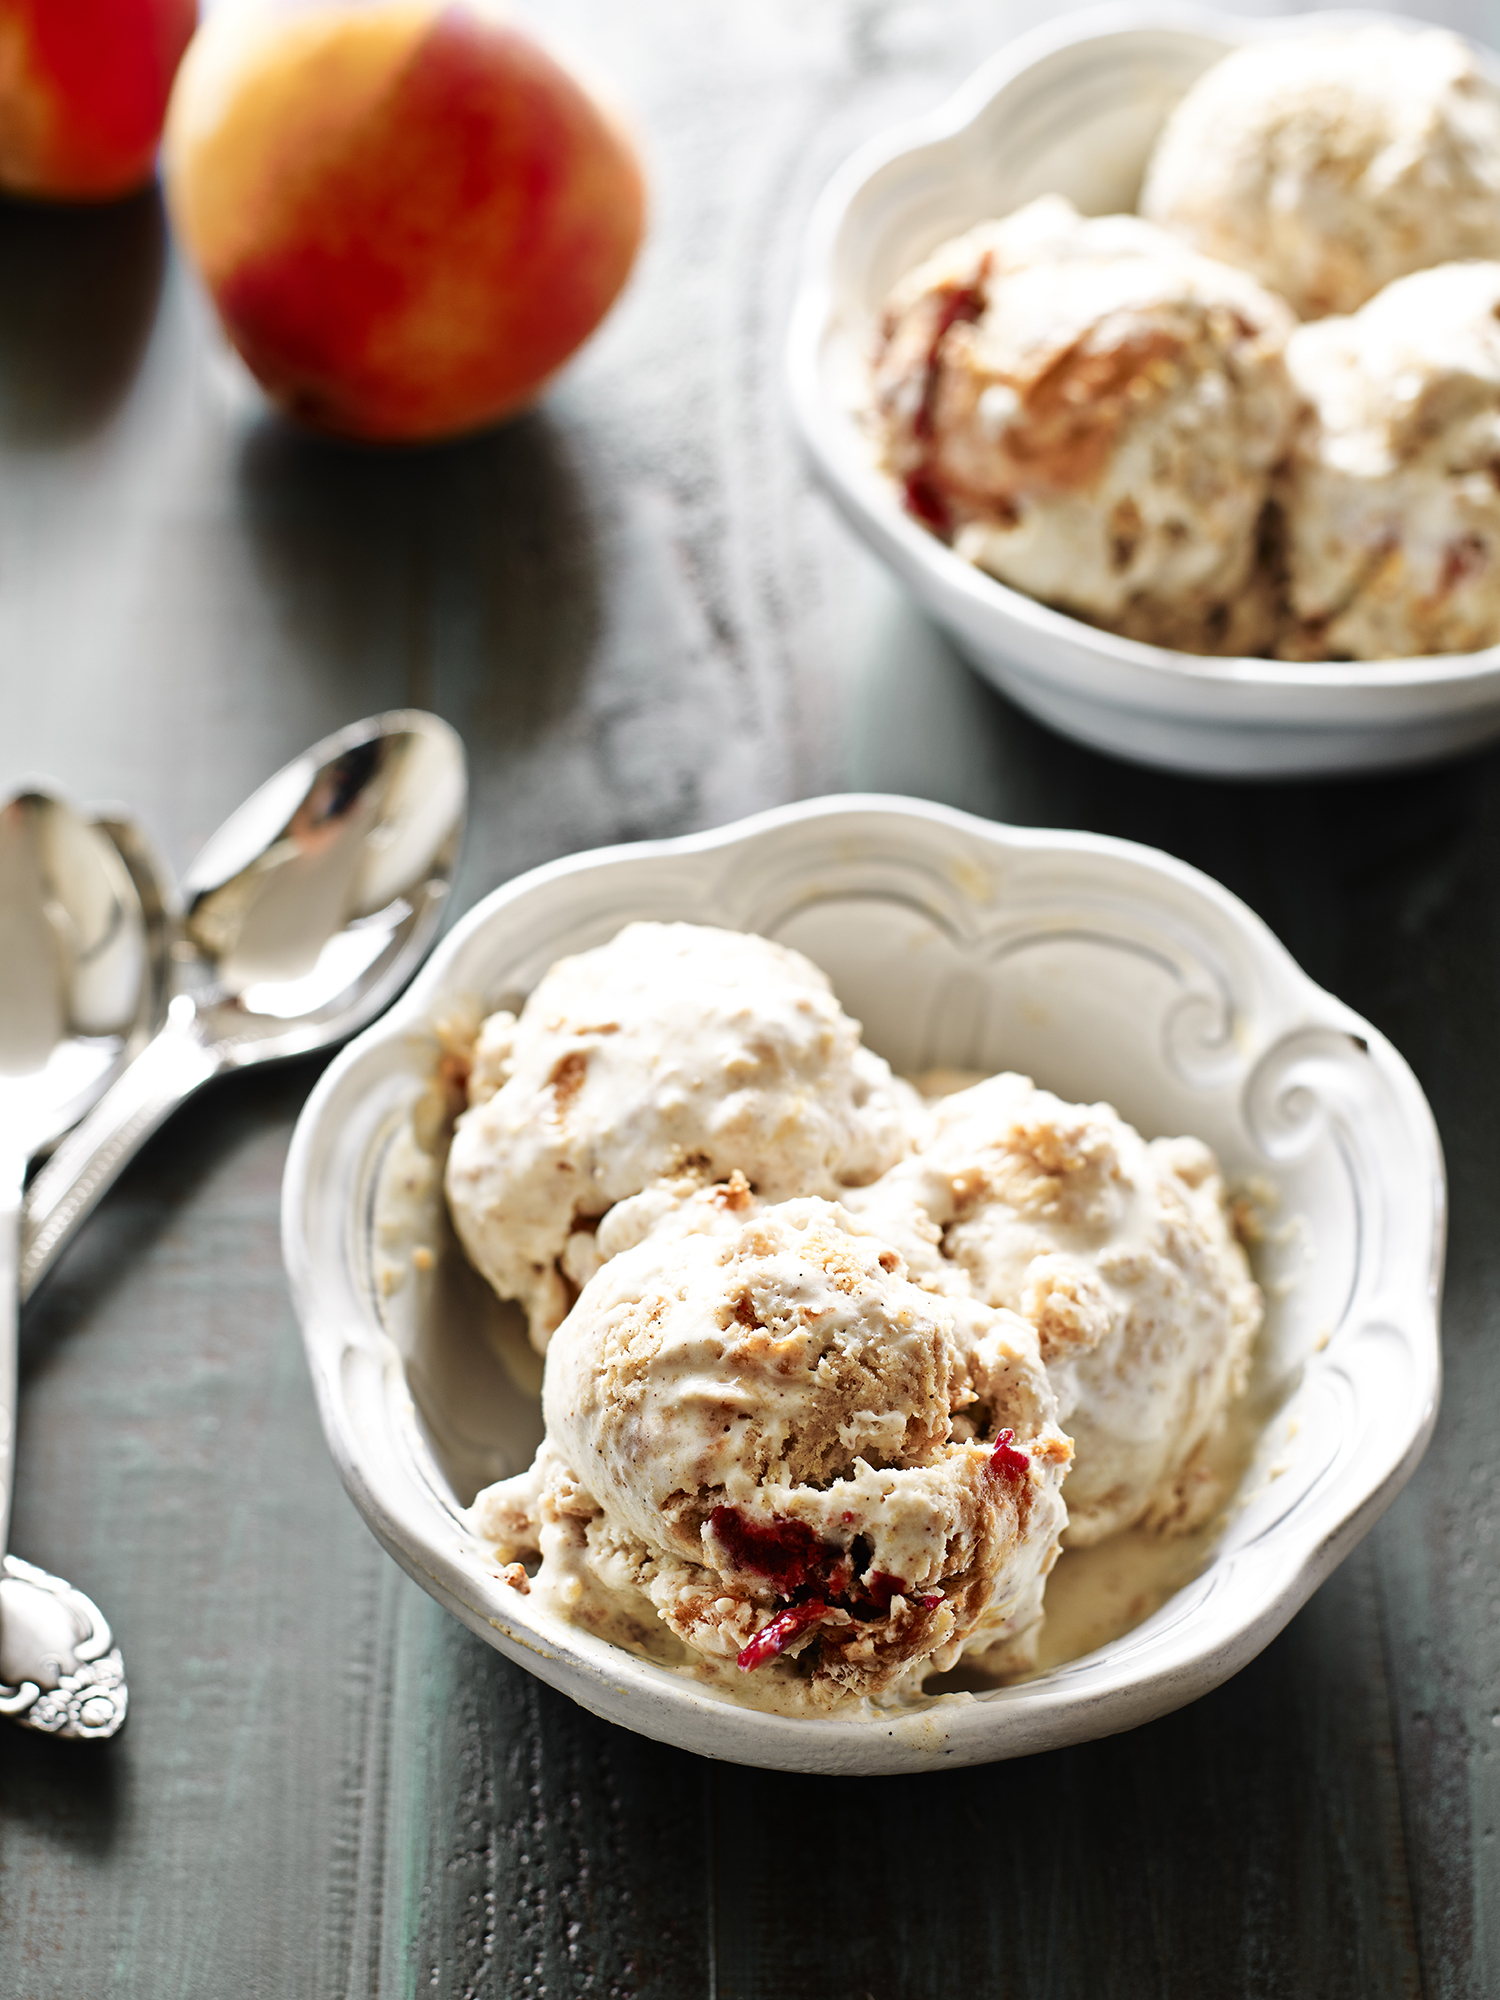
Gluten Free Peach Cobbler Ice Cream
This recipe is adapted from several resources: shout out to GUB Life blog for the awesome ice cream base, and The Neely’s for the Grilled Peaches Technique! Just make sure you get all of your ingredients ready ahead of time to make the ice cream process easy.
For the Ice Cream Base
What You Will Need
- 1 1/2 cups heavy cream
- 1/2 cup of sweetened condensed milk
- 1 cup 2% milk
- 1/8 tsp salt
- 1/4 tsp cinnamon
- 1 tablespoon bourbon vanilla bean paste
What You Will Do
In a dish, whisk together heavy cream, condensed milk, 2% milk, salt, cinnamon, and bourbon vanilla paste (or vanilla extract).
For the Pie Crust**:
1. Prepare your favorite gluten-free pie crust dough. Some recipes call for chilling the dough after it is made to help it set; go for it if your recipe requires it.
3. Once cooled, tear your pie crust into bite-size pieces.
**If you can eat gluten, make this super easy by baking off a pre-made pie crust. Honestly, I can’t taste the difference in homemade and store bought!
For the Grilled Peaches
What You Will Need
- 4 ripe peaches, preferably from The Peach Truck, pitted and quartered
- 1/4 cup light brown sugar
- 1 teaspoon vanilla extract
- 1/4 teaspoon cinnamon
What You Will Do
1. Mix together your peaches, light brown sugar, vanilla and cinnamon.
2. Heat grill pan to medium heat.
3. Cook peaches on grill pan, turning after about 2-3 minutes per side (about when you see grill marks form).
4. Remove peaches from pan to cool. Once cool, chop into bite-size pieces.
Putting it All Together
1. Pour your chilled cream mixture into the base of an ice cream maker. Let it run for about 15 minutes, or until your ice cream is at a soft-serve consistency.
2. Fold in cooled, chopped peaches until throughly combined.
3. Fold in pie crust pieces until thoroughly combined.
4. Let churn for a few more minutes.
5. Voila! Enjoy at soft-serve stage, or you can pour the mixture into a freezer-safe container (I used a metal loaf pan) and let chill in the freezer for at least 3 hours. Happy eating!