People who bake know that there are certain things you just do. One, you use flour- sifting it with baking powder for cakes, sprinkling generous amounts of it on a board before kneading dough, stirring fluffy white batches in for cookies. Second, you use an oven; prepping it until it is blazingly hot and then lovingly pushing your doughy creation into the heat box.
However, baking in the South is a bit of a different story. One, it’s ALMOST SUMMER and no one south of the Mason Dixon line should turn on their ovens. This general rule applies from the months of June until at October. The high outdoor temperature combined with additional indoor blasts of heat equals hair frizziness, a higher likelihood of swear-word-slippage and all-around moodiness.
But the second rule- always using flour- I thought was inescapable. What good cook makes biscuits without White Lily? I can’t bring a banana bread made with millet to a bridesmaids brunch! Where I grew up, it’s about like going to Publix without your makeup on and running into your former high school guidance counselor- nightmare! In so many ways in my life, it’s hard to escape that good ol’ Southern upbringing.
Recently, though, my pride hit the fan when I realized my stomach wasn’t bouncing back from a (let’s say, ahem, “international stomach incident”) like I had in the past. After doing some research, I realized that gluten can be a culprit in stomach uneasiness. And Lord a livin’, how this move from wheat has changed my life!
Y’all- I feel so much better, my head feels clearer, and there is an all-around feel-good to my eating that I haven’t had for a long while. But it doesn’t change the fact that I still loooove sweets, and you know, brownies. So here is my attempt at baking a gluten-free recipe from the wonderful, beautiful, inspiring blog The Little White Kitchen. Because you can take the gluten out of the girl, but you can’t take the biscuits out of her psyche. Or the brownies.**

**I’m still working on standing tall when buying gluten-free rice crackers in the aisle at Fresh Market. If anyone out there has any additional confidence builders, please share.
Toasted Pecan and Coconut Gluten-Free Brownies (from The Little White Kitchen )
What You Need
One batch of brownie dough (recipe below)
One batch of caramel sauce (recipe below)
One batch of pecan coconut topping (recipe to follow)
What You Will Do
STEP A: Make the caramel sauce. Recipe is below:
Caramel Sauce
What You Need
- 3/4 cup sugar
- 2 tbsp. corn syrup
- 1 1/2 tsp water
- 3 tbsp. unsalted butter
- 1/4 cup heavy cream
- pinch salt
What You Will Do
1. Put the sugar, corn syrup and water in a small saucepan. Cook the sugar mixture over medium heat without stirring. With a pastry brush and some water, rinse off any sugar crystals that may form on the sides of the pan.
2. Gently swirl the pot as the sugar melts, but don’t stir (that could crystallize the sugar again). Just keep on swirling it, especially if one side of the pan starts to melt more quickly than the other.
3. Once the caramel reaches a medium amber colour, remove it from the heat and stir in the butter. Whisk in the cream and salt.
4. Set the caramel aside until the first layer of brownie batter has been baked. Keep at room temperature.
STEP B: Bake the brownies.
What You Will Need
- 10 tbsp. unsalted butter
- 1 1/4 cups sugar
- 3/4 cup + 2 tbsp unsweetened cocoa
- 1/4 tsp. salt
- 1 tsp. vanilla extract
- 2 large cold eggs
- 1/2 cup gluten-free flour blend (I used Bob’s Red Mill)
What You Will Do
1. Preheat the oven to 325 F.
2. Line an 8-inch square pan with parchment paper or spray thoroughly with cooking spray.
3. Combine butter, sugar, cocoa and salt in a medium bowl. Microwave on high for 1 minute and 30 seconds. Whisk until smooth and well-combined (It won’t be completely smooth here, but that’s ok).
4. Whisk in the vanilla, then whisk the eggs one at a time, stirring well until each egg is combined.
5. When the batter looks thick, shiny and well-blended, switch to a wooden spoon, add the flour, and stir until you cannot see anymore flour. Beat vigorously for 40 strokes more with your spoon.
6. Spread half of the brownie batter into the prepared pan and bake for 10 minutes.
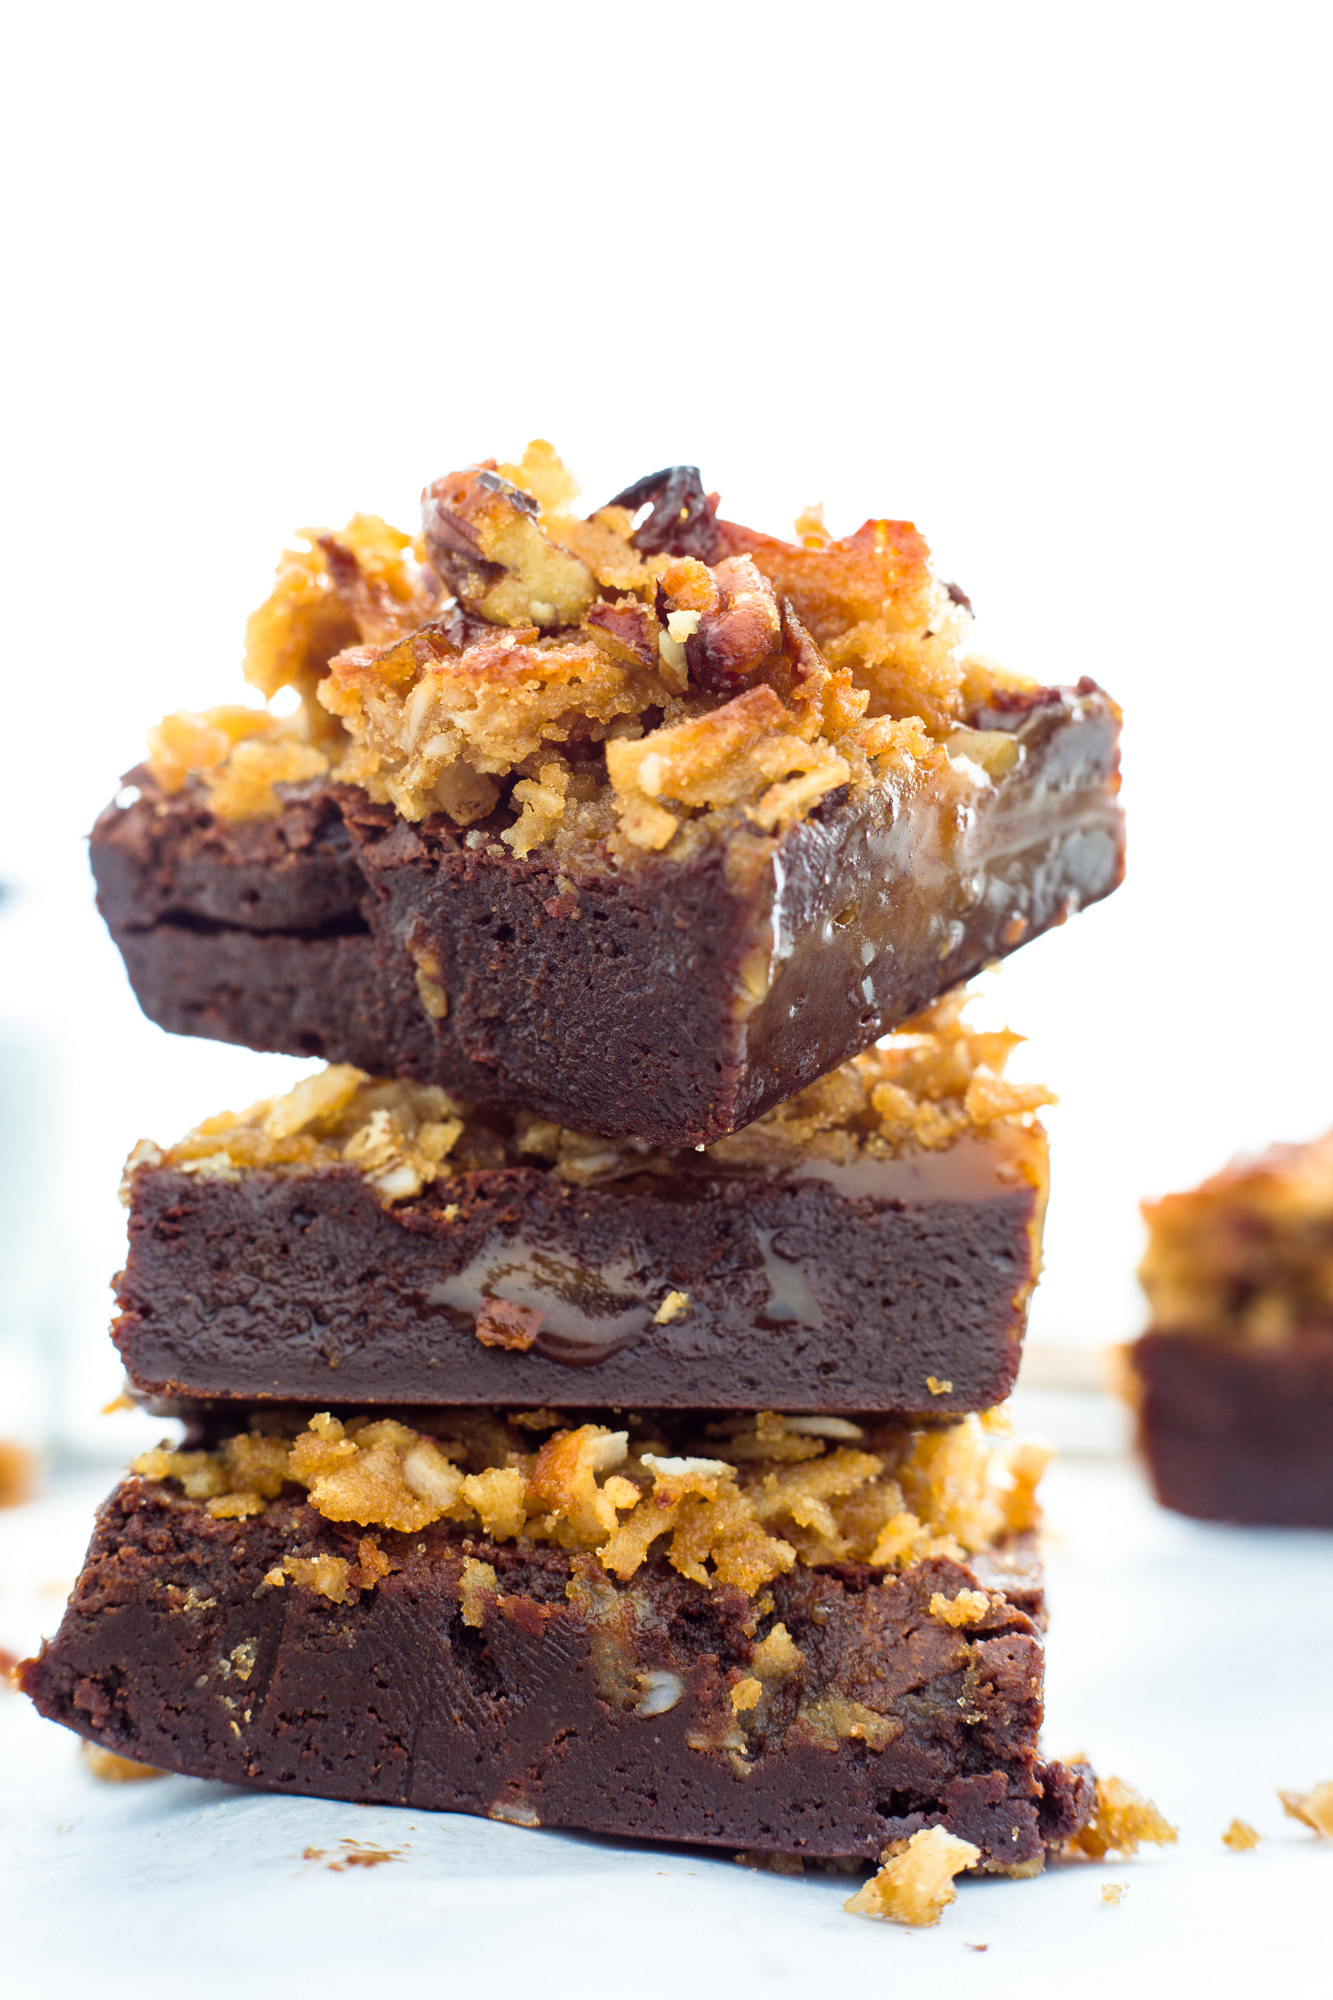
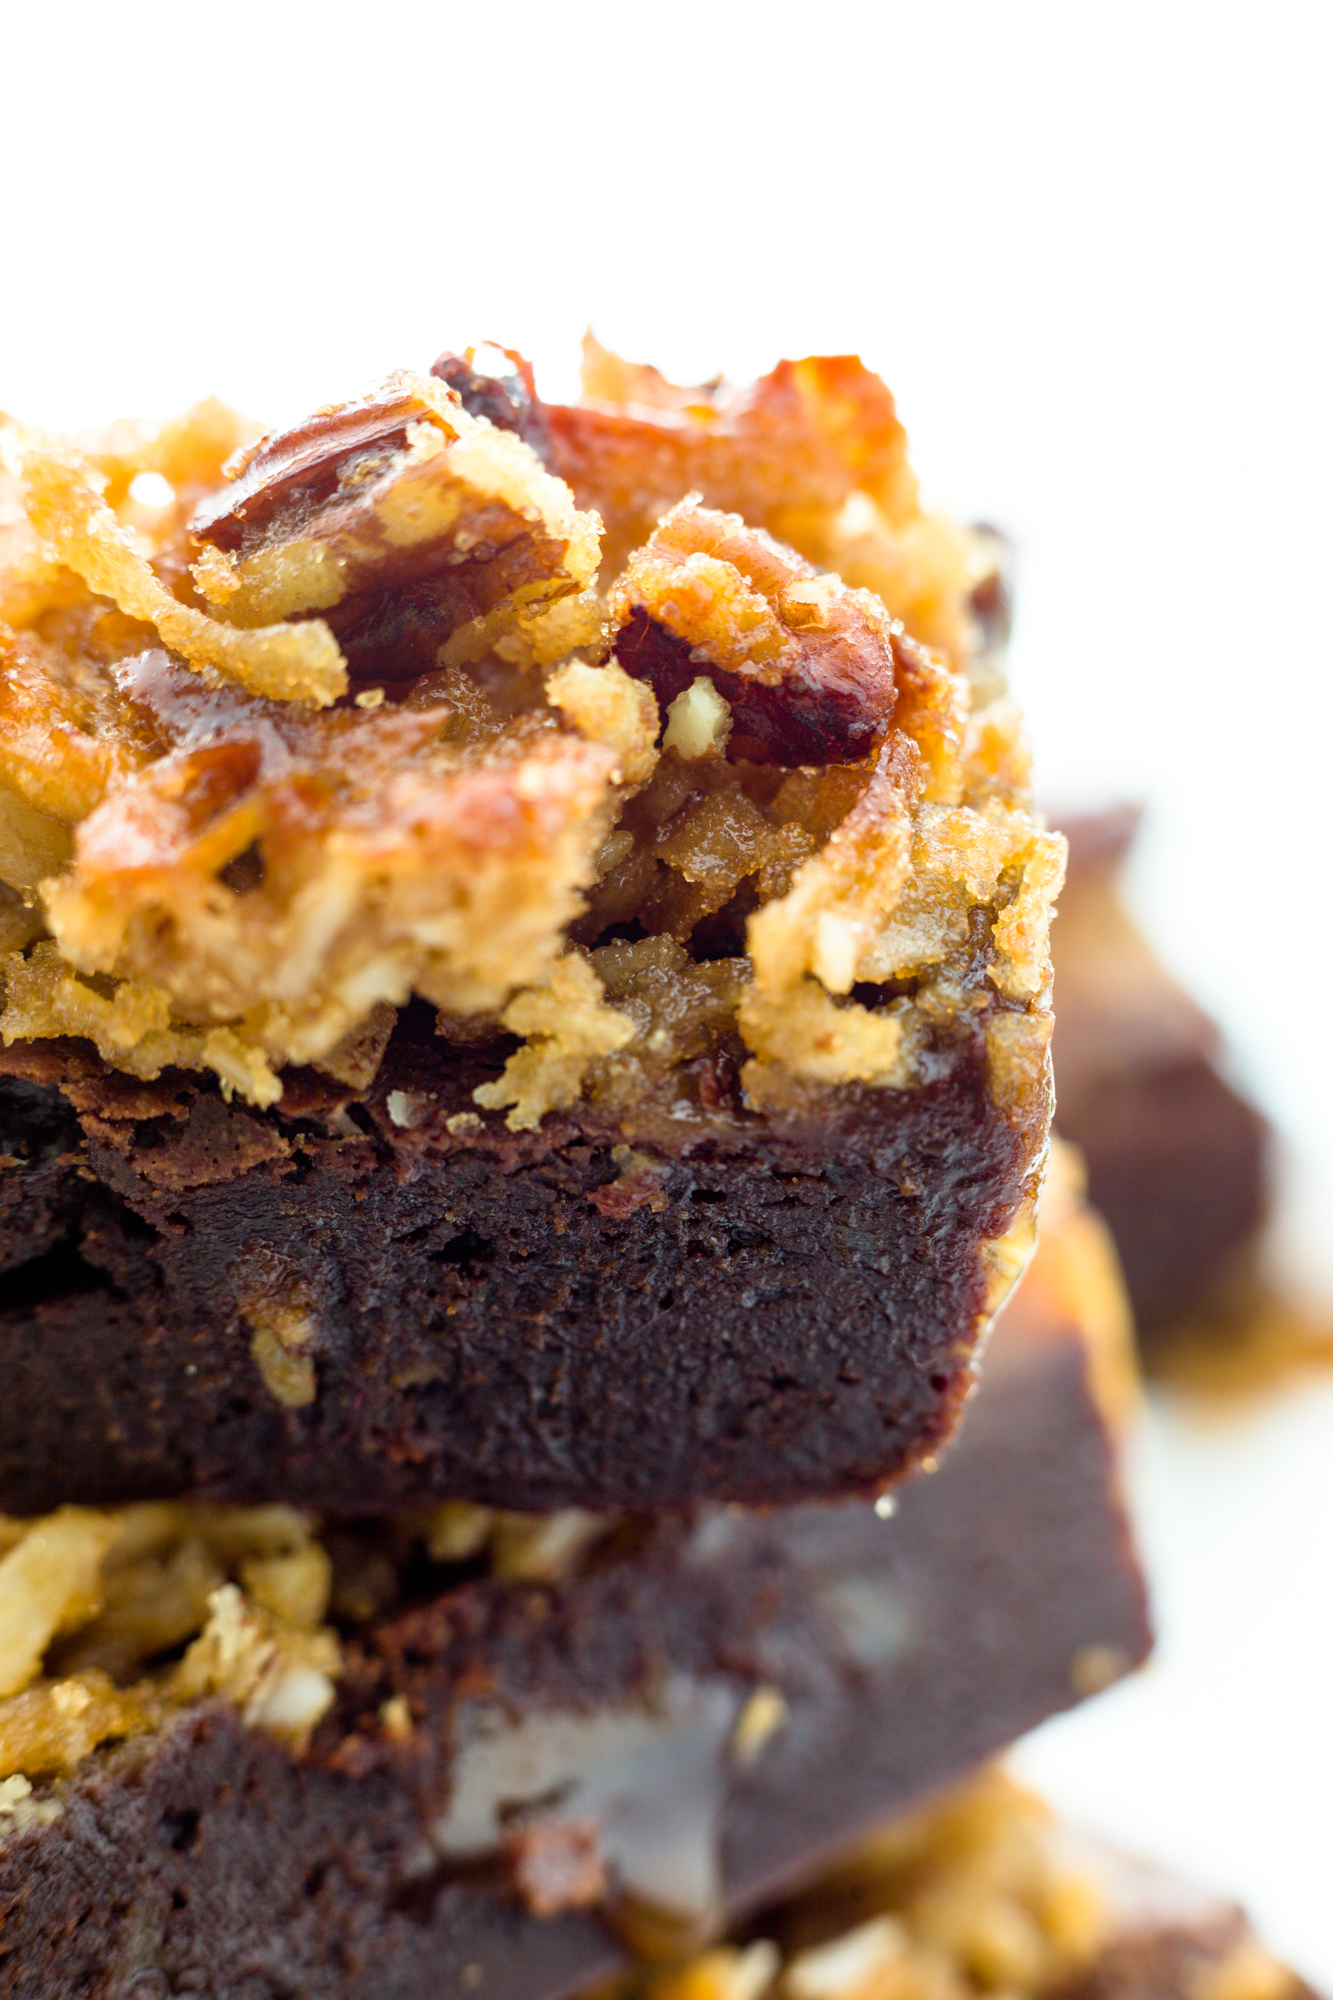
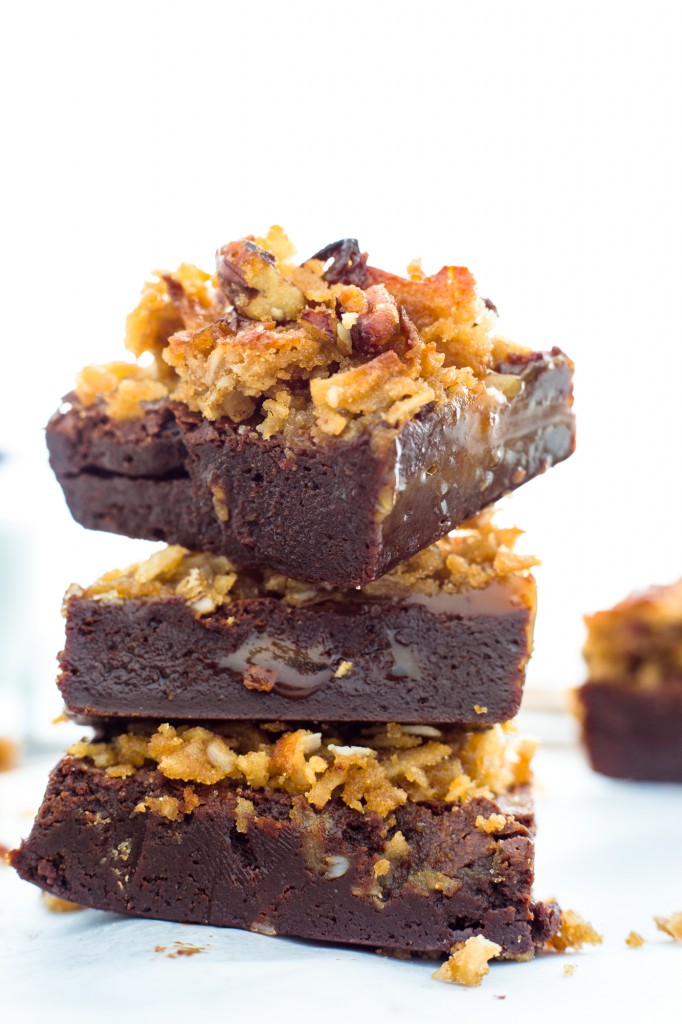
7. Remove the pan from the oven and pour the caramel sauce carefully over the baked batter. Spoon the remaining batter onto the caramel and spread it out as evenly as you can with a spatula, making sure to leave lots of undisturbed caramel. Bake the brownies for another 18 minutes, then take them out to let cool (you can insert a knife or toothpick here to make sure they are done; there should be no crumbs left on your utensil).
STEP C: Make the Pecan Coconut topping.
What You Will Need
- 1/4 cup butter
- 1 cup shredded sweetened coconut
- 2/3 cup packed brown sugar
- 1/2 cup chopped toasted pecans or walnuts
What You Will Do
1. In a small saucepan, melt the butter.
2. Add the remaining ingredients and stir until combined.
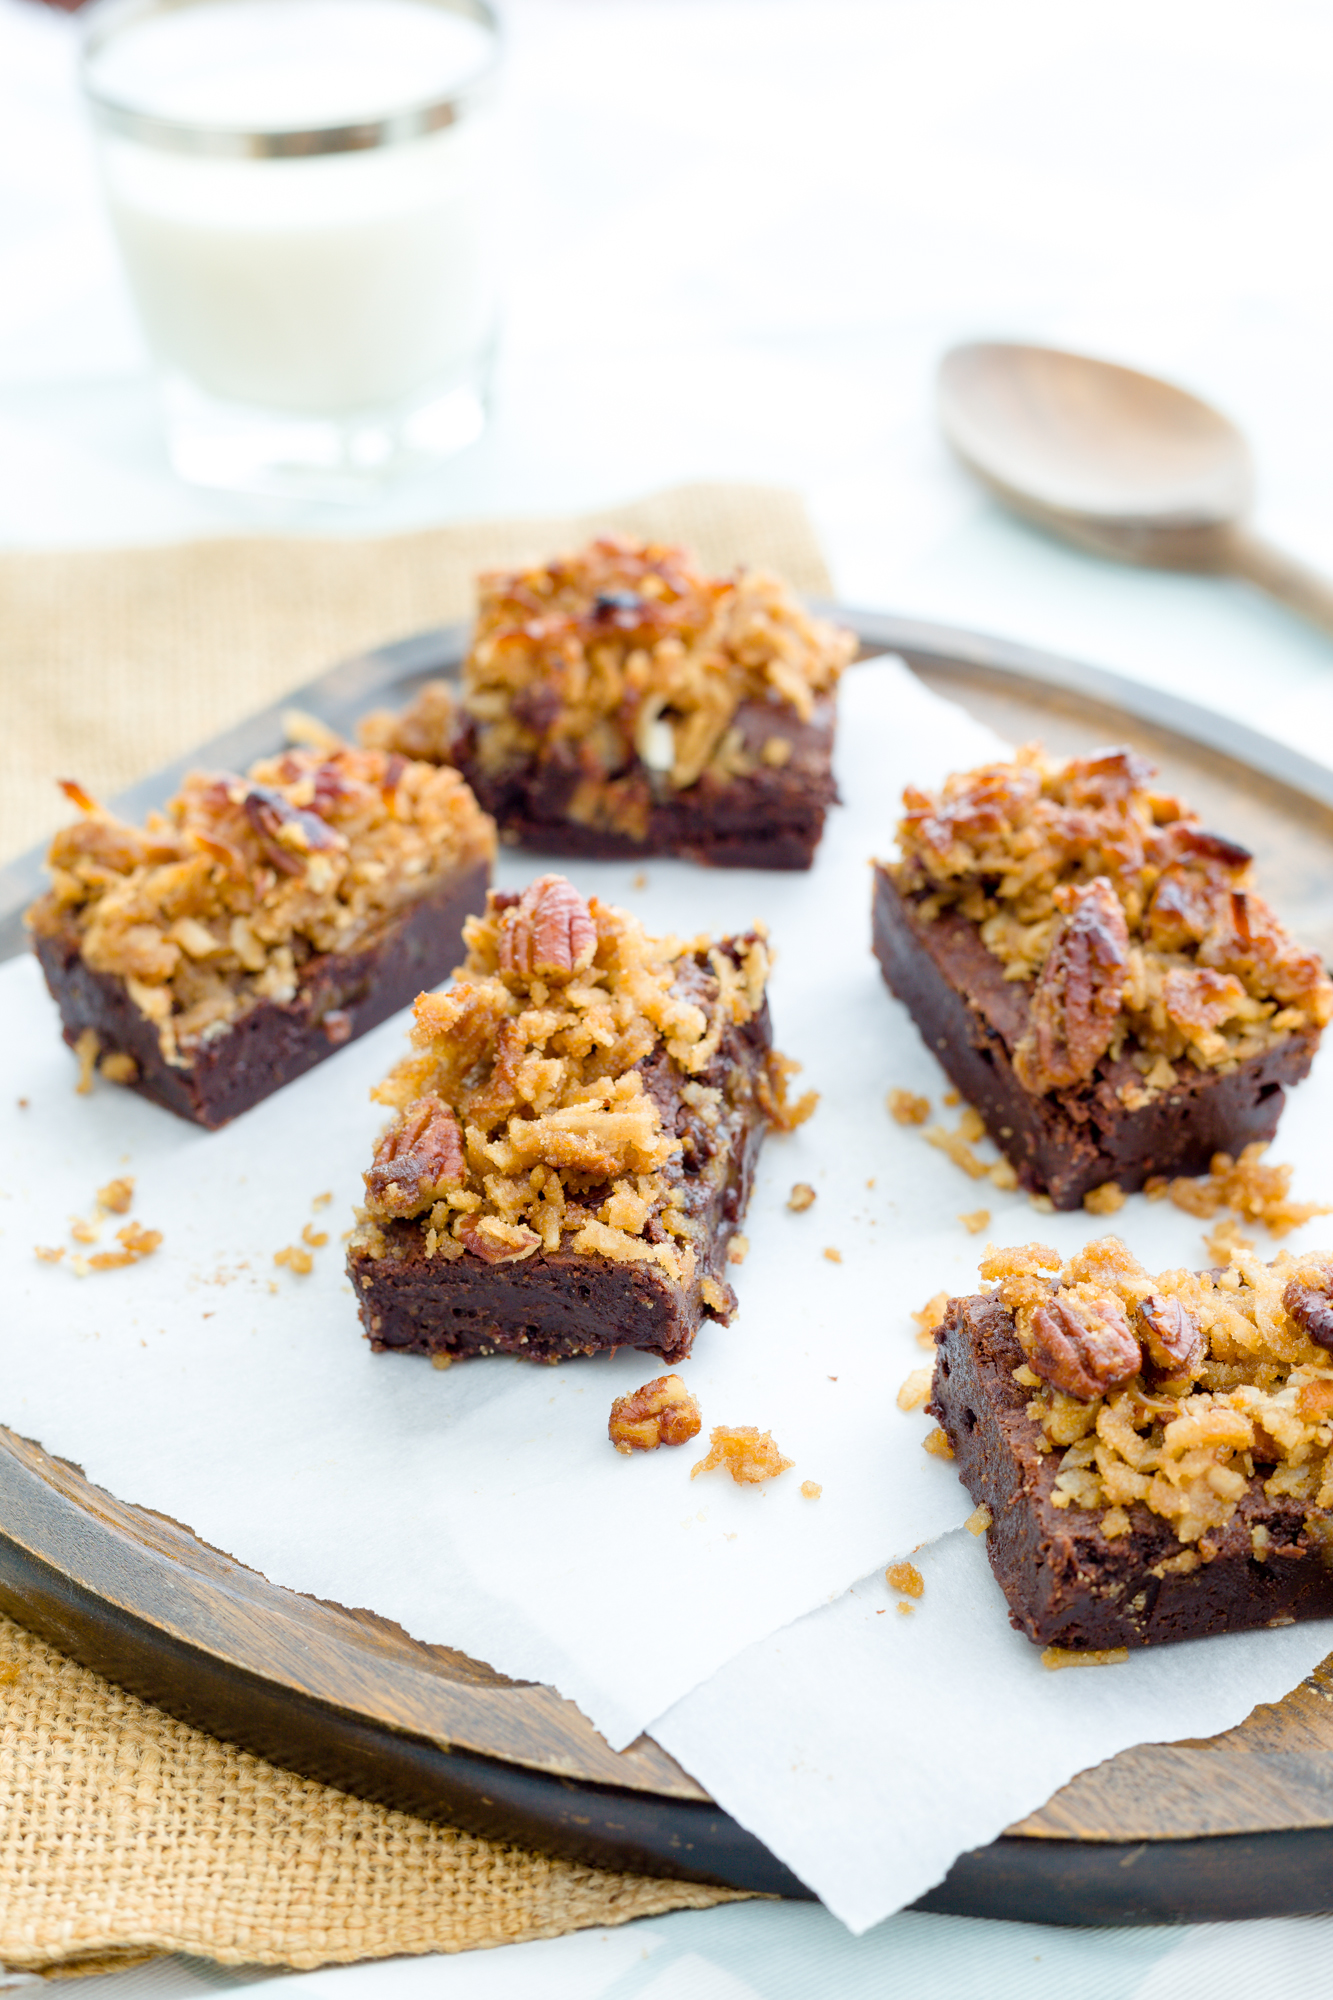
STEP D: Top yo’ brownies.
What You Will Do
1. Spread the coconut topping evenly over the baked brownies.
2. Set your oven to broil and make sure the rack is about 6 inches from the top of the oven.
3. Return the brownie pan to the oven and broil the topping until it starts to bubble and turns a nice golden brown. Make sure to keep an eye on it. Mine took a few minutes; I just kept on opening the oven door to make sure it didn’t burn. Once the tops of the pecans turn dark brown pull them out, they can burn before you know it!
4. Once they are ready, cool your brownies on a baking rack and then slice.
ENJOY YOUR GLUTEN-FREE DELICIOUSNESS! Also, these brownies will cut more easily if you can wait on them to cool, then leave them in the fridge for a bit (due to the incredible levels of carmel inside). #yumm


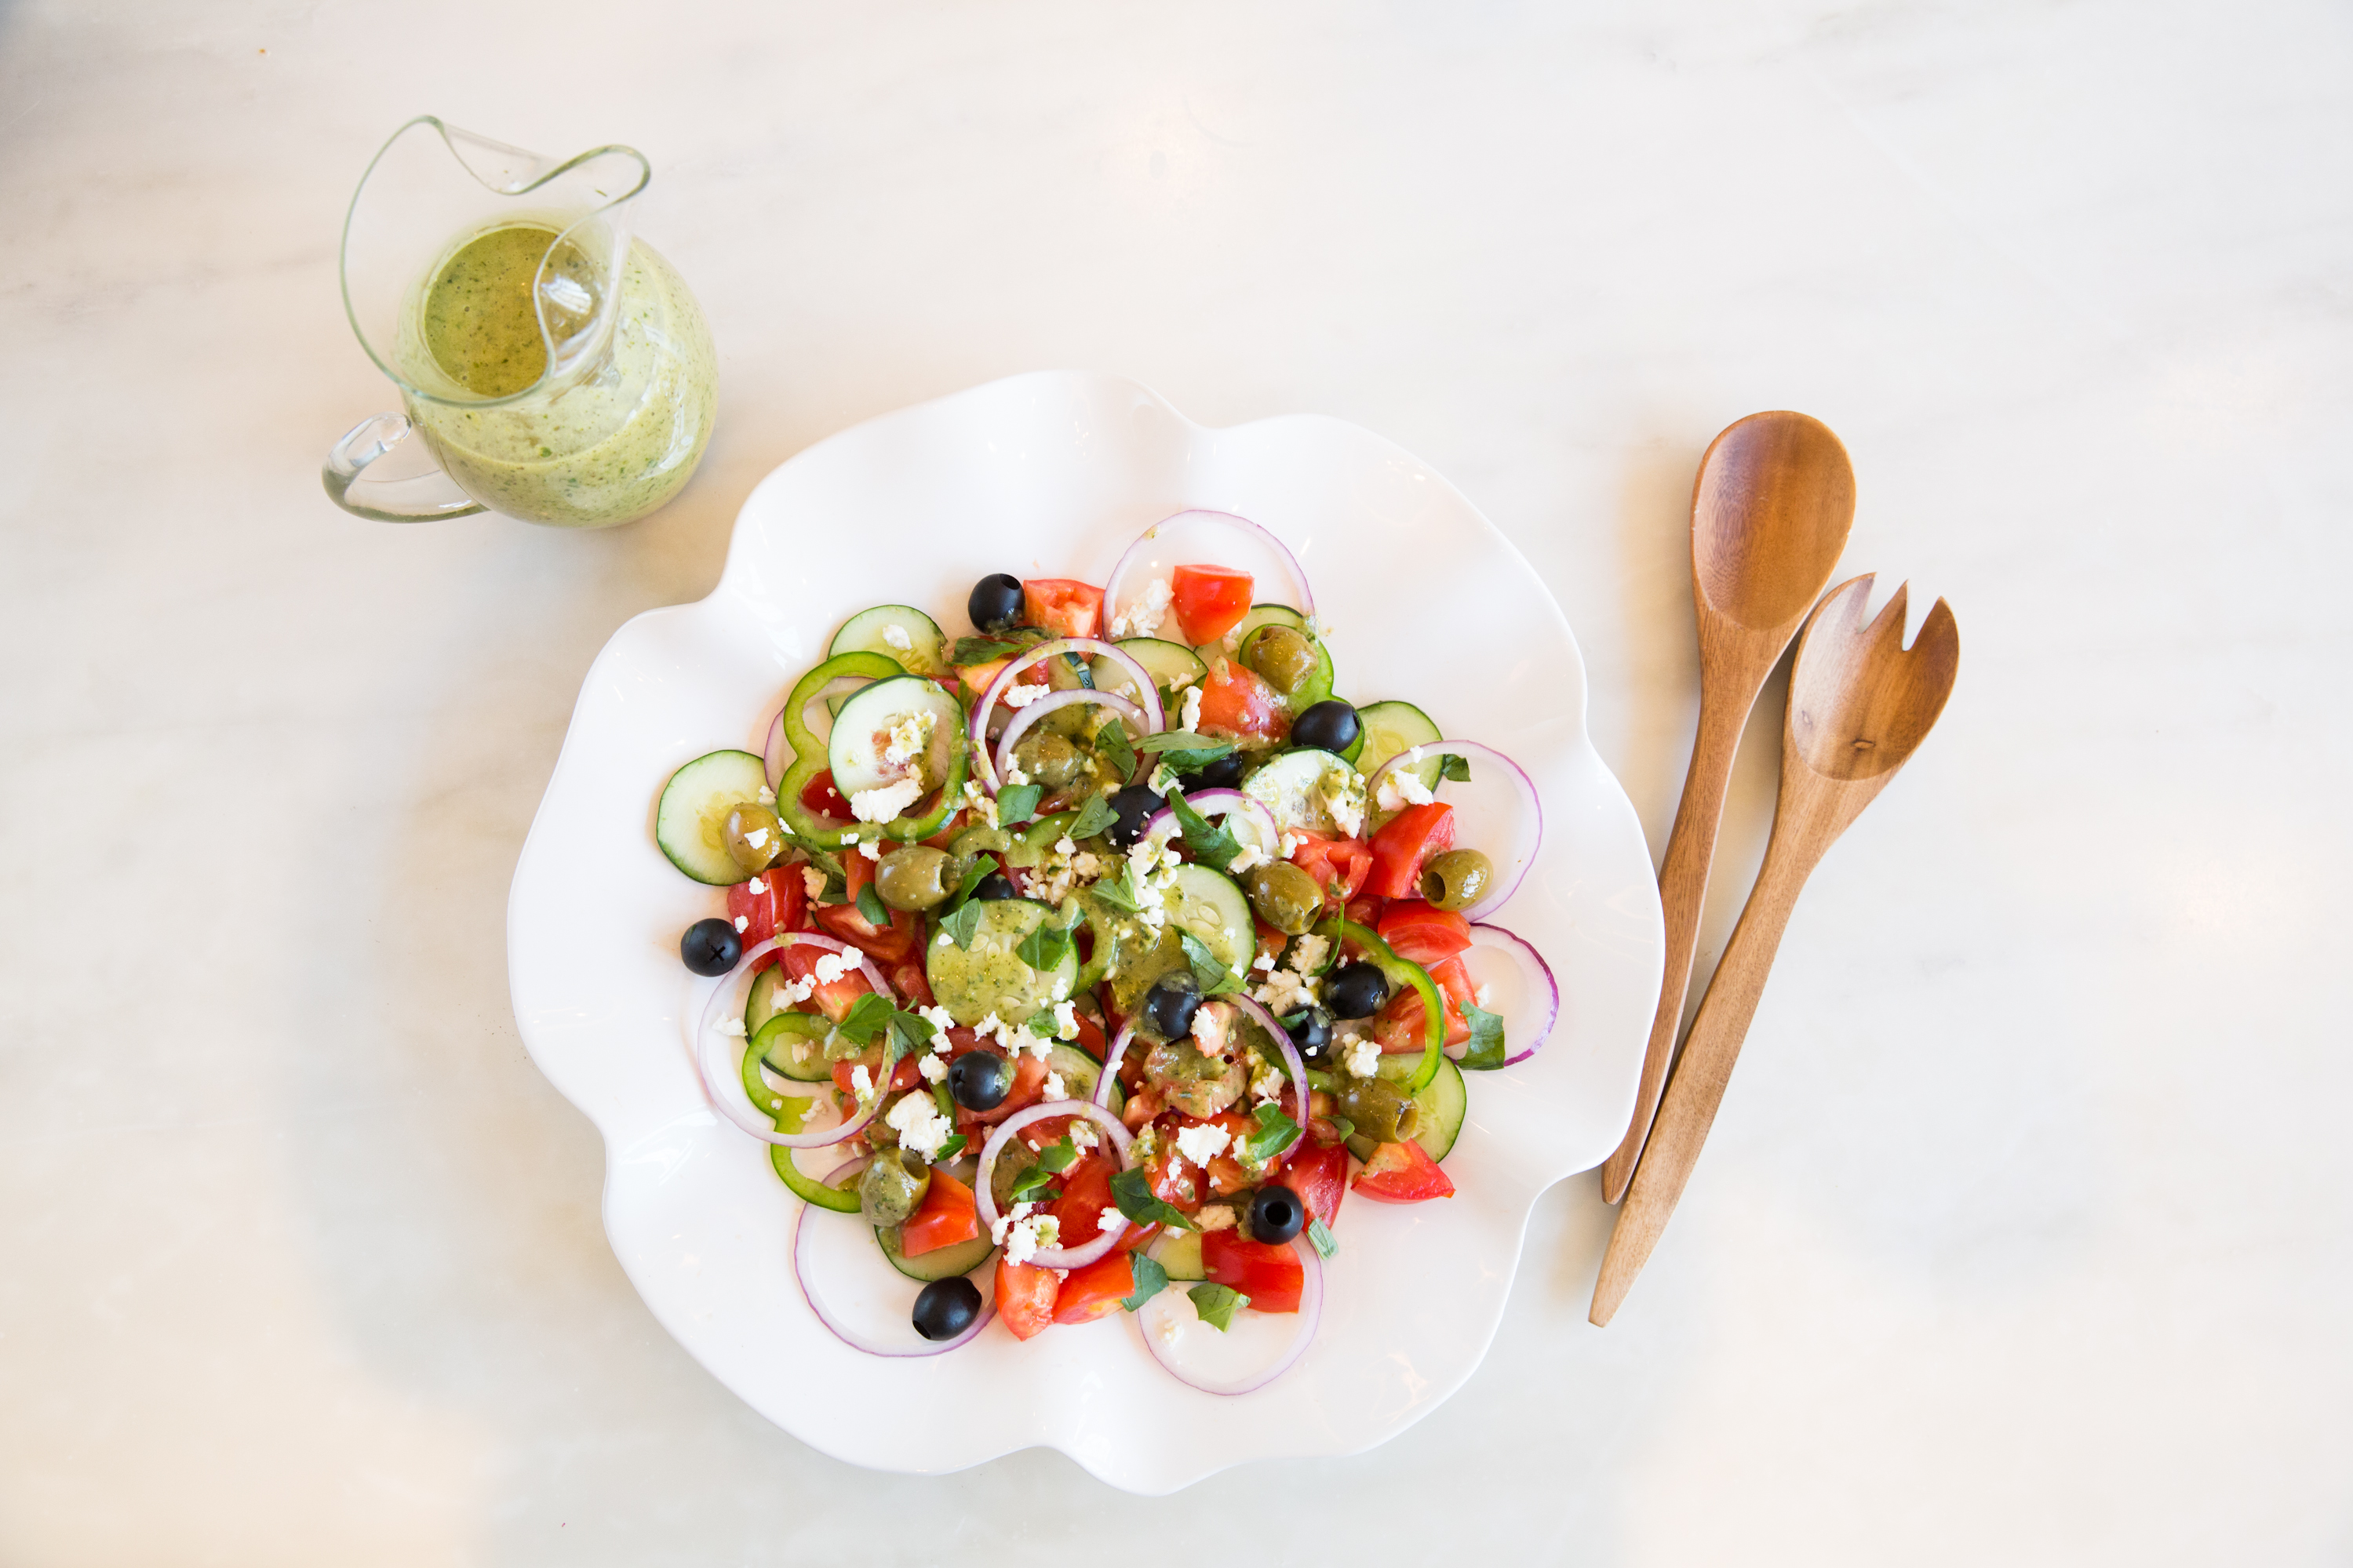
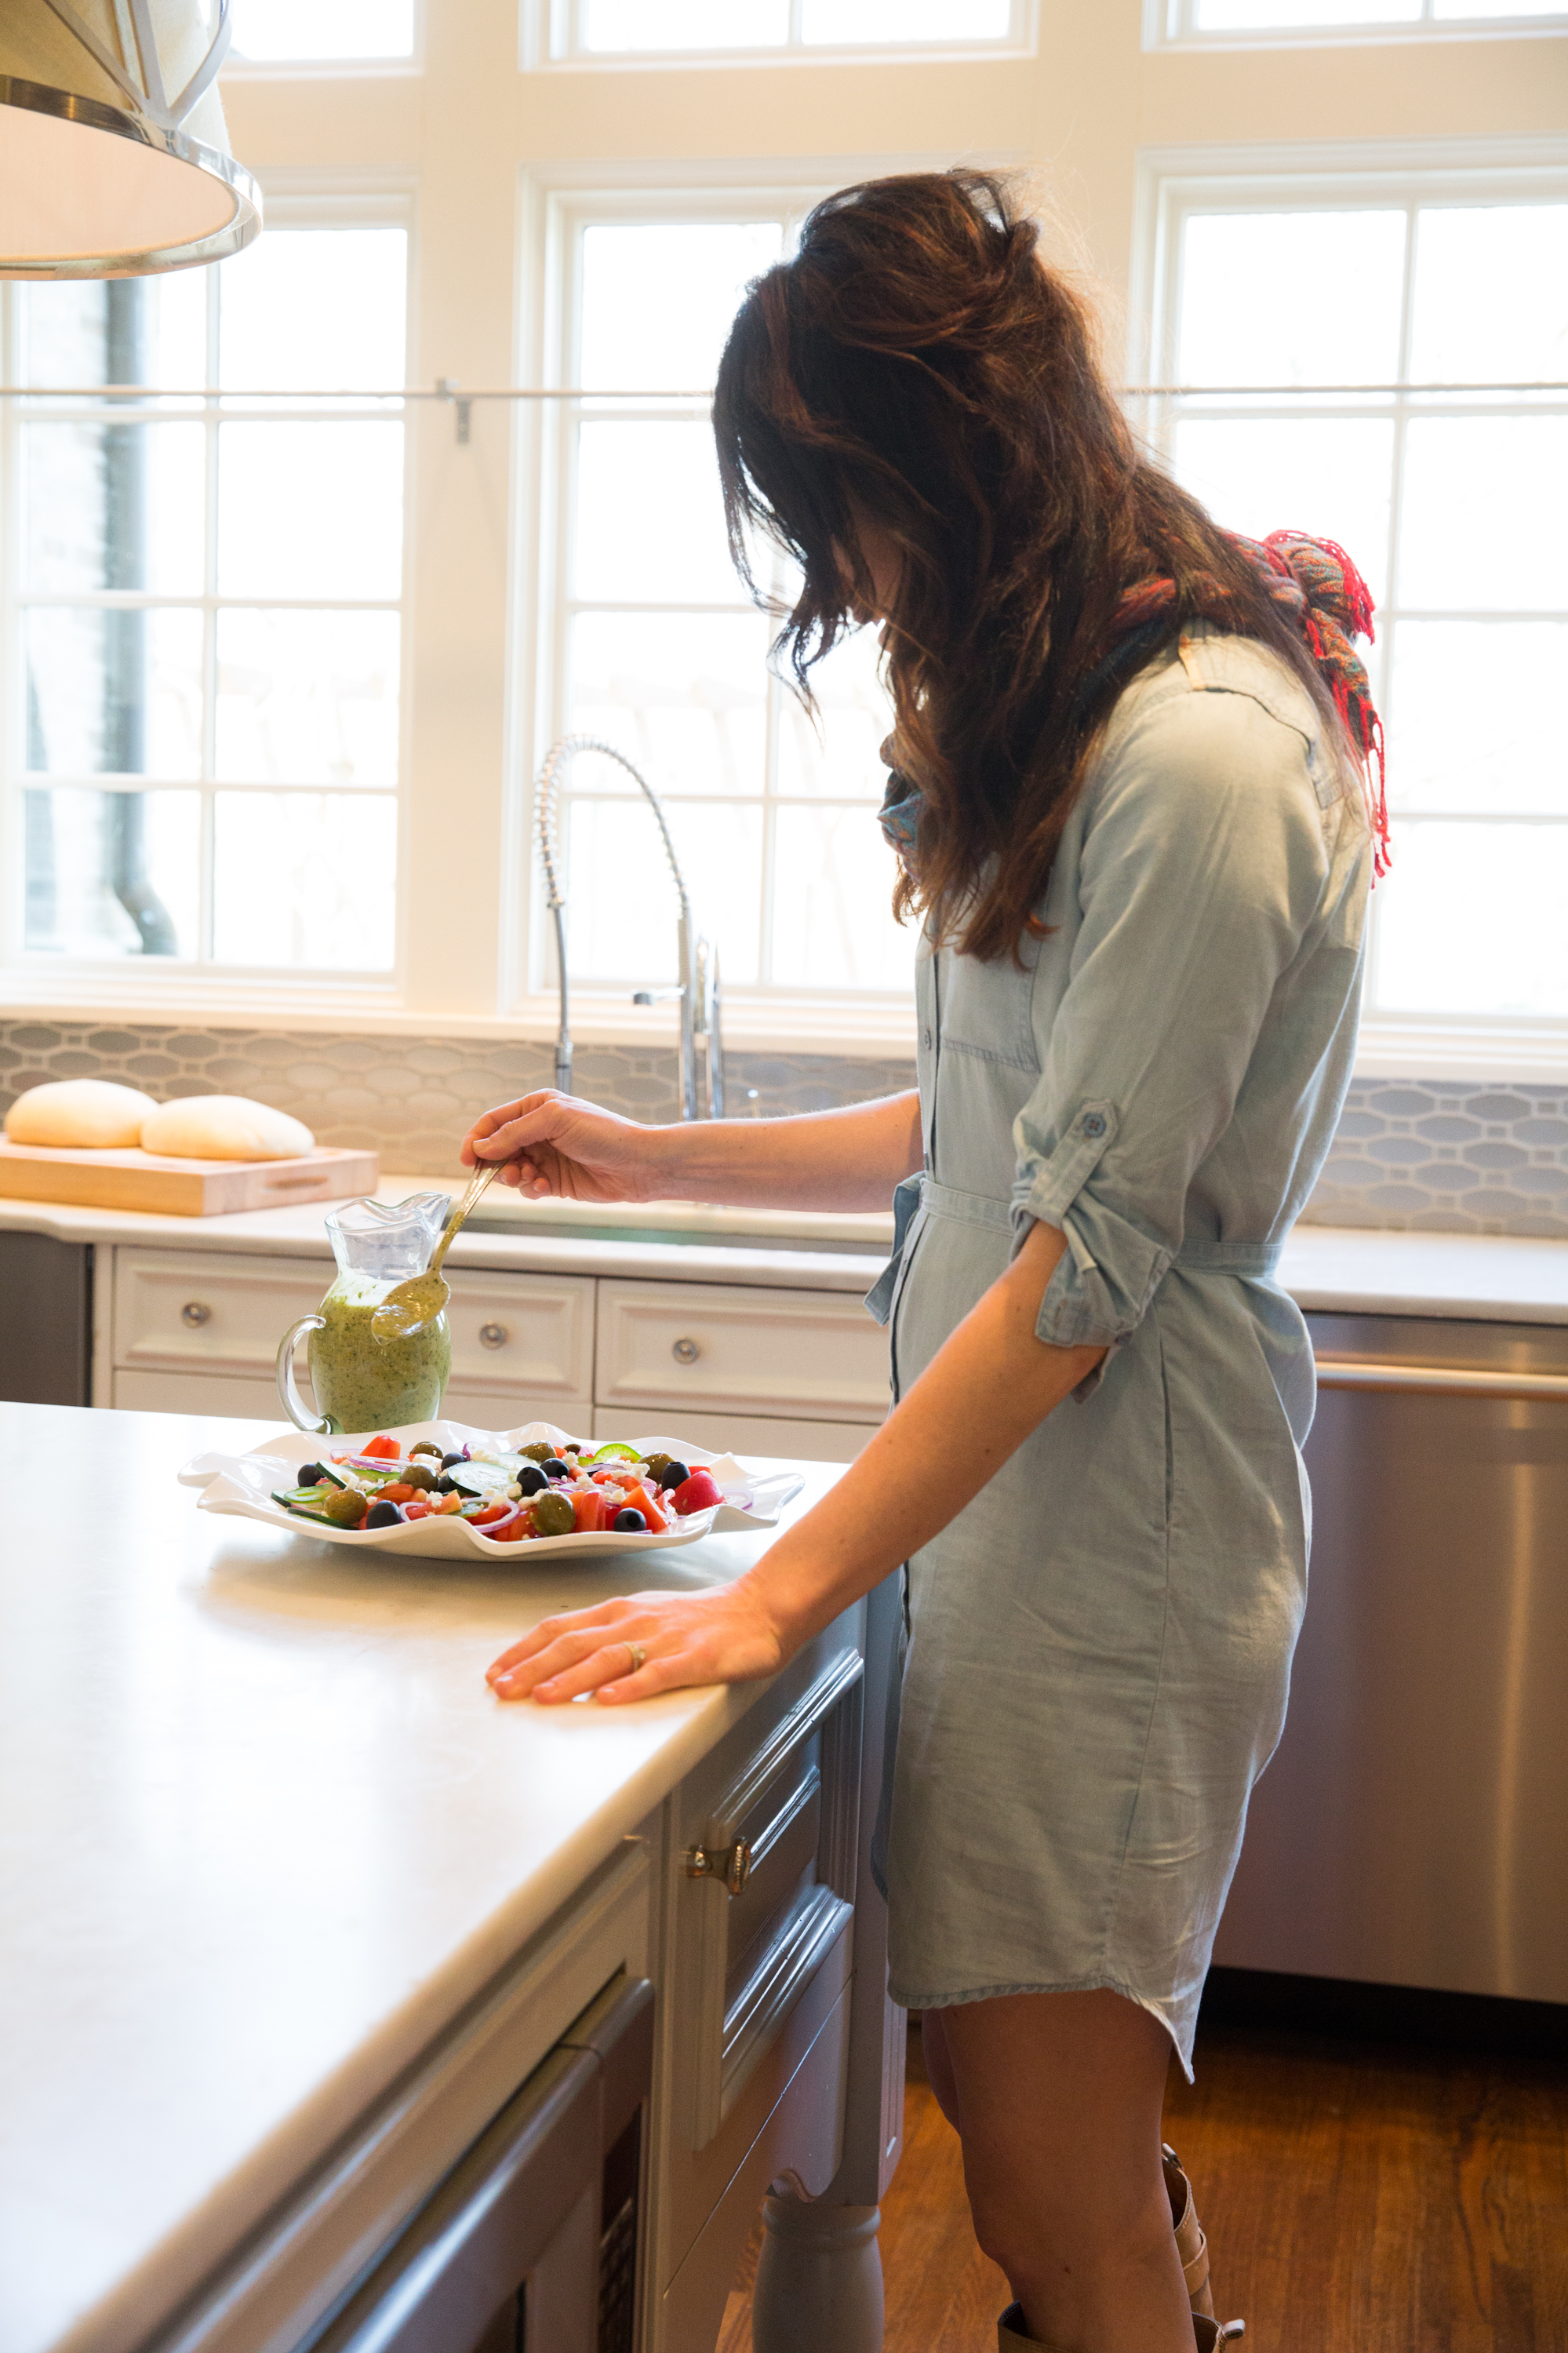
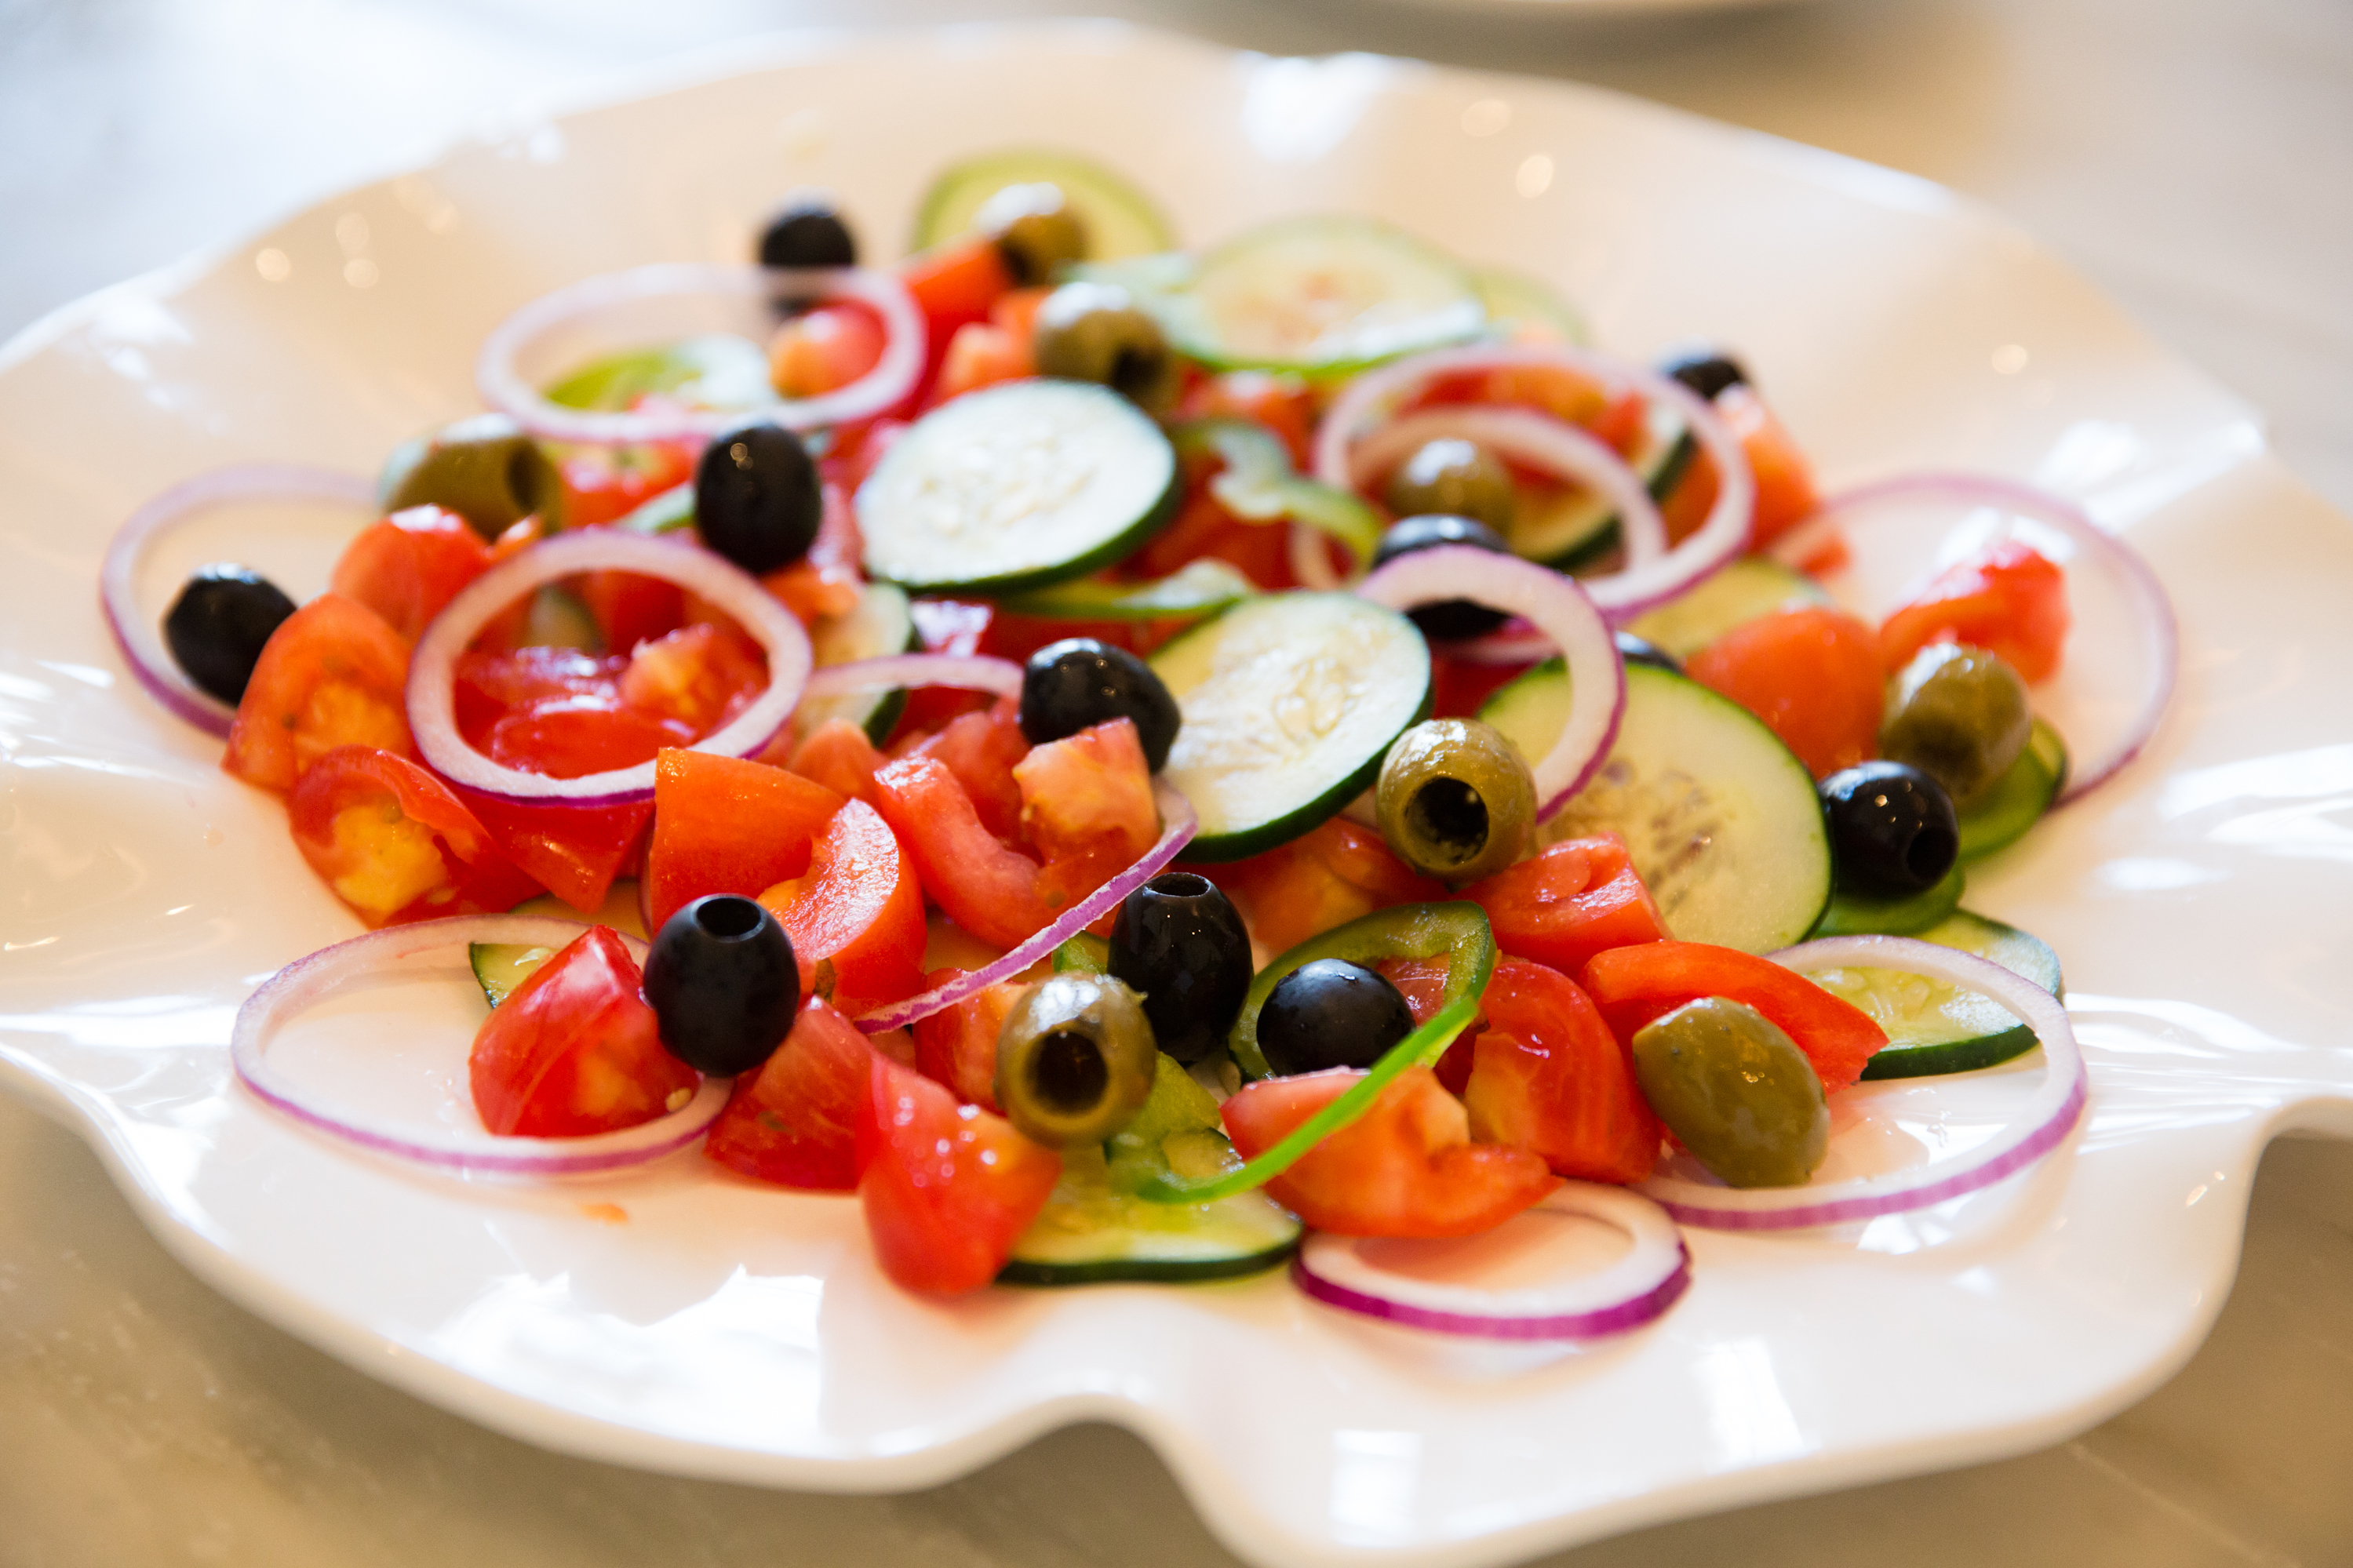
 This feta,
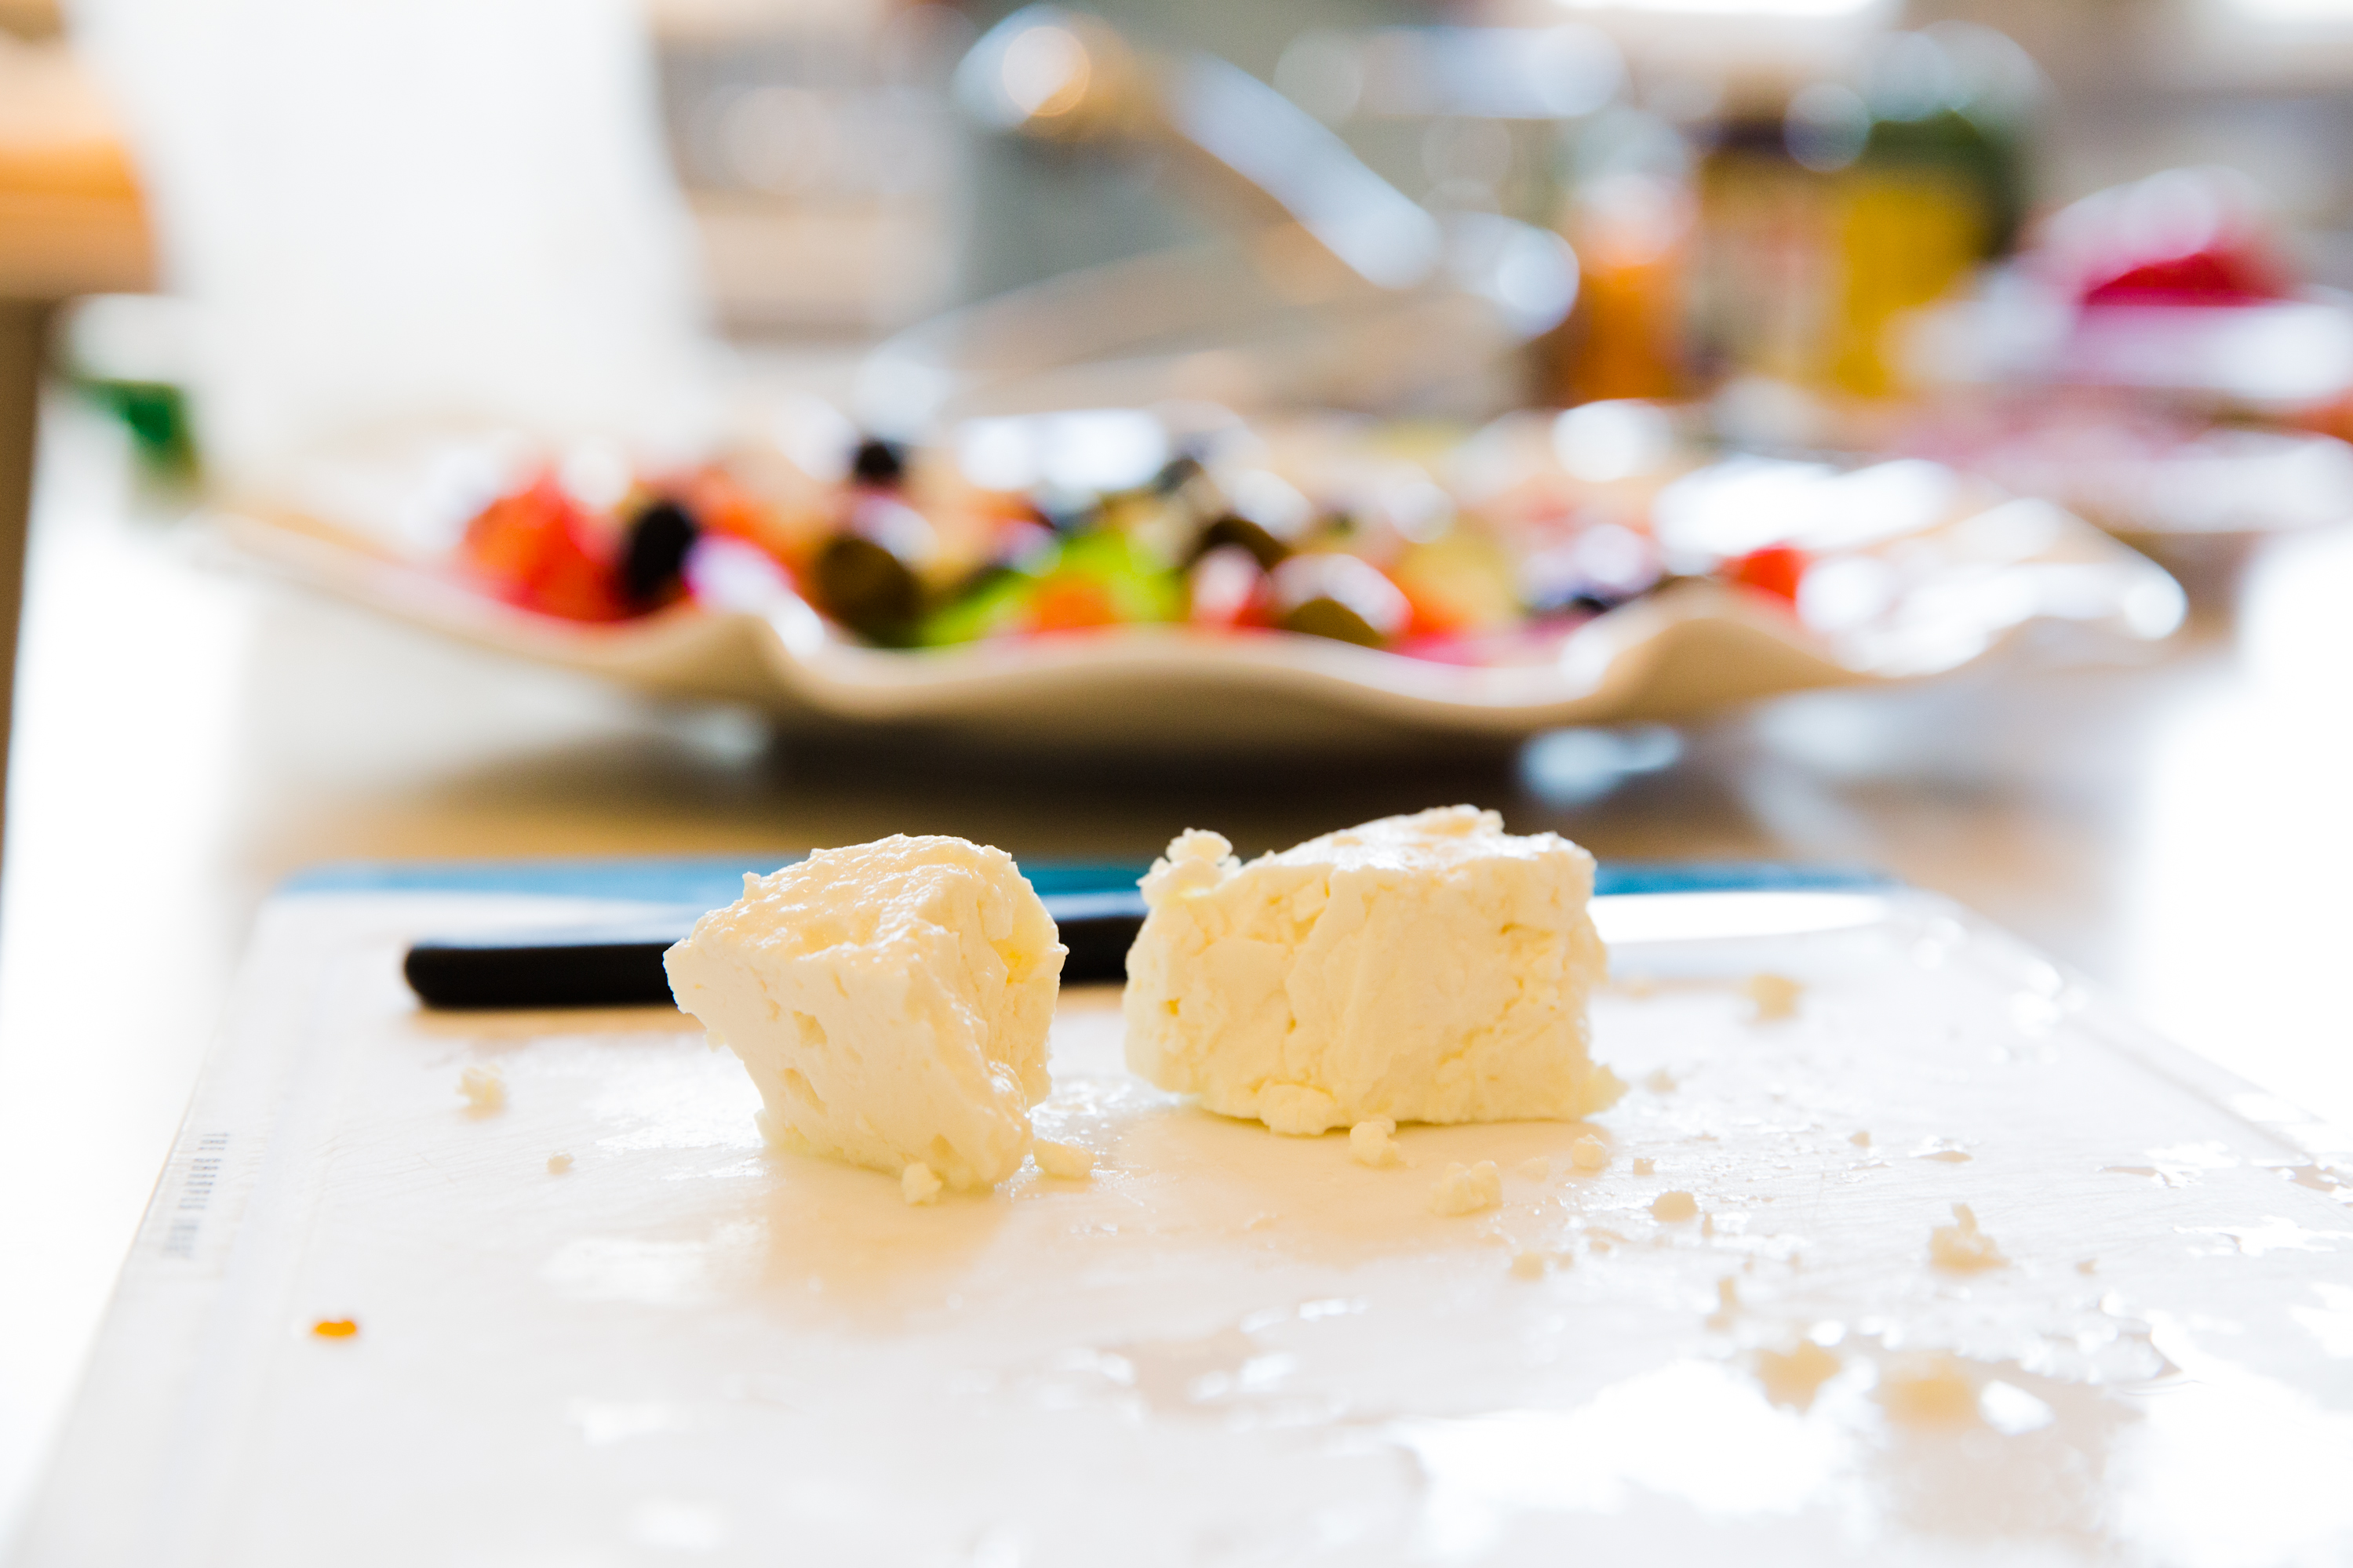