GUYS. This could be the most exciting Wednesday I’ve ever had.
Today, this morning, I am so excited to put our first Luv Cooks full-length video into the internet stratosphere!
Shout outs for this project are absolutely due to my incredible husband. He not only wrote the musical score for this whole series, he edited these videos late into the night, and arranged the clips just perfectly (he shows me love and grace in countless ways). Also shout out to friends of ours for lending invaluable opinions to the reviewing process! We couldn’t be prouder. I hope this first video will be a launching point for many, many more to come!
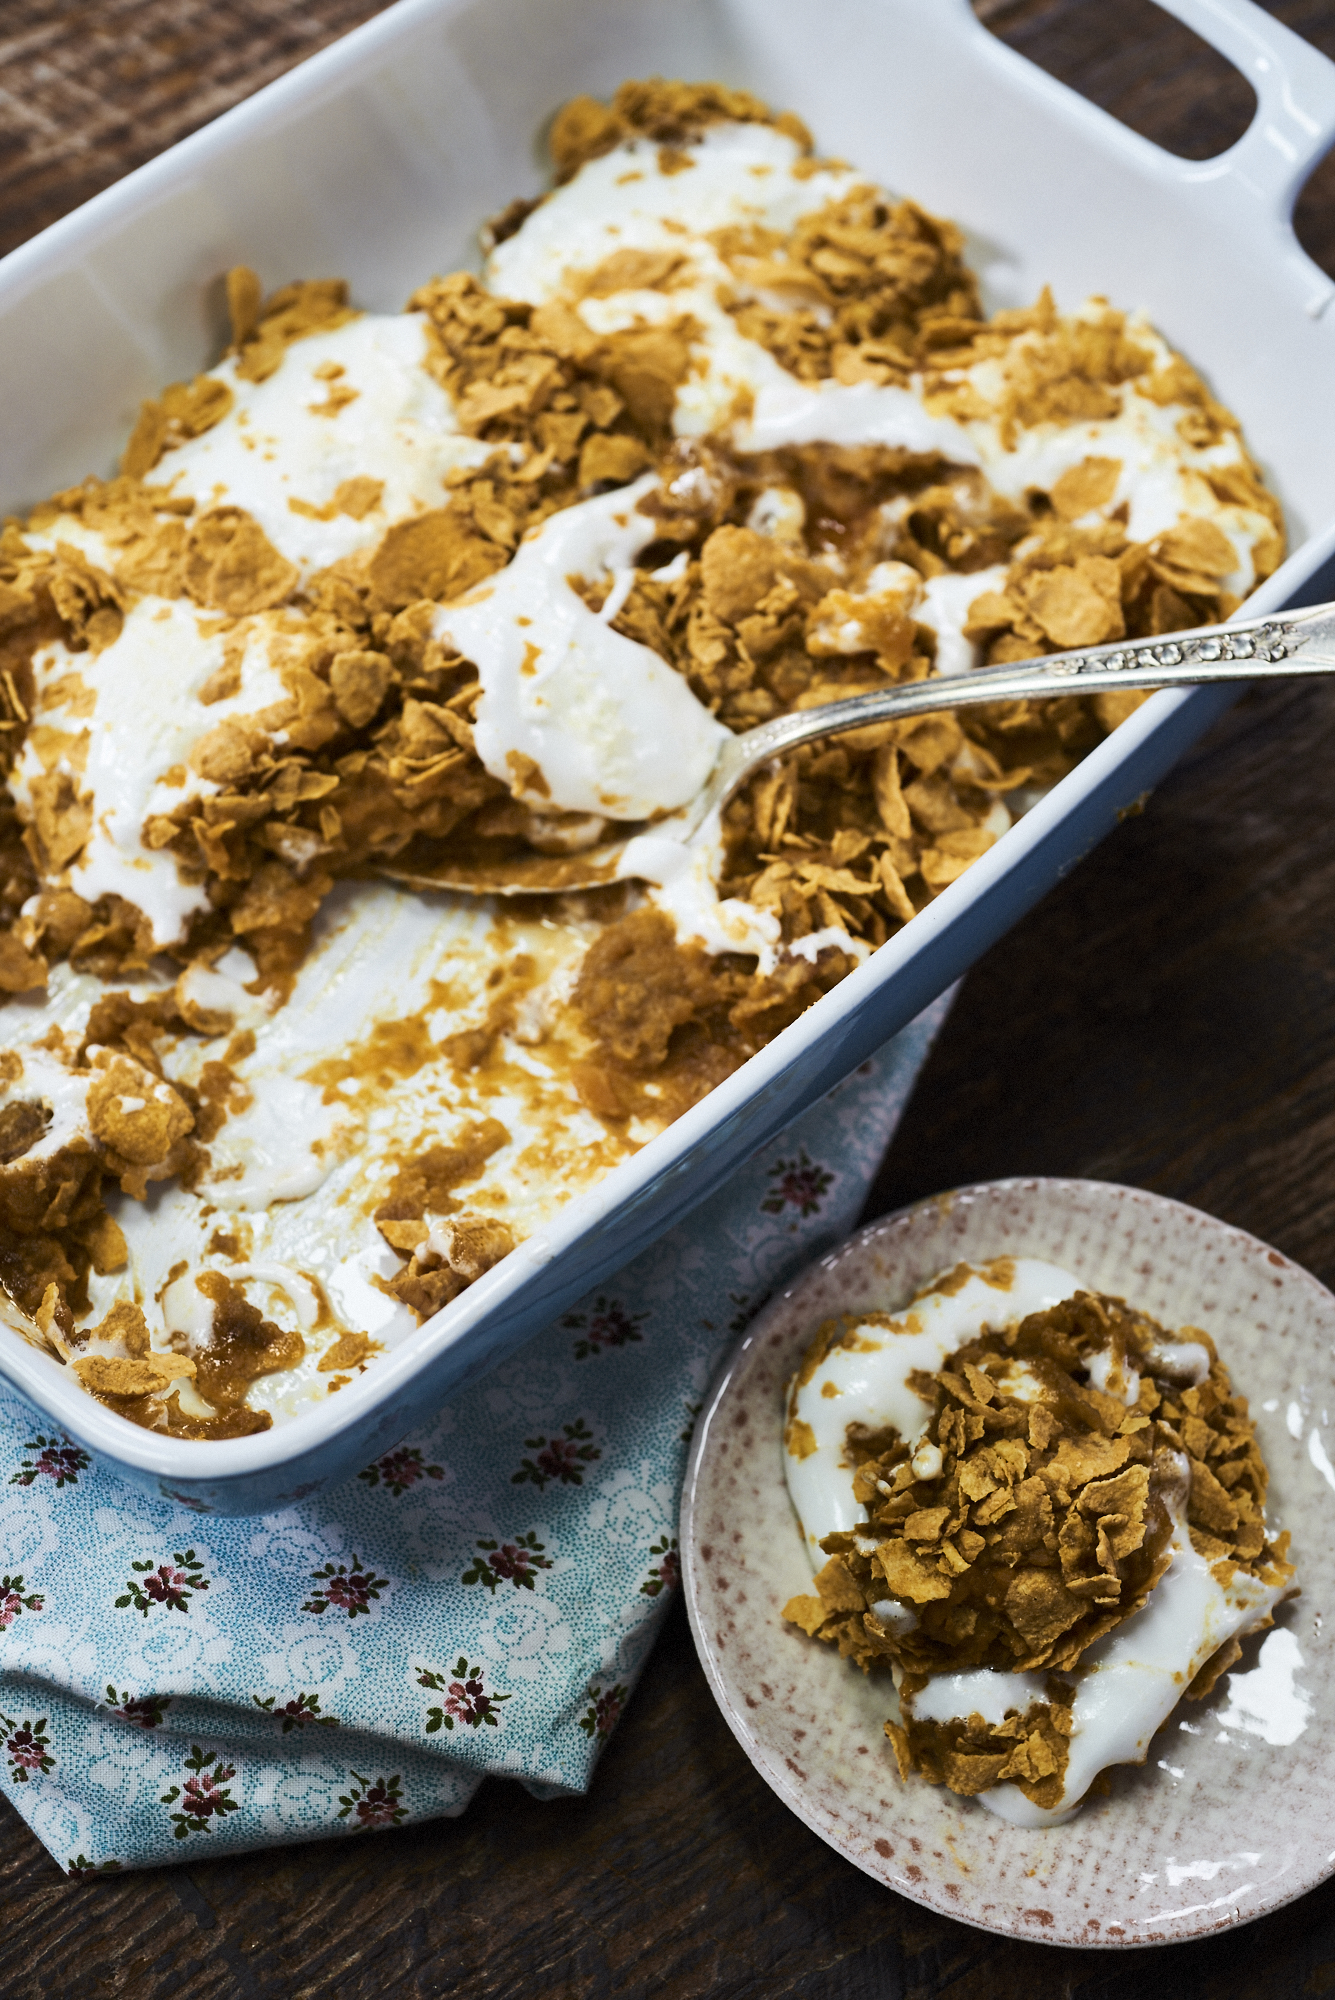
So, take this Wednesday, and be reminded of the fact that dreams DO come true. That things happen in our lives that are beyond our imagination or understanding. And for that, we take marshmallows, roll them sweet potatoes, pecans, and cornflakes, and bake their happy selves until they are lightly toasted. Let’s raise a gooey treat to the fact that life is good- and dreams are worth pursuing.
Luv y’all!
Sweet Potato Puffs
Sweet Potato Puffs by Faye House from The Nashville Cookbook
These easy sweet potato treats will be the hit of your next get-together! They take only a few minutes to throw together after you boil the sweet potatoes, and you get to use an immersion blender.
What You Will Need
4 large sweet potatoes (I like Plano Farms in Nashville; about 2.6 lbs)
4 tablespoons melted butter
4 tablespoons brown sugar
4 tablespoons heavy cream (I like JD Country Milk– their chocolate milk is LEGIT)
1 cup chopped pecans
5 cups cornflakes
Jumbo marshmallows (the big daddy kind- absolute biggest you can buy)
What You Will Do
Boil the sweet potatoes until they are tender. Preheat oven to 375 and spray a 9X13 baking pan with cooking spray.
Drain potatoes, then pour into a large bowl. Add the butter, sugar, heavy cream. Whip with an immersion blender until smooth. Wear large apron to guard against sweet potato splatters. Consider wearing a hair net because if, like me, you have long hair, it might end up on your ends.
Stir in pecans to the potatoes.
Pour cornflakes into a large bowl, then crush with your hands (#fun).
Dip jumbo marshmallows into the potato mixture, covering evenly. Now, roll the marshmallows in the cornflakes, then place into 9X13 baking pan.
Once the pan is full, bake for 15 minutes, or until the tops are toasty brown and the marshmallows have melted a bit. Enjoy immediately! (This is a now tater, not a later-tater!)
Hi all my amazing Luv Cooks readers! Have I told you lately HOW MUCH it means to me that you read these posts? You are cooking rock stars and to that I say, rock on friends, rock on.
Also, EXCITING news to share with you! As many of you know, I have been wanting to incorporate Luv Cooks video content for eons now. Pretty much what feels like a half century of my lifetime, which means I probably felt this way in about the time period Brooklyn was being filmed. Ok, back to the task at hand….
The official FIRST EPISODE of our Luv Cooks series is about to be arrive. That’s right- Southern recipes, straight from The Nashville Cookbook, live and on Luv Cooks You Tube!. Which means any time you are craving a dose of Luv Cooks kitchen shenanigans, you can tune in. Night or day. You get the picture.
So, here is our teaser video, getting you primed for this month’s recipe- which, if you like sweet potatoes, pecans, butter, and marshmallows, you are going to be over-the-moon about.
So check out the video, and I’d love to hear what else you’d like to see me cook! Luv y’all!
There are a host of reasons I feel this way. It’s a fresh start to the year, my schedule seems to become slow enough to give time for some goal setting- but most of all, it’s this:
Jake strums on his guitar next to me. My desk is leans against a large window; I turn my head to the right and look out at the city where I’ve always dreamed of living. Cars rush past outside and their rhythm beats sweetly alongside the guitar riffs. This is the start of Nashville for me.
And the beginning of 2016 has been a sweet one. The start of life in a new space; living in a tiny one (#loftlivin’); and new friendships forming that I feel will be lifelong. Up until this moment, I have yet to experience feeling so at peace, so in that “right where I am supposed to be” position. Life is good.
And it’s funny how I feel already that I owe something to Nashville. The smiling faces, the creativity, and the overwhelming support to people pursuing their dreams; there’s something here that I want to jump into, be a part of, bless people with. And, fortunately for me, my sister gave me just the way to do it.
Cue video intro here!
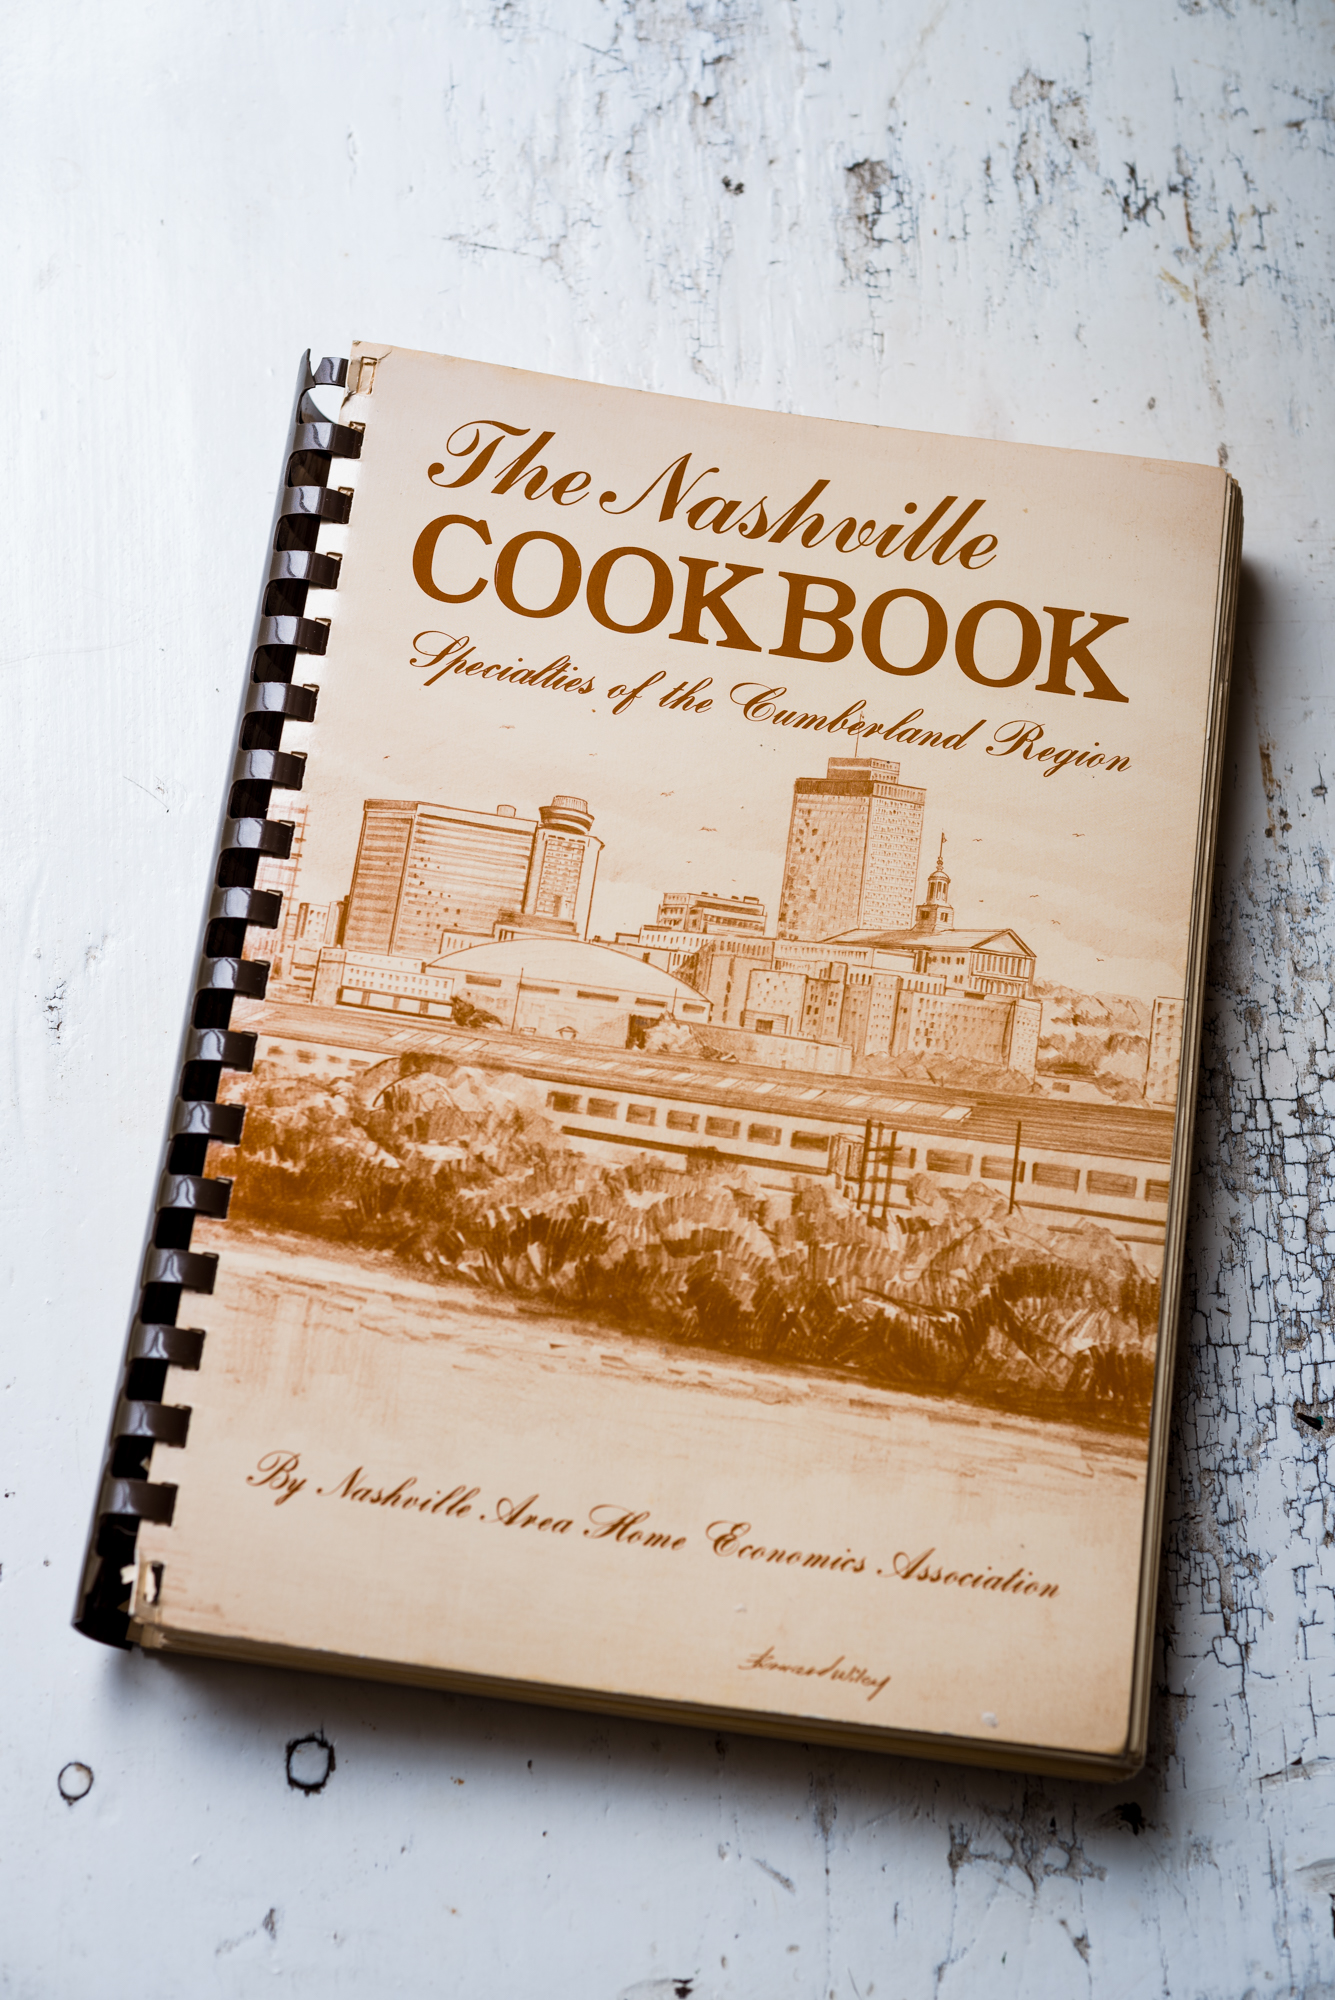
The Nashville Cookbook: Recipes of the Cumberland Region is where this year begins. This book is a treasure trove of history, Southern tradition, recipes yet to be explored, all from a city I long to know more about. Written by the Nashville Area Home Economics Association in 1976, one of my favorite quotes in the book’s forward is “Food is essential for the nourishment of the body, and books are essential for the nourishment of the mind and the imagination. A good cookbook can meet both these essentials, and that is what the Nashville home economists have provided here.” It is a collection of the history of places- there are beautiful prints and historical pieces on the Maxwell House Hotel, the Parthenon, Fort Nashborough and places in the Cumberland Region. It is my introduction to Nashville as a city, as a food culture, from the point of it’s history and its fascinating, “zany”, carefully crafted recipes. As the opening pages state, “We wish the book to be a joy to read, to use, to savor, and to treasure!”
So this is where Luv Cooks lands. I will cook from these recipes, aiming to make them as authentically as I can. I will include local product, produce, meat, cheese- when I can and where I can- and hope that through this process I have the pleasure of meeting the people who are bringing these fantastic foods to our table.
I will also most likely offer my variations on the tried-and-true. This week’s recipe- such a warm, comforting start to a below freezing week in Nashville- already involves some tweaks, based off of cooking methods I have learned in styling. But I hope that each of these changes will bring something new, and helpful, to your table.
So, saddle up this year for a fantastic, fun, wild ride through a cookbook, written in 1976, full of Southern flair, ingredients, spice, and the joy of life that is wonderfully unique to Tennessee. Let’s eat!
This week’s purveyors:
Meat: Delicious, lean stew meat by KLD Farm (Their beef is 100% chemical free; grass fed and grain finished; contains no antibiotics or growth hormones; and is dry-aged for 14-18 days . In other words, deliciousness.)
Weekly tip: Quality Stew Meat + Relax with Some Soup
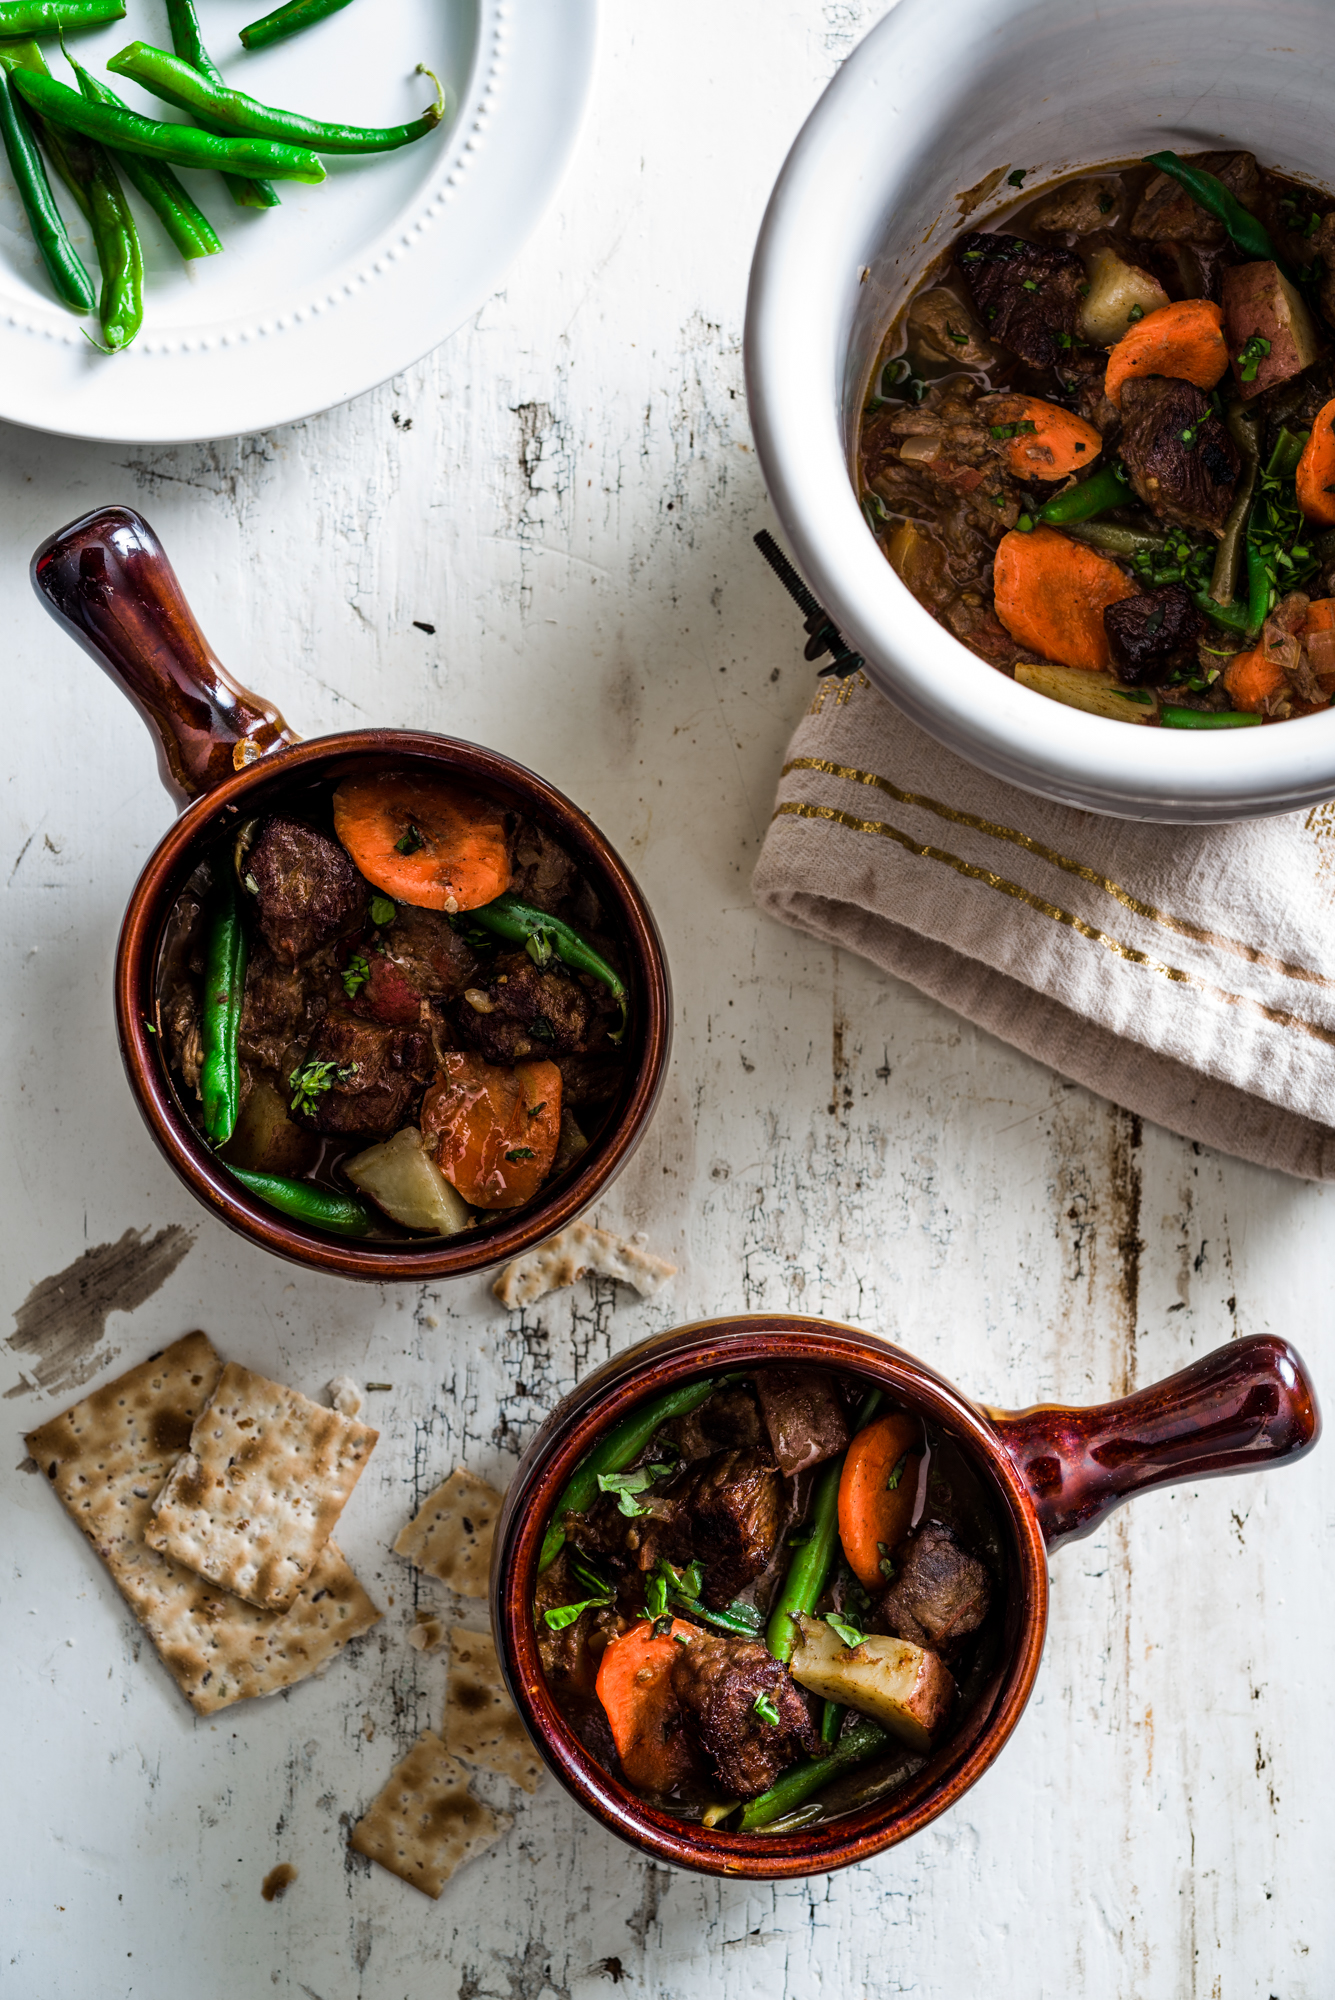
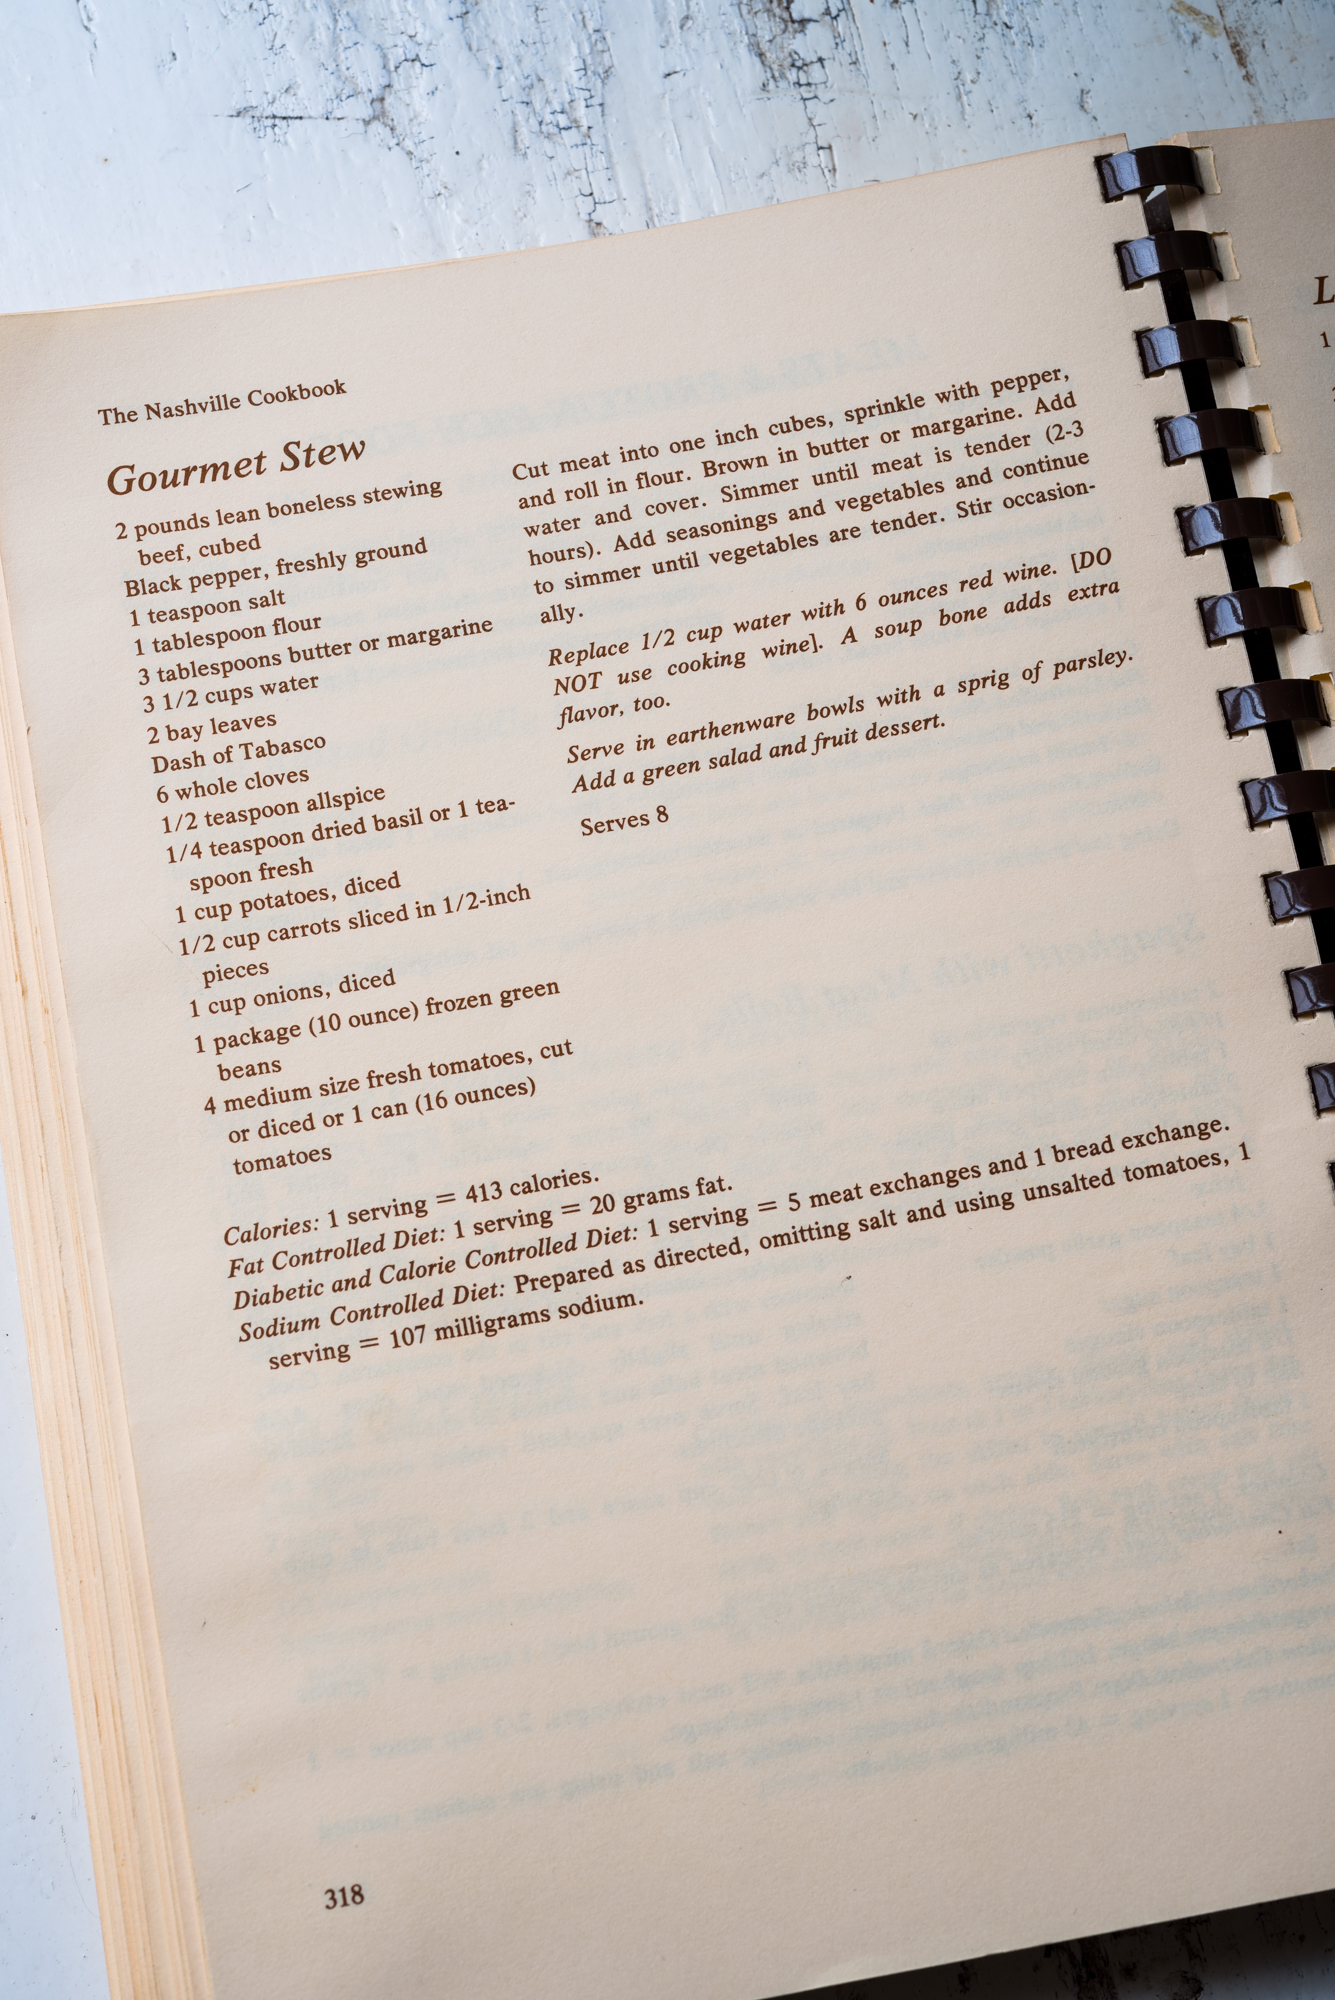
Gourmet Stew from The Nashville Cookbook
This beef stew is perfect for a cold winter night, and so simple to make. The hardest part is probably waiting for the meat to tenderize, which for me took a about 2 1/2 hours. The recipe in total takes about 3 1/2 hours, but I made mine on a lazy Sunday afternoon, and it was perfect.
What You Will Need:
2 lbs lean boneless stewing meat, cubed, and patted dry
10 ounces fresh green beans (the original recipe calls for 10 oz frozen, but I like fresh)
4 medium size tomatoes, diced (1 lb.) (recipe calls for 1 16 oz can as an option, but I went with fresh)
What You Will Do:
1. Heat a large dutch oven with 3 tablespoons butter on medium to medium-high heat (higher heat works better for browning).
2. Toss meat pieces with 1 tablespoon flour, and top with a few grinds per side of salt and pepper, to evenly coat all four sides of the beef.
3. Once the butter is bubbling, toss in the stew meat and brown on all sides.
4. Once the meat is sufficiently browned and crisp, add 3 1/2 cups water and 2 bay leaves.
5. Simmer on low to medium-low heat for 2-3 hours, or until your meat is tender. (I went for about 2 hours and 15 minutes before I started adding the veggies and spices).
6. Add 1 more cup hot water and the rest of your ingredients (hot sauce, salt, cloves, allspice, basil, potatoes, carrots, onions, green beans, and tomatoes).
7. Bring the stew to a new boil (I turned my heat up to medium-high) then reduce to a simmer on low to medium-low.
7. Continue to simmer the soup until all the vegetables are tender, about another 50-60 minutes.
8. Now, put on your stretchy pants, warm socks, and cozy up with a bowl of stew to an episode of Nashville. Enjoy.
Y’all- today is the day. The day I turn 30. The day to celebrate all things fun, sparkly, sugary, and swirled with peanut butter. I have a precious German friend with the best accent ever staying with us for the next three days while she is in the States; I get to spend the day tomorrow with another beautiful friend in Nashville. I mean, these are the rock-stars of long-distance friendships- so creative, inspiring, and lovely. I can’t wait. Life just seems to be humming, humming, humming by…
Yet, I woke up at 2:00 this morning in a panic. My husband spent the night, whooping-cough style, planted in the center of our bed, his lungs echoing reverberations to the top of our ceiling. I couldn’t sleep, so I moved to the sofa, only to be waken by throat pain that felt like the inside of a burlap bag. And, to be honest- the tiredness, and throat pangs, have gotten worse as they day has progressed.
So here we are, the day of all days, the golden birthday, and I feel like I got hit by a small moped then lightly tethered to a rusty Ford pick up and hung out to dry.
But- you know what? I couldn’t stop thinking about this blog post. How the last thing I want to do right now is type; how I want to lay in my bed and lament and have a pity party until I have to pick my friend up in a bit.
But, here is the deal- Luv Cooks means a lot to me. You, my readers, mean a lot to me. Yesterday as I drove home from a shoot I was thanking God for you, for your love of food and fun and for watching these videos and being a part of life with me. I was grateful for my husband, and my friendships, and all of the inspiring people that I encounter every day. For 30 years of laughter, tears, dancing (see below, what!), dreaming, and the moments that stir up such joy a knot forms in your throat. For every bit of thirty years lived in awe of the power of love and life and hope. For joy in the morning and dancing in the evening. For life, and breath, and food. Glorious food.
If there ever were consistent loves in my life- outside of the obvious- coffee is one of them. And this latte, this pumpkin spice latte, is the ultimate birthday indulgence. I adore espresso, but my budget, and time, don’t allow for the daily routine of a fancy green lady version you can purchase with an iPhone app.
This latte reminds me of bullet proof coffee- coffee blended with butter- but much tastier. The whole thing can be made dairy-free (just omit the whipped cream and substitute coconut oil for butter), and low sugar (substitute stevia for the maple syrup). The entire coconut milk mixture can be blended together on its own and used as coffee creamer. It’s healthy, has real pumpkin, coconut milk and cinnamon. Deliciousness.
So, ladies and gentleman, as I leave to pursue the rest of my 30th day on this planet, I once again want to say thank you. Thank you for being you, for making Luv Cooks happen, and even cooking a recipe or two. Thank you for making my birthday, and the years moving forward, so special.
I invite you to join me, pumpkin spice latte in hand, to a toast- to life, to luv, to food. Glorious food.
1 (13.5-oz) can full-fat, unsweetened coconut milk
2-4 tbsp maple syrup, I used 2 tablespoons
2 tbsp pumpkin puree
2 tbsp butter, ghee, or coconut oil
1 tsp vanilla extract
½ tsp ground cinnamon
¼ tsp ground nutmeg
2 cups hot, strongly brewed coffee or 4 espresso shots
4 oz whipped coconut cream or grass-fed heavy whipping cream, for garnish
Ground cinnamon, for garnish
What You Will Do:
Add the coconut milk, maple syrup, pumpkin puree, butter, vanilla extract, cinnamon and nutmeg to a blender. Blend until smooth.
Warm the pumpkin milk over medium-low heat for 10 minutes or until the milk starts to steam.
Meanwhile, prepare your coffee or espresso (I used two tablespoons coffee per cup of water in a drip maker).
Once your milk is hot, place it back into the blender and blend for about 10 seconds to froth the milk, making sure your hand is on the lid to avoid any messes.
Divide the hot coffee and milk between 4 cups. Put on a dollop of whipped cream (or go Luv Cooks style and bust out the Redi Whip), and cinnamon, and treat yo self!
For sticking with this recipe, I have a birthday surprise for you:
That’s right, Kerri Bunn and I don’t want no scrubs people.
As a food stylist, you work hard all day to make the absolute best version of the food you are shooting come to life. There are times you end up on your hands and knees, using tweezers to remove stray thyme springs, spraying cilantro leaves with water, lifting pots to boil water; it’s that kind of physical and emotional investment.
I love food styling- and it’s super rewarding- but sometimes this feeling is also accompanied by a vow that you don’t want to see, or taste, or smell the ——- (pot roast, pot pie, slow cooker chicken casserole, etc.) for a while. Because frankly, you’ve worked with it for so many hours, bent over it with tweezers, and the dish made your hair greasy because you had to fry the chicken with metal pins in order for it to look good. Your back hurts… and you’re just tired.
Butter you up because you’re toast.
Stick a fork in you, you’re done.
I could go on, but you get the picture.
I don’t normally crave what I have been working on after I make for a shoot. Except for…well, minutes later when I am starving. I love to eat, and Luv Cooks is special to me, and you are special to me because you read these posts (thank you, thank you, thank you….) And you know what else is really special? Besides Julie Andrews? Five-minute strawberry yogurt.
On my way back from making prop returns this afternoon, the late-summer heat was getting to my psyche. New bangs plastered to my forehead and dying of thirst (well, maybe that’s a bit of an exaggeration), the air conditioner in my hybrid car was about as cold as dog breath and all I could think about was how I was sweating through my pants.
It was at that moment that I direly, passionately, wished I had some leftover strawberry yogurt in my freezer.
Too bad the hubs and I had already eaten it. Quickly after it was shot. Hopes=dashed.
But, I will say, this dire feeling gave way to an extra motivation to share this recipe with you. In the dire straits of early September in the South, when the vice grip of humid heat refuses to let go and make way for cooler breezes- everybody, I do mean evvrryybodddy, needs to eat something frozen. And refreshing. It does wonders for your mood; and ensuing hair styles.
So this Labor Day, bust out your food processor, whip up some fro-yo, and celebrate the end of summer, strawberries, and the sweet relief of an easy dessert. Cheers!
Easy Five Minute Frozen Yogurt (recipe altered to be dairy-free by Just a Taste. Her site and recipes are so pretty and inspiring!)
This recipe is super simple and requires very little prep aside from squeezing fresh lemon juice. A tip for easy lemon squeezing- just roll you lemon around on your countertop before you slice it in half. The liquid comes out easier that way!
What You Will Need
4 cups frozen strawberries
3 tablespoons honey (I like orange blossom honey for this)
1/2 cup dairy-free yogurt
1 tablespoon fresh lemon juice
What You Will Do
1. Add the frozen strawberries, honey, yogurt, and lemon juice to the bowl of a food processor.
2. Process until the mixture becomes creamy, which should take about 5 minutes.
3. Serve the frozen yogurt immediately or, if you can wait this long, you can transfer it to an airtight container and store it in the freezer for about a month.
I’d like to begin this post with an essay entitled, “Why Peach Ice Cream Matters.” Here I will prove the point that a summer without peach ice cream is like a beach trip without watermelon juice running down your chin, sand in your towel, and Celine Dion blaring from the speakers of a hot, sticky golf cart.
Why Peach Ice Cream Matters
Peach ice cream matters. It matters because it is the epitome of the Fourth of July and of summer: ripe, sweet peaches blended into cold cream, glorious cream, that’s churned and frozen in a freezer, smoky air blasting out as you open the door in the summer heat. Or, served soft-serve, like my mom always made it, after the hours of piercing, crushing ice-rock noise in the ice cream maker stilled, and her sweet fruit cream was ready. It’s family memories, friends around a huge wooden table while humid light pierced through the slits of a screened in porch, or making it on my own, twinging my toes with delight as my husband took his first bite. It’s the pay-off, the end celebration to a waiting for the perfect peach moment in July. It’s the goods, the glory, and the guarantee of a sweet downturn into fall, only a few months away.
And this recipe, my friends, is outrageously, fabulously, delicious. The most important element of this ice cream, is, of course, the peaches, and we pulled out all of the stops for this one. The Peach Truck in Nashville is the best source out there, and I’ve never had as sweet, dense, and red of a peach in my life. Grilling these peaches takes the sweetness and turns the flavor profile to caramel. It’s divine and once I tasted the grilled peaches we are all lucky they actually made it to the ice cream. Also, the gluten free pie crust recipe I used is from Authentic Foods. Y’aaalllll- oh my Lord this is so good in this ice cream. The pie crust has a sort of cinnamon flavor to it; it’s addictive and a perfect balance to the sweet peaches.
Also, as you can see in the fantastic video of our recipe below ***HUGE shout out to Stephen Devries Photo for helping Jake and I film this video at his incredible Studio 410! It is a beautiful space, and Stephen’s photo and video talents never cease to amaze me*** the key to success here is baking your pie crust, grilling your peaches, and letting your milk mixture chill in the fridge- ahead of time. That way you can get right to the fun part of bringing it all together in your ice cream maker.
To conclude with my essay-style post, July 4 is one of the best holidays we have the chance to celebrate as Americans. Let’s take this day to love the people around us and honor those who have sacrificed for our freedom. Let’s love people in a way that honors life itself- with laughter, joy, and food. Let’s be the people that our forefathers challenged us to be. And I can’t think of a better way to inspire that kind of life than with peach cobbler ice cream. God bless the USA!
Gluten Free Peach Cobbler Ice Cream
This recipe is adapted from several resources: shout out to GUB Life blog for the awesome ice cream base, and The Neely’s for the Grilled Peaches Technique! Just make sure you get all of your ingredients ready ahead of time to make the ice cream process easy.
For the Ice Cream Base
What You Will Need
1 1/2 cups heavy cream
1/2 cup of sweetened condensed milk
1 cup 2% milk
1/8 tsp salt
1/4 tsp cinnamon
1 tablespoon bourbon vanilla bean paste
What You Will Do
In a dish, whisk together heavy cream, condensed milk, 2% milk, salt, cinnamon, and bourbon vanilla paste (or vanilla extract).
For the Pie Crust**:
1. Prepare your favorite gluten-free pie crust dough. Some recipes call for chilling the dough after it is made to help it set; go for it if your recipe requires it.
2. Once back to room temperature, roll the dough to about a 12-inch diameter circle, then bake at 350 (or per recipe’s instructions). For this ice cream, I used Authentic Foods mix but I also love Serious Eats’ gluten-free pie crust.
3. Once cooled, tear your pie crust into bite-size pieces.
**If you can eat gluten, make this super easy by baking off a pre-made pie crust. Honestly, I can’t taste the difference in homemade and store bought!
For the Grilled Peaches
What You Will Need
4 ripe peaches, preferably from The Peach Truck, pitted and quartered
1/4 cup light brown sugar
1 teaspoon vanilla extract
1/4 teaspoon cinnamon
What You Will Do
1. Mix together your peaches, light brown sugar, vanilla and cinnamon.
2. Heat grill pan to medium heat.
3. Cook peaches on grill pan, turning after about 2-3 minutes per side (about when you see grill marks form).
4. Remove peaches from pan to cool. Once cool, chop into bite-size pieces.
Putting it All Together
1. Pour your chilled cream mixture into the base of an ice cream maker. Let it run for about 15 minutes, or until your ice cream is at a soft-serve consistency.
2. Fold in cooled, chopped peaches until throughly combined.
3. Fold in pie crust pieces until thoroughly combined.
4. Let churn for a few more minutes.
5. Voila! Enjoy at soft-serve stage, or you can pour the mixture into a freezer-safe container (I used a metal loaf pan) and let chill in the freezer for at least 3 hours. Happy eating!
My memories of yogurt begin at the ripe old age of seven as a proud member of our Baptist Church’s G.A.’s (for those of you who may not have been raised in this pseudo-Girl Scout troop, this stands for “Girls in Action”). Before G.A.’s class began, my precious mom rounded up three- yes three- of her wild children, made them wash their faces, and climb into the Dodge van with wood paneling in order to high-tail it to the Church every Wednesday evening.
This journey was often fraught with fighting (“Callie won’t quit poking me!”), bad hair (“MOM! Can you fix my side ponytail? The velcro roller got squished”) and all around pre-church bickering (“We are eating pot roast tonight? Again?! Eww!”) This adventure also occurred during what we’ll call “fall” in Alabama, which translates to heat, more heat piling into the van, sweat behind your knees, and striped leggings that were way too warm to be wearing in September.
Needless to say, it was a feat and accomplishment for all of us to weekly be in one place at the same time. As a reward for our efforts (and as a way to give my mom a breather, thank you Lord) we always drove our van through the soft serve yogurt drive through after Church. In the (golden age of) the 90’s, soft serve yogurt was definitely not the rage (there was only one “creamery,” gasp!, in our small town) so this experience was a precious commodity to us. I always knew that my chocolate yogurt with chocolate chips was going to be, in one word, bliss.
Fast forward past my teenage and college years, where I began to not feel so great after eating yogurt. Or milk. Or ice cream. Which was horrible. So, my battle with dairy began, and to this day, I still can’t stomach an abundance of it. After meeting my husband, I discovered that he too has the same issue, and so we are constantly trying to come up with solutions to our dairy-free dilemma. Enter, coconut milk yogurt.
The beauty of coconut milk yogurt is two-fold. One, it is easy to make at home. And, you get to practice your fancy jar-sterilization technique for our upcoming summer season of canning! Check out this video below of my tips for the easiest way to prep you jars- so you can share the probiotics, not the germs:
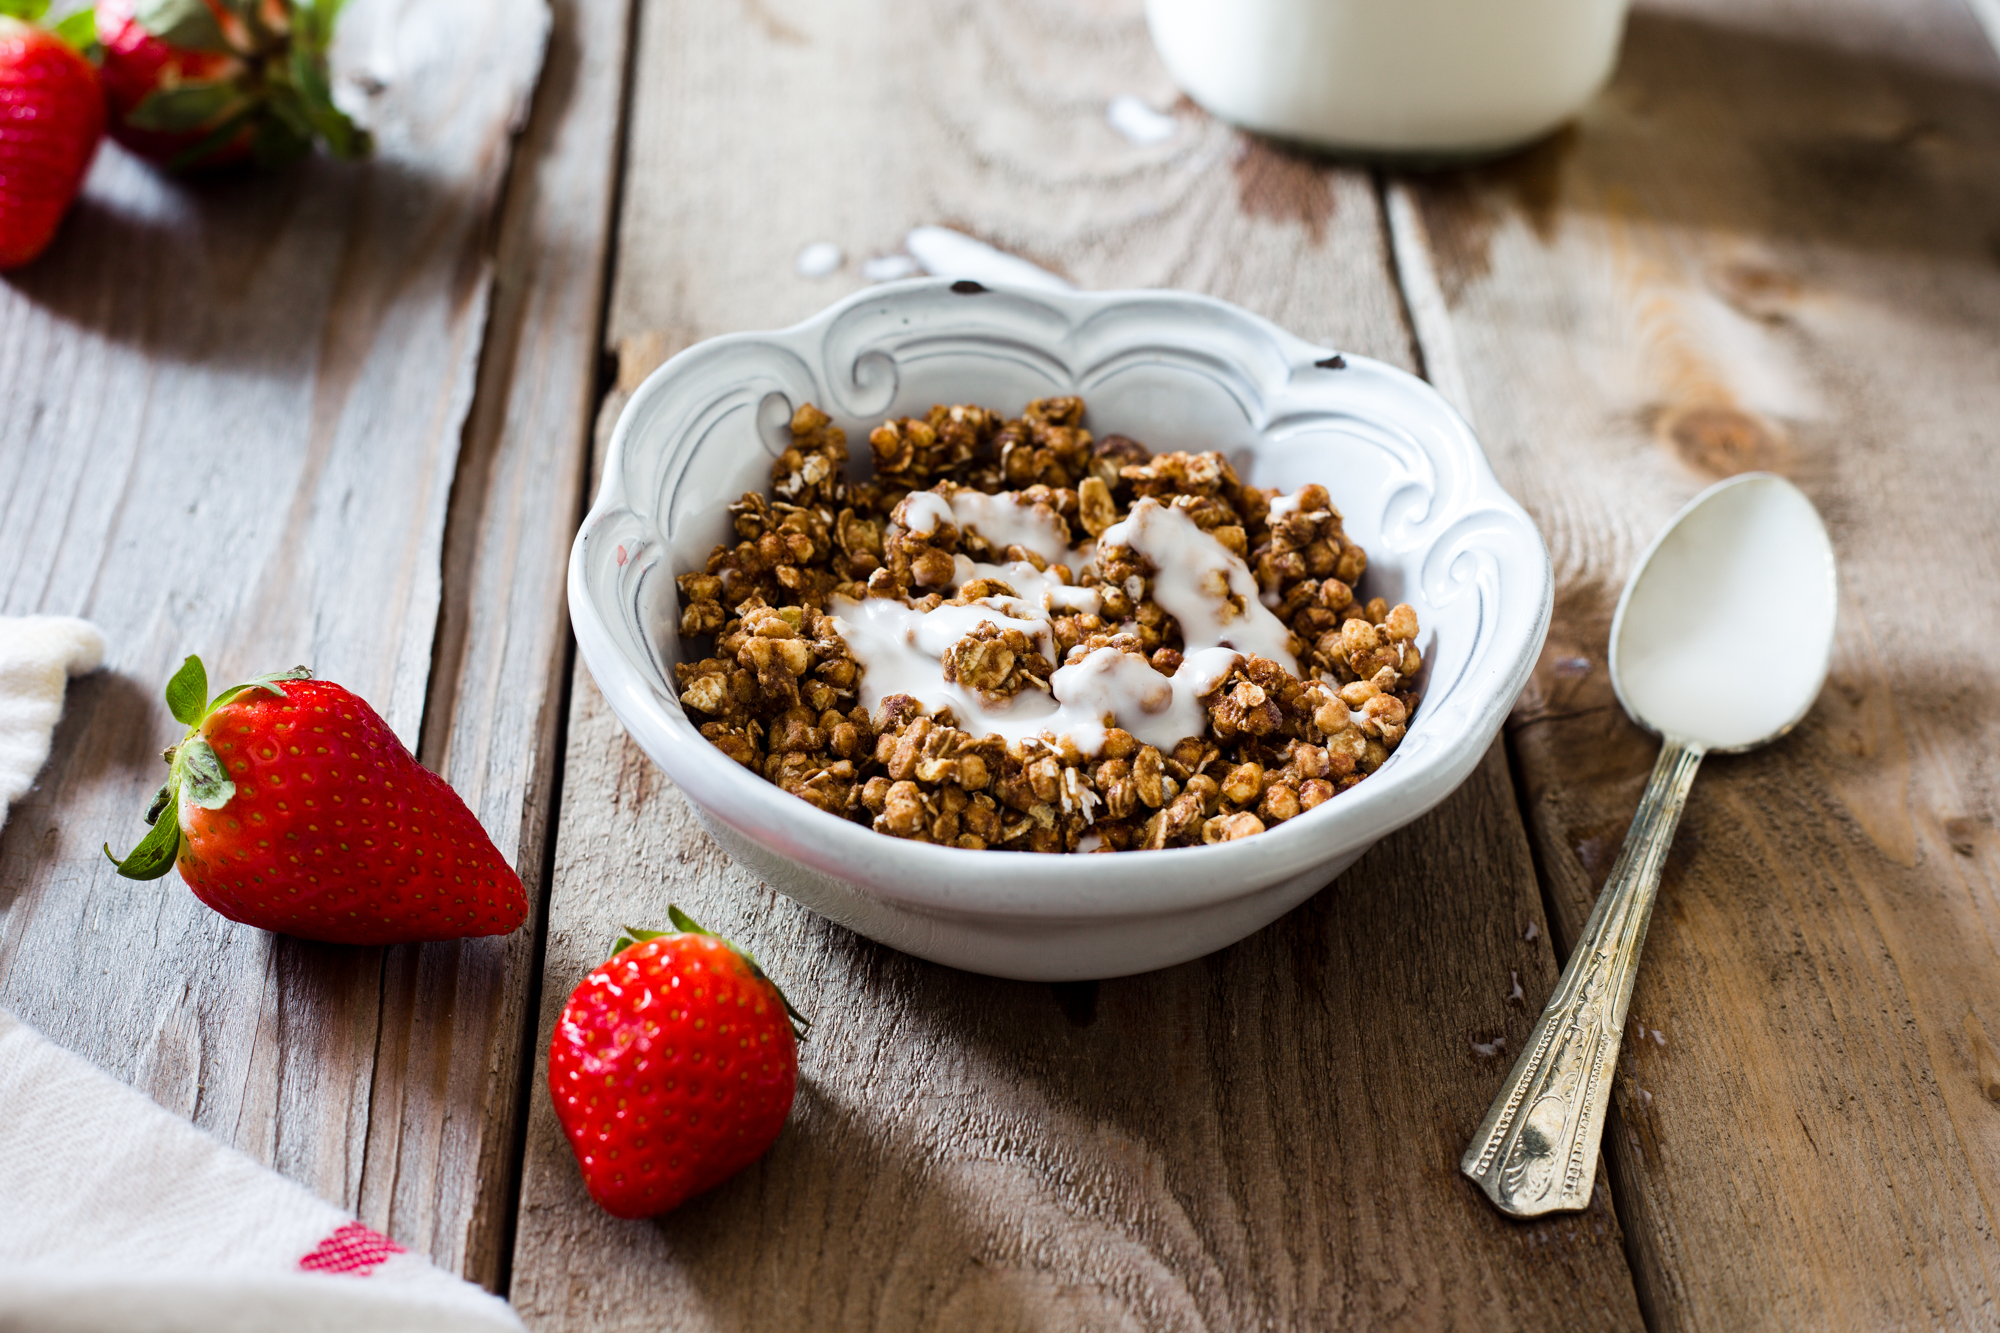
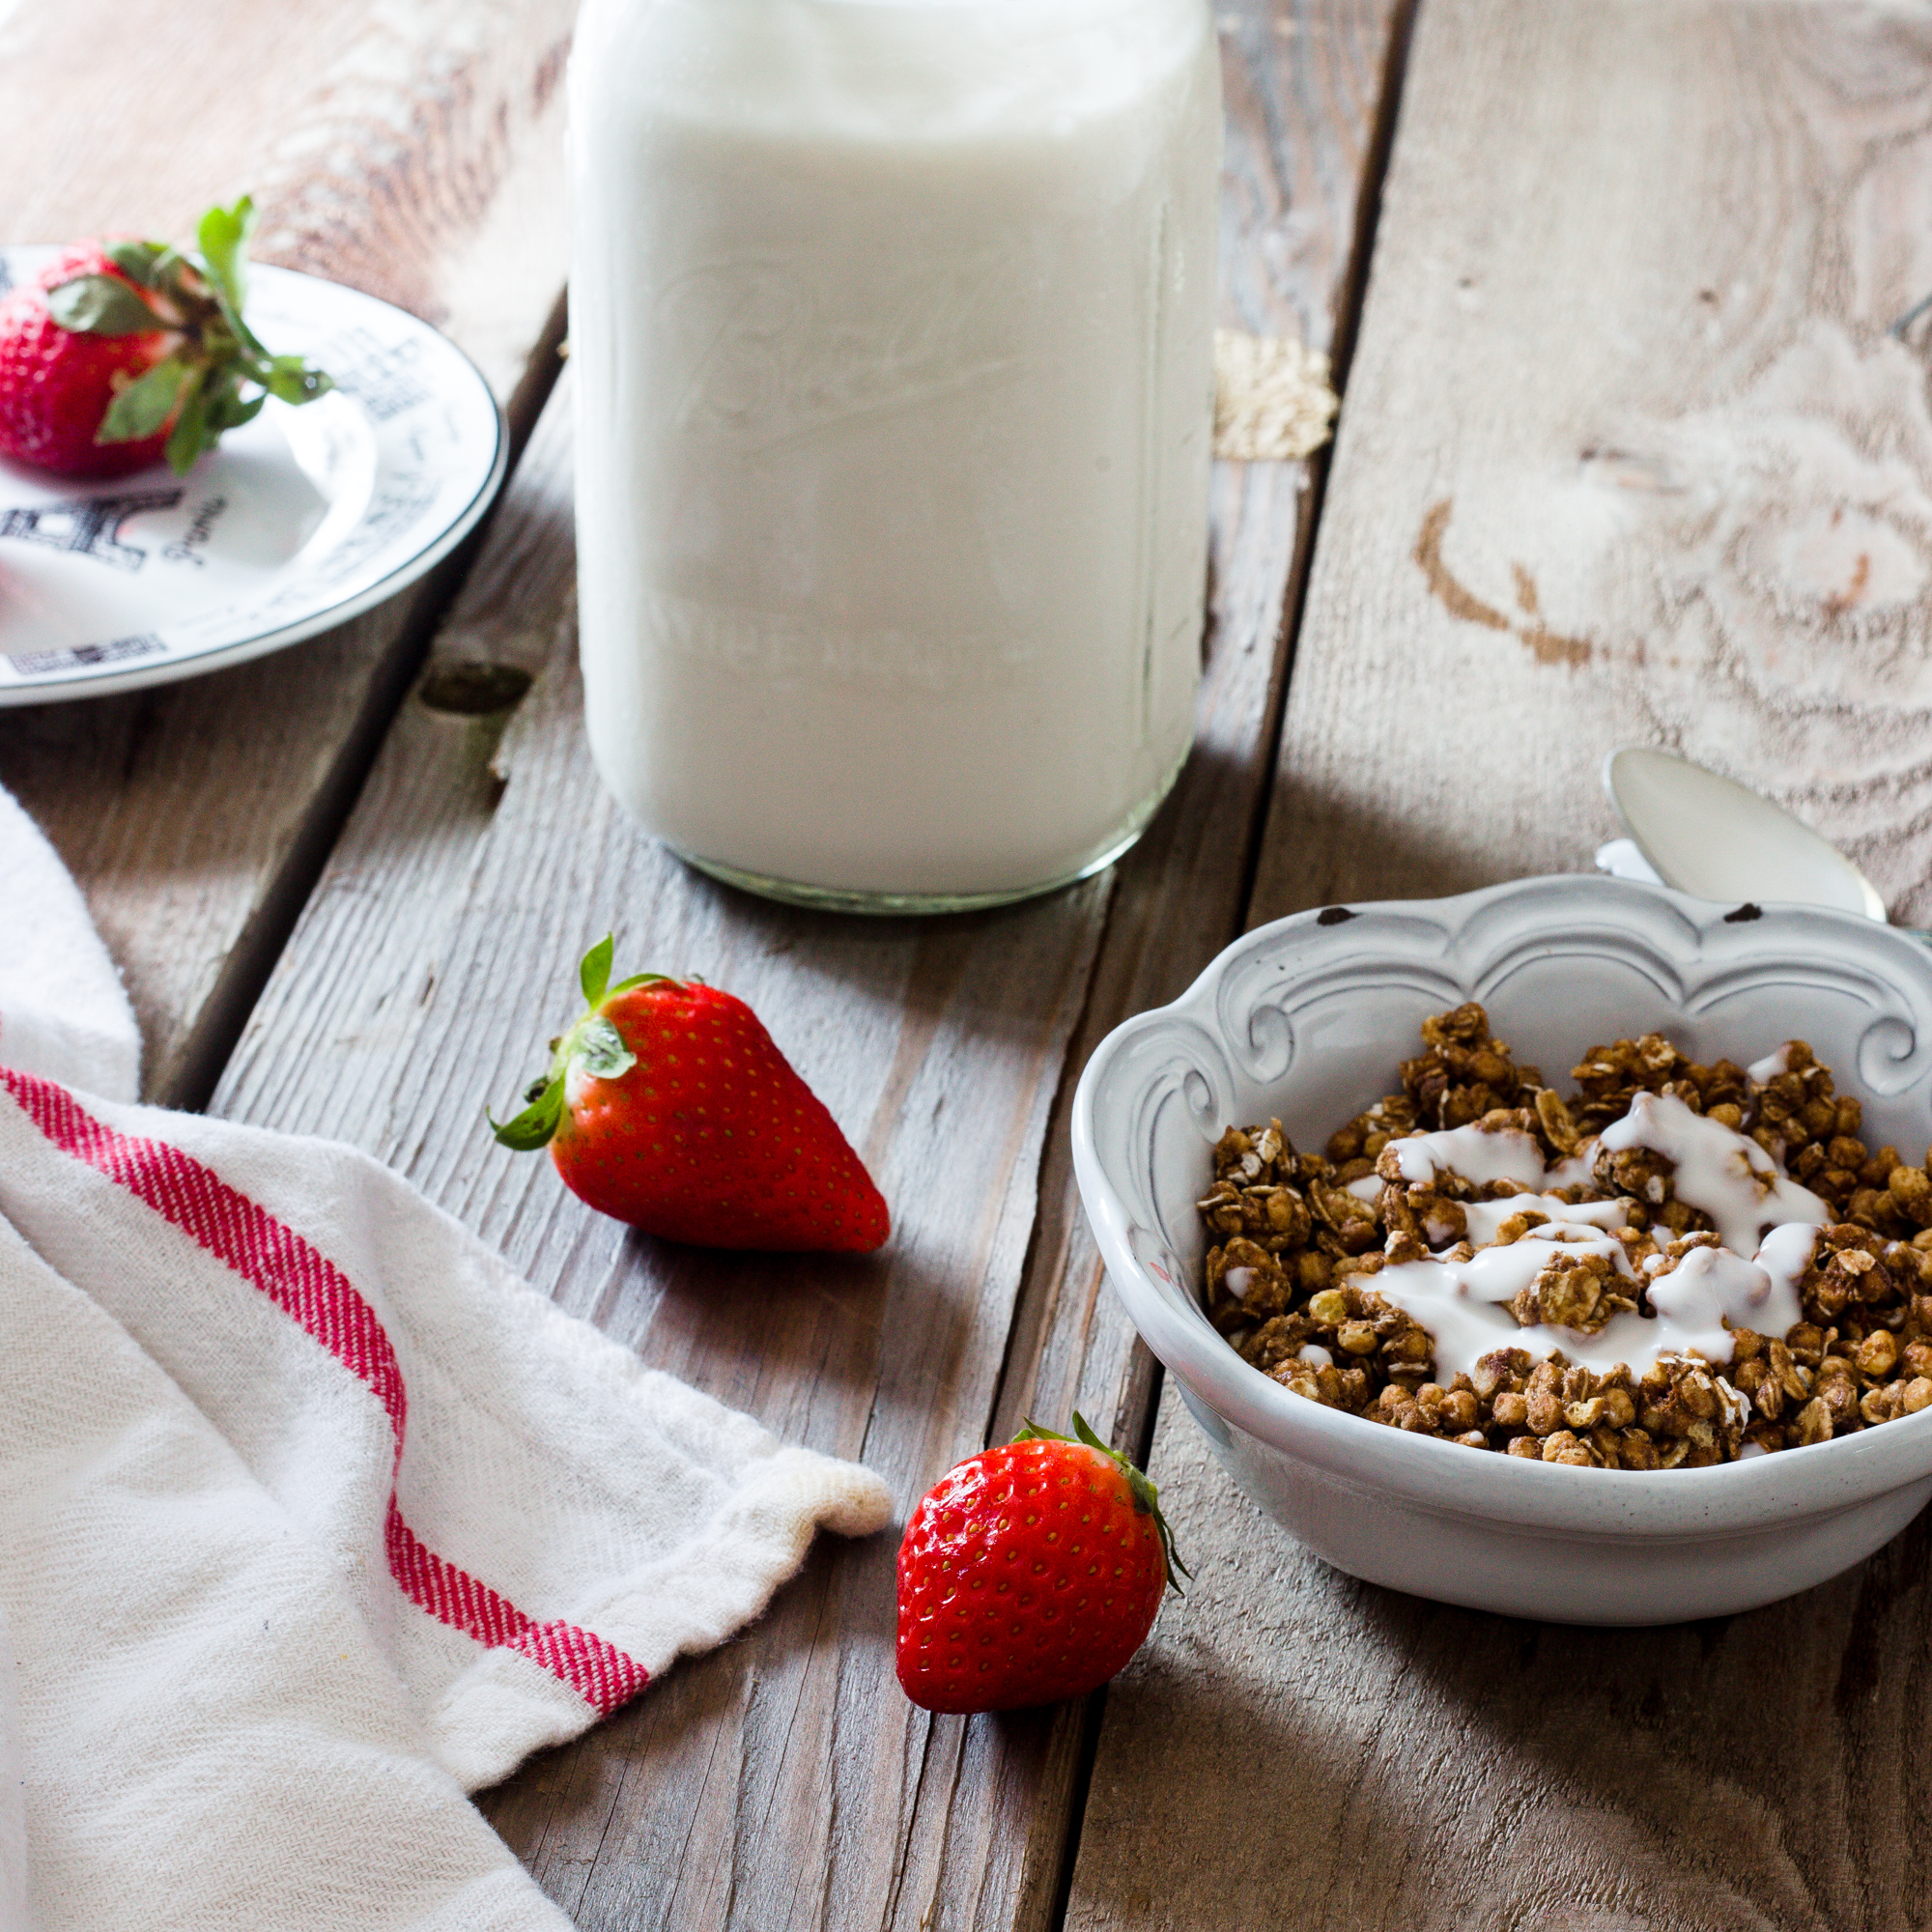
Two, you get the same health benefits/probiotic power from this yogurt as you do from the dairy variety. Oh, and three, I think it’s less expensive than the pre-made variety. Plus, you can sweeten it to your satisfaction. I don’t like my coconut yogurt super-sweet, as I am usually adding it to already sweetened granola or berries or cereal, so I only added a tablespoon of honey for the whole batch. And, you can turn it into soft-serve yogurt if you choose. Actually, great recipes for vegan soft serve abound!!
Oh, and coconut yogurt is fantastic in smoothies!! And the height of smoothie season is almost here, whoop whoop!
So, warm up that oven, sterilize those jars, and get ready for the richest, creamiest coconut yogurt. Because it’s delicious. And you’re #fabulous for making it!
Homemade Coconut Milk Yogurt, Recipe from The Kitchn
This recipe for coconut milk yogurt is wonderful. Seriously, thank you the Kitchn! I recommend making this in the evening, to make sure you set aside 12 hours for your yogurt to become yogurt in the oven. Also, it’s super important that you sterilize your jars, so make sure to follow those steps I listed in the video closely!
What You Will Need:
2 (14-ounce) cans coconut milk
2 teaspoons agar agar flakes, or 2 tablespoons tapioca starch (I used tapioca starch)
4 probiotic capsules, or 4 tablespoons store-bought coconut yogurt (I used store-bought yogurt)
2 tablespoons raw sugar or maple syrup, optional (I used a tablespoon honey instead)
Equipment:
Glass jars with lids, for storing the yogurt
Measuring spoons
Medium saucepan
Whisk
Thermometer, optional; spatula
What You Will Do
Put water in a kettle on high heat to bring to a boil.
Preheat the oven for about 5 minutes, until it reaches about 100°F, then turn off the heat — leave the light on to help keep the oven warm. Fill the jar(s) you’ll use for storing the yogurt with boiling water to sterilize them. Let stand a few minutes, then pour the water out. I also placed the lids to my jar in a bowl, then poured hot water over that. Alternatively, you can run the jars through the dishwasher.
Pour the coconut milk into a saucepan: Shake the can of coconut milk, open it, and pour it into a medium pot. Whisk until the milk is smooth and uniform.
Add the thickener: If you’re using agar agar, sprinkle 1 teaspoon of agar agar flakes into the pot over the coconut milk — but don’t stir! If you’re using tapioca starch, scoop out roughly 1/3 cup of the coconut milk and transfer to a bowl with the starch. Whisk this together until the starch is dissolved, then pour back into the pot. The tapioca starch method is the one I used and it worked great!
Warm the coconut milk: Place the pan on the stove over medium heat and warm until the coconut milk starts to simmer. (The agar agar will also start to melt together.) Whisk the milk and turn down the heat to low. Continue cooking on low, whisking occasionally, for 5 to 10 minutes, until the agar agar flakes are fully dissolved or the tapioca starch has thickened the mixture.
Cool the milk: Cool the milk until it’s just warm to the touch, about 100°F. I used a candy thermometer to measure this:)
Add the probiotics: Twist open the probiotic capsule and pour the powdery contents over the milk (discard the capsule’s casing). Whisk to combine. Alternatively, whisk in 4 tablespoons store-bought coconut yogurt. I whisked in the coconut yogurt and it was delicious!
Add the sugar or maple syrup (I added about a tablespoon of honey to make it a less-sweet variety). Whisk together well.
Pour into jar(s) and allow the yogurt to set for 12 to 24 hours: Pour the coconut milk into the sterilized jar(s) and screw on the lid(s). Place into the oven — turn the oven light on to keep the environment warm. Alternatively, use a yogurt maker or place into a dehydrator at 110°F. Leave for 12 to 24 hours without disturbing.
Chill the yogurt: Place the set yogurt into the fridge and chill for at least 6 hours. The yogurt will become thicker as it chills. After this stage, you might find that the mixture has separated with a yellowish, translucent layer at the bottom and a thicker white layer on top. Stir to recombine or scoop off the top layer for thicker coconut yogurt.
Keep coconut yogurt refrigerated and use within 2 weeks. Enjoy your fabulous yogurt success! And use your yogurt with abandon- over cereal, oatmeal, fruit, in a smoothie, freeze some to add thickness to a smoothie- the list goes on and on!
If the yogurt develops a pink or grey discoloration on its surface, that means it has been contaminated with bad bacteria. Throw it away and do not eat it!
Thickener-free coconut yogurt: The night before making the yogurt, chill the can of coconut milk. Do not shake. Open the can of chilled coconut milk and scoop off the top layer of cream, leaving behind the liquidy coconut water below (you can discard the water or use it for making smoothies or cooking oatmeal). Add the probiotics and continue making the yogurt as directed.