Slow Cooker Chicken Curry

Slow Cooker Chicken Curry

I don’t know about y’all, but a lot of the time my weekly dinner plans are less than perfect.

Work runs late, e-mails overtake your inbox, an unexpected phone call takes about 1.5 times longer than normal- you know, life happens. But for me, it doesn’t change the fact that, at then end of the day, I am still starving. And that means, without fail, dinner must arrive or I will be a cranky woman.

Enter the slow cooker. This device is amazing for those days when schedules supersede sanity and time to come home, unwind, and cook a slow-roasted chicken fades into the distance. Plus, those who know how to use a slow cooker well are kitchen MVP’s. Unlike some other recipes I’ve tried with goopy sauces, stringy meat, or flavorless liquids, using a slow cooker well actually enhances the texture of meat and allows flavors to gently, and deliciously, develop over time.

Slow Cooker Chicken Curry

And this recipe for slow-cooker chicken curry from The Lemon Bowl hits both of those notes. Not only is the curry flavor spot-on, this dish satisfies my constant craving for ethnic food. Seriously, Liz hit the ball ball out of the park with this one! I love that she includes a hit of lemon juice at the end of the curry; that citrus note emboldens the coconut milk and chicken stock base . Plus, I heart green peas, and their addition makes the dish even creamier. In fact, this recipe even takes care of the take-out craving that hits at about that time during an especially crazy day when all you want to do is come home, put on PJ’s, and binge watch Gilmore Girls.

So, get those ingredients ready, turn on the slow cooker, and relax. For an episode, at least.

Slow Cooker Chicken Curry

Slow Cooker Chicken Curry (Recipe from the incredible blog The Lemon Bowl)

What You Will Need

  • 1 pound boneless, skinless chicken breasts
  • 1 medium onion, thinly sliced
  • 15 oz can chickpeas, drained and rinsed
  • 2 medium sweet potatoes, peeled and cut into about 1/2 to 1 inch dice
  • ½ cup coconut milk (I prefer regular, but you can use light here)
  • ½ cup chicken stock
  • 15 oz can tomato sauce
  • 2 tablespoons curry powder
  • 1 teaspoon salt
  • ½ teaspoon cayenne powder (for those who like a spicier curry)
  • 1 cup frozen green peas
  • 2 tablespoons fresh lemon juice
  • cilantro (for garnish)

What You Will Do

  1. In the bottom of the slow cooker, whisk together coconut milk, chicken stock, tomato sauce, curry powder, salt and cayenne.
  2. Add chicken breasts, onion, chickpeas and sweet potatoes. Using tongs, gently toss ingredients together to ensure evenly coated.
  3. Cook on Low for 8 hours or High for 4 hours (I did high for four hours b/c I was getting hangry).
  4. Using two forks, shred cooked chicken (if it’s easier, go ahead and remove it from the cooker to shred). Stir in peas and lemon juice 5 minutes before serving.
  5. Serve over brown rice and with plenty of fresh cilantro. (And hot sauce if you like it spicier!)


Royal Cup Coffee & Honey Dairy-Free Ice Cream

Coffee and Honey Coconut Ice Cream

Sometimes, there are moments in life that seem too good to be true. The ones where you stand back and go, “Wait, what just happened?”

I’ve had several of those lately. The first came this February at the Food Media South conference. I was there trying to learn how to be better at- well- everything that has to do with food. I learned a ton. Breakfast and lunch were delicious. But the coffee? Spectacular.

Growing up in Alabama, I am a huge fan of Royal Cup . Their passion for excellence and high-quality roasts make for a great coffee experience. My all-time favorite Royal Cup blend is Fancy Gourmet, a perfect, medium roast with full body and a divine richness. Once I realized they were in charge of keeping us fueled at the conference, and nearly assaulting the Royal Cup staff with my enthusiasm for their roasts, I was introduced to Mike Powell, Regional Manager at Royal Cup. After sharing with him my love for their product and a bit about Luv Cooks, he promised to send some Fancy Gourmet my way. And just like Royal Cup always does, they went above and beyond and sent a beauty of a package, overflowing with bags of Fancy Gourmet, Royal Cup mugs, lip balm- and a beautifully hand-bound book full of quotes on excellence (marked by their H.C. Valentine brand). Luv.

I also knew that to those much had been given much was expected. I knew I wanted to give Royal Cup a great recipe on the blog. And I knew in order to be great it had to come from my heart.

*Flashback Alert*

One of my favorite things to do with my dad is drink coffee. He is now a decaf guy (the regular version makes his hands shake before surgery), but we both share a love for a great, dark-roasted cup.  He takes his black with honey; mine comes with cream, sugar, and more cream. Our perfect recipe? Coffee ice cream. With honey.

Coffee and Honey Ice Cream

My second moment came last Saturday with my friend Heather Brown. She and I were given the awesome opportunity to style a “How to Be the Hostess with the Mostest” ice cream and cookies party for The Shops of Grand River. The ice cream bowls from the Le Creuset store in this shoot are adorable and I wish I owned them all! The platter is pretty too.

Dark Chocolate Oatmeal Cookies


My Life Well Loved and Luv Cooks

My Life Well Loved and Luv Cooks

Heather from My Life Well Loved Teaches Luv Cooks
Heather teaching me a thing or two while we set up for the party with the beautiful Le Creuset bowls and platter!


Heather has been featured on Luv Cooks before, and for those of you who keep up with the blog, you know that she is incredibly talented and vivacious and wonderful. But this shoot was special. Heather is pregnant (due this fall) and she was glowing. That type of glow where your face lights up and your whole demeanor changes. Not only was she a natural on camera (See our Cookies & Ice Cream party video below) she radiated with a type of happiness that was contagious. Not to mention, her cookies were so dang tasty that I took at least four. Maybe six. Total. Just click here for her delicious dark chocolate oatmeal cookies, and check out our video below for some excellent ice cream and cookie party hosting tips.

So y’all, in the spirit of our upcoming summer, and living in awe of life and those moments where we look back in complete gratitude and amazement- make some homemade (dairy-free!) ice cream, bake some cookies, and enjoy every bit of it with the ones you love. Because those are the memories that last longer than just ice cream (especially in the South:))

Coffee and Honey Ice Cream with Oatmeal Cookies

Royal Cup Coffee and Honey Ice Cream (recipe modified from the always inspiring Minimalist Baker)

This take on a classic coffee ice cream is rich and sweet, with a nice, subtle coffee flavor. Make the ice cream ahead of time; you will need to chill it for at least four hours in the freezer, with additional 30 minute increments in the mixer to soften it up.

What You Will Need:

  • 14.5 ounces coconut cream (from two cans of chilled coconut milk*)
  • 1/4 cup Royal Cup coffee
  • 1/2 cup vanilla almond milk
  • 2 tablespoons good quality honey (plus more for drizzling)
  • 1/8 tsp salt

What You Will Do:

1. Line a loaf pan with parchment paper.

2. Pour coconut cream, coffee, almond milk, honey and salt into a large bowl. Using a hand mixer, mix on medium high for about one and a half minutes, until the mixture is creamy and smooth.

3. Pour the mixture into the parchment-lined loaf pan. Freeze for at least four hours.

4. Once the ice cream has been in the freezer for four hours, take it out and put it into the metal bowl of a stand mixer. Mix on low to medium for about a minute. This softens the cream mixture to about soft-serve consistency. If you would like more of an ice cream texture, put the softened mixture back into the loaf pan and re-freeze for 30 minutes.

5. Once left in the freezer for 30 minutes, put the hardened cream back into the stand mixer and mix once more (for a minute or so). Serve immediately, or continue the whipping process until you reach a desired consistency!


*The best way I have found to make coconut cream is to pour two cans of full-fat coconut milk in a glass bowl, cover with plastic wrap, and chill overnight in the fridge.  Once you are ready, simply pour the milk over a metal strainer. The chunks that have hardened are the cream; the liquid you can save for other recipes that use coconut milk! #yum


How to Sterilize a Jar for Homemade Coconut Milk Yogurt

Coconut Milk Yogurt

My memories of yogurt begin at the ripe old age of seven as a proud member of our Baptist Church’s G.A.’s (for those of you who may not have been raised in this pseudo-Girl Scout troop, this stands for “Girls in Action”). Before G.A.’s class began, my precious mom rounded up three- yes three- of her wild children, made them wash their faces, and climb into the Dodge van with wood paneling in order to high-tail it to the Church every Wednesday evening.

This journey was often fraught with fighting (“Callie won’t quit poking me!”), bad hair (“MOM! Can you fix my side ponytail? The velcro roller got squished”) and all around pre-church bickering (“We are eating pot roast tonight? Again?! Eww!”) This adventure also occurred during what we’ll call “fall” in Alabama, which translates to heat, more heat piling into the van, sweat behind your knees, and striped leggings that were way too warm to be wearing in September.

Needless to say, it was a feat and accomplishment for all of us to weekly be in one place at the same time. As a reward for our efforts (and as a way to give my mom a breather, thank you Lord) we always drove our van through the soft serve yogurt drive through after Church. In the (golden age of) the 90’s, soft serve yogurt was definitely not the rage (there was only one “creamery,” gasp!, in our small town) so this experience was a precious commodity to us. I always knew that my chocolate yogurt with chocolate chips was going to be, in one word, bliss.

Coconut Yogurt on Granola

Fast forward past my teenage and college years, where I began to not feel so great after eating yogurt. Or milk. Or ice cream. Which was horrible. So, my battle with dairy began, and to this day, I still can’t stomach an abundance of it. After meeting my husband, I discovered that he too has the same issue, and so we are constantly trying to come up with solutions to our dairy-free dilemma. Enter, coconut milk yogurt.

The beauty of coconut milk yogurt is two-fold. One, it is easy to make at home. And, you get to practice your fancy jar-sterilization technique for our upcoming summer season of canning! Check out this video below of my tips for the easiest way to prep you jars- so you can share the probiotics, not the germs:


Two, you get the same health benefits/probiotic power from this yogurt as you do from the dairy variety. Oh, and three, I think it’s less expensive than the pre-made variety. Plus, you can sweeten it to your satisfaction. I don’t like my coconut yogurt super-sweet, as I am usually adding it to already sweetened granola or berries or cereal, so I only added a tablespoon of honey for the whole batch. And, you can turn it into soft-serve yogurt if you choose. Actually, great recipes for vegan soft serve abound!!

Oh, and coconut yogurt is fantastic in smoothies!! And the height of smoothie season is almost here, whoop whoop!

So, warm up that oven, sterilize those jars, and get ready for the richest, creamiest coconut yogurt. Because it’s delicious. And you’re #fabulous for making it!

Homemade Coconut Yogurt

Homemade Coconut Milk Yogurt, Recipe from The Kitchn

This recipe for coconut milk yogurt is wonderful. Seriously, thank you the Kitchn! I recommend making this in the evening, to make sure you set aside 12 hours for your yogurt to become yogurt in the oven. Also, it’s super important that you sterilize your jars, so make sure to follow those steps I listed in the video closely!

What You Will Need:

  • 2 (14-ounce) cans coconut milk
  • 2 teaspoons agar agar flakes, or 2 tablespoons tapioca starch (I used tapioca starch)
  • 4 probiotic capsules, or 4 tablespoons store-bought coconut yogurt (I used store-bought yogurt)
  • 2 tablespoons raw sugar or maple syrup, optional (I used a tablespoon honey instead)

Equipment:

  • Glass jars with lids, for storing the yogurt
  • Measuring spoons
  • Medium saucepan
  • Whisk
  • Thermometer, optional; spatula

What You Will Do

  1. Put water in a kettle on high heat to bring to a boil.
  2. Preheat the oven for about 5 minutes, until it reaches about 100°F, then turn off the heat — leave the light on to help keep the oven warm. Fill the jar(s) you’ll use for storing the yogurt with boiling water to sterilize them. Let stand a few minutes, then pour the water out. I also placed the lids to my jar in a bowl, then poured hot water over that. Alternatively, you can run the jars through the dishwasher.
  3. Pour the coconut milk into a saucepanShake the can of coconut milk, open it, and pour it into a medium pot. Whisk until the milk is smooth and uniform.
  4. Add the thickenerIf you’re using agar agar, sprinkle 1 teaspoon of agar agar flakes into the pot over the coconut milk — but don’t stir! If you’re using tapioca starch, scoop out roughly 1/3 cup of the coconut milk and transfer to a bowl with the starch. Whisk this together until the starch is dissolved, then pour back into the pot. The tapioca starch method is the one I used and it worked great!
  5. Warm the coconut milkPlace the pan on the stove over medium heat and warm until the coconut milk starts to simmer. (The agar agar will also start to melt together.) Whisk the milk and turn down the heat to low. Continue cooking on low, whisking occasionally, for 5 to 10 minutes, until the agar agar flakes are fully dissolved or the tapioca starch has thickened the mixture.
  6. Cool the milk: Cool the milk until it’s just warm to the touch, about 100°F. I used a candy thermometer to measure this:)
  7. Add the probioticsTwist open the probiotic capsule and pour the powdery contents over the milk (discard the capsule’s casing). Whisk to combine. Alternatively, whisk in 4 tablespoons store-bought coconut yogurt. I whisked in the coconut yogurt and it was delicious!
  8. Add the sugar or maple syrup (I added about a tablespoon of honey to make it a less-sweet variety). Whisk together well.
  9. Pour into jar(s) and allow the yogurt to set for 12 to 24 hoursPour the coconut milk into the sterilized jar(s) and screw on the lid(s). Place into the oven — turn the oven light on to keep the environment warm. Alternatively, use a yogurt maker or place into a dehydrator at 110°F. Leave for 12 to 24 hours without disturbing.
  10. Chill the yogurtPlace the set yogurt into the fridge and chill for at least 6 hours. The yogurt will become thicker as it chills. After this stage, you might find that the mixture has separated with a yellowish, translucent layer at the bottom and a thicker white layer on top. Stir to recombine or scoop off the top layer for thicker coconut yogurt.
  11. Keep coconut yogurt refrigerated and use within 2 weeks. Enjoy your fabulous yogurt success! And use your yogurt with abandon- over cereal, oatmeal, fruit, in a smoothie, freeze some to add thickness to a smoothie- the list goes on and on!

Extra Tips from the Kitchn:

  • If the yogurt develops a pink or grey discoloration on its surface, that means it has been contaminated with bad bacteria. Throw it away and do not eat it!
  • Thickener-free coconut yogurt: The night before making the yogurt, chill the can of coconut milk. Do not shake. Open the can of chilled coconut milk and scoop off the top layer of cream, leaving behind the liquidy coconut water below (you can discard the water or use it for making smoothies or cooking oatmeal). Add the probiotics and continue making the yogurt as directed.

Grilled Greek Pizza with Steak and The Style Gathering

Grilled Greek Pizza with Steak

It all starts with the dressing.

Homemade Greek Dressing

Greek dressing. The kind of dressing that carries you through college, graduation, work, marriage- with flavors that at the same time comfort and excite and brighten. The dressing that you use on everything that tastes great to make it taste even better. The dressing everyone asks for but it’s exact measurements are felt in your hands, measured by your palms, and known only after a finger dipped in the blender tells you where it stands.

Today I am honored and thrilled to share with you the dressing; the one that Buffy at The Style Gathering has known for years. Just click on those links and you will find her incredible recipe. And y‘all– I am part Greek (my grandfather’s name is Dionysus) and I can envision my great ancestors now, applauding and cheering Buffy and I on as we used this dressing to marinate, drizzle, and accent some amazing spring dishes that we are excited to share with you this week.

Buffy and I in the kitchen

For those of you who may not know Buffy (above left), she is not only beautiful, she is talented. Her blog is a treasure of Southern style-beautiful clothes, food, travel, more yummy food, and entertaining ideas- and she is the resident expert on all things lovely. Her eye for beauty and design is refreshing to be around and I absolutely loved being in the kitchen with her.

Rolling out the pizza dough

Also, needless to say, her incredible photographer Jennifer Hagler did great work on making our food look as incredible as it does.

Grilled Pizza

For this post, we landed on using her dressing to do two things- marinate a flank steak, and top a grilled pizza. Like the dressing, spring is upon us and with it comes awakening flavors and new vegetables. Which leads us of course to grilled Greek pizza, topped with her dressing and our beautiful pan grilled steak.

Pan seared steak


Pan Grilled Steak

Also, to be fair, I am no grilling expert. My relationship with the grill resembles very closely that of a small child rewarded with a bag of Skittles every three days. When it works- bliss! When it doesn’t, a time of sulking and an emotional low known only to my husband, takes its place. However, with this pizza- and this flank steak- I have tried to create the easiest-to-follow instructions possible to help even the flame-challenged among us achieve grilling success.*

Cue the grilling montage:

Pizza Dough on Grill
Oiled pizza goes on the grill…


Pizza Dough Flips on Grill
The all important flip occurs…


6U1A1380
The flipped side is put back on the grill…


Pizza Starts on Grill
Toppings are placed on the dough…


Buffy adds more toppings
Buffy skillfully adds more toppings…


Collaborating on Grill Time
We check to make sure the pizza feels done…


Grilled Pizza
And voila! Grilling success!


Also, if you want to do the pizza sans-dairy, Buffy and I thought that it would be amazing do do a grilled dough topped with dressing and veggies. Yummy. If you try this method, please bring us leftovers.

Pizza Drizzled with Dressing

Alright everyone- bust out the shorts (stylish and blush, of course), turn on the grill, and start blending up a fabulous batch of dressing. It’s sure to put a spring in your step this week.

Grilled Pizza with Flank Steak and flowers

Marinated, Grilled Flank Steak (with tips on grilling from The Pioneer Woman)

What You Will Need:

  • 2-3 lbs flank steak
  • 1 cup (or more, depending on size of steak) homemade Greek dressing
  • olive oil  (for drizzling)
  • salt and pepper to taste
  • grill pan

What You Will Do

1. Put your flank steak into a large plastic bag. Pour in dressing, and swirl around in the bag until it covers all of the meat. Let marinate in fridge for at least four hours.

2. Drizzle grill pan with enough olive oil to lightly coat the pan. Heat grill pan on high heat (for about two to three minutes).

3. Remove steak from marinade, and place on the grill pan horizontally. Grill for two minutes. If you want to get fancy, you can turn your steak at a 45 degree angle (I learned this from the Pioneer Woman) and grill for about a minute or two more, to get those fancy grill marks.

4. Turn the steak over and grill for three to four minutes more (or two minutes, plus 45 degree rotation time), or until the steak reaches 145 degrees (you can also do the finger test if you don’t want to bother with a meat thermometer. #juiceslost)

5. Let the steak rest for at least five minutes before you slice. This keeps it so juicy.

Grilled Pizza with Marinated Flank Steak

Grilled Greek Pizza with Homemade Dressing

What You Will Need:

  • 1 lb Publix (or any other brand) pre-made pizza dough, standing at room temp for one hour
  • Flour, for dusting
  • Olive oil, at least 1 tablespoon (or more) for drizzling
  • Grilled flank steak
  • Veggies (for topping): red bell pepper, yellow bell pepper, red onion, black olives,  artichoke hearts, cherry tomatoes
  • Feta cheese, crumbled; mozzarella cheese (Cut into circles and/or shredded if you desire. I like the combination of both!)***
  • Greek dressing, for drizzling

What You Will Do

  1. Preheat grill to about 300 degrees. Now, every grill is different. So, if your grill becomes too hot during this process, turn the heat down and open the lid. If it is too cool, turn the heat up and close the lid.**
  2. Assemble your ingredients. It is key when grilling pizza that you have all of your ingredients in place because the grilling process happens very quickly! So, chop those veggies (if desired), put the cheese into bowls, and get the Greek dressing ready to drizzle. I like to put all of my ingredients onto a jelly roll pan to stay organized.
  3. Lightly flour a wooden surface. Roll your dough into a large circle with your palms (you can also half this dough if you like to make two smaller pizzas), then flatten into a disc. Lightly dust surface of pizza disc with more flour, then, using a rolling pin, roll out into about a 12 to 13 inch circle. The dough should feel stretchy and at a similar thickness to what you see when those fancy Italian men throw the dough towards the ceiling.
  4.  Take your now assembled pizza dough and ingredients out to the grill.
  5. Brush one side of the pizza dough with olive oil. Place that side directly onto the grill and cook for two to three minutes with the lid off. Check the underside of the dough as you grill. It should begin to firm and you should see grill marks forming.* Once those grill marks form and the dough is firm, flip with a large spatula.
  6. Drizzle top with olive oil, then add meat, toppings and cheese. Go light on the toppings; too heavy and your pizza will sink a bit. Grill for an additional three minutes, or until the cheese is melted and the dough fills firm.
  7. Let rest for one or two minutes, then add a drizzle of dressing, and slice! Enjoy your hard-earned Greek goodness.

 To be noted:

*I once disintegrated a chicken on the grill. Literally, it’s legs burned beyond a crisp into charcoal dust. Yet it was still on fire. It’s demise may have had something to do with the fact that I set the grill to 500 then left it on for at least thirty minutes:)

**As I experienced, if grill marks are forming too quickly and your crust is burning, go ahead and flip the dough over (so it doesn’t burn) and top with ingredients. You can finish that one off in the oven. Turn down the heat on your grill, and try again. Like I said, every grill is different and takes a while to adjust to!

***Dairy-free option: If you want to go sans cheese on this, I suggest replacing the olive oil drizzle on the flipped pizza side with a good drizzle of Greek dressing. Add veggies, and cook until desired doneness:)


Pecan Praline Balsamic Roasted Carrots


Y’all, our very first Luv Cooks video debuts today!! See the full recipe here:

Roasted Pecan Praline Carrots 024

As a kid, I hated carrots. There weren’t many things in life I wouldn’t eat (I’ve been a bottomless pit since I was three), but my memories of carrots were either of the raw variety, zip-locked into my school lunch bag in order to balance the Oreos, or boiled until mushy and piled onto a spoon at my church’s Wednesday night suppers.

Needless to say, neither was appealing to my growing palette (which also preferred Nutter Butters over actual peanut butter, and a fruit roll-up to  fruit).

But as my cooking progressed, I learned that you can’t always take a vegetable at face value. Sometimes a cooking method transforms the slight flavor of a raw orange stick to something ethereal- even addictive. Especially when swathed in The Oil and Vinegar Cellars’ Pecan Praline aged balsamic vinegar, roasted to a deep sweetness, then topped with chopped pecans. Delightful.

Carrots are also amazing for you. They have tons of antioxidants, and eating lots of carrots could help protect against unhealthy levels of cholesterol. Consumption of carrots can also help to ease stomach issues, and they are killer for your immune system!

So in the midst of this dreary, cold weather, pull out some carrots, roast those babies, hope for Spring, and enjoy a deliciously sweet vegetable surprise.

Roasted Pecan Praline Carrots 1-034

Pecan Praline Balsamic Roasted Carrots

This take on a traditional roasted carrot brings out the beautiful sweetness of carrots via aged pecan praline (or your favorite balsamic) vinegar by allowing the carrots to caramelize a bit in their juices. Crunchy pecans on top bring a rich texture into the mix.

What You Will Need:

  • 1 16-ounce bag baby carrots
  • 1 tablespoon olive oil
  • 2 tablespoons pecan praline aged balsamic vinegar*, plus more for drizzling
  • 1/4 cup chopped pecans
  • sea salt and black pepper for seasoning
  • fennel fronds, for garnish

What You Will Do:

  1. Preheat the oven to 400 degrees.
  2. Spray a large roasting pan with cooking spray.
  3. Toss your baby carrots in a large bowl with olive oil. Add the balsamic vinegar, and stir together until the carrots are evenly coated.
  4. Pour carrots and their balsamic glaze onto the roasting pan and make sure they are spread out evenly in a single layer.
  5. Roast the carrots in the oven for about 15 minutes.
  6. Remove the roasting pan from the oven. Toss carrots with chopped pecans, drizzle with another light layer of balsamic vinegar (about 1/2 tablespoon). Stir the carrots together once more, making sure the carrots and pecans are evenly covered with balsamic.
  7. Add a light sprinkle of sea salt and black pepper to taste.
  8. Put the carrots back into the oven to roast for five minutes. Once done, top with fennel fronds if you like. Let cool slightly, and enjoy!

*I love Taelor’s pecan praline vinegar, but any specialty or high-quality balsamic vinegar would be delicious.

Roasted Pecan Praline Carrots


Almond Cranberry Popcorn Bars with Almond Butter Drizzle

Almond Popcorn Bars with Almond Butter Drizzle

Did you ever make popcorn bars as a kid?

For our family, popcorn bars were akin to the joy experienced by Christmas stockings and dibs on the front seat of the station wagon. In fact, my best memories with them bring me back to my mom. I remember cool Friday afternoons, when the weather smelled like roast leaves and I couldn’t help but be beckoned inside. A quick sprint from the school bus drop-off landed me exactly where I wanted to be- with my momma in the kitchen.

The original pop corn ball recipe we made came from my grandmother- she loved to make these- but her version was more of a hybrid kettle corn variety. Laden with butter and sugar, they were delicious, but probably also left my mom with kids hopped up on marshmallows (this effect, however, I don’t quite remember). An incredibly hard-working nurse, my mom was a trooper to say the least for letting us imbibe.

Almond Popcorn Bars with Almond Butter Drizzle

This barred version is my spin; a take on the traditionally sweet treat, but lightened a tad with honey and coconut oil instead of butter. The real star, though, is the ever delicious combo of salted almonds with popcorn. Almonds, I discovered, are naturally awesome- high in vitamins B and E, calcium, iron, and fatty acids. They can even balance your digestive system, aid the nervous system, and provide extra energy to boot! For someone like me, a long devoted peanut butter addict, this introduction to a nut butter topping  that I dig (and can substitute for peanut in recipes if I choose) and provides a nutritional boost- my kind of bar.

Plus, these bars’ roasty, salty-sweet taste is dynamite delicious, easy to make, and an excellent road trip snack, as my husband and I tested out a few weeks ago. Just doing what we can for the recipes.

So pop some corn, buy some great quality almonds, come inside from the cold, and get ready for some fun memories in the kitchen.

Almond Popcorn Bars with Almond Butter Drizzle

Almond Cranberry Popcorn Bars with Almond Butter Drizzle

What You Will Need:

  • 10 cups popped popcorn (I like the canola oil variety)
  • 1/2 cup good quality honey
  • 2 tablespoons coconut oil
  • 1 cup coarsely chopped roasted, salted almonds
  • 1/3 to 2/3 cup dried cranberries (or dried fruit of your choice)
  • 2 tablespoons almond butter
  • 1.75 ounces chocolate of your choice (I used hazelnut milk chocolate for this recipe)

What You Will Do:

1. Grease an 8 by 8 inch square pan with cooking spray.

2. Combine popcorn, coarsely chopped almonds, and dried cranberries in a large bowl.

3. Bring honey and coconut oil to a boil in a medium saucepan over medium heat. Once the edges are boiling, continue to boil for three minutes (it will foam up pretty well, and that’s ok!), stirring occasionally.

4. Once ready, take the honey syrup off of the heat and pour directly over the popcorn mixture (if you let it sit in the pan, it might burn). Use a large spatutal to evenly coat the popcorn, nuts and cranberries with the syrup, making sure to watch your hands (this mixture is hot), and scrape all of the syrup and nuts/cranberries that might have floated to the bottom of the bowl up and through the mixture.

5. Once combined, pour mixture into greased pan and press down with hands. It will look like a lot of popcorn, but just keep pressing until it is flat and even.

6. Heat chocolate in a glass bowl in the microwave on high for 45 seconds. Add two tablespoons almond butter, then heat in 15 second intervals, stirring after each interval with a fork, until chocolate is melted and evenly combined.

7. Use a spoon to lightly pour mixture in a criss cross pattern over the bars. Put in the refrigerator to cool for at least 15 minutes.

Enjoy!


Celebrating Well and Strawberry Swirl Marshmallows

Strawberry Swirl Marshmallows-029
For readers of The LovingKind, you are, I am sure, well aware of how amazing Mattye is. She is a creative, a dreamer, a designer, a card-making extroidinare, and the BEST baker of gingerbread cookies I have ever met.
She’s also incredible at love. You know, the kind of care that decorates said gingerbread cookies for a certain friends’ post wedding party with a royal icing dress and accompanying bow-tie clad gingerbread man. The kind of hutzpah that feels so strongly about leadership that she is willing to step out of her comfort zone and give her talents on behalf of countless people through creative ministry. The kind of joy that squeals in delight over a candle and/or tray that she knows will make a friend’s new home just perfect for her. That kind of love.
Strawberry Swirl Marshmallows-059
And this week, the week of the day of love, I am so excited for y’all to hear from Mattye on how we can best celebrate those special moments with the ones we love- marshmallows and all. Take it away Mattye!
Strawberry Swirl Marshmallows-167

I love to celebrate. From big life moments to everyday ones, I believe celebrating is one of our greatest opportunities to enjoy life and make it meaningful.

I looked up the word “celebrate,” and Merriam-Webster had a couple definitions such as, “to do something special or enjoyable for an important event, occasion, holiday, etc.” and “to praise (someone or something): to say that (someone or something) is great or important.”

But, perhaps my favorite definition was this one: “to mark by festivities or other deviation from routine.”

Strawberry Swirl Marshmallows

It’s the “deviation from routine” that makes celebrations so enjoyable and special. When we take a moment to change our routine and say “you are special,” “this moment is important,” or “I’m grateful,” our environment changes and people are happy. As a believer in celebration, and I want to keep finding ways to be a better celebrator! In fact, one of my 2015 goals is to celebrate well (#33).

This got me wondering, what keeps us from celebrating well? I think the answer is that we often overlook chances to celebrate because we are intimidated, assuming we have to create an over-the-top expression for it to be a celebration. Additionally, as is so easy to do, we simply get so caught in our everyday flow, that we just don’t take the time to think about celebrating, much less to actually do it.

Strawberry Swirl Marshmallows

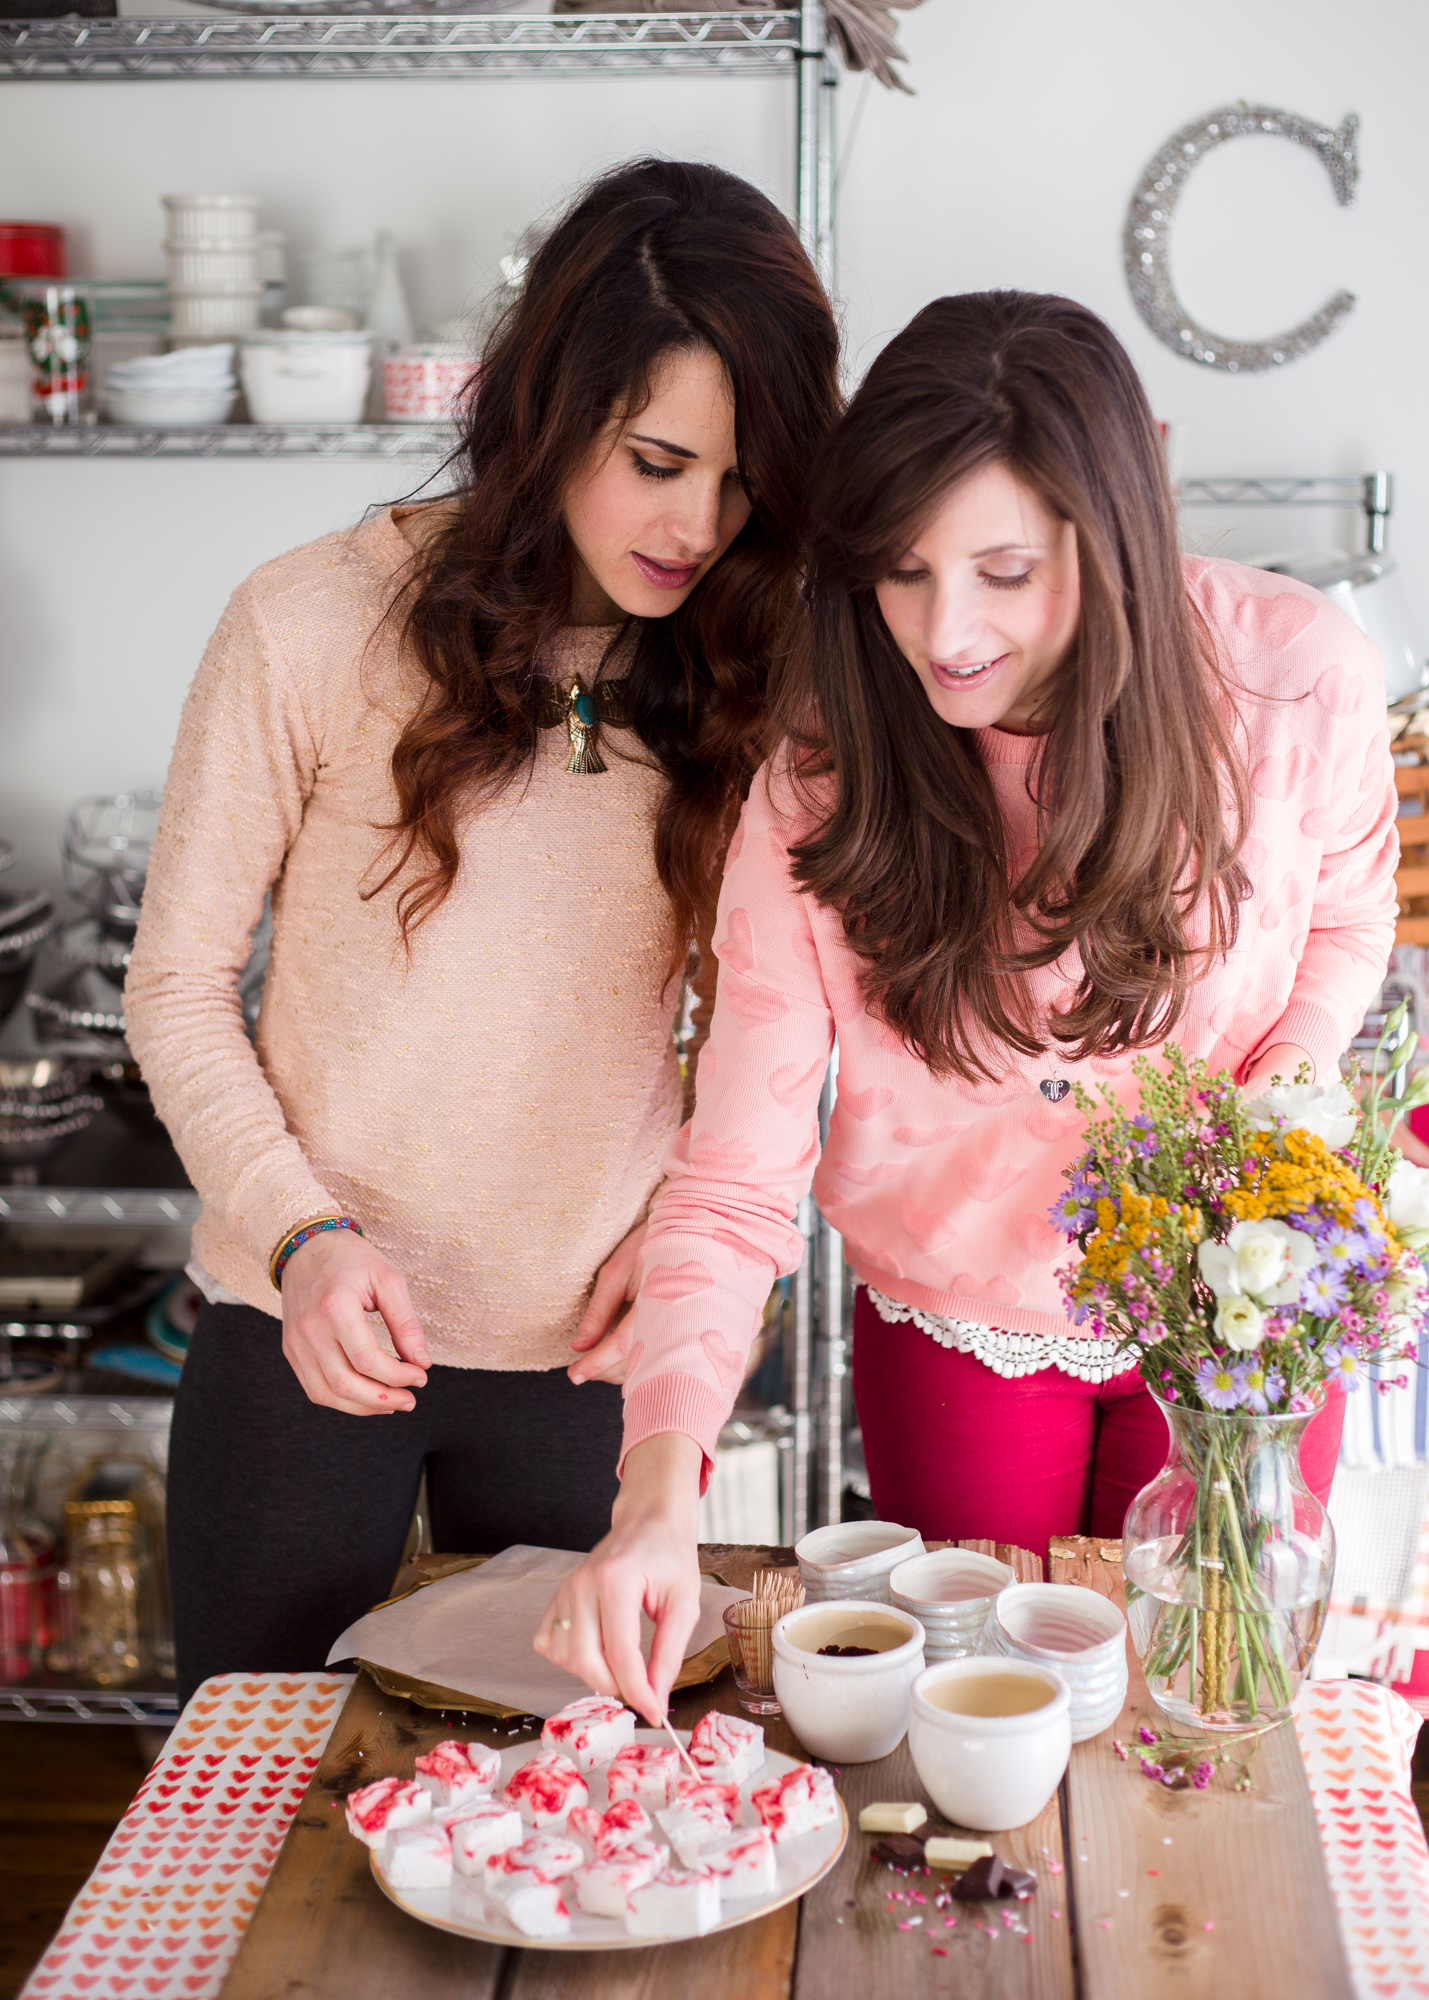
So, as Valentine’s Day, my favorite holiday, approaches, I wanted to share some thoughts with you to help make celebrating feel doable. And of course, Callie and I collaborated to share a fun, Valentine treat with you to inspire you in your own celebration of love this year! I hope the ideas I’m going to share will help you view celebrating in a new way, and make you realize that YOU can be a great celebrator!

There are so many ways to make moments, days, and people extra-special, and here are some that I practice, and want to continue doing more and more!

Strawberry Swirl Marshmallows-138

1. Mark your calendar

The first step to celebrating well is to know what you want to celebrate. Marking your calendar for birthdays, holidays, and special occasions, is a great way to say “this is important,” which lays the foundation for making a heartfelt celebration happen. In the midst of your planning, don’t forget to leave room for spontaneous and everyday celebrations along the way! This could be anything from sending a note to a friend to say “I’m celebrating our friendship,” to baking cookies to celebrate that it’s Friday!

2. Dress for the occasion

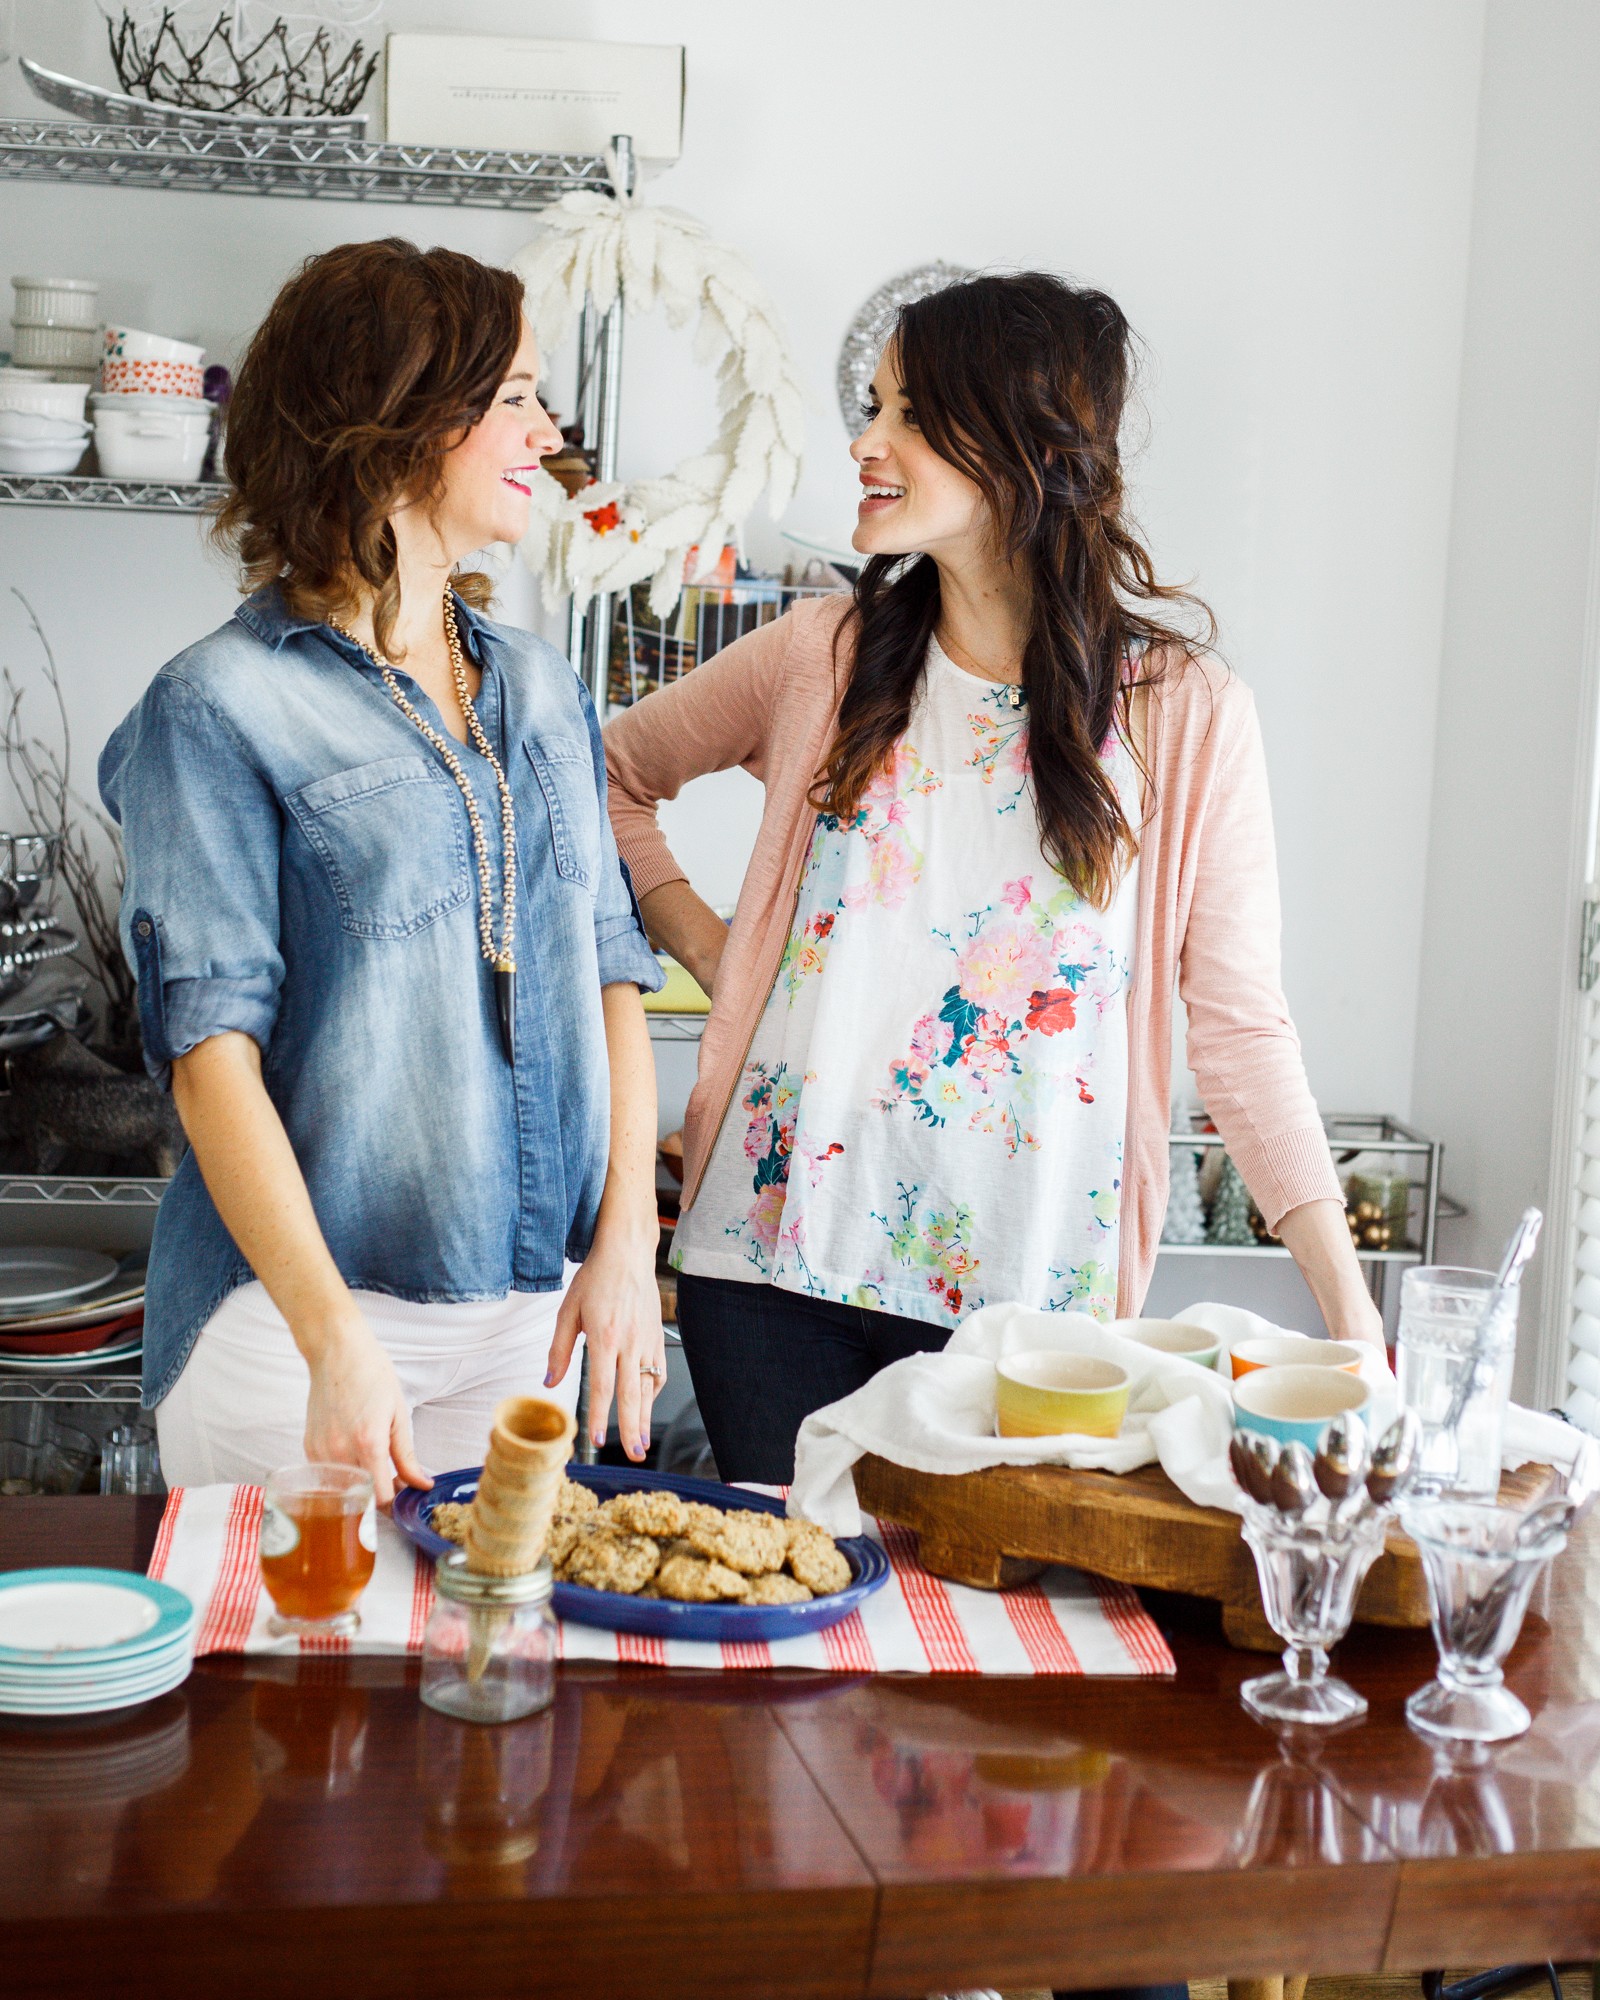
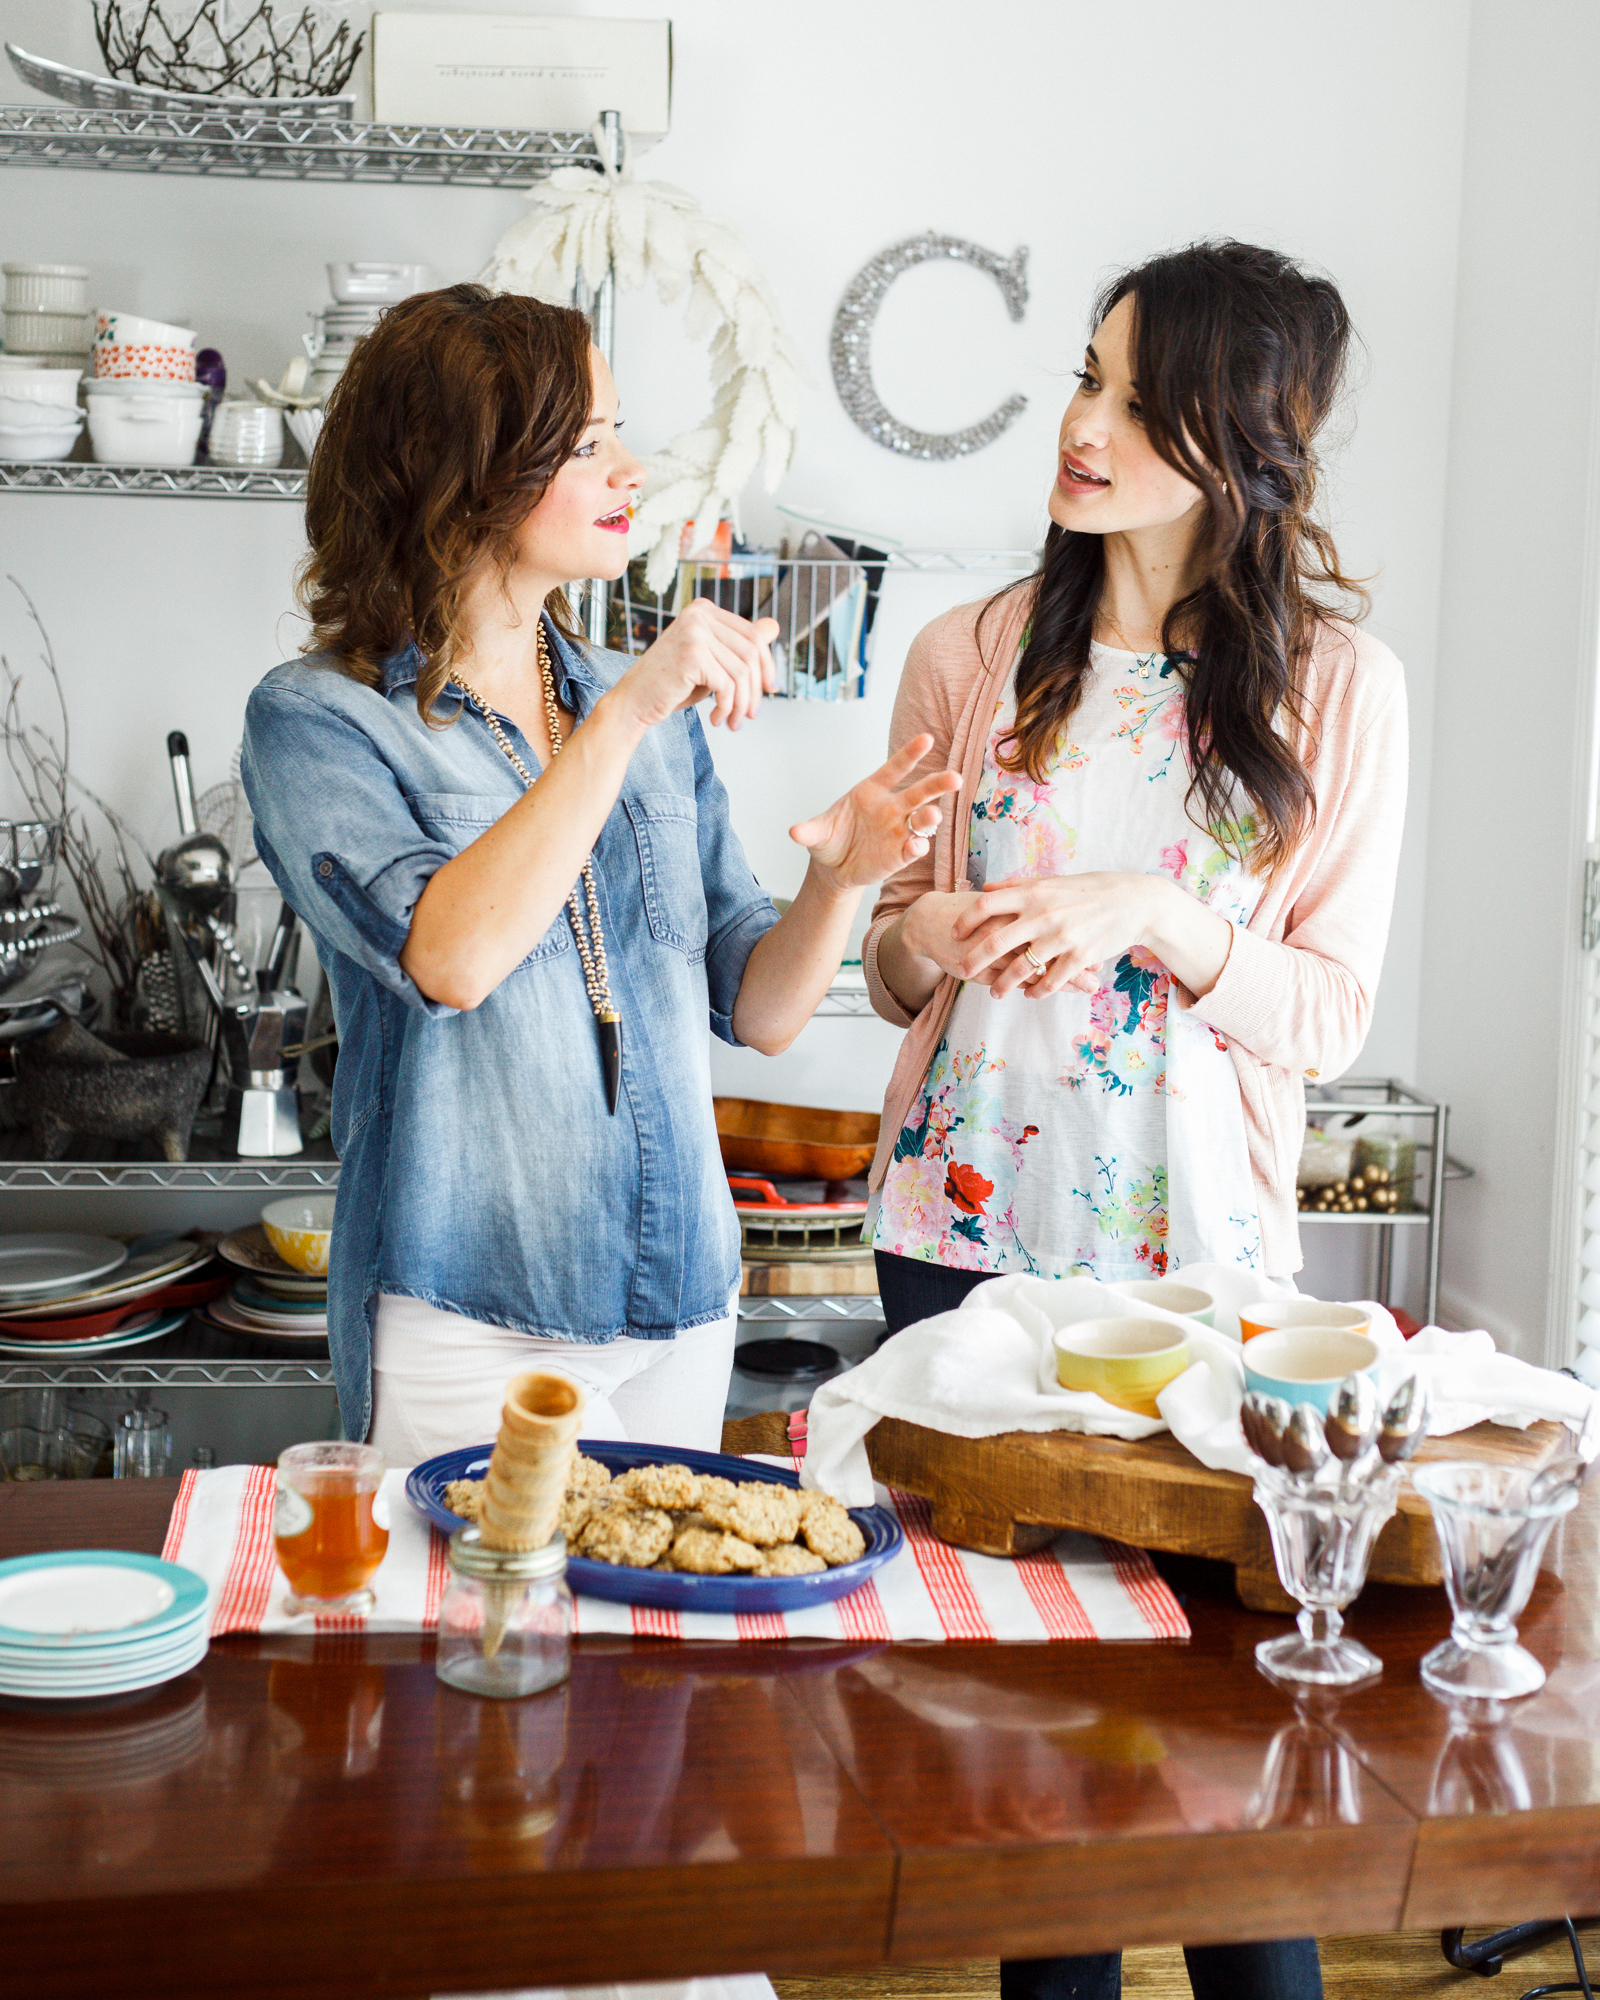
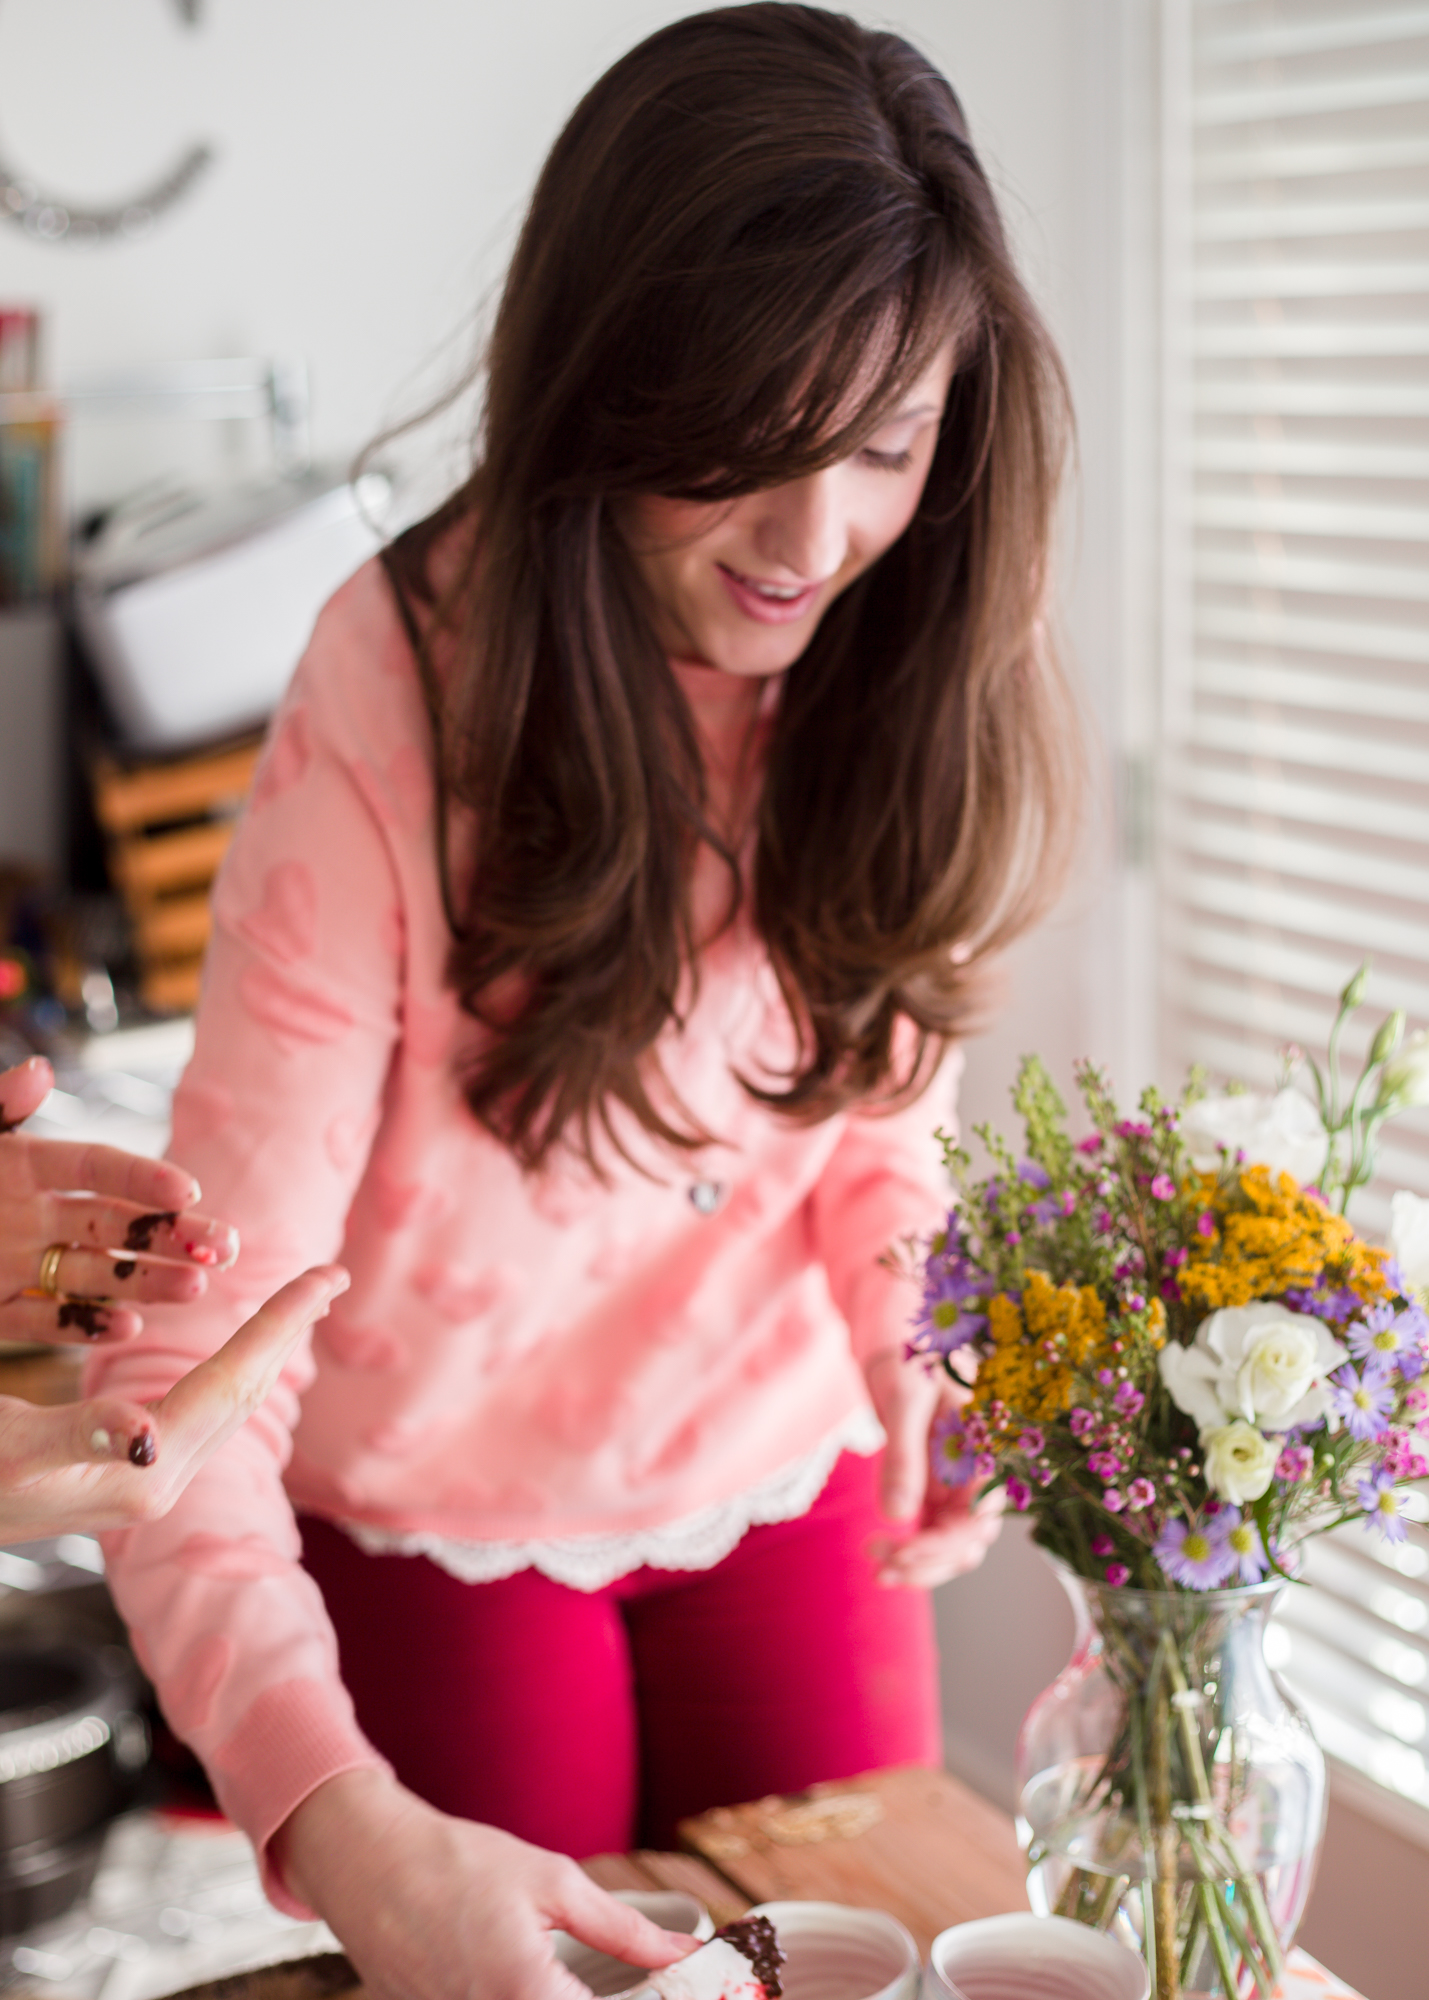
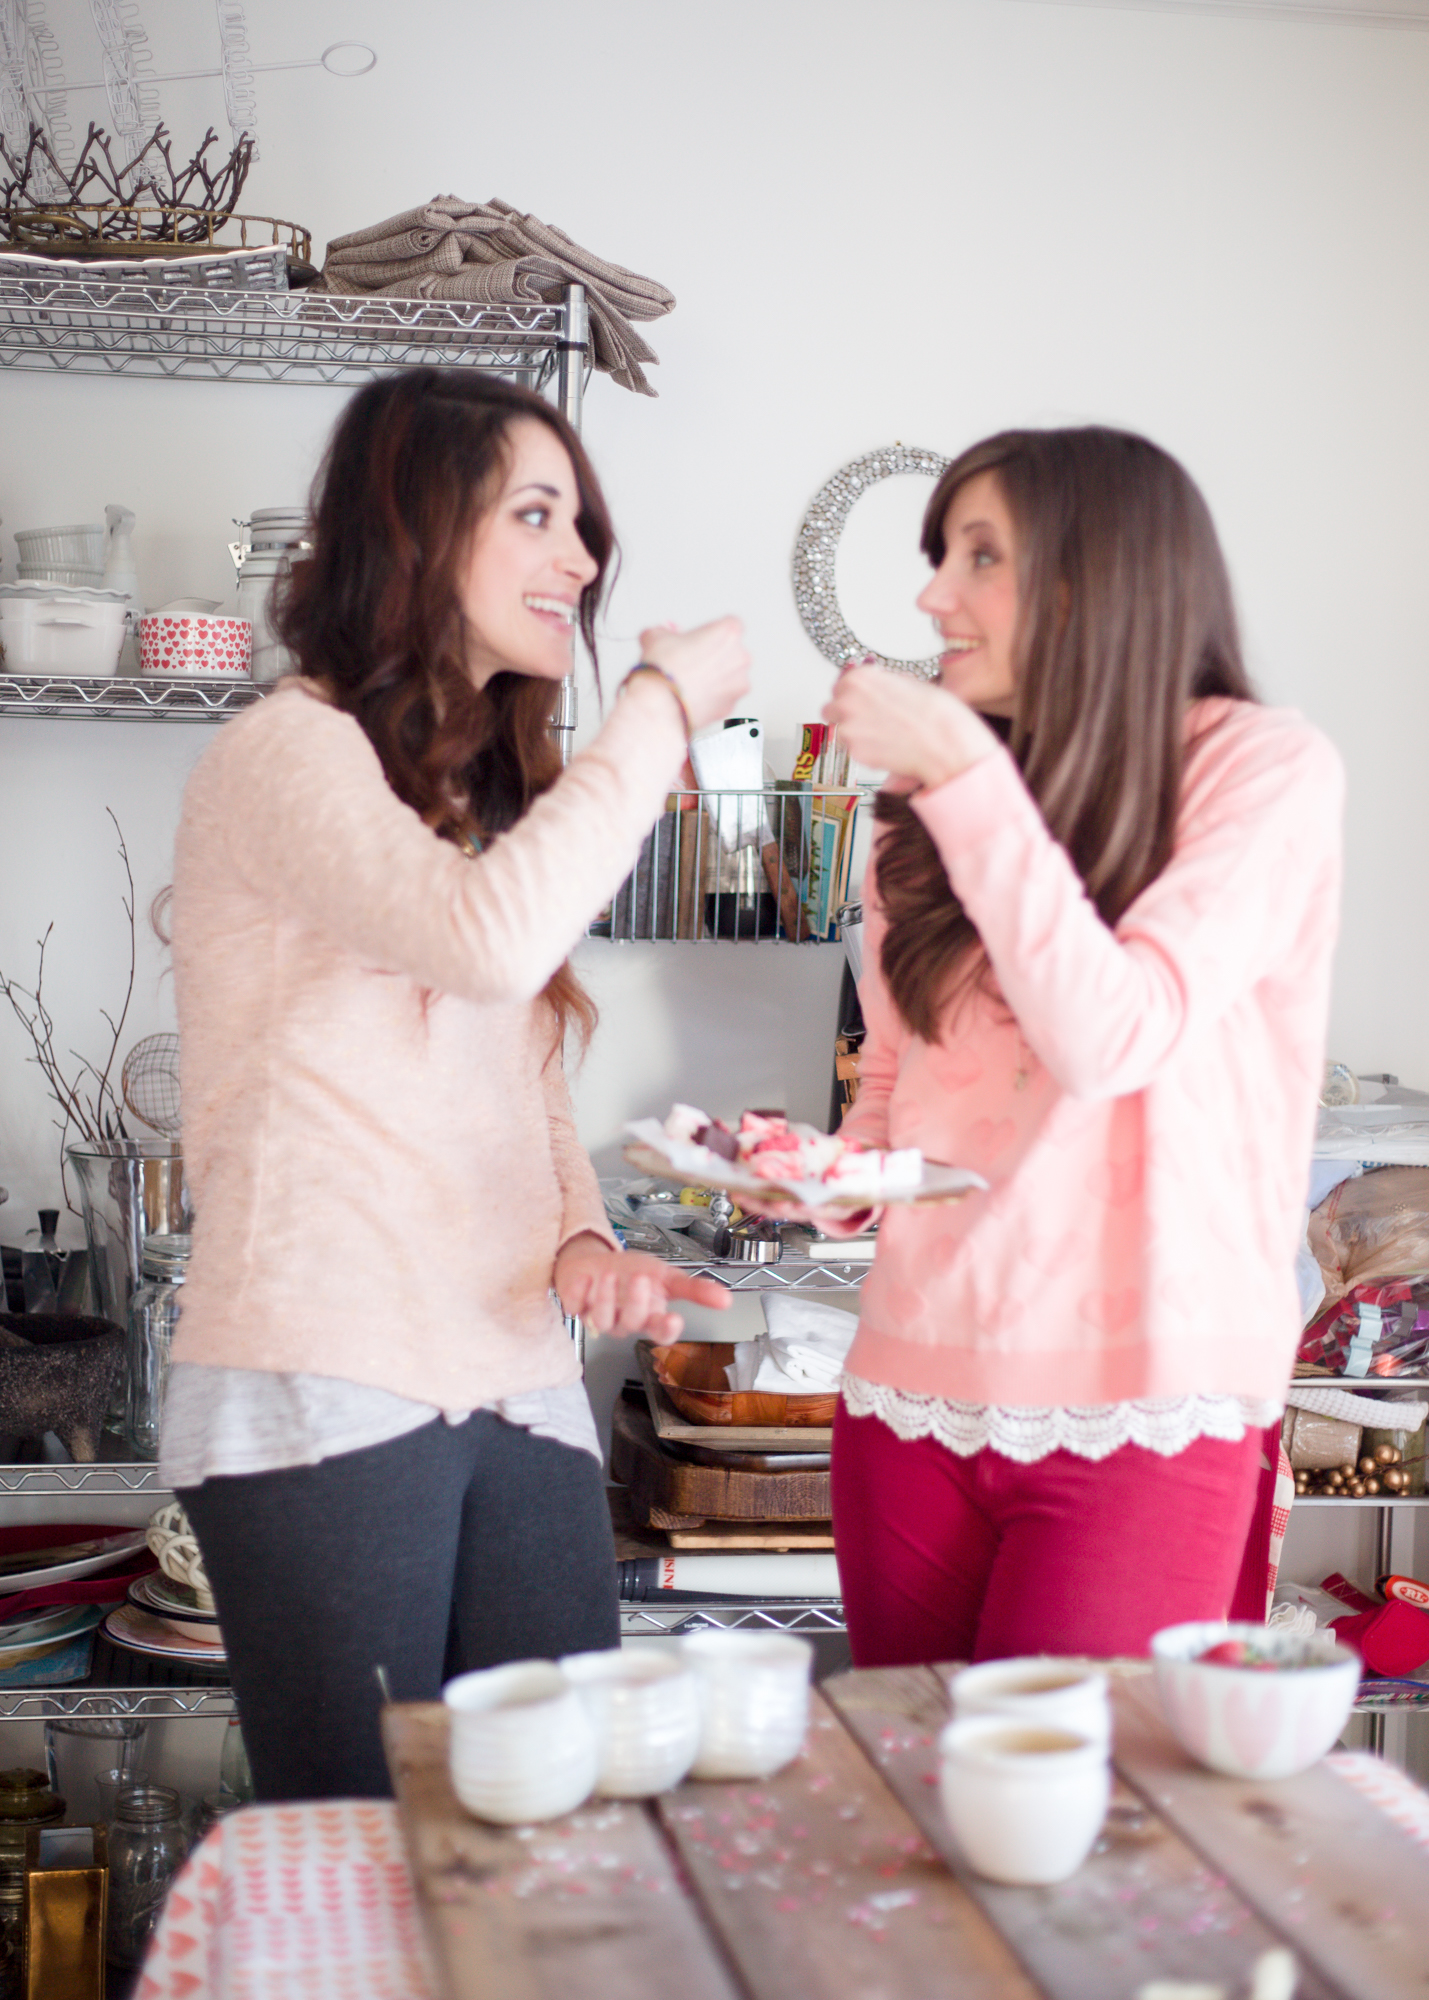
As you can see in the photos in this post, I embrace this idea wholeheartedly in my Valentine-heart sweater and love-red pants! Whether you’re putting on your favorite dress for a date with your husband, wearing your favorite team’s colors, or covering yourself in hearts for Valentine’s Day, a great way to celebrate is to dress for the moment! Show people that you are excited and grateful through a celebratory ensemble.
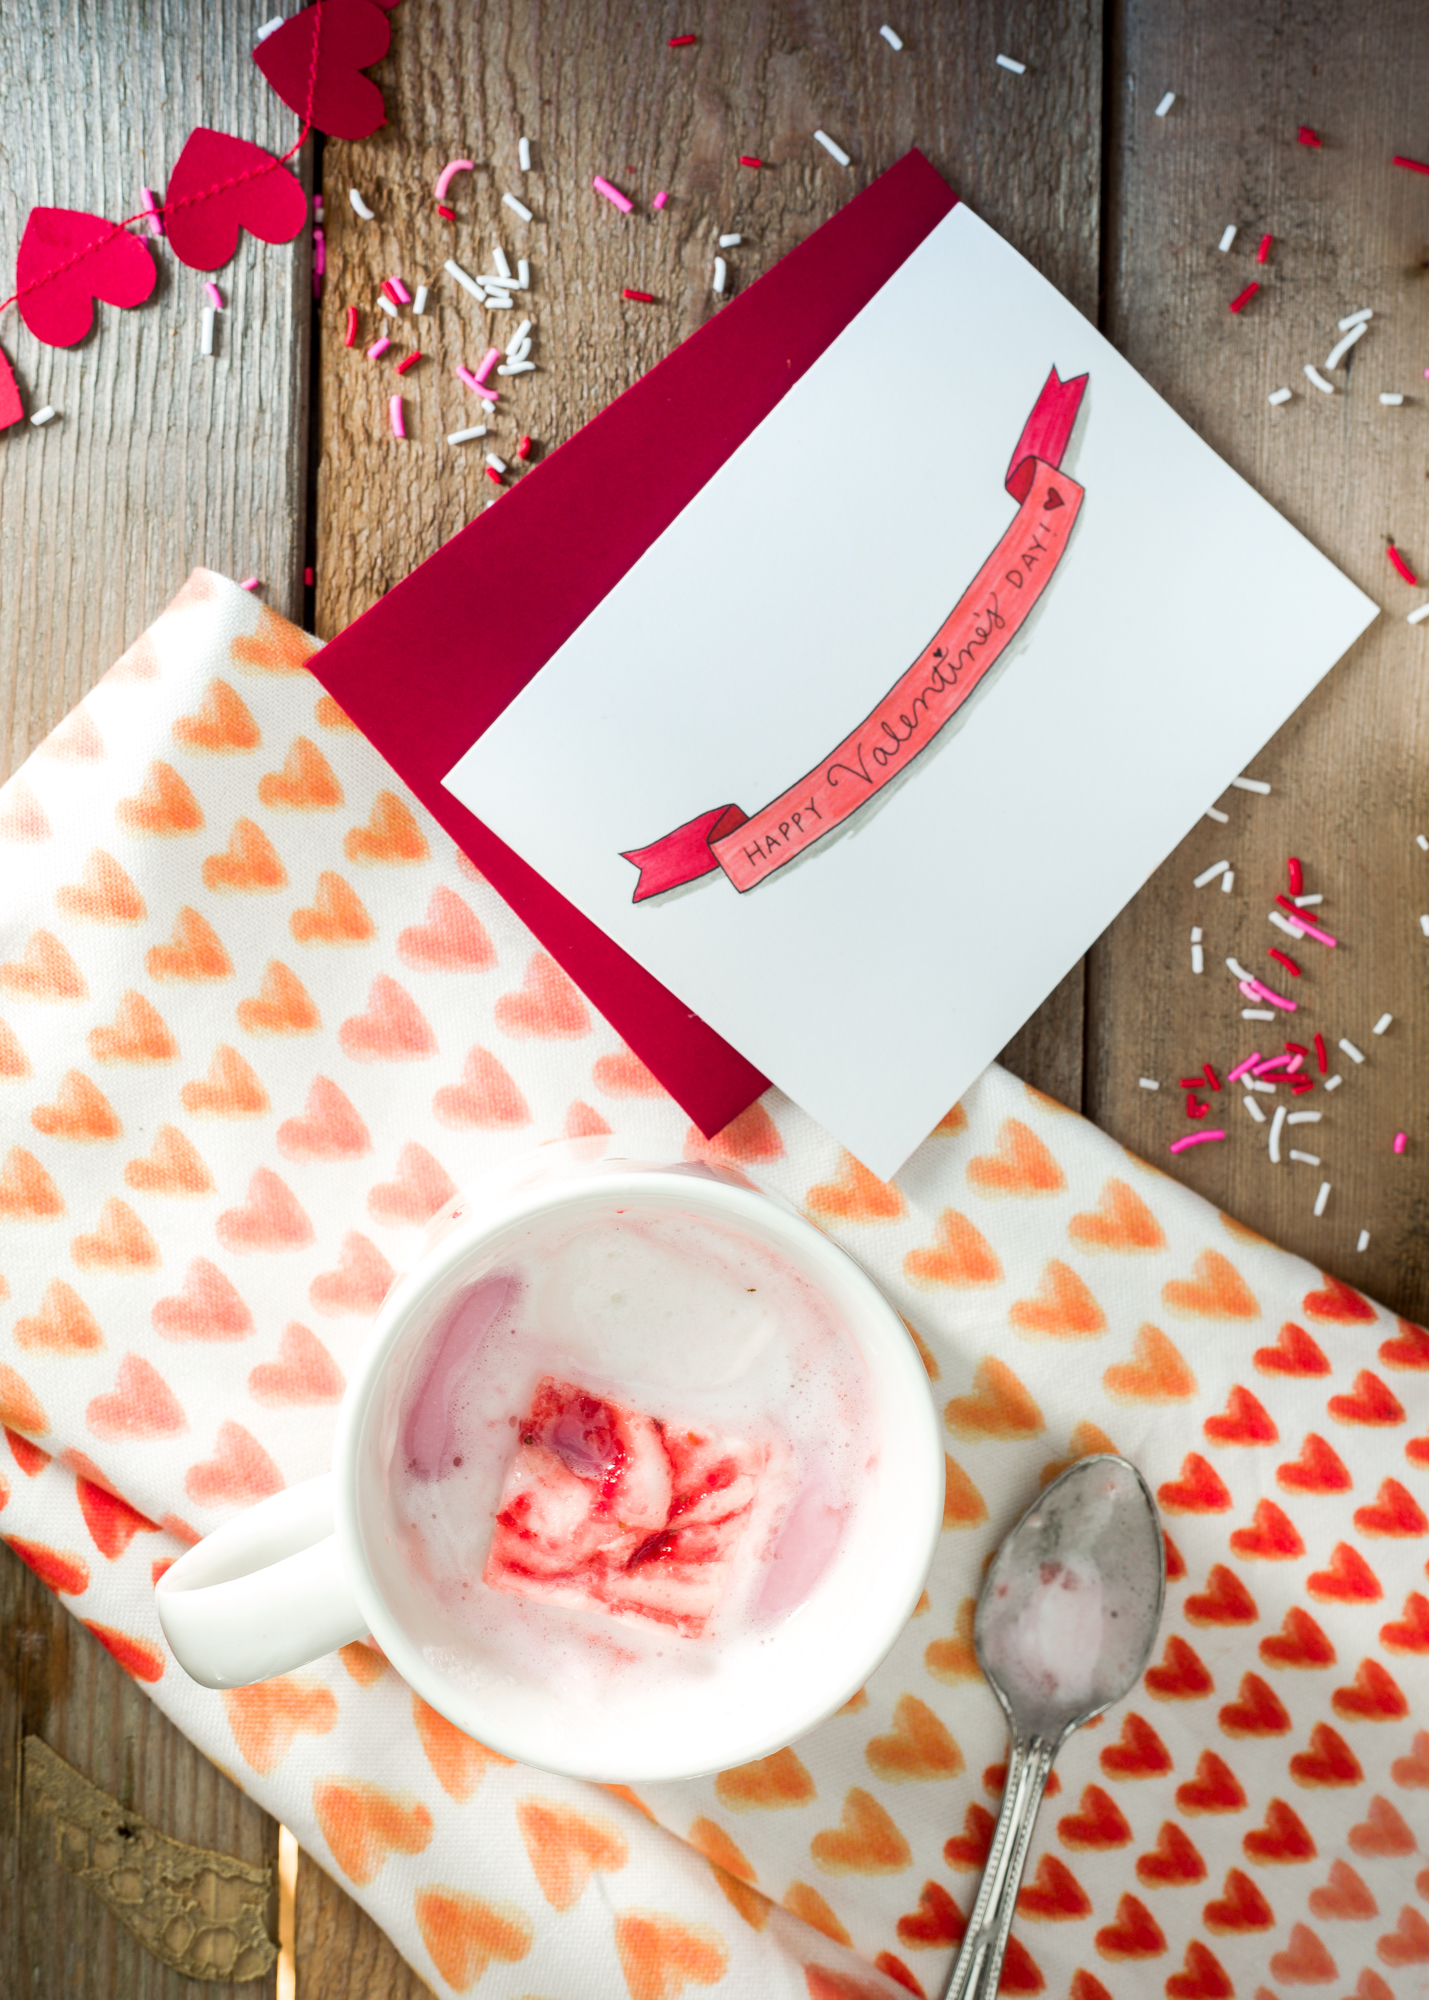
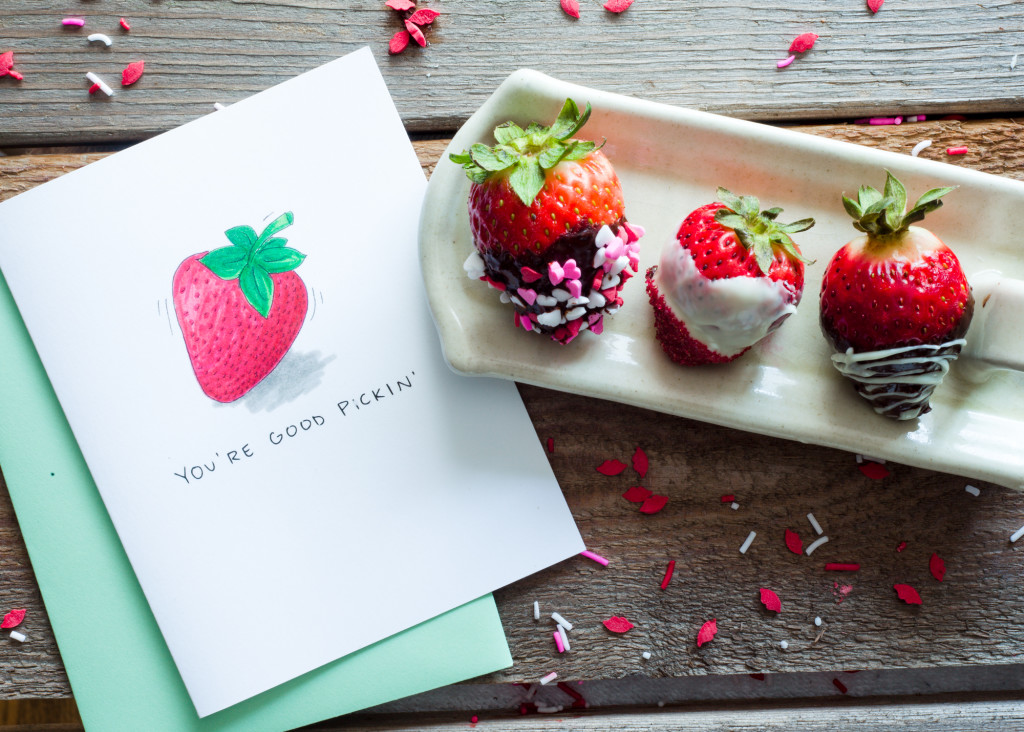
Strawberry Swirl Marshmallows

3. Give a card

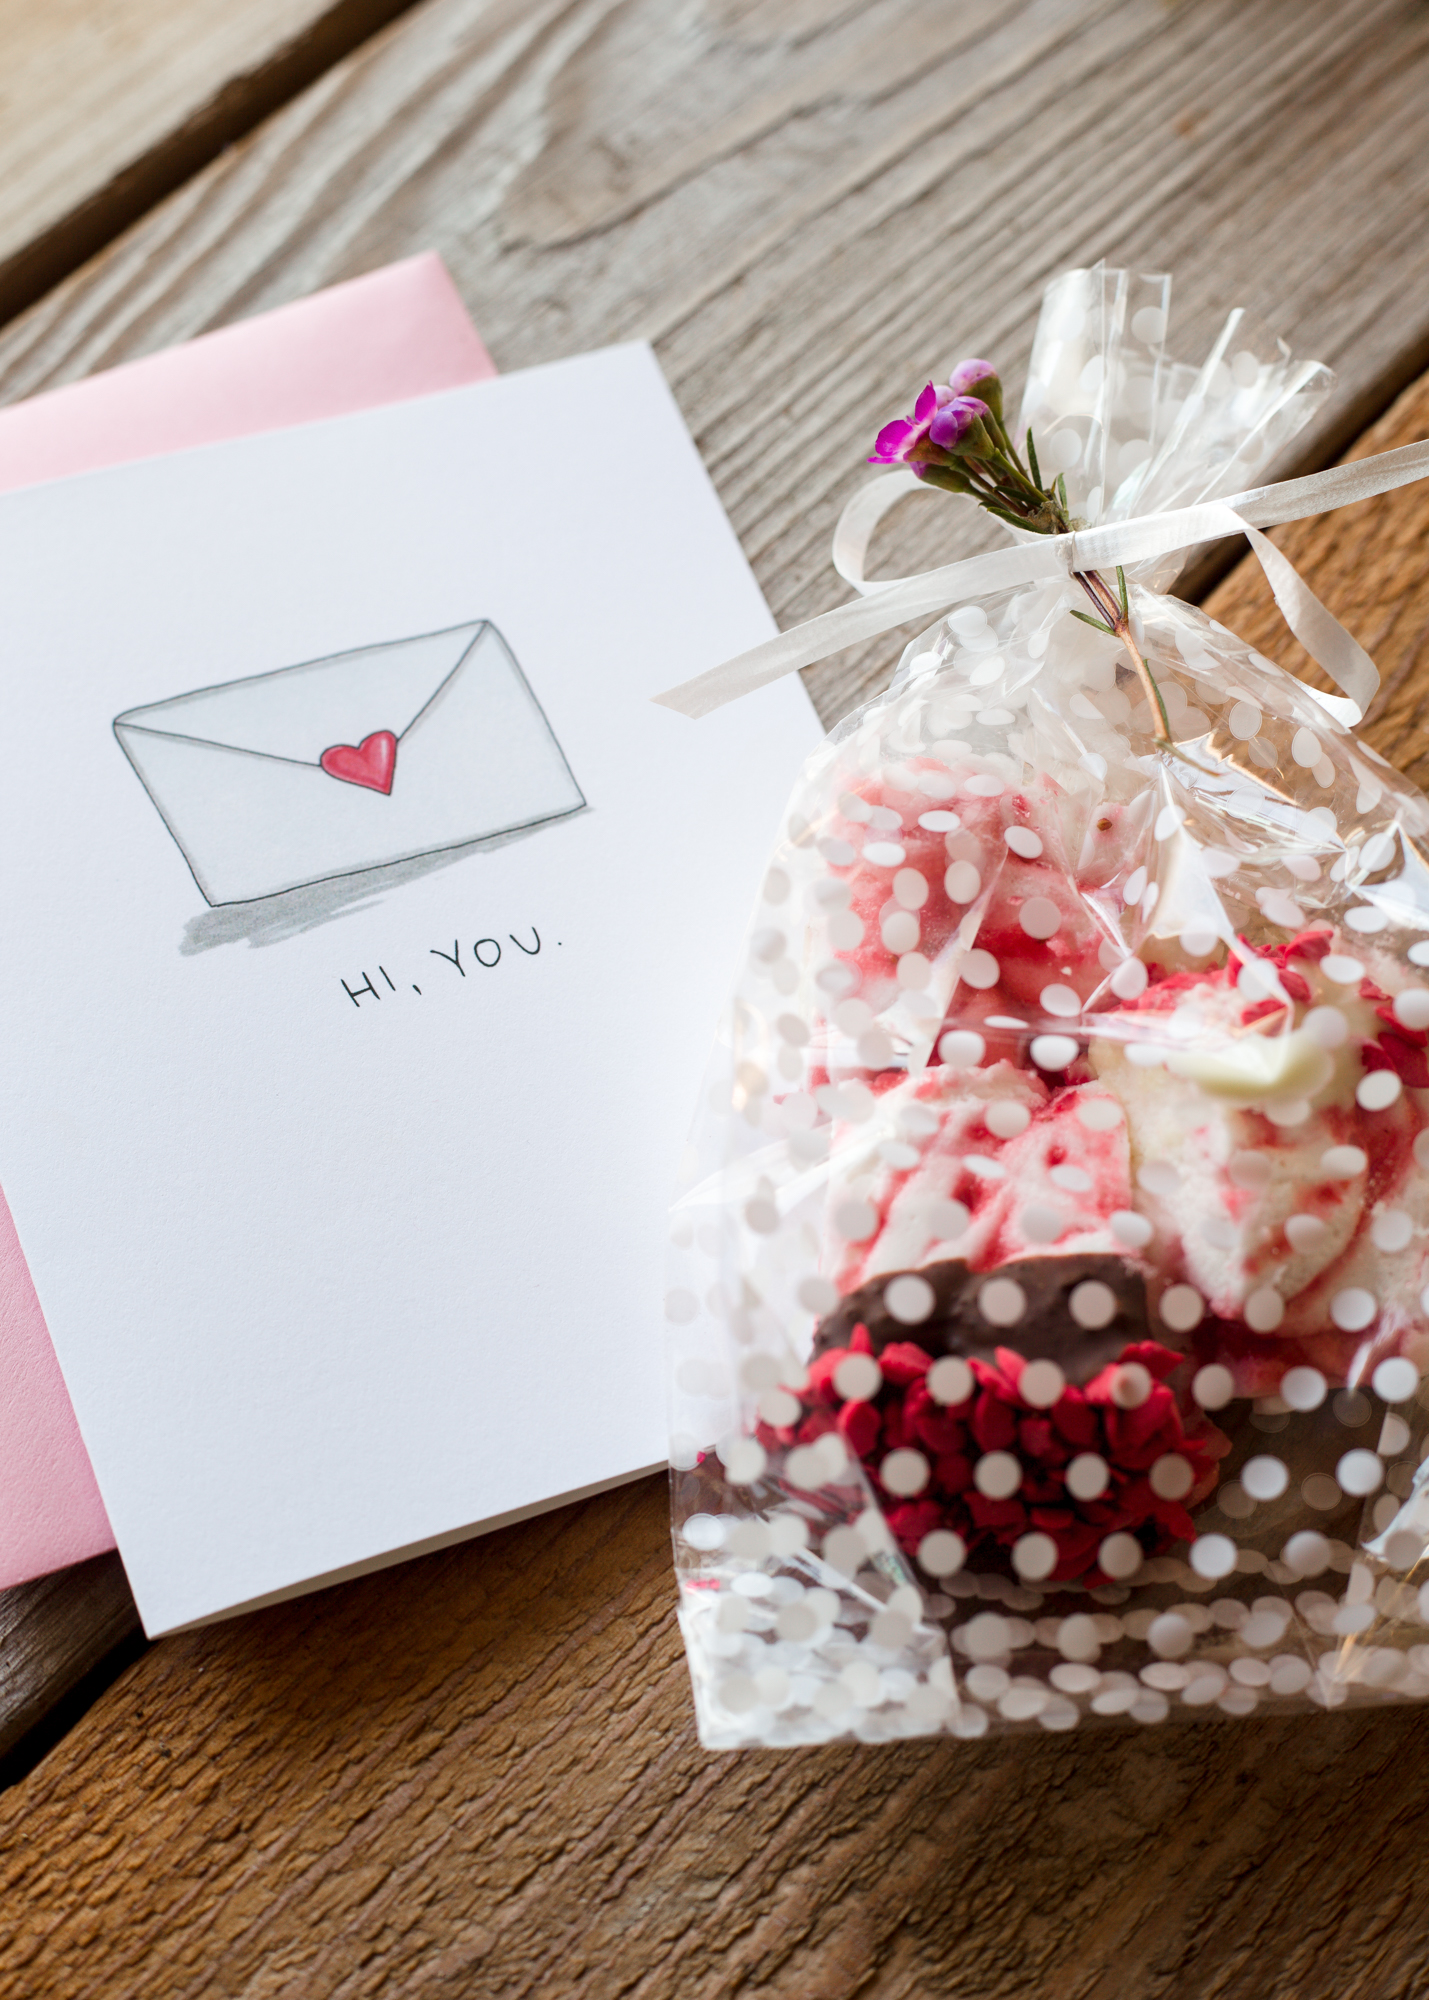
If you spend a few moments in the TLK Shop, you’ll see how much I adore greeting cards! Whether creating them or giving them, cards are one of my absolute favorite ways to celebrate what matters. A card is a simple, yet extremely thoughtful way to celebrate the moments and people you love! Whether it be a note to say, “I’m thinking of you,” a “Happy Birthday” card, or a “Congratulations” for a special milestone or accomplishment, handwritten cards are like mini celebrations in an envelope!

The Loving Kind treats

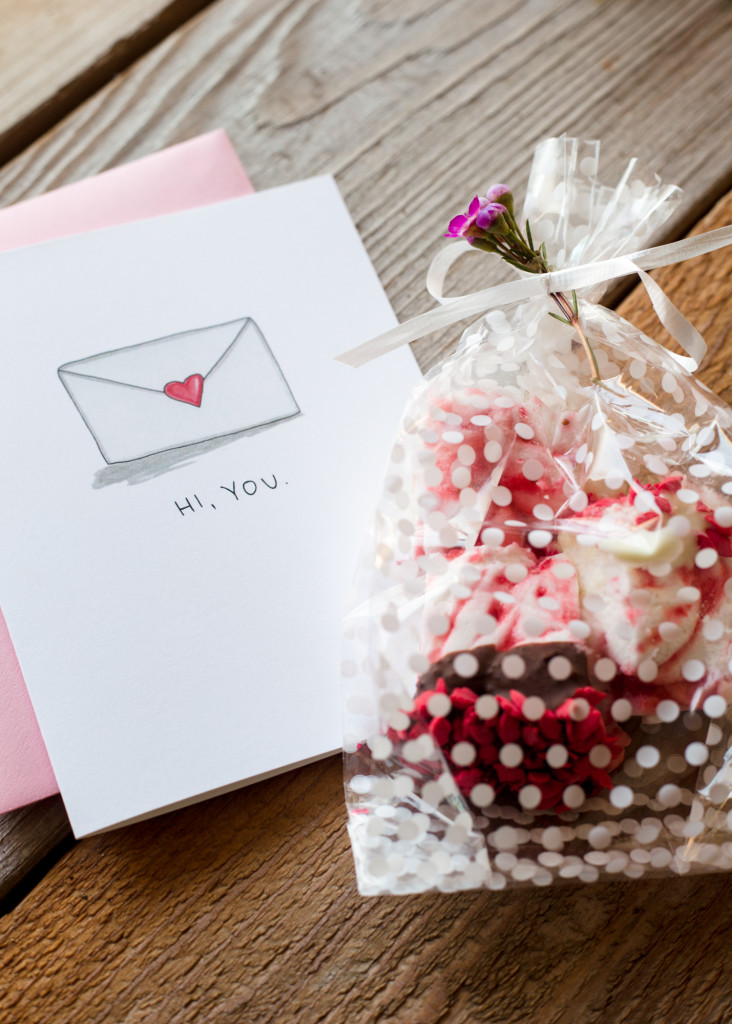
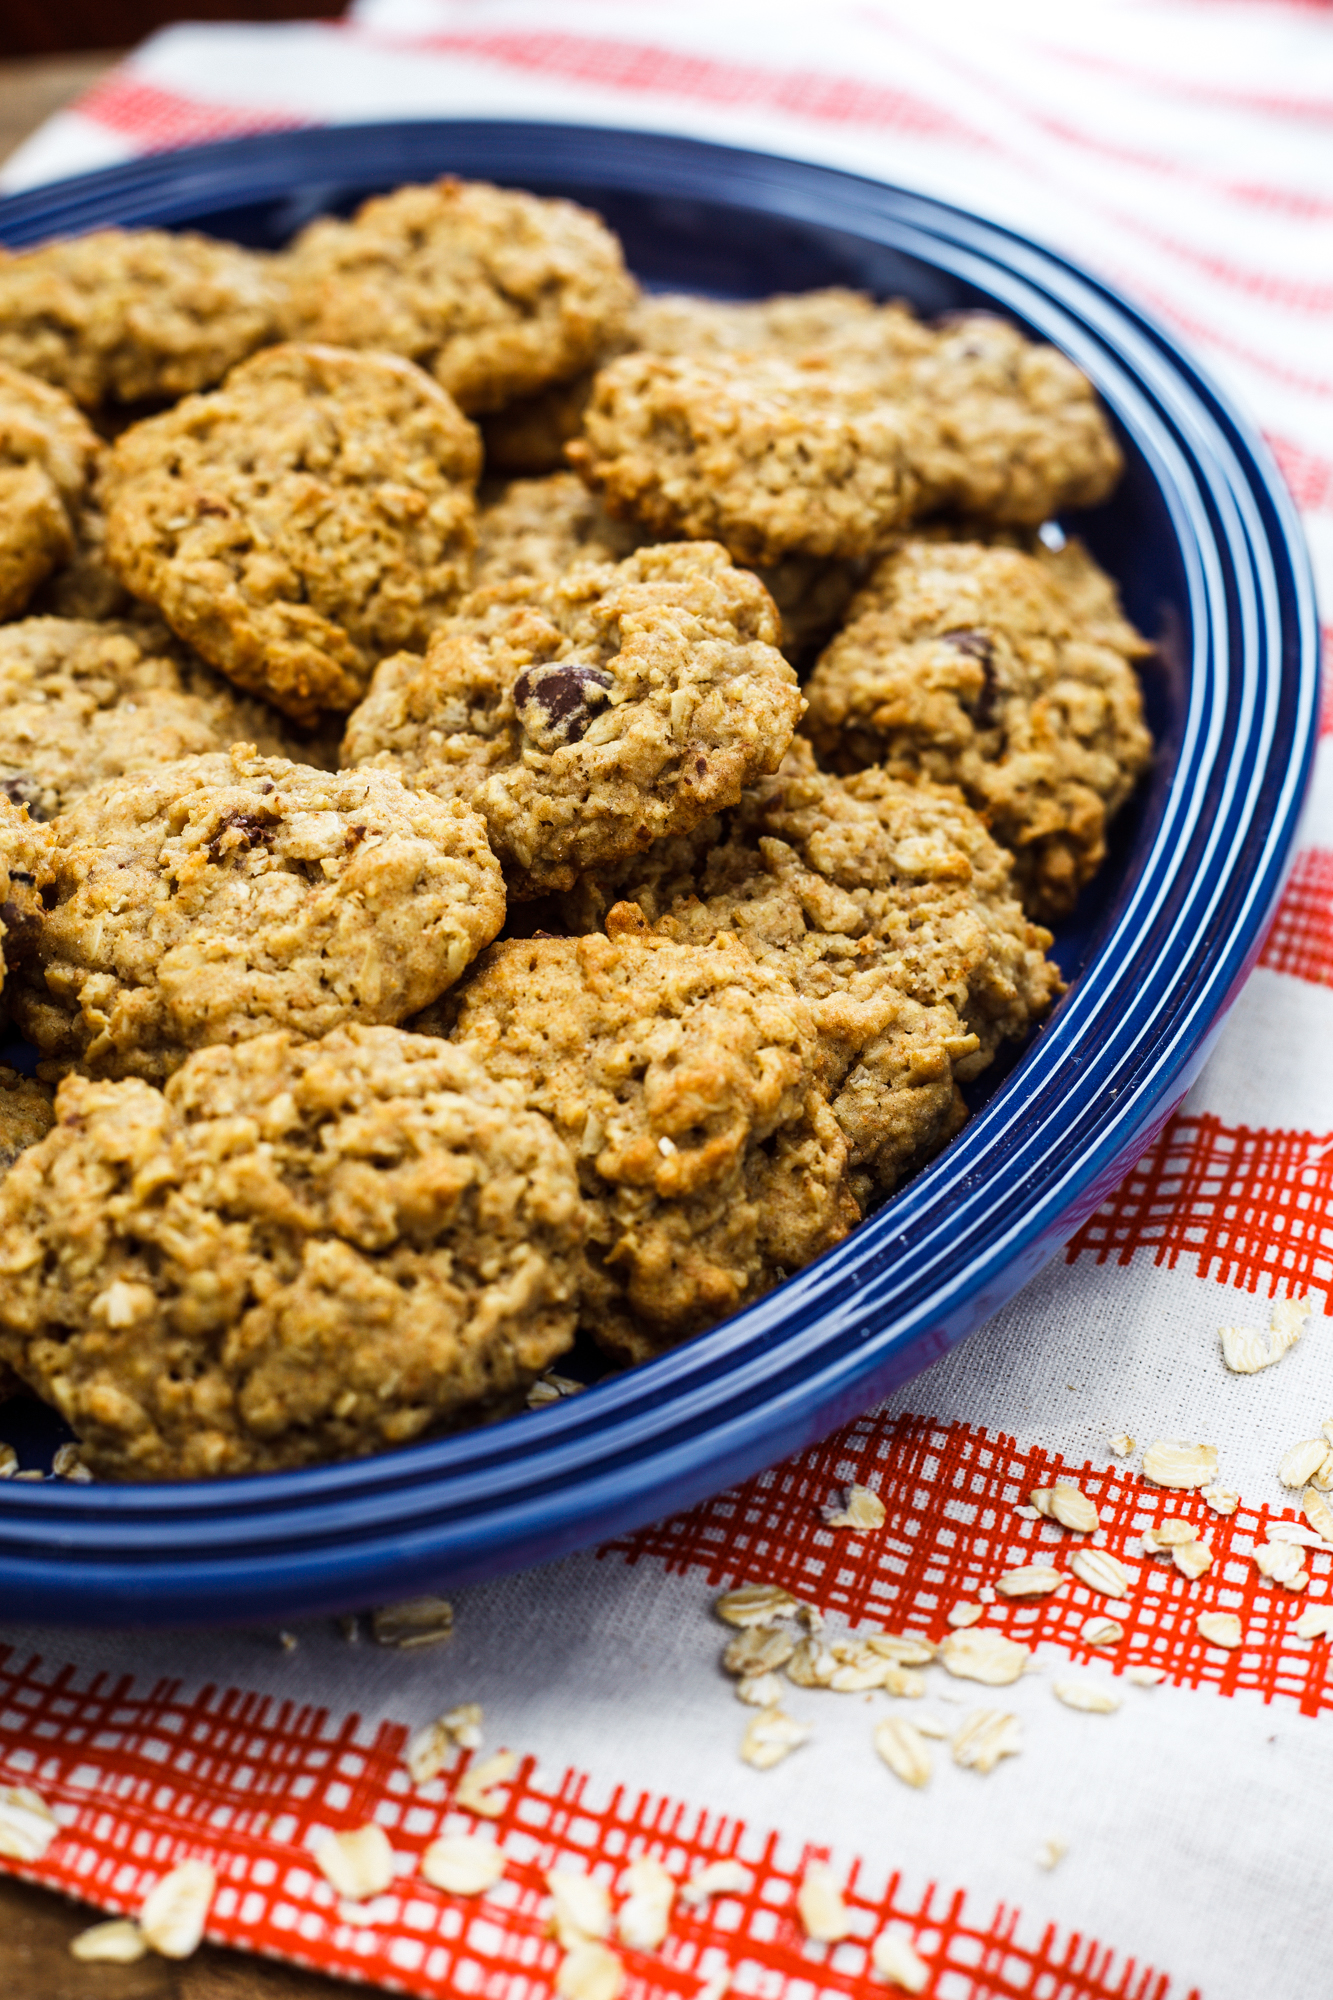
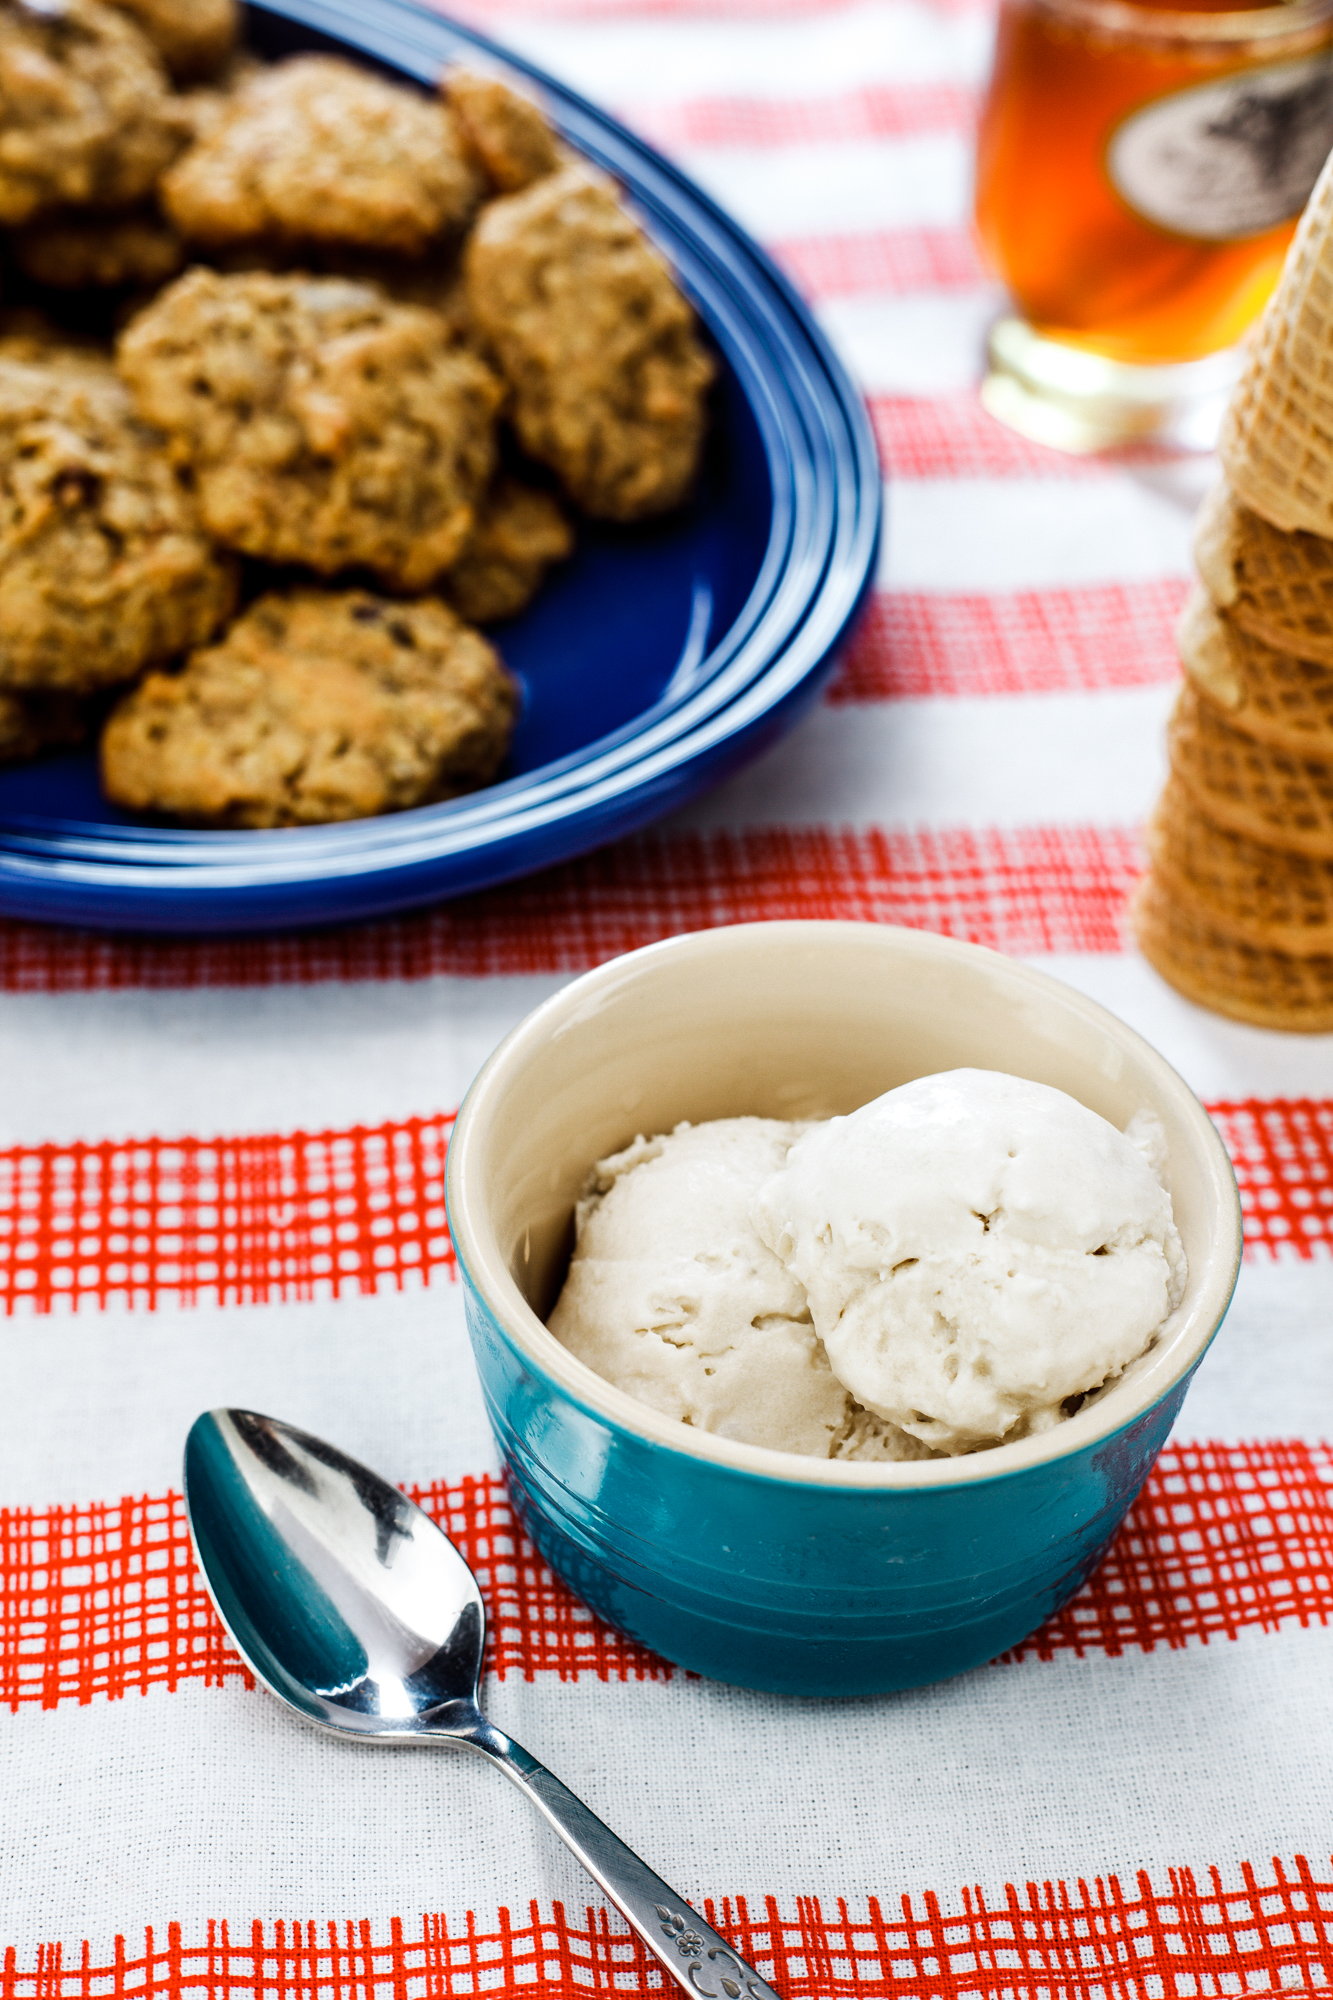
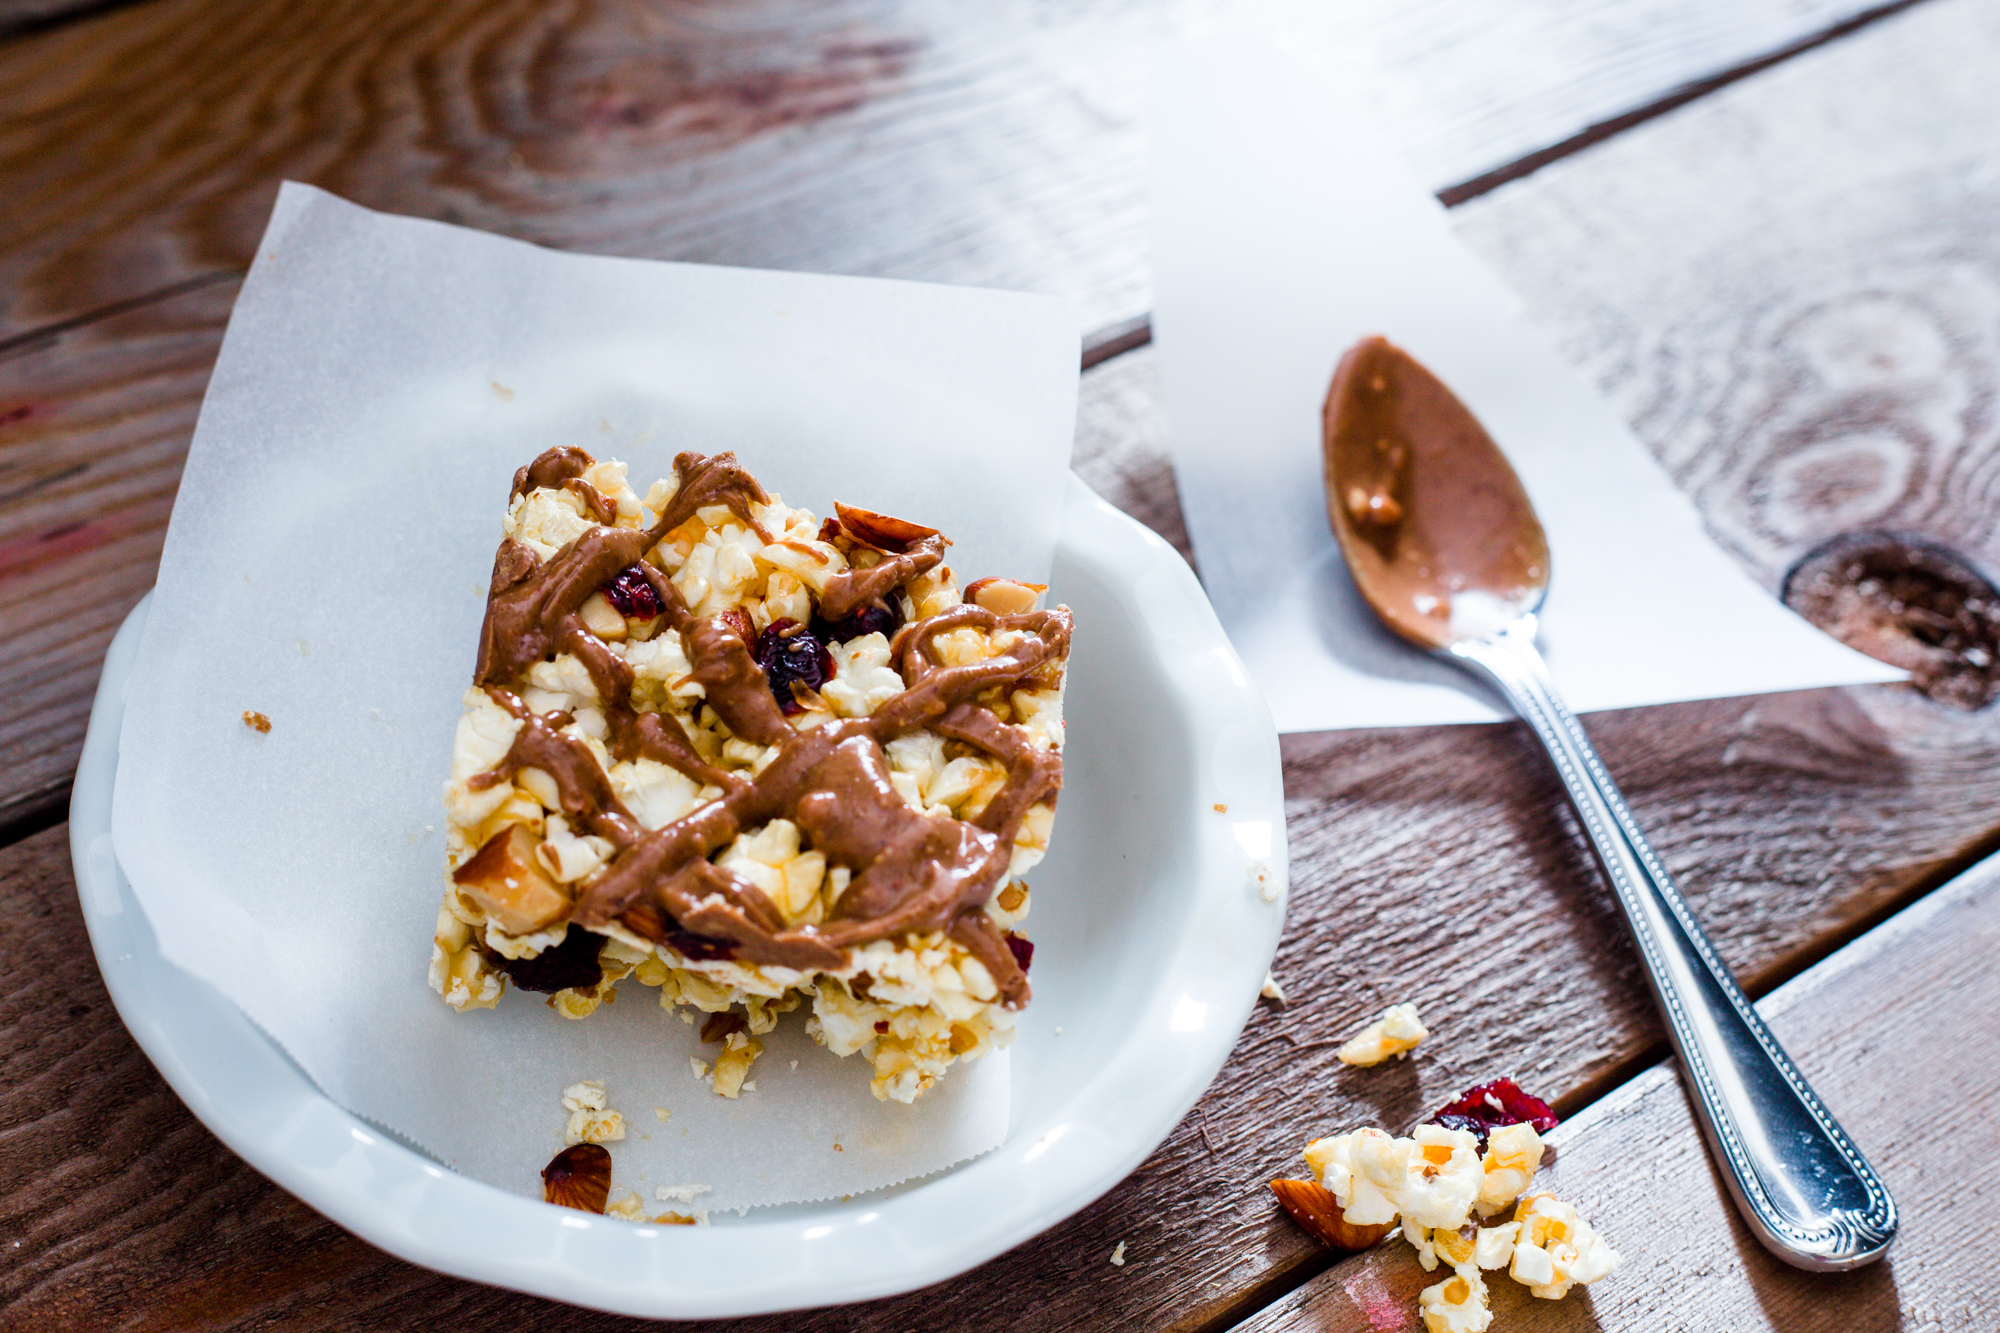
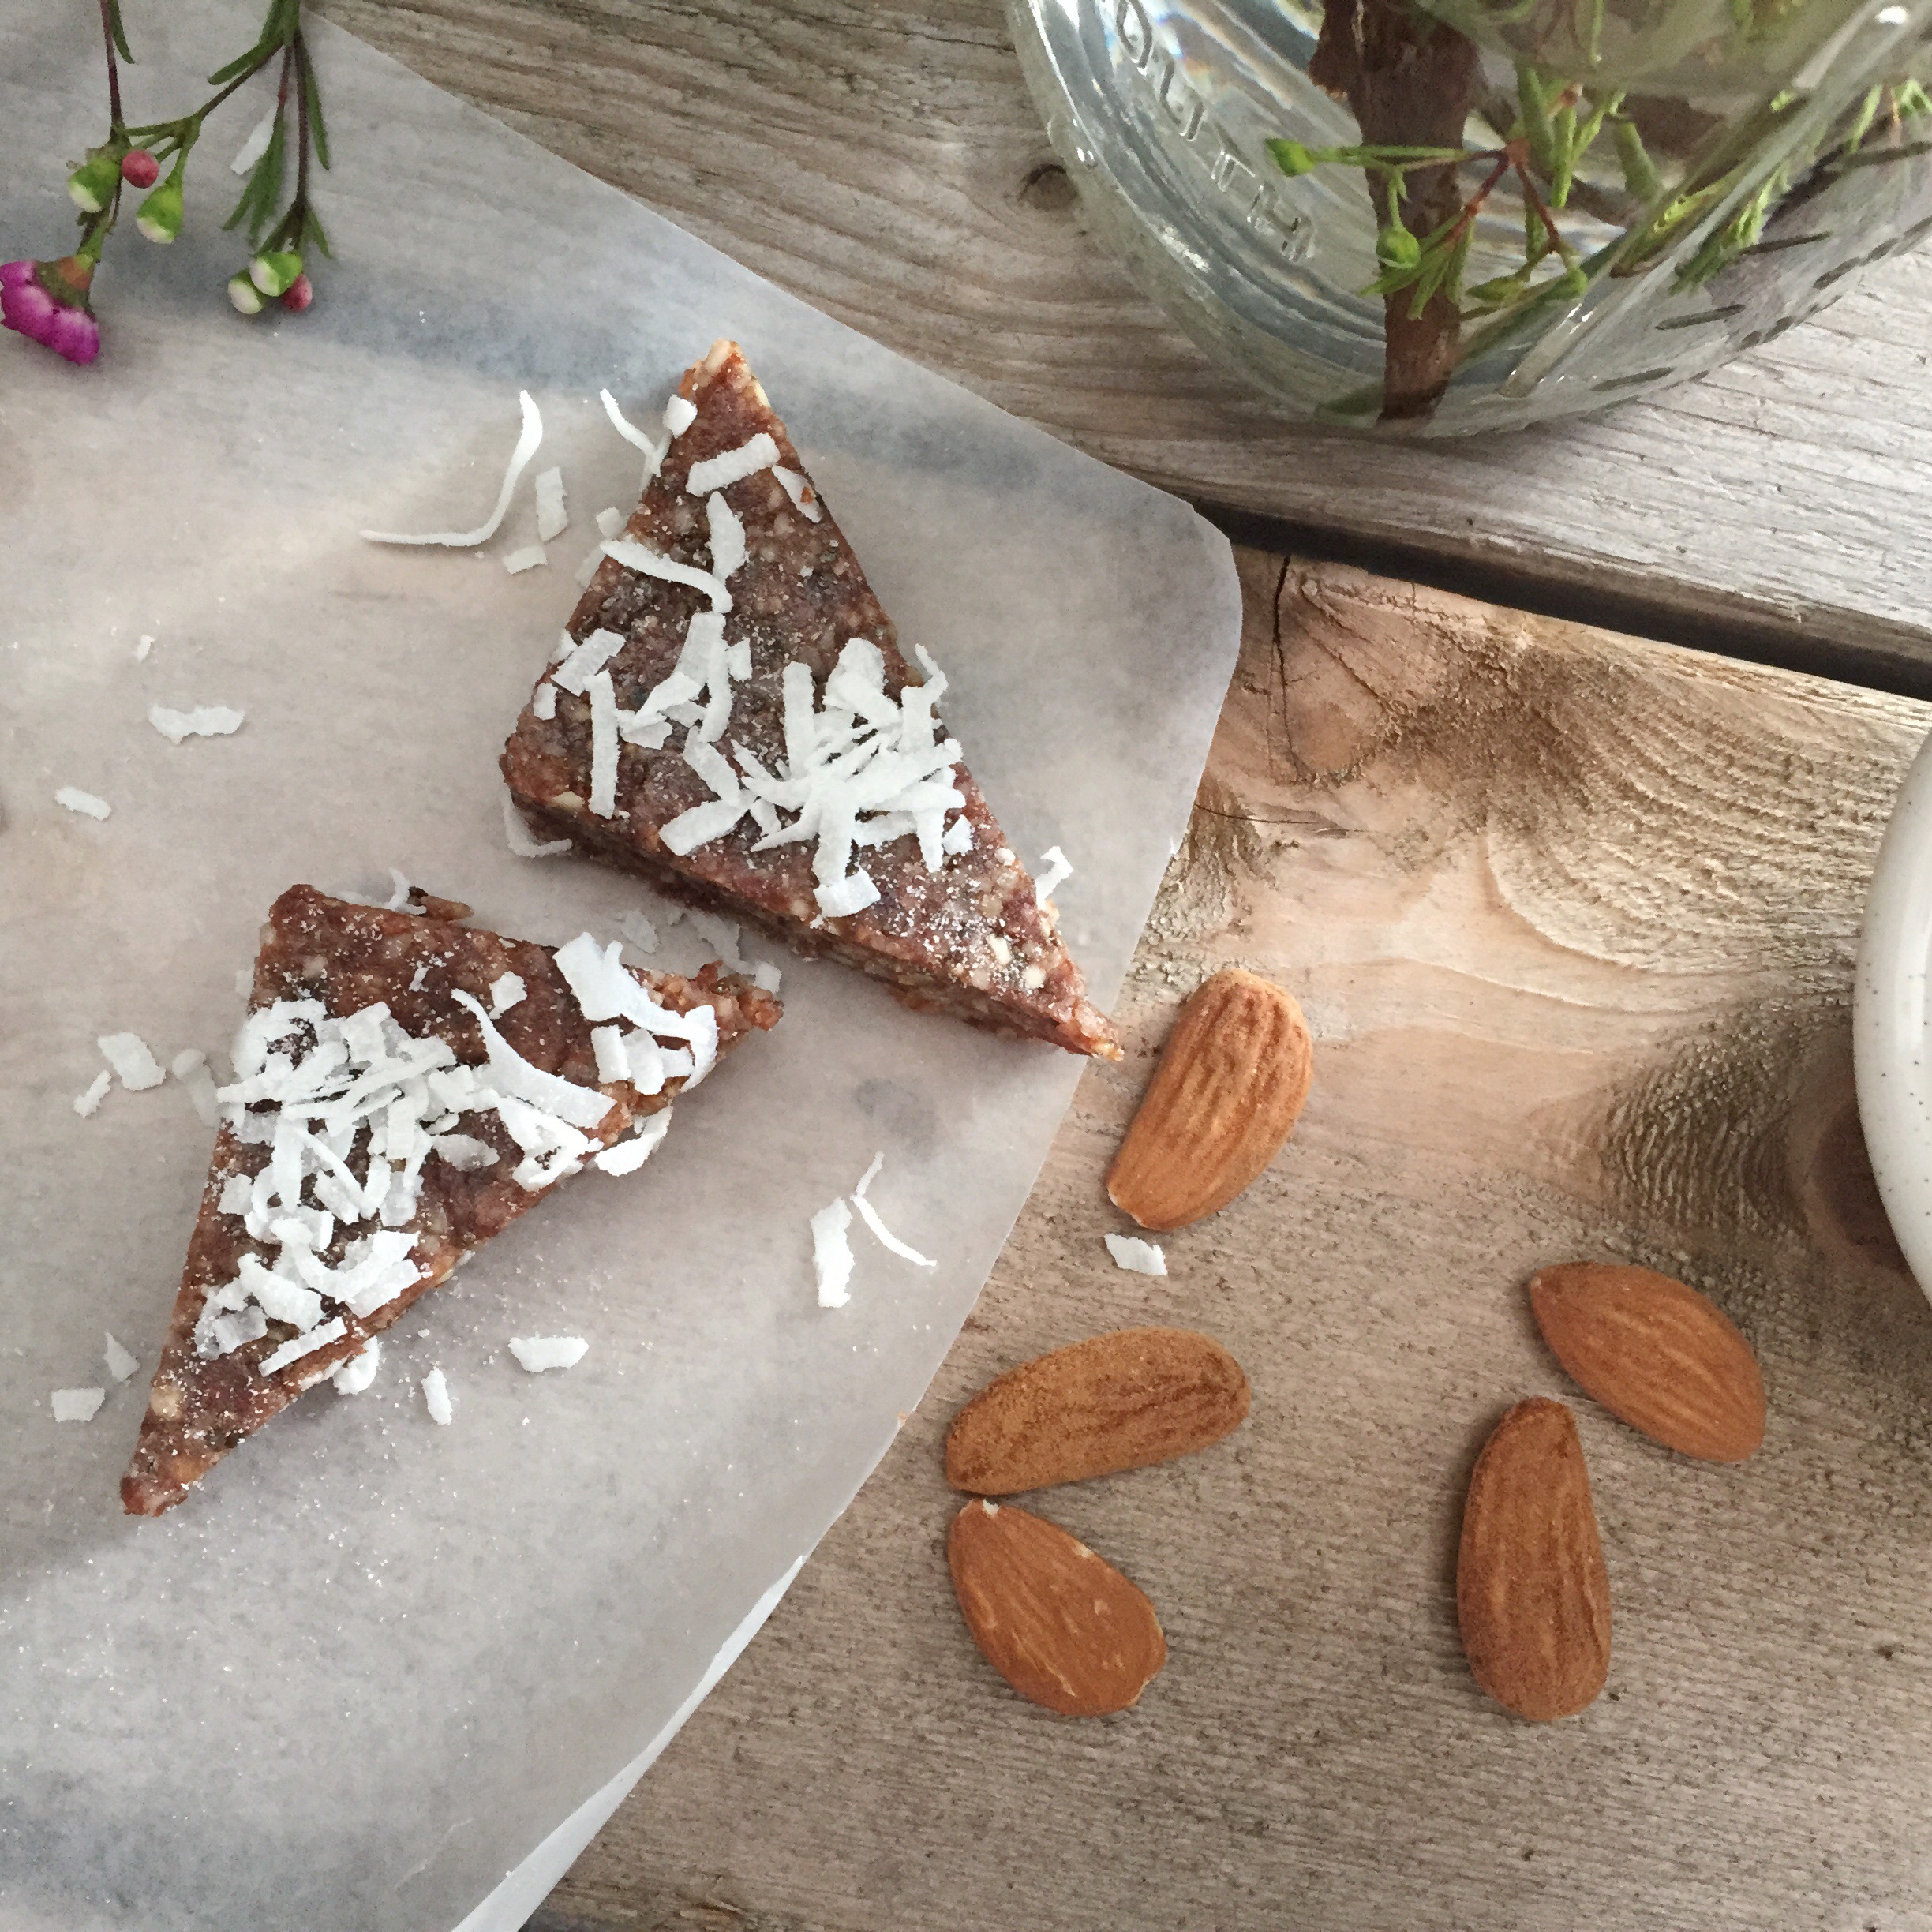
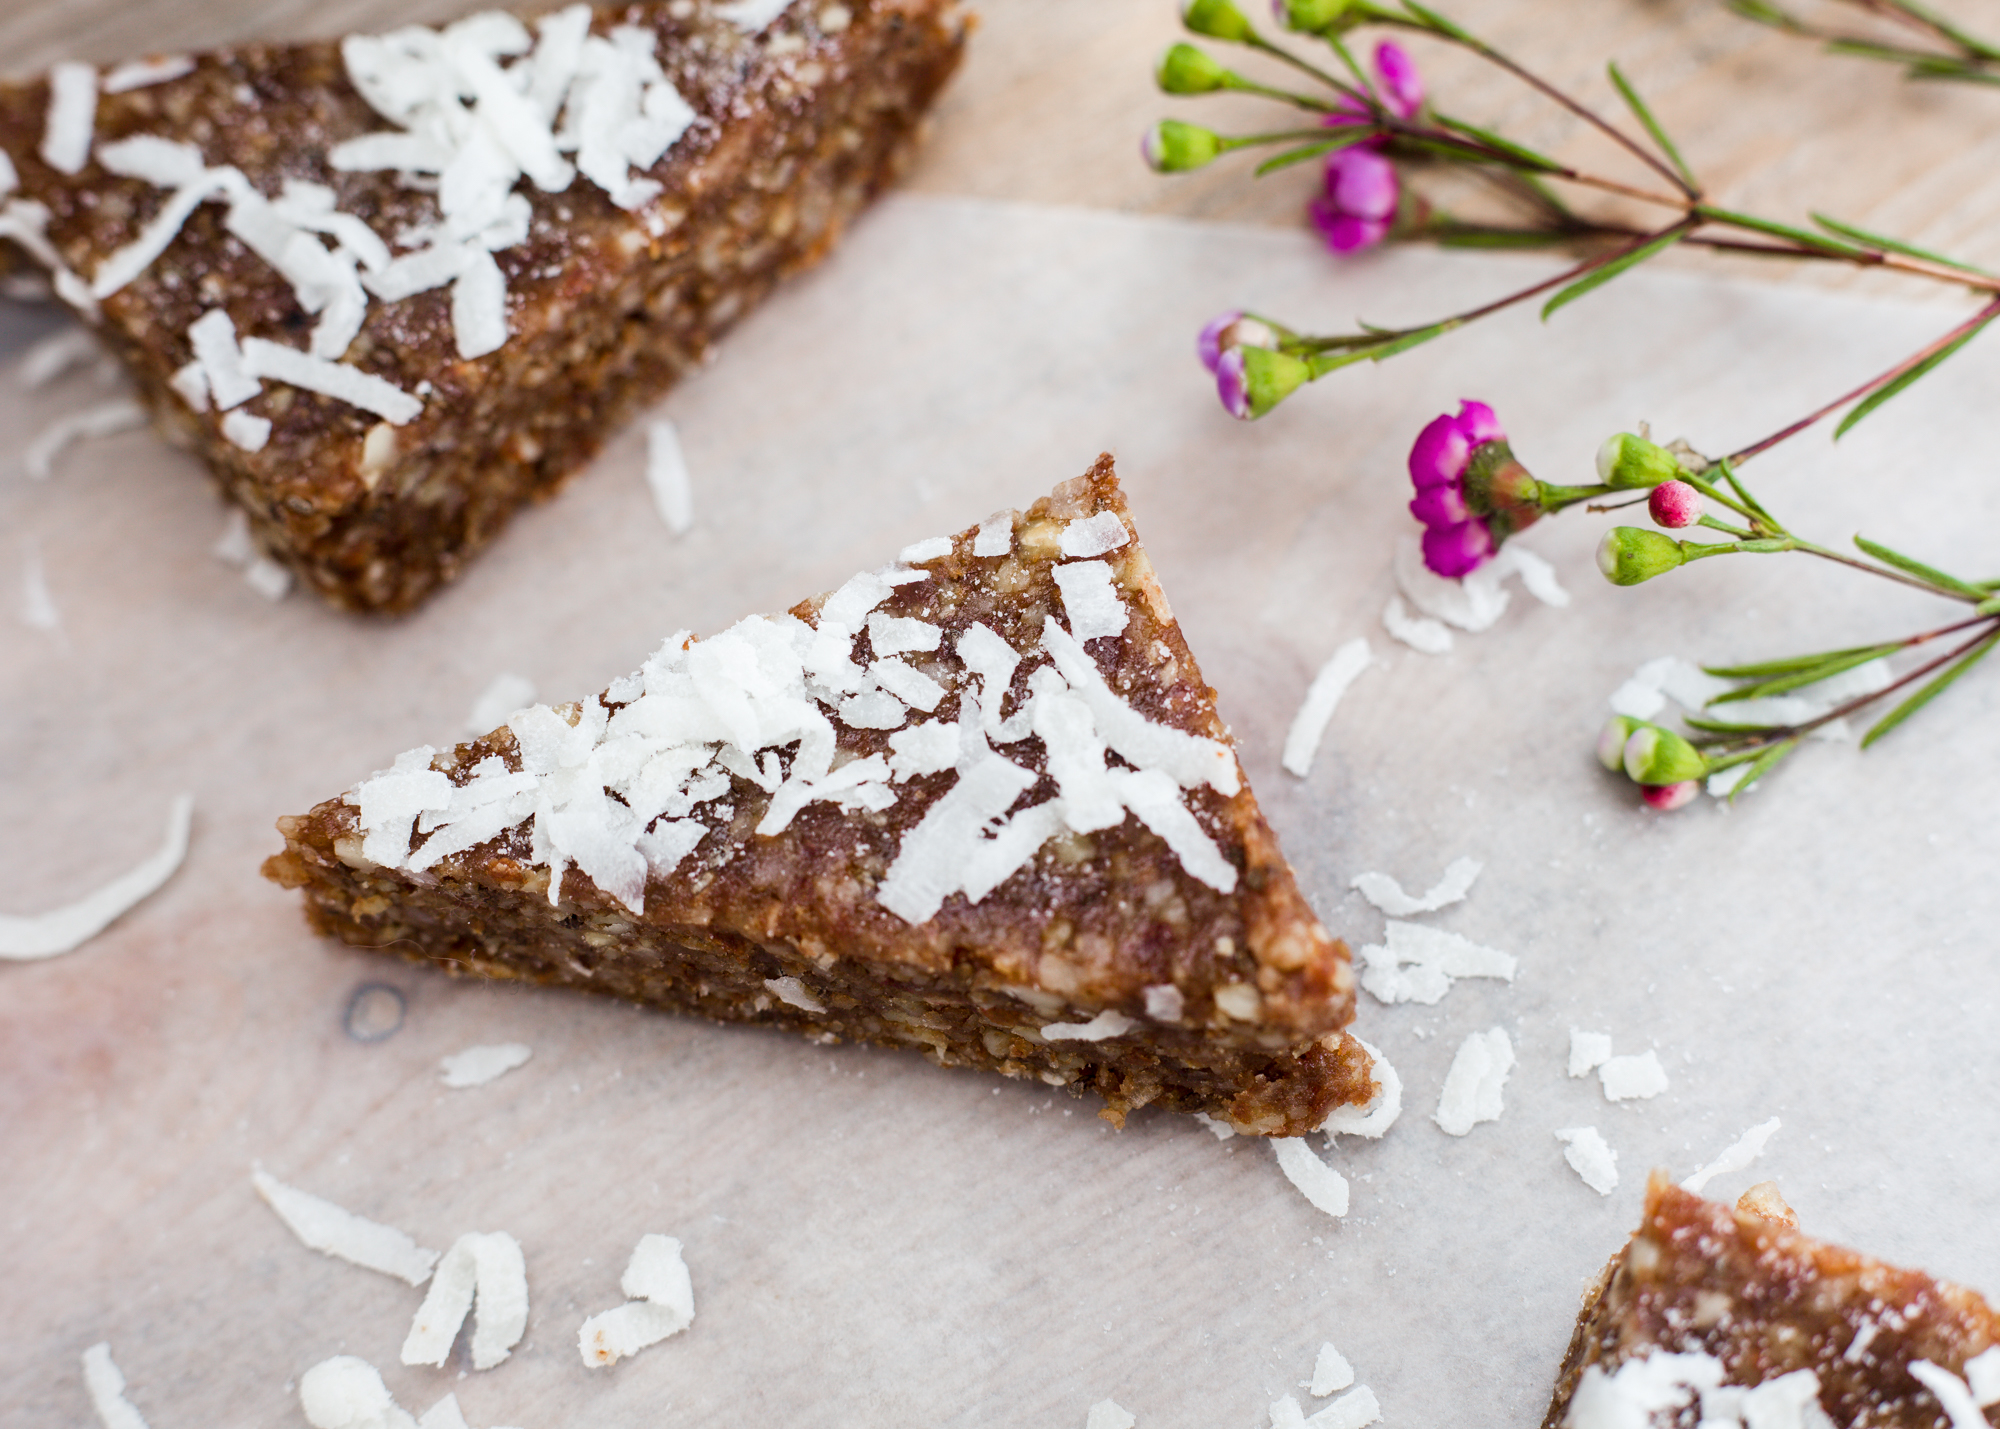
4. Make treats to enjoy and give

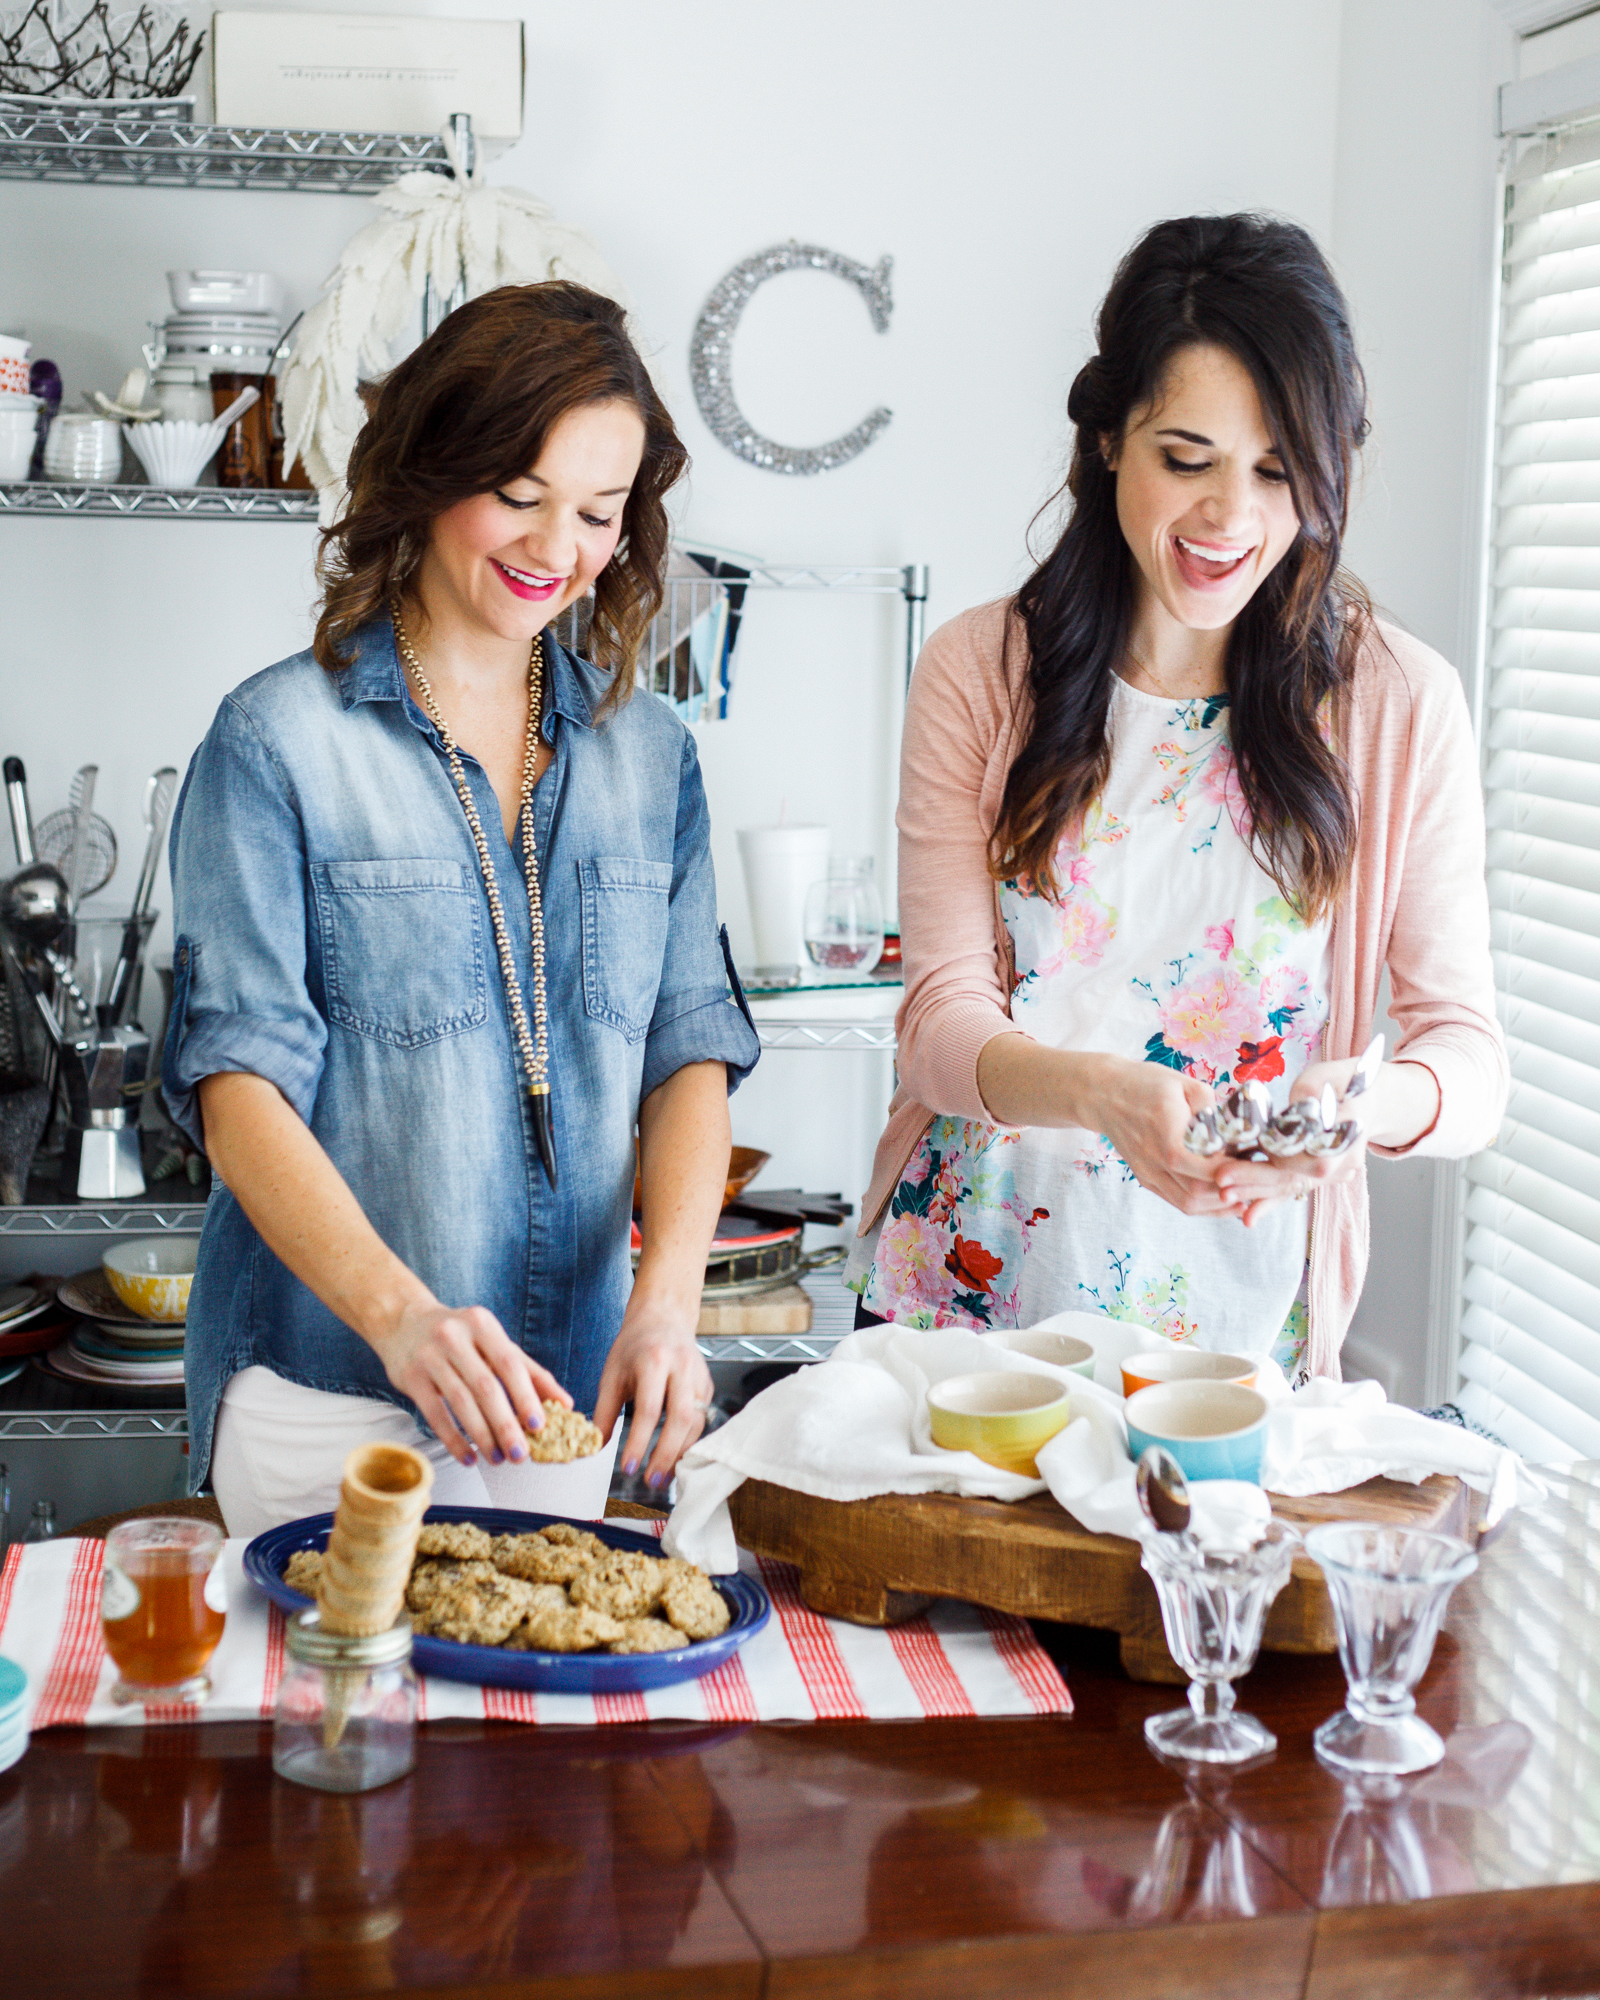
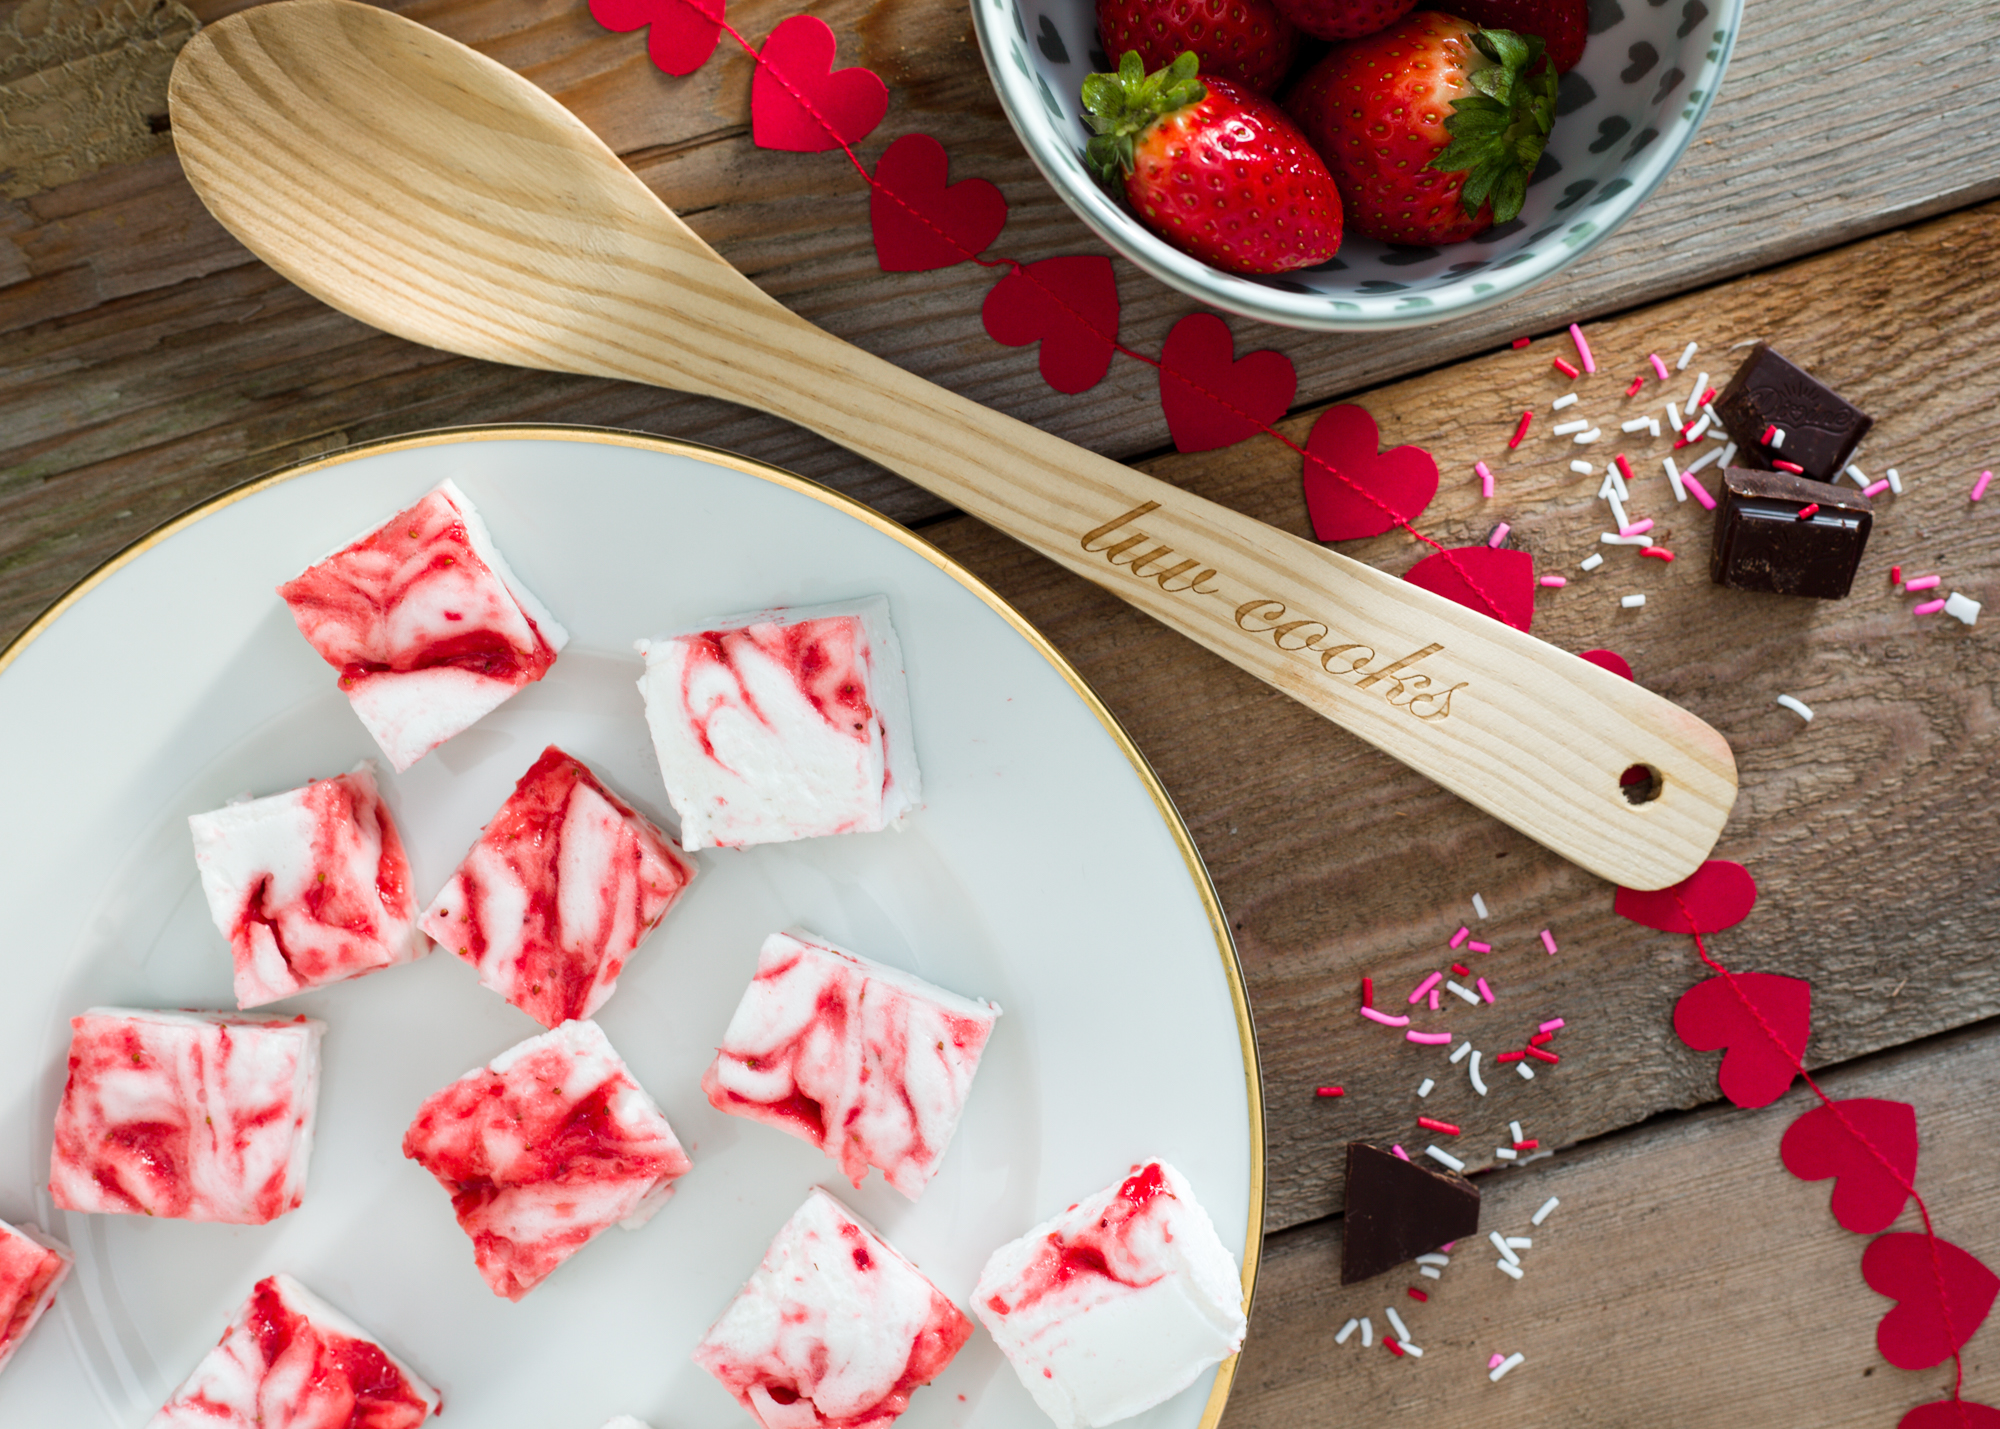
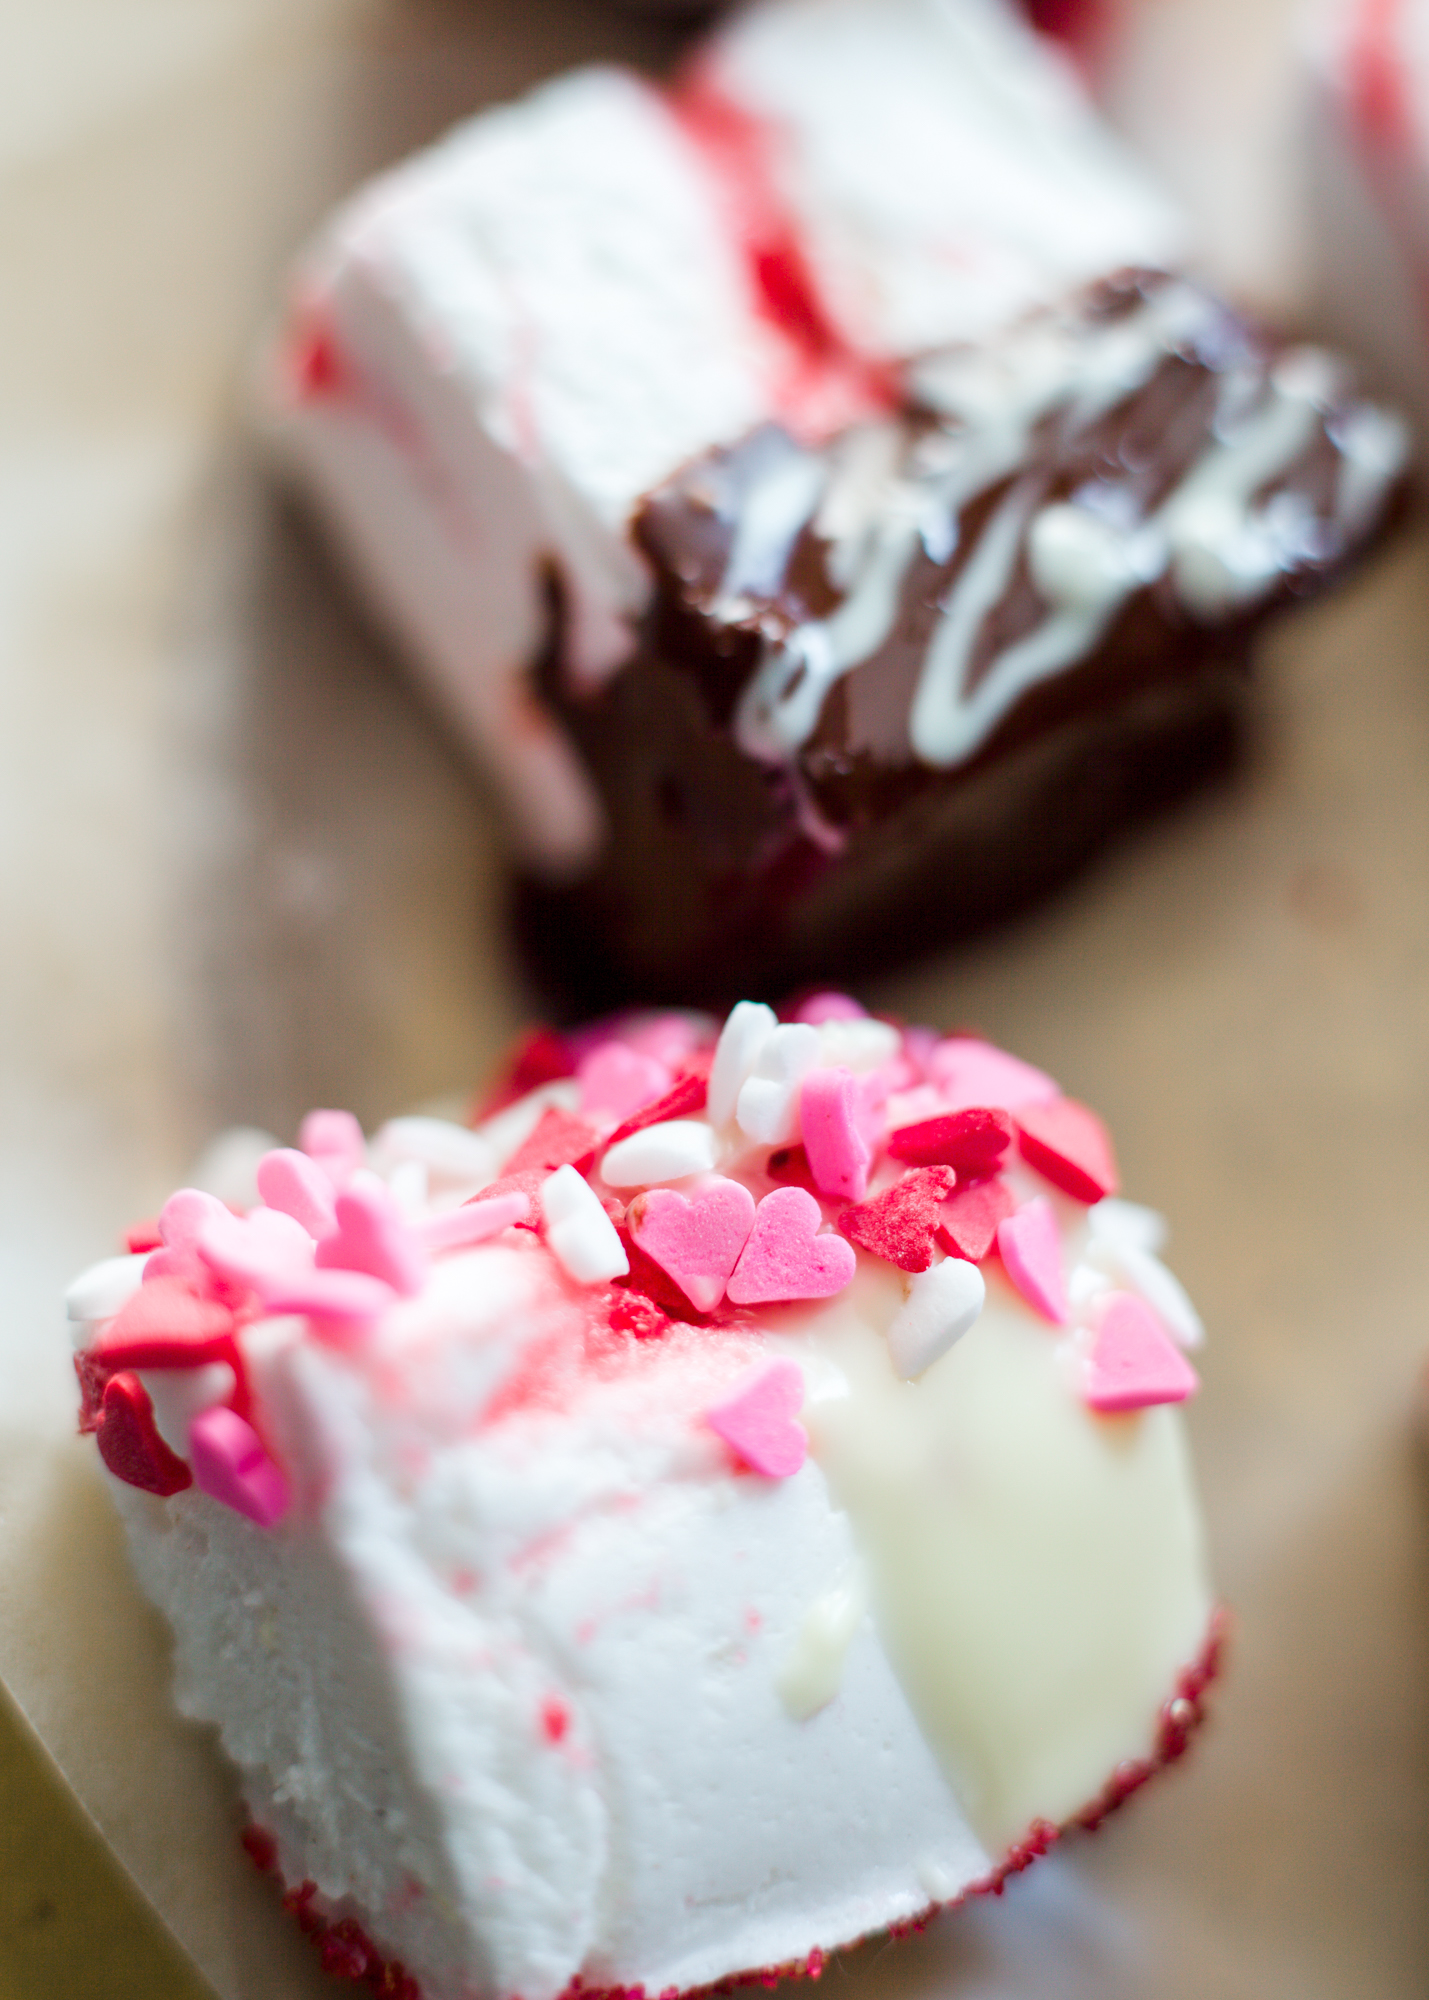
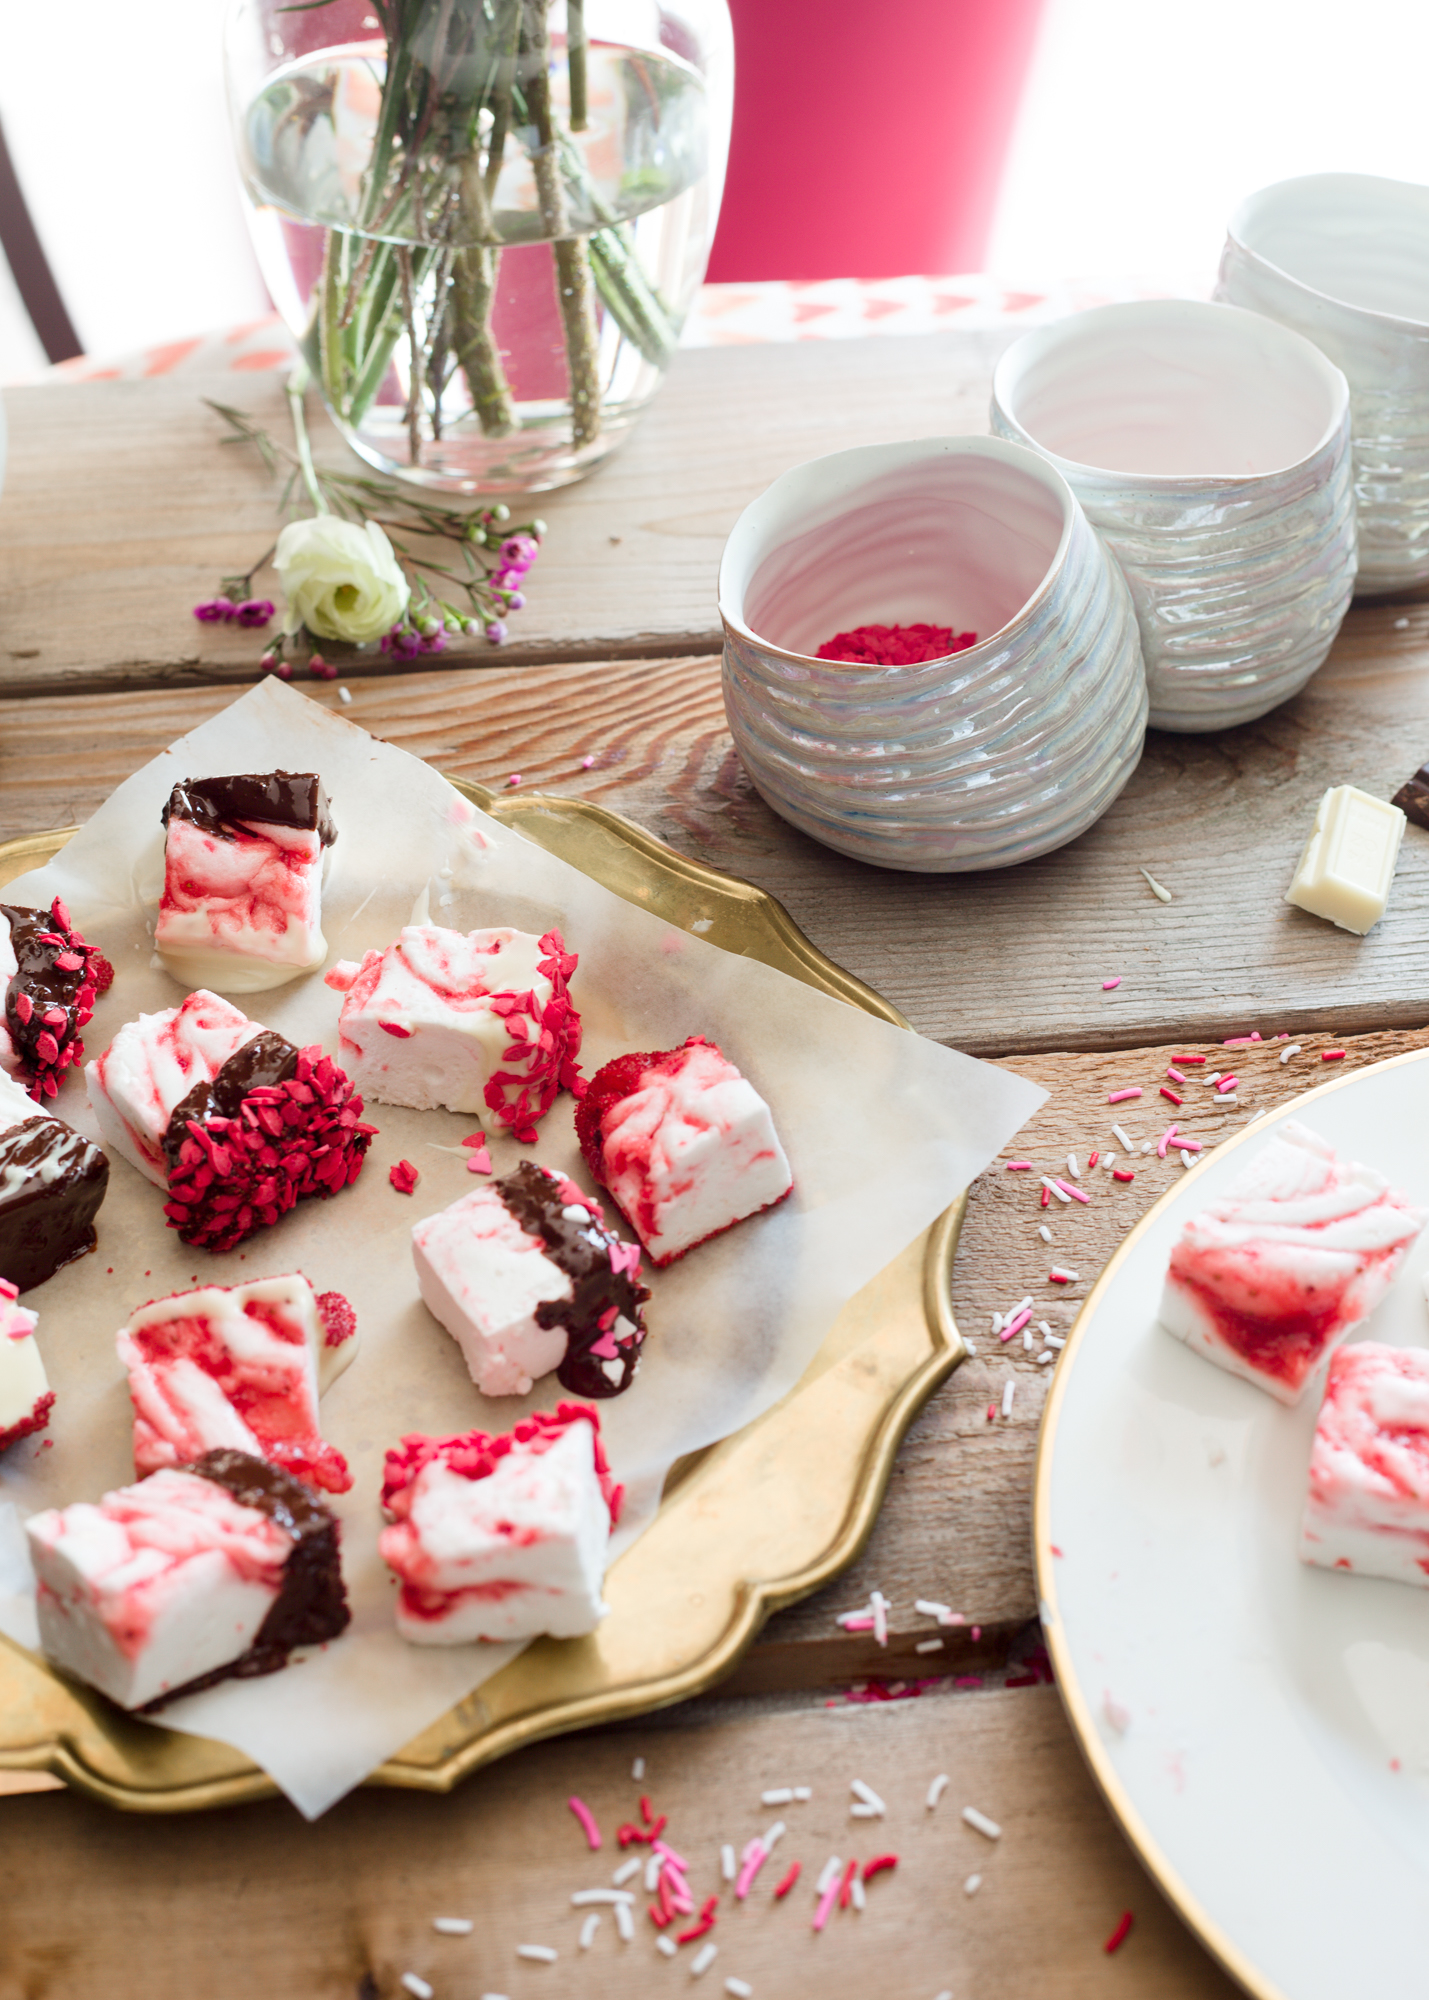
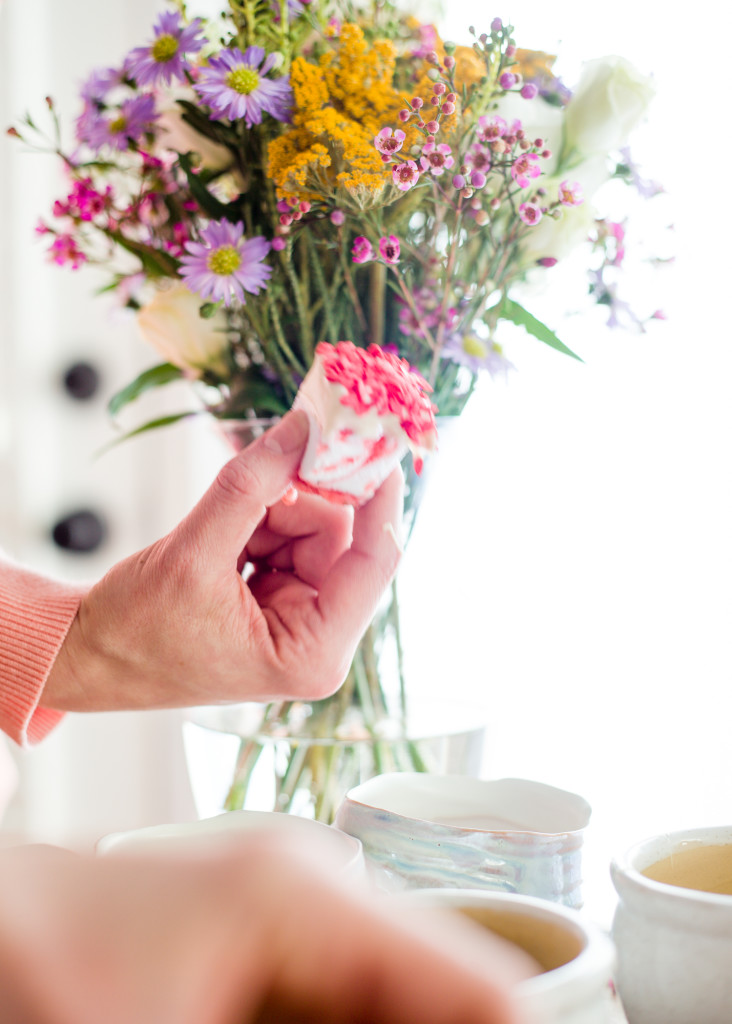
Just like the strawberry marshmallows we’re sharing with you today, a special treat is a tasty way to celebrate life! I love our strawberry marshmallows because they reflect the color of the holiday, and by dipping them in chocolate and sprinkles they feel whimsical, special and handmade. If you’re unsure about giving the homemade marshmallows a go, you can buy marshmallows and just do the chocolate and sprinkle dipping by hand! Last year for the launch of The LovingKind,which was on Valentine’s Day, I created goody bags to give out to friends with a tag introducing The LovingKind and with a handwritten note. This treat not only celebrated the holiday, but also an exciting launch! I had so much fun giving them and seeing people “deviate from routine” and enjoy a moment of celebration with their treat!

The Loving Kind cards

5. Gather people

There is nothing like the energy of people gathered together for a celebration. From my wedding reception, the biggest celebration of my life, to our low-key Christmas cookie swap we hosted this year, when gathered with others, there is a special feeling in the air of “this matters.” If you want to gather with others and plan an elaborate menu, gorgeous decorations, and a guest list two miles long, go for it—it sounds amazing! But just remember, it’s the heart behind the celebration that matters most. So, be confident that with the right heart, you can have just as meaningful moments with people around a pot of your favorite homemade soup as at an event trimmed, decked, and covered with all the fixin’s you can dream up!

6. Decorate

This is the area I am working on and hope to keep getting better at because I love when I enter people’s homes and can feel the spirit of celebration. If your entire home feels like too much, just pick one room or just go for the front door! One of my friends, Blaine Taylor, always has something on her front door celebrating the current season, and it makes me so happy every time I pass her home! Putting festive items around you and others just makes the space feel special and it’s a reminder to celebrate.

Strawberry Swirl Marshmallows-045

Friends, I hope today you’ve found new ideas, and the heart of your inner celebrator has been encouraged or rekindled. In 2015, I hope you find yourself celebrating more and enjoying this precious life you’ve been given. Happy Valentine’s Day!

Strawberry Swirl Marshmallows


Strawberry Swirl Marshmallows

What you will need for the marshmallows:
  • 1/2 to 1/4 cup confectioners’ sugar
  • 1 cup cold filtered water, divided
  • 2 tablespoons plus 2 1/2 teaspoons unflavored gelatin
  • 2 cups granulated sugar
  • 1/2 cup light corn syrup
  • 1/4 teaspoon salt
  • 2 large egg whites
  • 1 teaspoon vanilla
  • 1/2 teaspoon almond extract
For the strawberry swirl:
  • 1 pint fresh strawberries, halved and tops removed
  • 1 tablespoon sugar
What You Will Do:

1. Spray the bottom and sides of a 9×13-inch baking pan well with cooking spray. Scoop about ¼ to ½ cup confectioners’ sugar into the pan and toss the sugar around to coat the top and sides of the pan, discarding extra sugar.

2. In a large bowl, pour ½ cup cold water over the gelatin. Let it sit for a few minutes to soften.

3. Put halved strawberries and sugar into a blender to sit while you prepare the marshmallows.

4. In a heavy saucepan, cook the granulated sugar, corn syrup, remaining ½ cup water, and salt over low heat. Stir the mixture with a wooden spoon until all of the sugar is dissolved. Increase heat to medium, and bring the mixture to a boil. Cook without stirring the mixture reaches 240 degrees on a candy thermometer. Remove pan from heat, and pour sugar mixture over gelatin mixture (don’t worry if you now have a gelatin dome- just keep blending), stirring until dissolved.

5. Beat mixture with a mixer on high speed until fluffy and tripled in size, about seven to ten minutes. Once it gets so sticky that your beaters aren’t really working anymore- stop there!

6. In the bowl of a separate stand mixer, beat egg whites until stiff peaks form, about 2 minutes. Beat in vanilla and almond extract.

7. Add egg white mixture gently into the sugar mixture with your wooden spoon until combined and still fluffy.

8. Pour the mixture into prepared pan, using an oiled spatula (or spoon) to spread the mixture evenly.

9. Make the strawberry puree: Blend the strawberries in blender until smooth.

10. Use a wooden spoon to dallop 3/4 cup strawberry puree in center, then corners of pan. Using a toothpick, make a pretty swirl pattern, gently combining the strawberry puree with the marshmallows.

11. Chill in the fridge for a few hours and up to a day. I found it helpful to spray a piece of plastic wrap with cooking spray, then stretch it over the top of the marshmallows.

12. To remove the marshmallows, run a knife around the edges of the pan. Cut marshmallows in to a grid of your desired size. Use a spatula or knife to remove. Enjoy!*

Strawberry Swirl Marshmallows

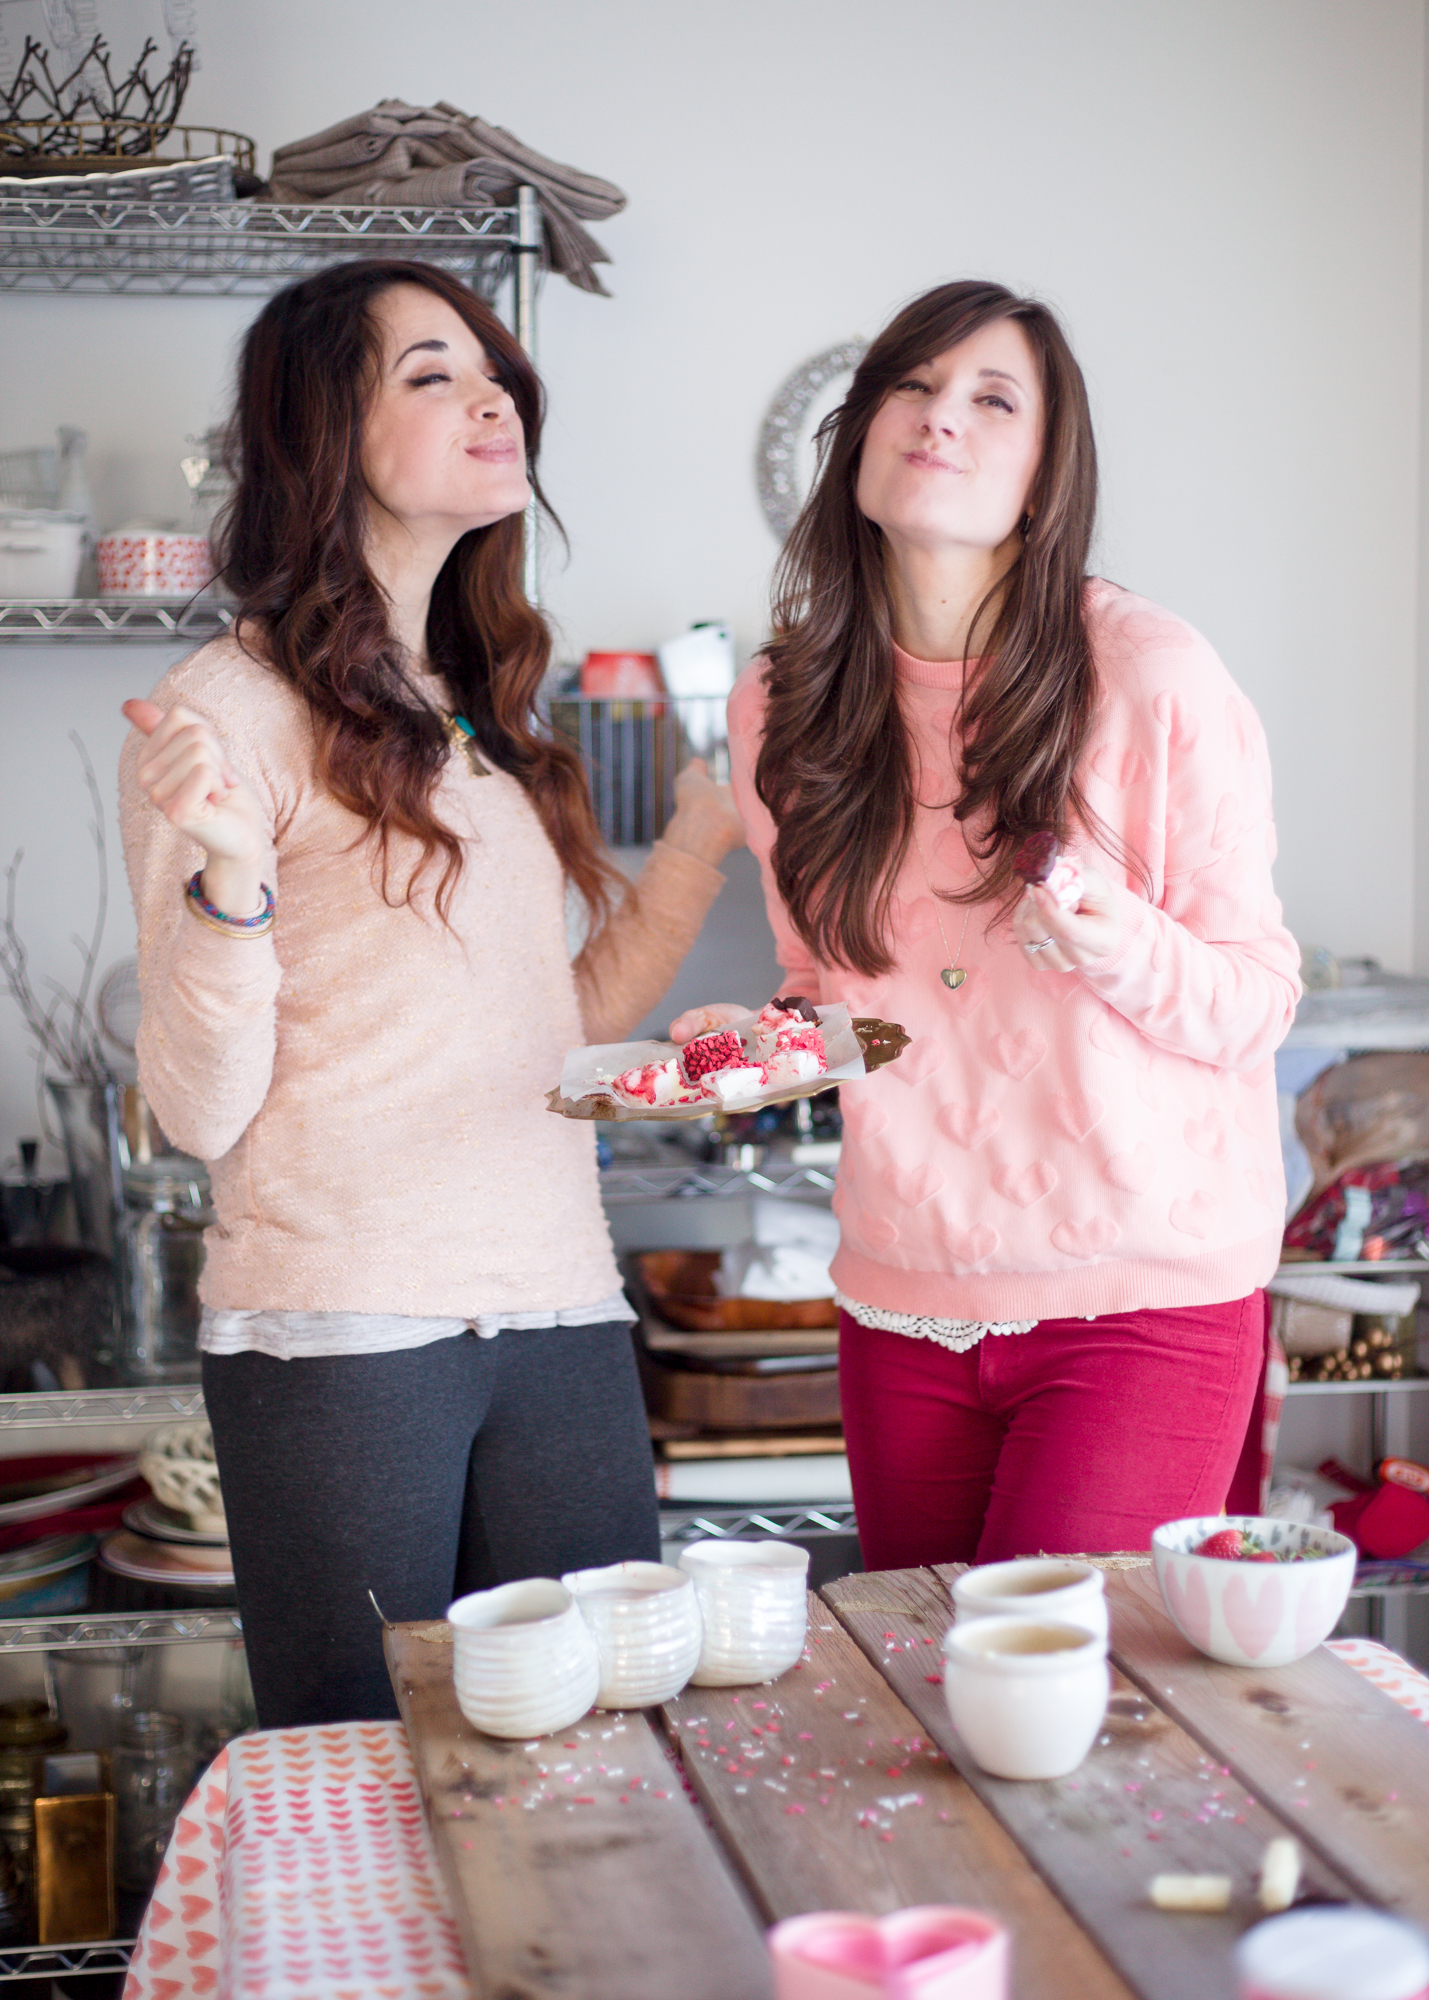
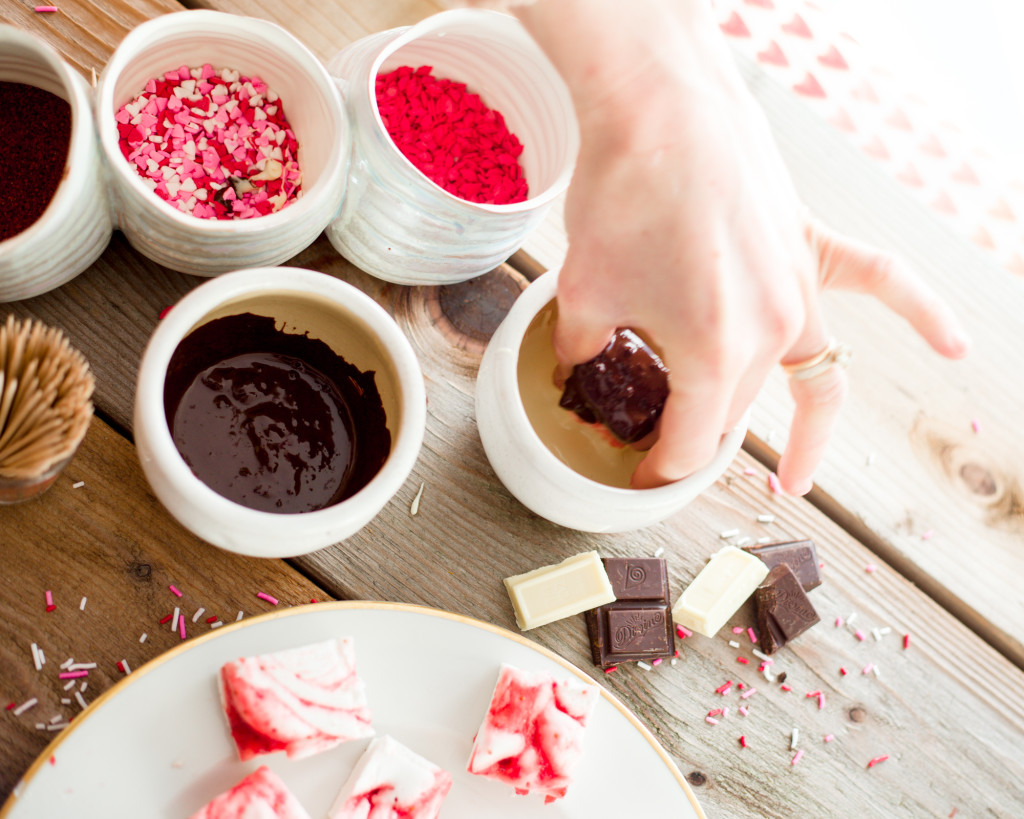
 *As you can see, Mattye and I fully embraced the celebratory nature of Valentine’s Day treats with a fun white and dark chocolate dipping station! All you need is some melted chocolate and festive sprinkles. We melted a Divine ginger chocolate bar and white baking chocolate. Once dipped, sprinkle the mallows to your heart’s content! This is the one case where double-dipping is officially allowed! :)Let the taste-testing begin!

Strawberry Swirl Marshmallows-195
Strawberry Swirl Marshmallows-198
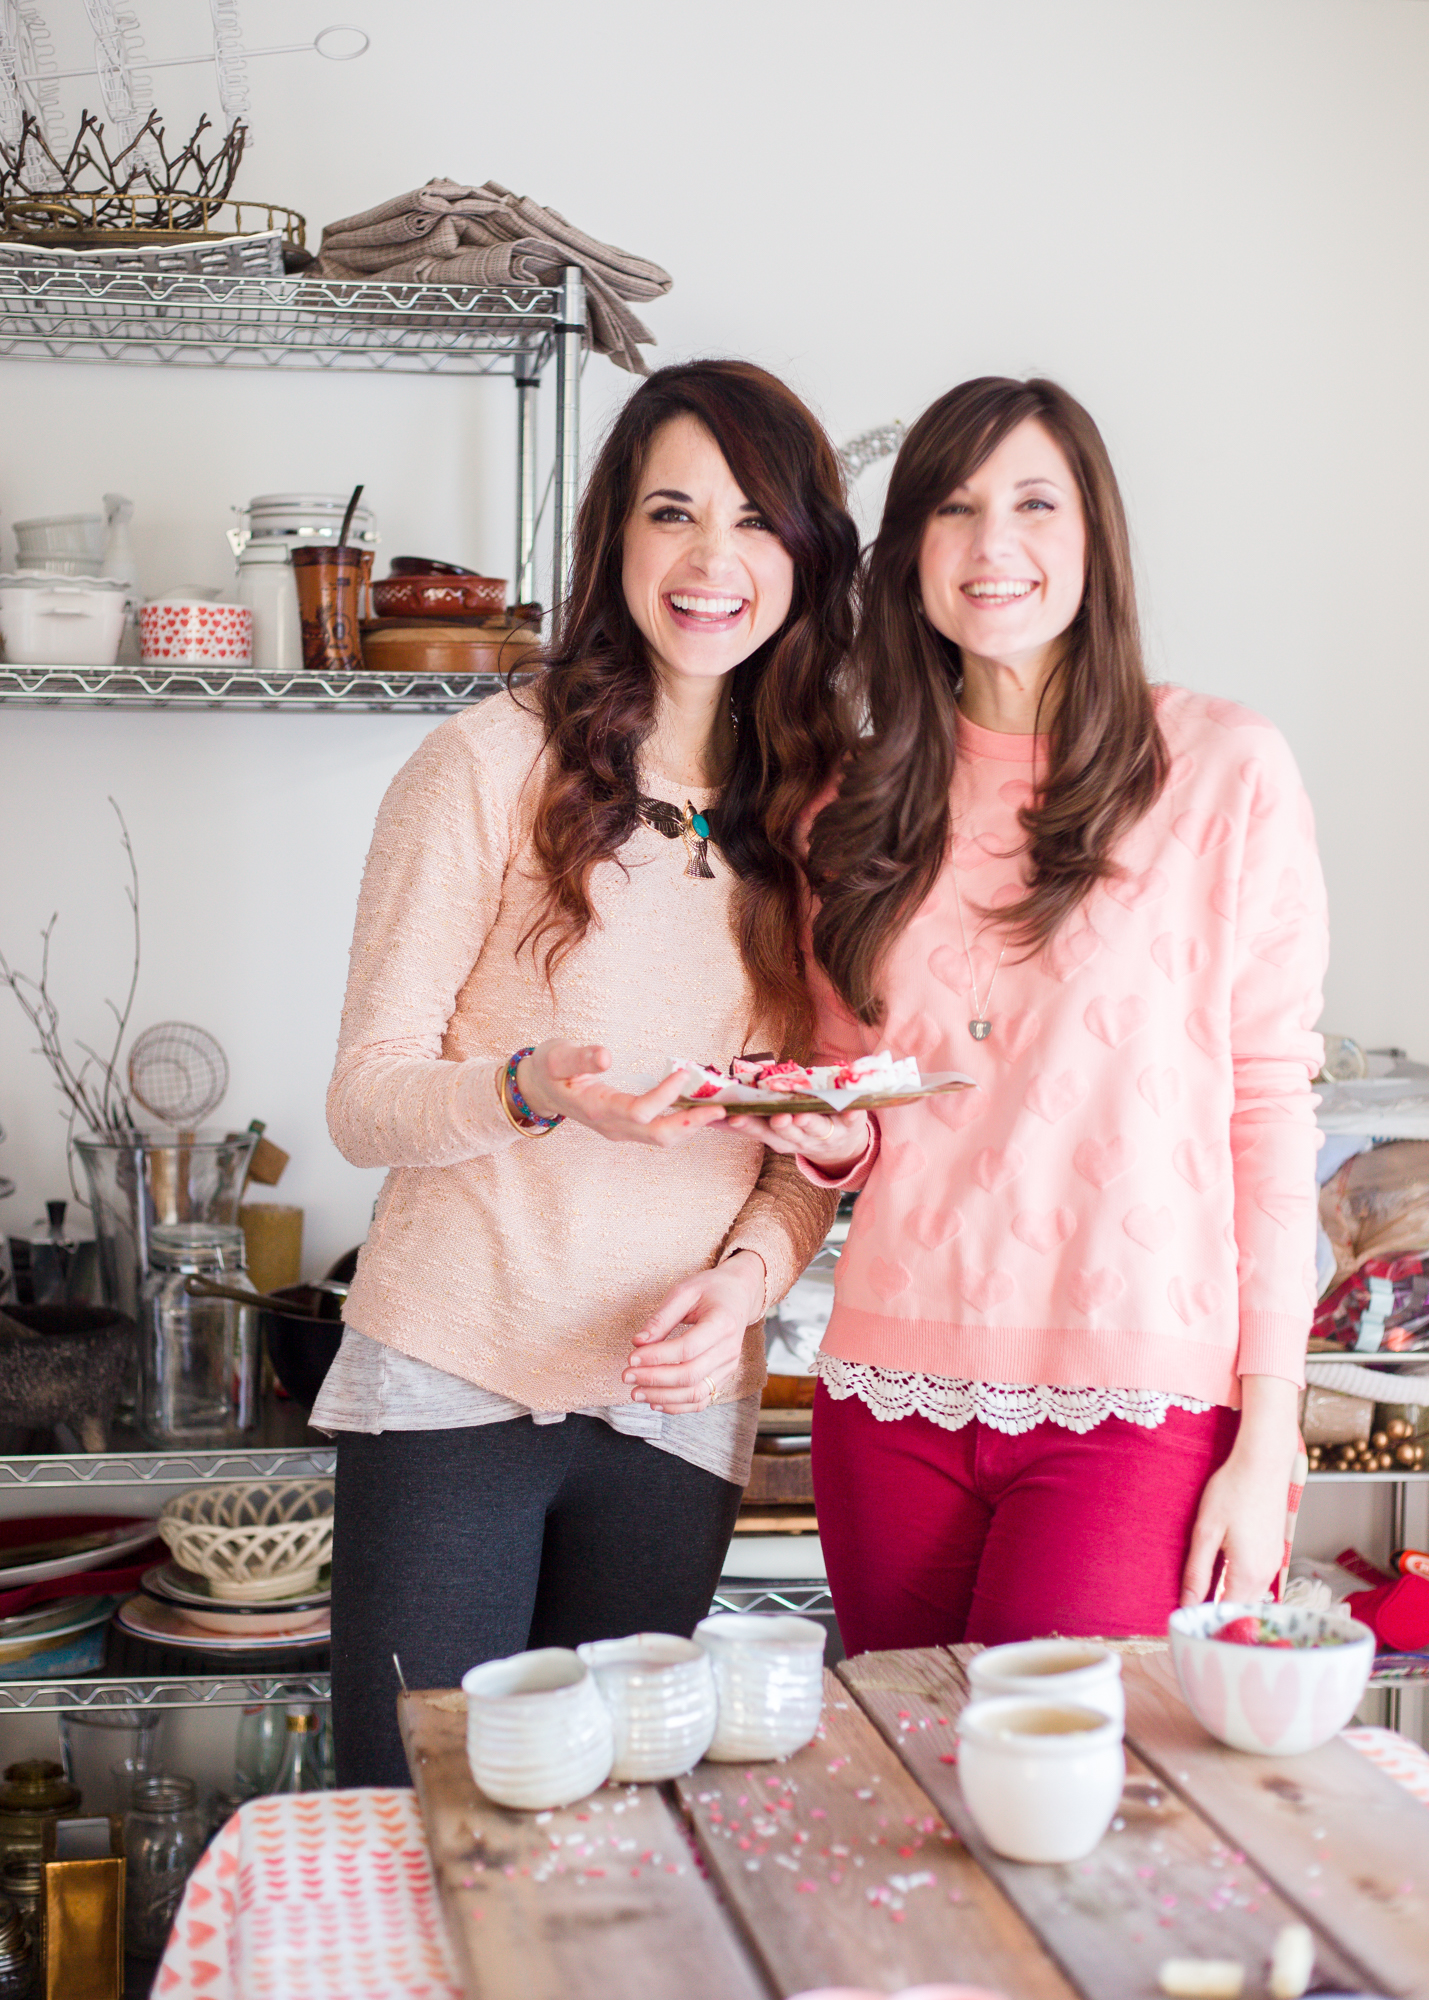
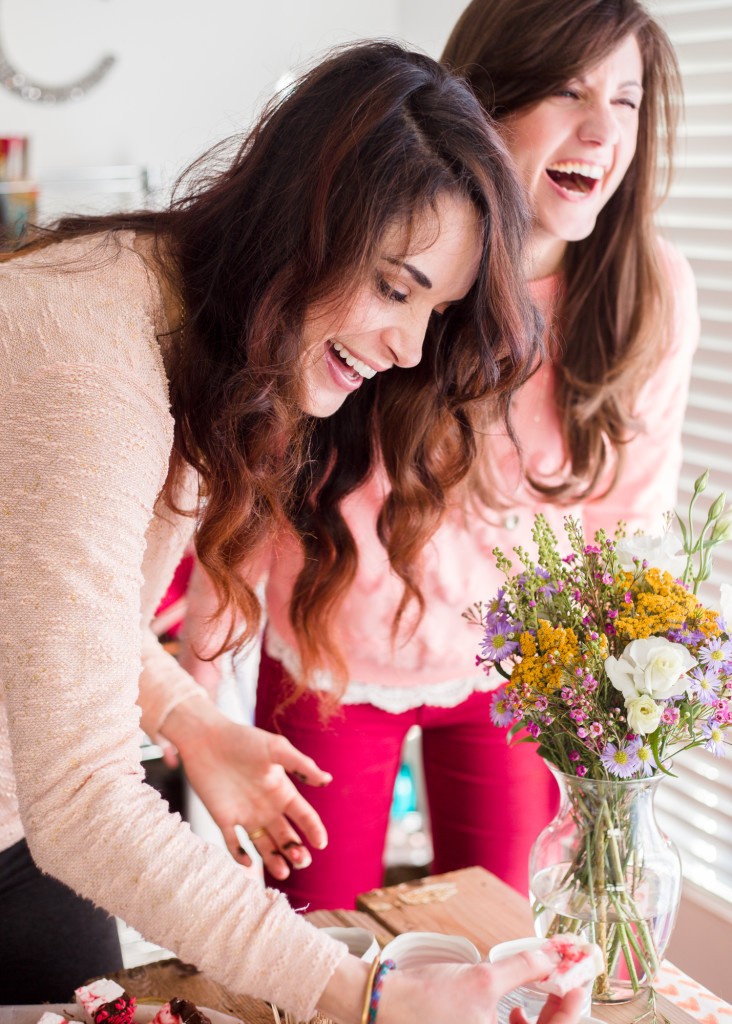
Cheers to homemade treats!
Strawberry Swirl Marshmallows
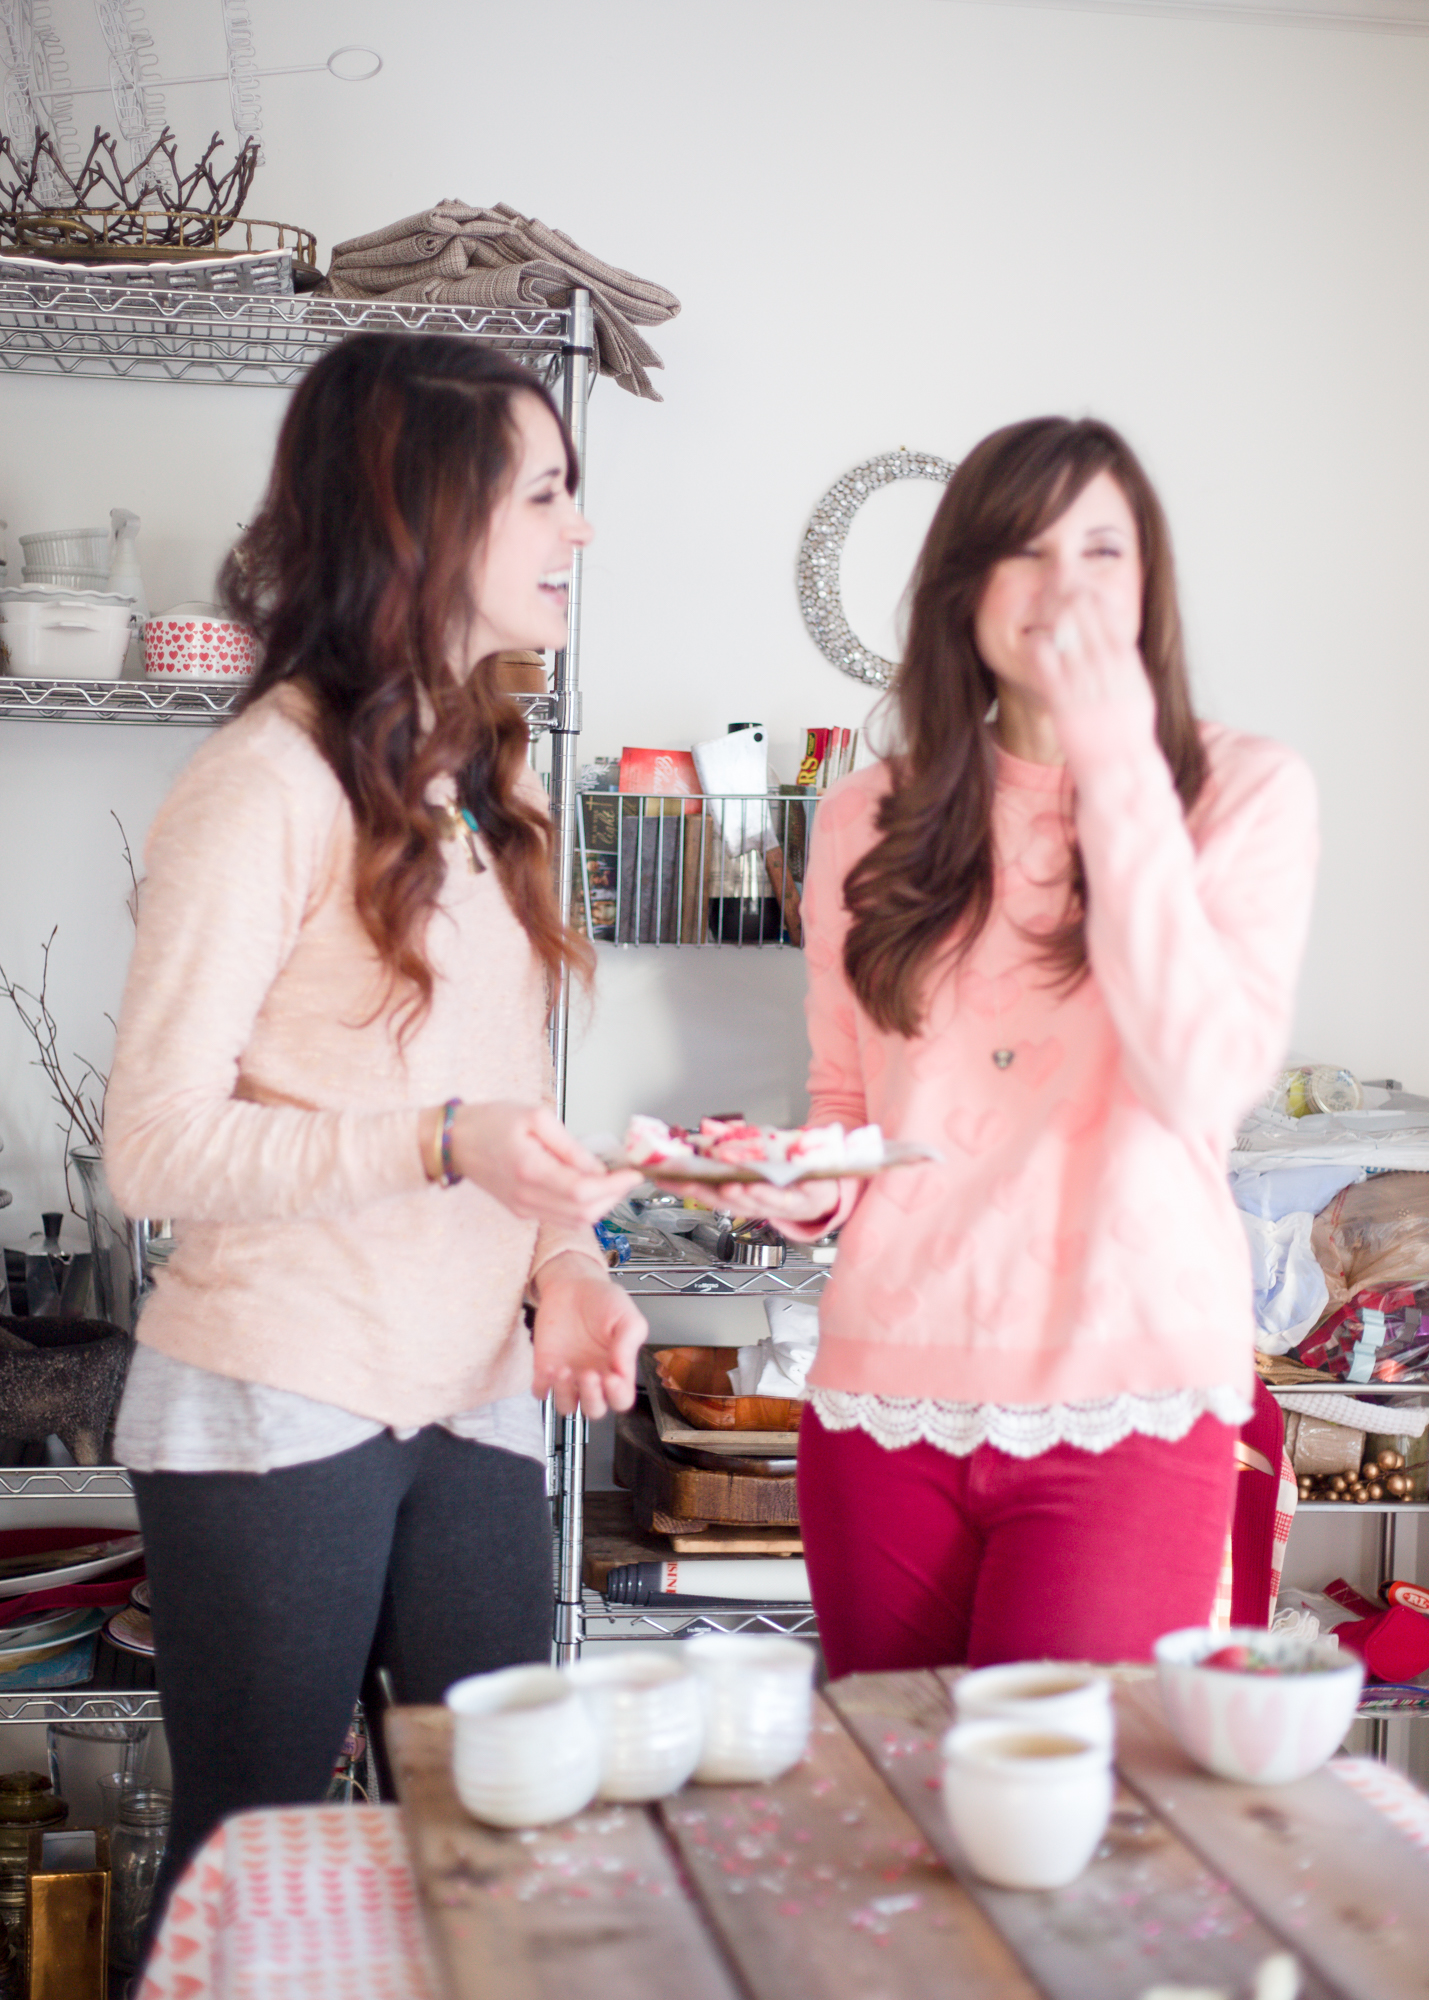
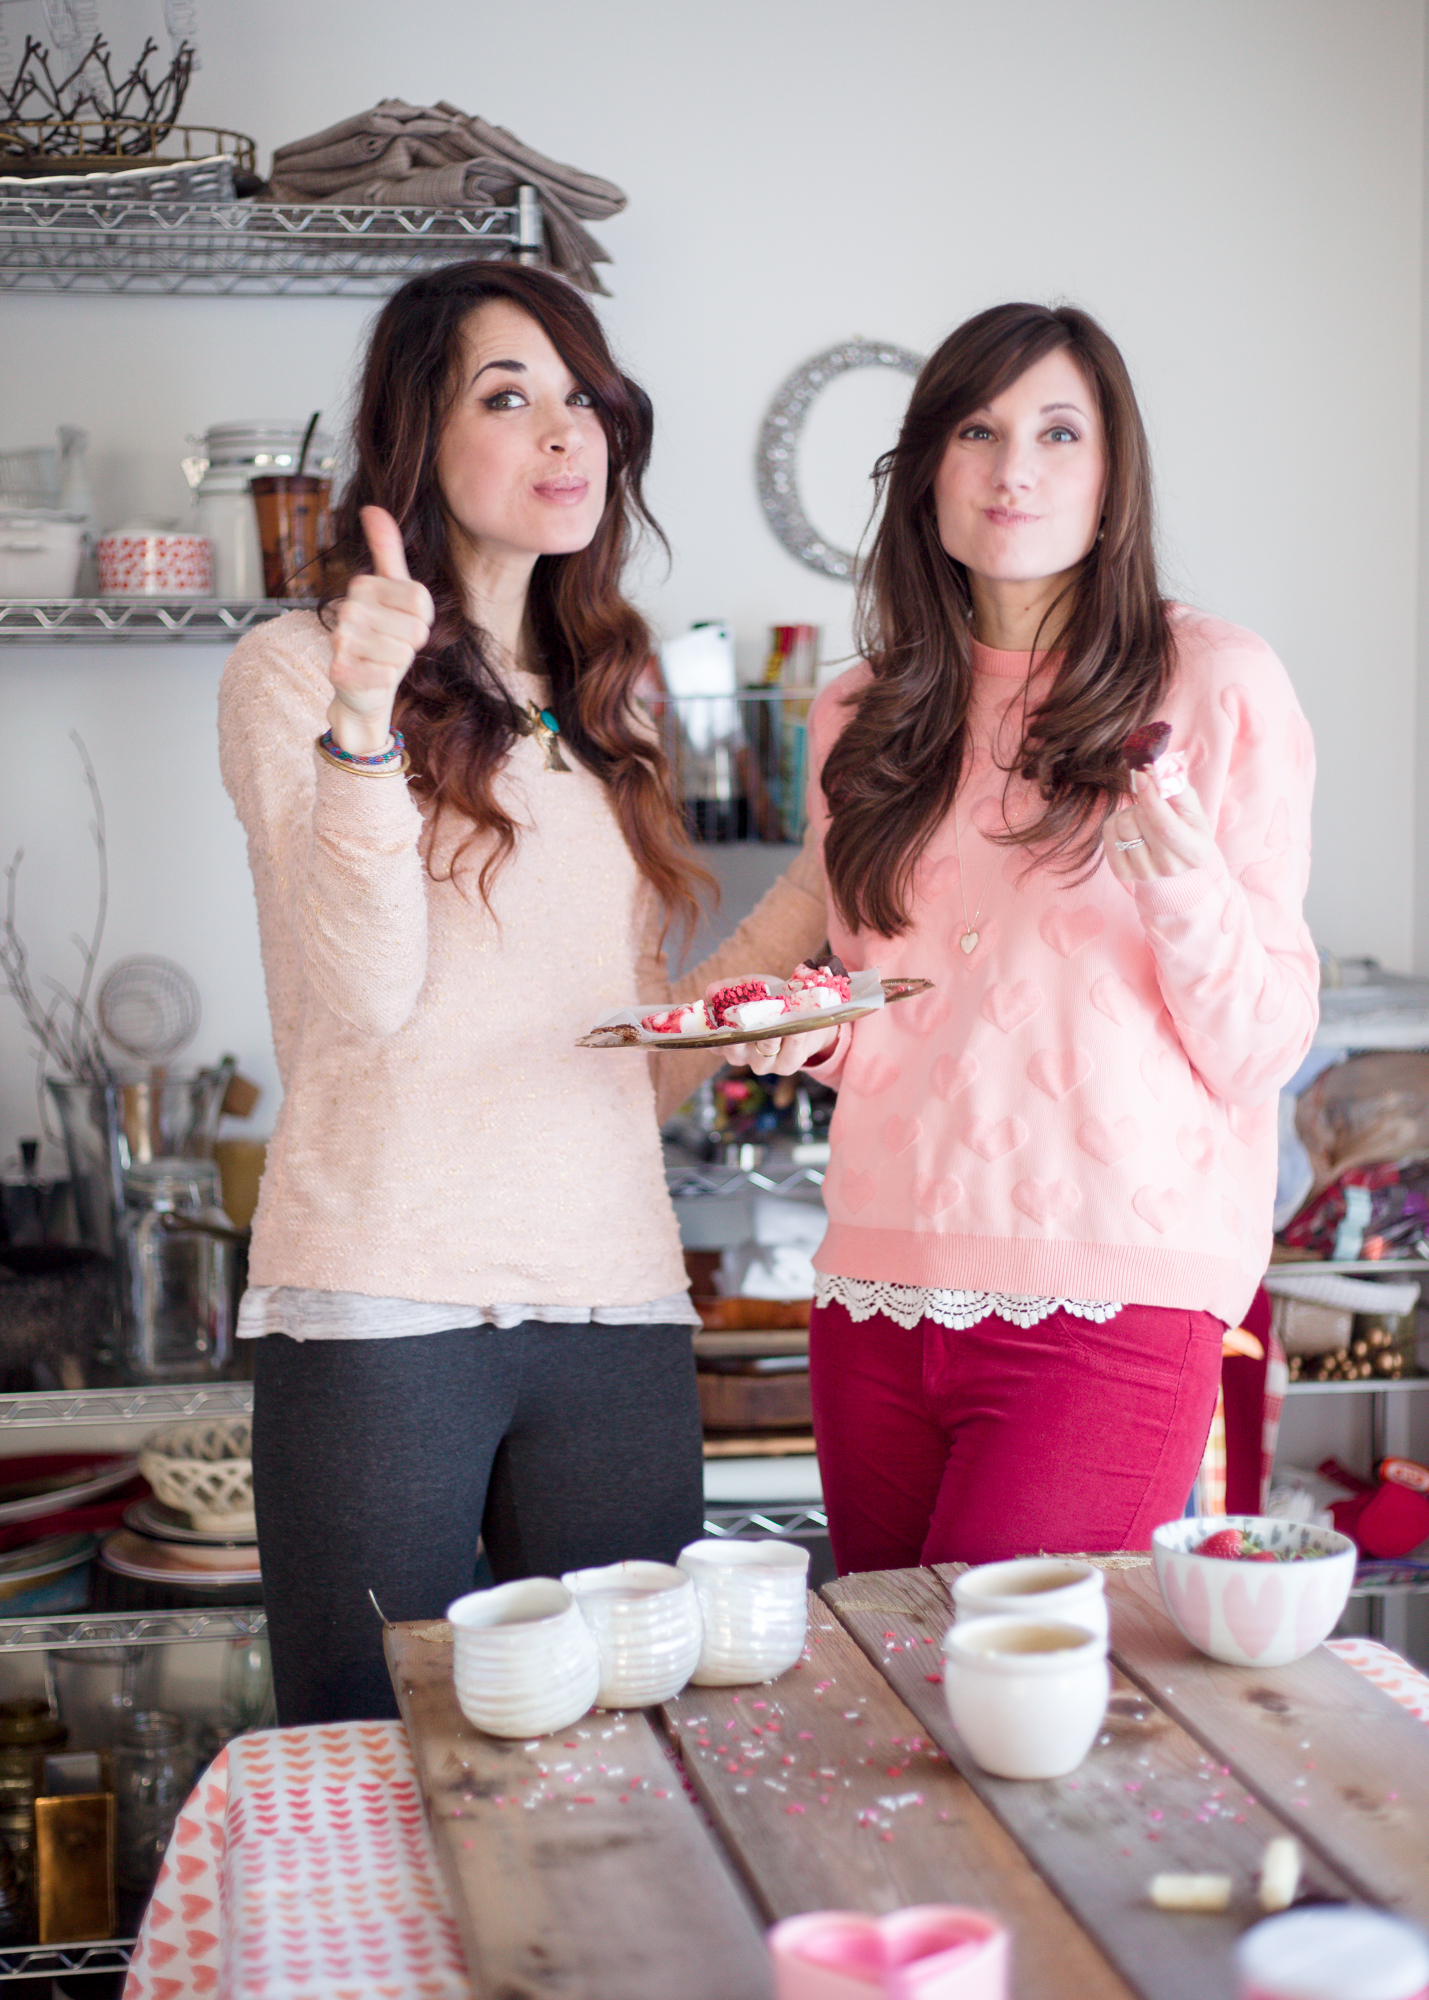
The true focus of our laughter…
Strawberry Swirl Marshmallows

As you can see, these mallows are officially endorsed by Mattye and I:)Happy Valentine’s Day luvs!

Coconut Cacao Raw Energy Bars

Coconut Cacao Raw Food Bar

I will be the first to tell you that I luv a Mounds bar. Sweet coconut dipped in rich dark chocolate- sign me up for that.

But ever since I have been in on what I like to call a “cleaner” eating plan, the truth is that I am constantly on a quest to find chocolate options I can eat more than every time my eyes wander longingly at a vending machine. You know, as the saying goes, some chocolate a day keeps the doctor away. Well, something like that.

I have also recently discovered raw cashews and am a bit obsessed. Raw nuts are amazing in their ability to gently blend into whatever you might need them to be. Need a non-dairy cheese option? Throw some raw, soaked cashews in a blender with nutritional yeast (queso recipe coming soon that I promise is going to knock your socks off). Milk substitute? Soak raw almonds, then run them through a blender with water. Need a bar to satisfy your constantly nagging/slightly annoying sweet tooth? Enter coconut cacao heaven.

Coconut and Cacao Raw Bars

These bars are uber simple to make, and unlike most raw food bars, don’t use an over abundance of dates.

By the way, can we all be real for a second? Dates are not my favorite. They remind me a bit of the smell of my grandmother’s (loved her!) closet drawer.

Instead, these bars are chocked full of raw almonds, cashews, cacao powder, and coconut. They hold together beautifully, and are so easy to assemble. Plus, they have lots of healthy fats, which will hopefully fuel you on your journey past the vending machine. Plus, my husband, his friends, and everyone I handed one of these to thought it was delicious.

Chocolate Coconut Raw Food Bars-252

So, Mounds world watch out- there’s a new bar in town.

Coconut Cacao bars (Inspired by About.com, recipe adjusted by me)

What You Will Need

  • 2 cups raw cashews
  • 1 cup raw almonds, soaked (this is one cup measured before you soak the almonds)*
  • 1 cup dates, pitted and chopped
  • 2 tablespoons chia seed
  • 2 tablespoons cacao powder
  • 1 teaspoon vanilla extract
  • 1/4 teaspoon salt
  • 1/2 cup sweetened (or unsweetened if you prefer) coconut, plus more for sprinkling
  • 1 tablespoon water
  • wax paper

What You Will Do

  1. Line an 8 by 8 inch square pan with wax paper.**
  2. Blend the cashews, almonds, dates, chia seed, cacao powder, vanilla extract, and salt in a food processor until the pieces are about the size of fine gravel.
  3. Add 1 tablespoon water and coconut to the processor.
  4. Pulse the mixture until it begins to form a large “dough” ball in the processor, or until the motor sounds like it’s whistling angrily (maybe this was just me.)
  5. Use a spatula or your hands to press the “dough” into an 8 by 8 inch baking pan.
  6. To get the top of the bars super smooth, use one more strip of parchment paper (cut as wide as the baking pan), and press it into the top of the bars. Use your spatula to gently press the mixture down, starting at the top of the pan and working downward, then side to side, until it is evenly smooth on the top.
  7. Peel off the wax paper, then sprinkle with as much coconut as desired.
  8. Cover and chill the mixture for at least an hour.
  9. Cut into squares and enjoy!

*Soaking nuts is a whole new world to me, but all you have to do is pour them into a bowl, then add enough water to cover them. Sit them out at room temp for at least eight hours, and up to 12.

**The easiest way I have found to line baking pans is this: Begin to stretch the paper off the roll and across the width of your pan. Cut the paper right before it reaches the edge of the pan. Turn the pan counterclockwise, and do the same thing for the other side. Spray the bottom of the pan with cooking spray, then insert one strip of paper. Spray cooking spray on the first strip, then top with the final one. Viola!

Low Sugar Banana Blueberry Baby Smash Cake

Baby Banana Blueberry Smash Cake


In my book, babies are absolutely precious. In fact some are so cute I actually feel like my heart might explode with joy and undeniable mushiness. Full of life, cooing at every glittery object dangled across their tiny little faces; arms outstretched to the object’s owner, inviting them to cuddle. My absolute favorite baby is one with what I like to call “Michelin” arms- a.k.a. the chubby rolls of skin that fold over their tiny elbows, waiting on the little one to grow a bit more before they unfold.

Now, I don’t actually have a baby, so I realize that my view of them is probably a bit romantic. Maybe they aren’t always cooing, maybe sometimes they cry. But in my mind, until this situation changes and reality hits, I will cling to the dreamy, giggly Gerber moments I see on Publix commercials.

Precious Pace eating cake!

That being said, I was over-the-moon thrilled when my friend Celine asked me to make a low sugar baby smash cake for precious Pace’s first birthday. Pace has yet to eat sugar, and being new to the realm of whole foods nutrition, it was a challenge to find a recipe I felt good about. Some were so far left I had trouble, in my newbie mind, recalibrating the ratios to resemble something that might delight a little one. Others seemed more towards center, but their appearance resembled something close to play dough. (Which, by the way, who didn’t love play dough as a kid? I think I loved it so much I ate it.)

But this recipe, sent to me by Celine and found on Fit Mama Real Food was a blessing. I loved Heather’s take on real food for kids. Her recipes are right on target, nutritious, and I was pumped to find out about her site. Knowing Pace’s love for all things fruit, I thought blueberries would be a nice tie-in for him, since blue appears to be a good color for boys’ birthday parties and all.

Below is my spin on her awesome recipe. I hope you have time to make this for the precious, giggly munchkins in your life; I think they’ll love it. Bon appetit and happy smashing!


Baby-Smash-Cake-with-Blueberries-


Low Sugar Banana Blueberry Smash Cake

 What You Need 

For the cake

  • 5 ripe, medium sized bananas
  • 3/4 cups whole wheat flour
  • 3/4 cup oat flour (just grind rolled oats in a blender, then measure)
  • 1 teaspoon cinnamon
  • 1 teaspoon baking soda
  • 1/2 teaspoon salt
  • 1/2 cup natural no sugar added applesauce
  • 3 tbsp coconut oil (melted), plus more for greasing cake pans
  • 3 teaspoons vanilla extract
  • 1/2 cup thawed frozen blueberries

For the frosting

  • 8 ounces organic heavy cream
  • 1/4 teaspoon vanilla extract
  • Additional fresh blueberries for topping

What You Will Do

1. Preheat your oven to 375, and use coconut oil to grease two 9-inch cake pans.

2. Mash bananas! This is somewhat tedious if you do it with a fork, but hey, gotta show the babies some luv!

3. Combine both flours, cinnamon, baking soda, and salt in a large bowl.

4. Add mashed bananas, applesauce, coconut oil, vanilla extract and mix until just combined.

5. Gently stir in blueberries, trying not to break the skins (this has the potential to turn the inside of your cake purple).

6. Making sure to distribute the batter evenly, pour it into each cake pan. My recipe took about 1 1/3 cup batter per pan.

7. Spread the batter into the edges of the pan. Use a butter knife to even out the top of the batter. This will help your cake layers lie flat when you stack them.

8. Bake at 375 for about 15 minutes, or until the cake is golden on the edges and a toothpick inserted in the center comes out clean.

9. Let the cake cool.

10. Once cooled, flip the cake out of the pans onto a cutting board. To make the cake baby size, I used the rim of a small bowl and cut two circles out of each layer. Save the scraps for an adult snack later on! It’s delicious. Now get ready to get your frost on!

For the frosting

1. Pour cream and vanilla extract into a chilled mixing bowl. Whip on high speed until stiff peaks form.

To frost the cake

1. Find a pretty platter, and put the base cake layer on the plate.

2. Using an offset spatula or butter knife, spread a generous amount of whipped cream onto the top of the base cake layer. Put next cake circle on top. Repeat the process until you reach the top of the cake.

3. Pile whipped cream on the top layer, then use your spatula to spread it downwards, covering the sides of the cake. Use extra whipped cream to cover any cake left uncovered.

4. Top with fresh blueberries, and voila! Enjoy!


Vegan Cranberry Breakfast Cookies

Vegan Breakfast Cookies

Have you made any New Years resolutions?

Typically this question unnerves me. Should I have made a resolution? When was the last time I actually kept one of these? What exactly does “resolve” mean anyway? It seems like a softer way to say “pledge”, which both remind me of household cleaners that smell funny.

Once again my new years resolutions this year seem to be hanging in mid-air, frozen in a sea of procrastination and intimidation. Labeling something as a “resolution” feels so final and committal. And restrictive. Like all of the options for daily life have suddenly been zapped into a to-do list, which makes me want to flee for the exits. #freespiritproblems

Honestly though, I really do like to start a new year by pairing down what is in my pantry and getting back to the basics of eating- fruits, vegetables, slow-simmered soups and warm tea. And of all the eating styles I have studied, vegans seem to have this plan down. Like, all natural, no dairy, no meat- a stick-to-the-basics kind of thing. But like a resolution, when I first started researching these vegetarian recipes they felt so limiting. You are telling me I can’t have cheese? Or a steak? What?!! But what I have found is that yes, there are the obvious elemental constraints- but as every creative knows, it’s the constraints that allow creativity to flourish. The more lovers of food I meet, the more I realize that a good cook knows that the best home chefs are the ones who can take what is in their pantry and make it taste great.

Yummy Breakfast Cookie

So this January, instead of a constrictive resolution, I’ve landed on a push to get out of my comfort zone and make something unfamiliar in a genre of eating I am not accustomed to. Also, for heaven’s sake, I have so many compiled ingredients over a season of holiday cooking that it makes me feel like Pioneer Woman to rally the troops, use my brain and make something out of it all!

And these cookies, inspired by Kumquat blog, are a fantastic way to begin a year of healthy breakfasts. They are gluten free and packed with peanut butter protein and punchy dried fruit. The extra hit of salt takes the flavor up a notch, and before you know it, these cookies will most likely become a staple of cleaning out your pantry, wooing your neighbors, and all around impressing anyone craving a cookie, vegan or otherwise.

Here’s to a year of adventures in the kitchen, fresh starts in your life, and showing luv to anyone- regardless of their eating style- who comes across your kitchen.

Vegan Breakfast Cookie

Vegan Breakfast Cookies (Inspired by Kumquat Blog’s Dried Fruit and Peanut Butter Breakfast Cookies)

What You Will Need:

  • ½ cup crunchy peanut butter
  • ¼ cup warm coconut oil
  • 1 large egg (or chia seed egg substitute, which I used. Great recipe here)
  • 3 tablespoons maple syrup
  • 1 teaspoon vanilla paste or extract
  • 2 cups gluten-free rolled oats
  • 1 cup raisins
  • 1 cup dried cranberries
  • 1 teaspoon ground cinnamon
  • ¼ scant teaspoon ground nutmeg (you could add 1/8 if you like less nutmeg)
  • ¼ teaspoon salt

What You Will Do

  1. Preheat your oven to 350°, and line a baking sheet with parchment or wax paper.
  2. If using, assemble chia seed egg substitute (mix together 1 tablespoon ground chia seeds, 3 tablespoons water) and let sit for 5 minutes.
  3. Combine first 5 ingredients in a large bowl and stir thoroughly.
  4. Add remaining ingredients to peanut butter mixture; stir until well combined.
  5. Press 2 heaping tablespoons of mixture into a 2½-inch round biscuit or cookie cutter onto your baking sheet. (I just scooped the mixture into the cookie cutter, then used the back of my tablespoon to press it into a somewhat flat circle.) Continue with remaining mixture.
  6. Bake at 350° for 14-16 minutes, or until fragrant and golden. Let the cookies cool on the pan.* *Be patient here; I got hungry and tried to move mine too soon and they crumbled a bit. I promise it is worth the wait to let them set!