Guacamole, inspired by pimento cheese! Food styling tips! Let’s do this!
Summer is a perfect time for guacamole. As I dip my salty, crispy tortilla chip into the creamy fabulousness that is fresh guac, I am transported to sunny beaches, tropical beverages, and (hopefully) a summer vacation.
This week’s recipe is also inspired by pimento cheese. That’s right, as a woman who grew up in the South, there was also NO WAY you could bypass the summer season without being offered either a pimento cheese sandwich with the crusts cut off at a baby and/or wedding shower; offered pimento cheese and Premium brand saltine crackers at the beach; or eaten right out of the jar with fresh tomatoes.
Jake and I shot this pimento and queso fresco guacamole for the May issue of Birmingham magazine, who we love. I was also super pumped to experiment with adding a Southern spin to a traditionally Mexican side dish. Plus, I’ll share with you food styling tips I’ve learned along the way, #praise!

How to style (and use) beautiful avocados:
Avocados have a tendency to brown super easily. Whether you are styling your avocado for Instagram (or your family picnic), try rubbing the surface of the fruit (that’s right, FRUIT!) with fresh lime juice. You can also use a product called Fruit Fresh
To pick out a great avocado, don’t look at color alone. My favorite tip for finding a ripe, perfect avocado is NOT to squeeze the fruit in your hand. Simply press the top and bottom of the guacamole in between in your forefinger and thumb. If the fruit has a slight give to it, and no visible bruises or soft spots on the exterior, it’s ready to go!
Buy more than you need. Whether you are making guacamole at home or photographing avocados, it’s almost impossible to pick them perfectly every time. I usually buy double the amount of what I need, and if you don’t end up using the extra avocado that day, just dice it up and pop it in a plastic bag in the freezer! Frozen avocado is brilliant in puddings, smoothies, etc.
 Don’t slice your hand open! The best way to slice avocados involves two knives and these steps: A. Slice avocado in half using a very sharp chef’s knife. B. Gently twist avocado open. C. Strike pit with the blade of your chef’s knife (DONT USE A CERAMIC KNIFE HERE OR IT WILL SHATTER!) and, with the blade in the pit of the avocado, twist. Use a dry dish towel to remove the pit from the half. D. Use a paring knife to create even, clean slices in your pit-free halves. E. Use a large metal spoon to gently remove the avocado half from the fruit, scooping as close to the avocado flesh as possible. E. Place fruit on cutting board and fan those slices to your heart’s content! Drizzle with lime juice or Fruit Fresh to make it last and prevent browning.

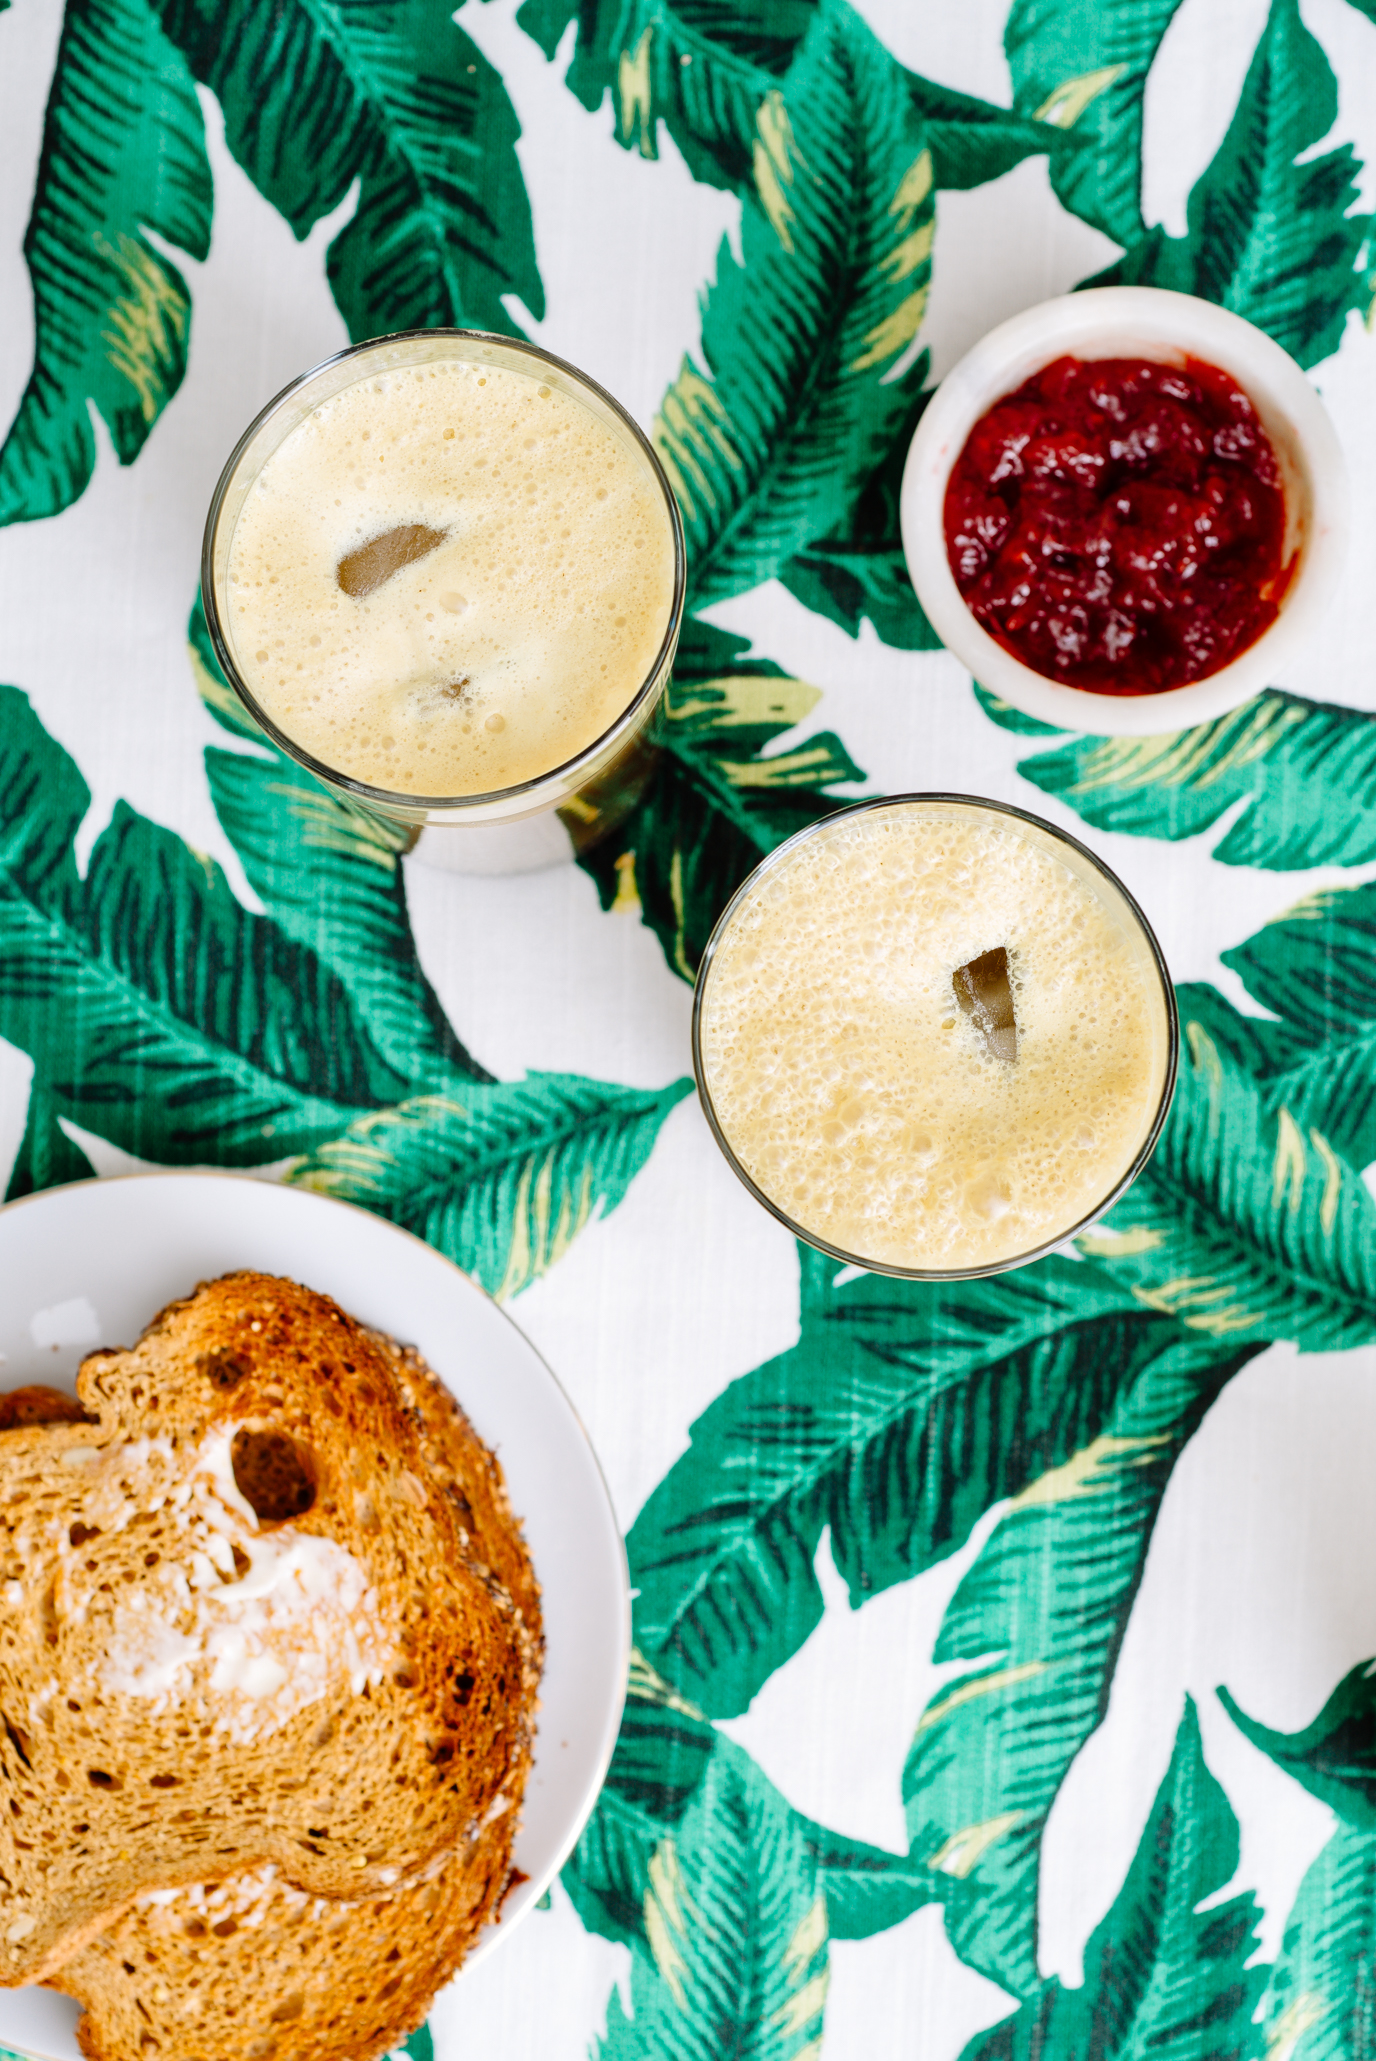
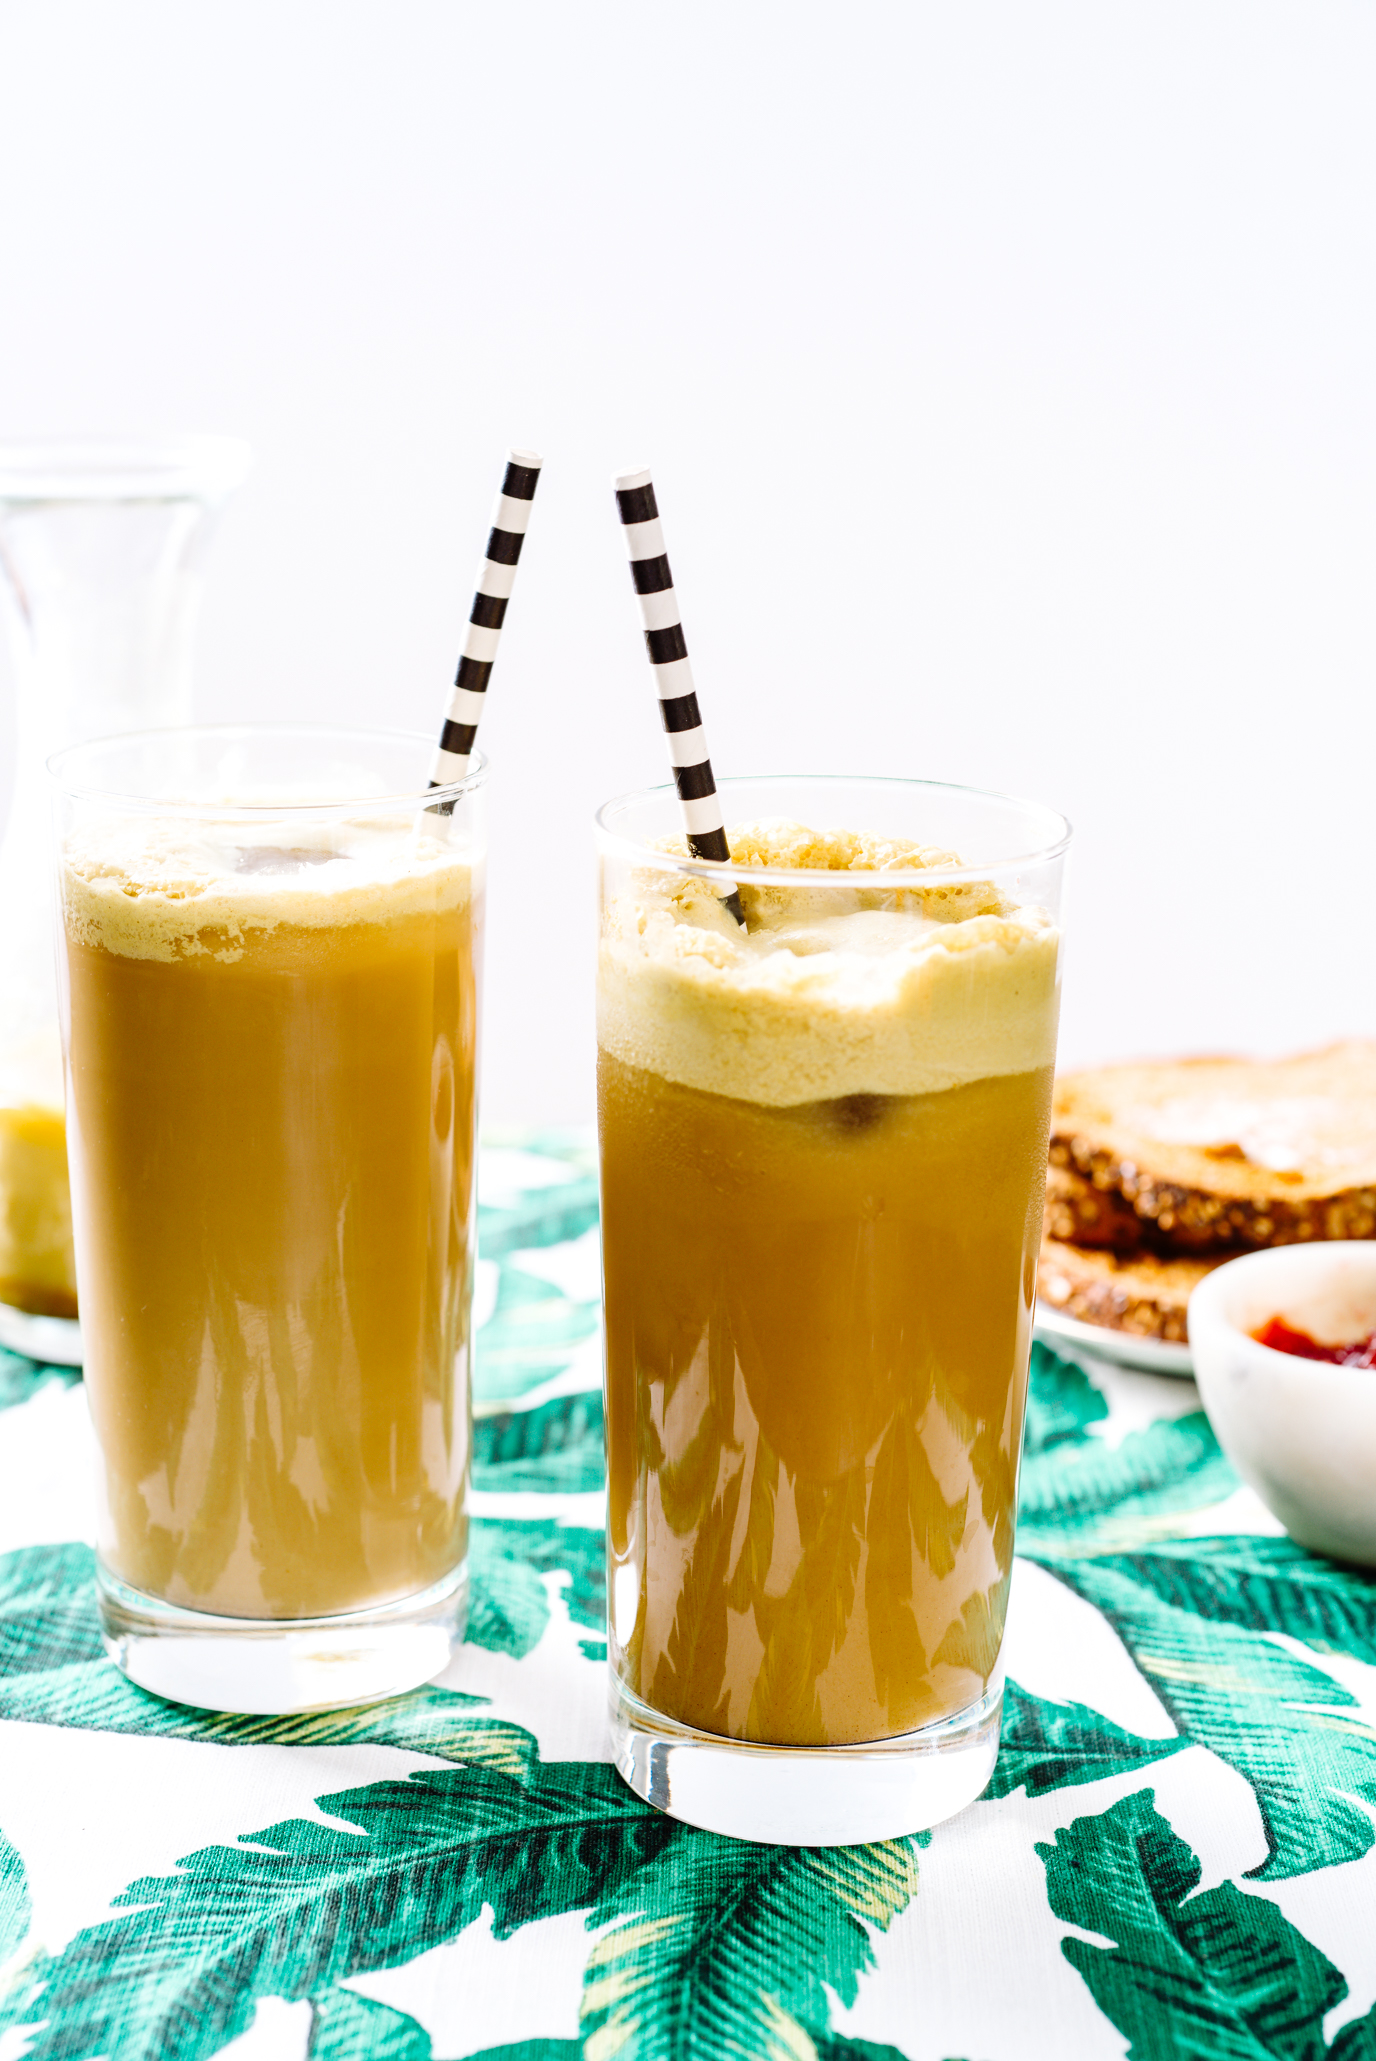
And without further ado (and your newly acquired avocado SKILLZ) this week’s avocado recipe! Suggestions for serving: A refreshing tropical beverage and bright pink sunglasses in tow.
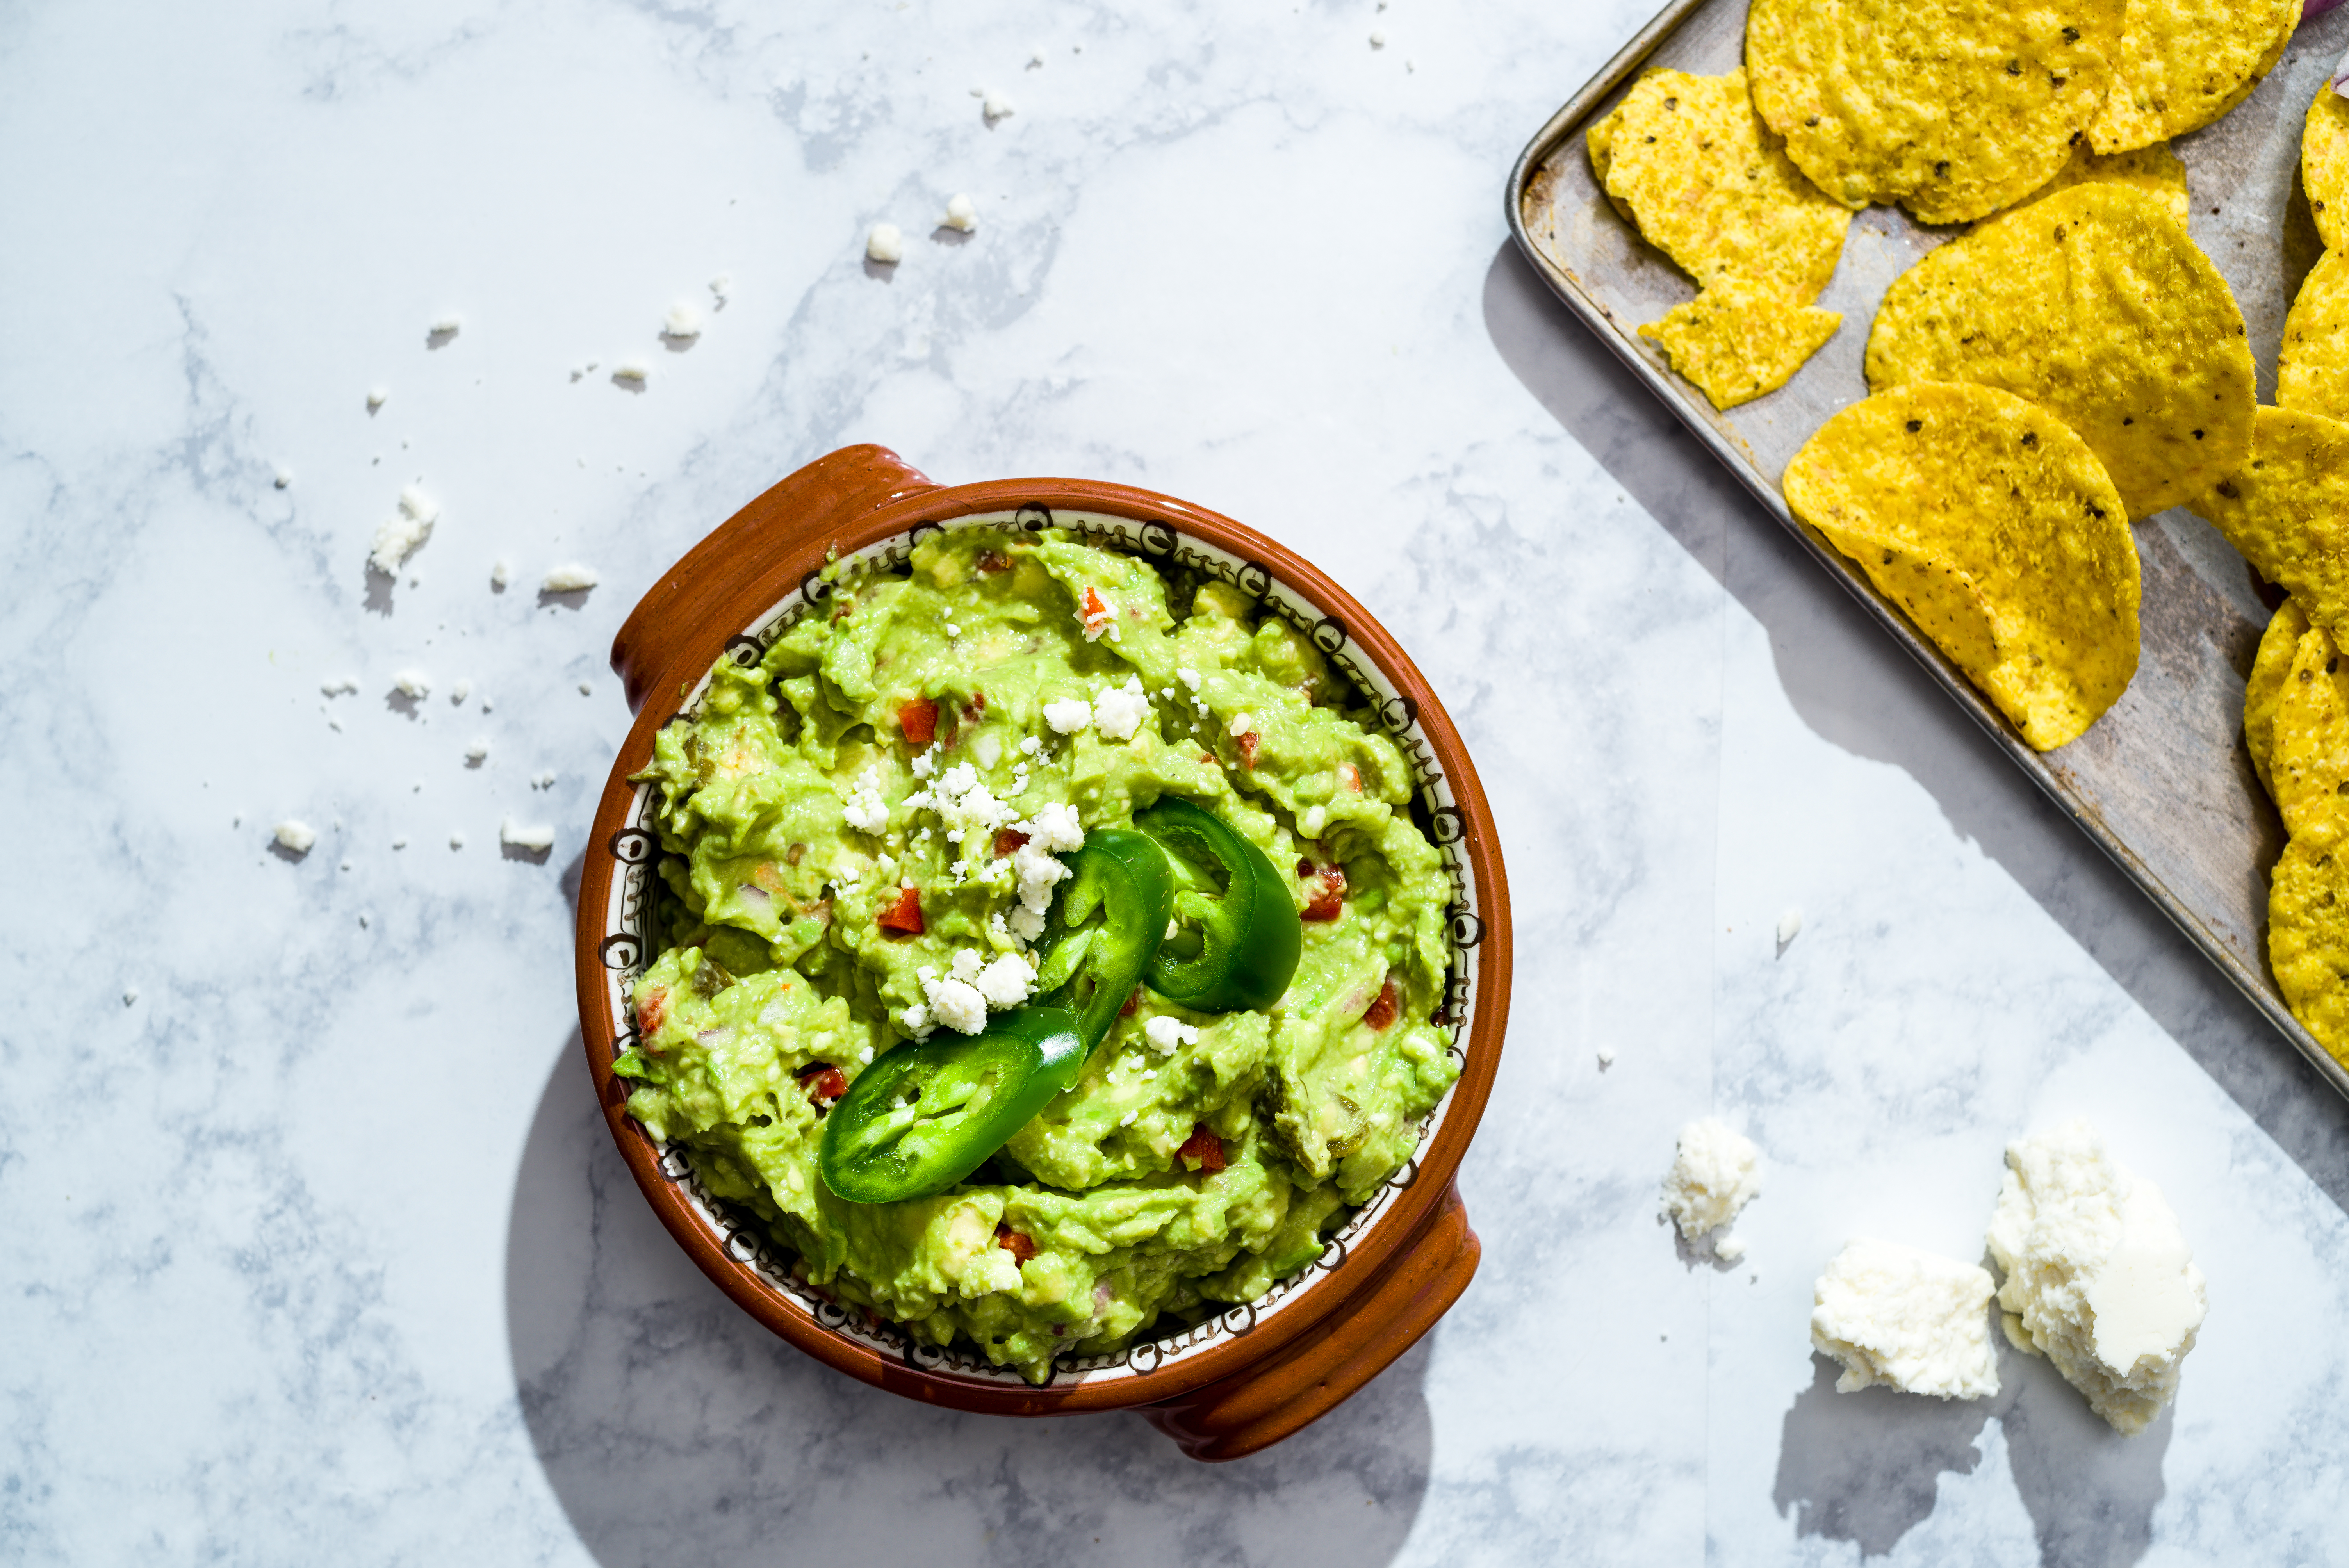
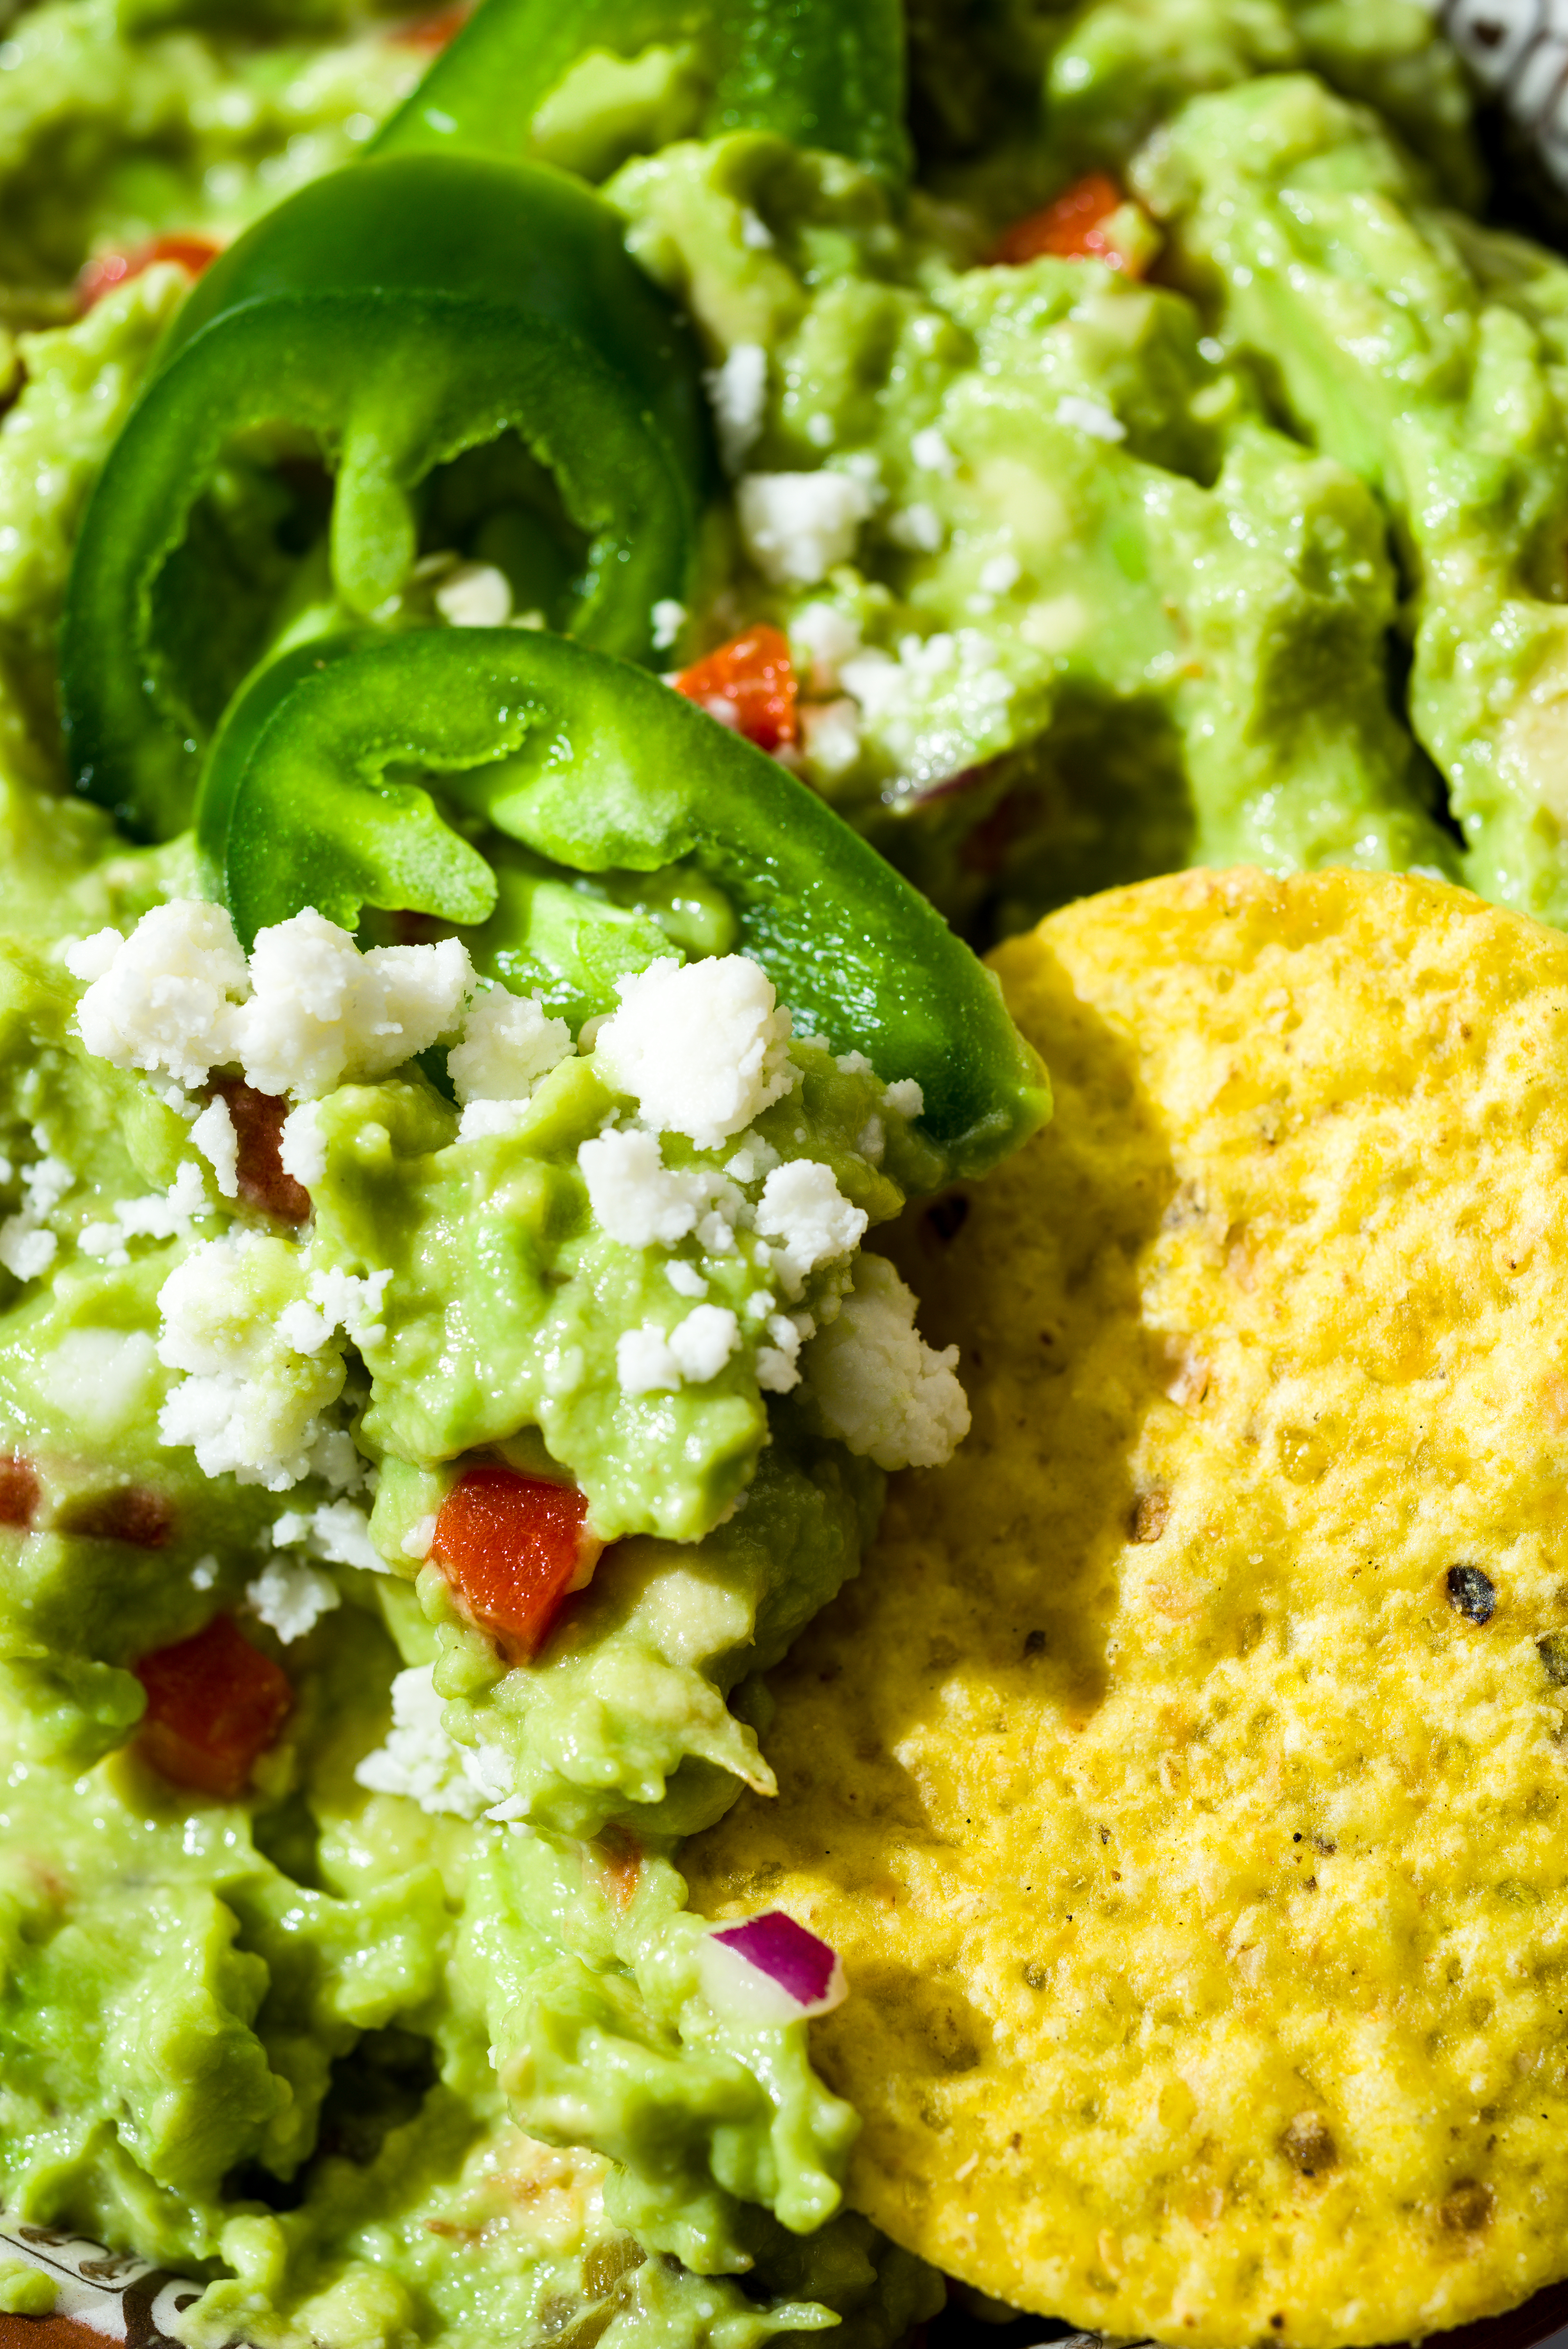
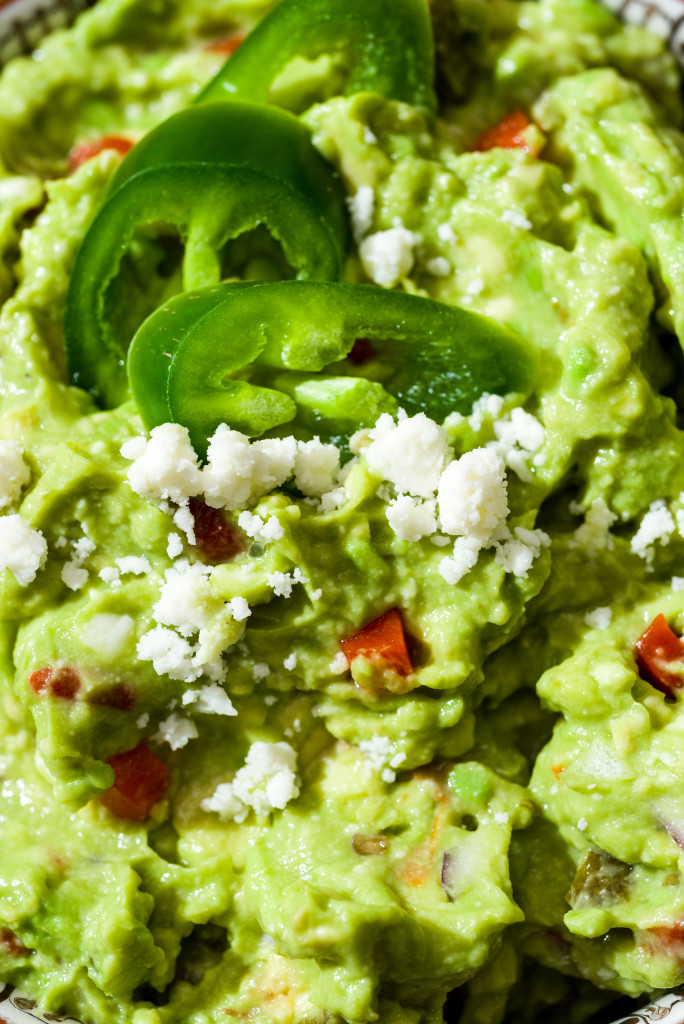
Pimento and Queso Fresco Guacamole
This recipe is perfect for a chill summer day, and comes together easily and quickly if you have ripe avocados! The hit of roasted green chilis adds extra depth. To store your guacamole to prevent browning, simply press plastic wrap into the surface of the guacamole. Ole!
Serves 6
- 3 ripe avocados, mashed
- 1 tablespoon roasted green hatch chiles
- 1/4 to 1/2 teaspoon salt
- 1/2 lime, juiced
- 1/4 cup red onion, minced
- 2 tablespoons pimento, drained
- 3 tablespoons crumbled queso fresco, plus additional for topping
- Sliced jalapenos, for topping
- Corn tortilla chips, for serving
- Stir avocado, chiles, salt, lime juice, red onion, pimento, and queso fresco together. Serve with tortilla chips and sprinkle with sliced jalapenos and crumbled queso fresco.
ALSO check out more fun avocado facts at this article I wrote for B’ham mag here!